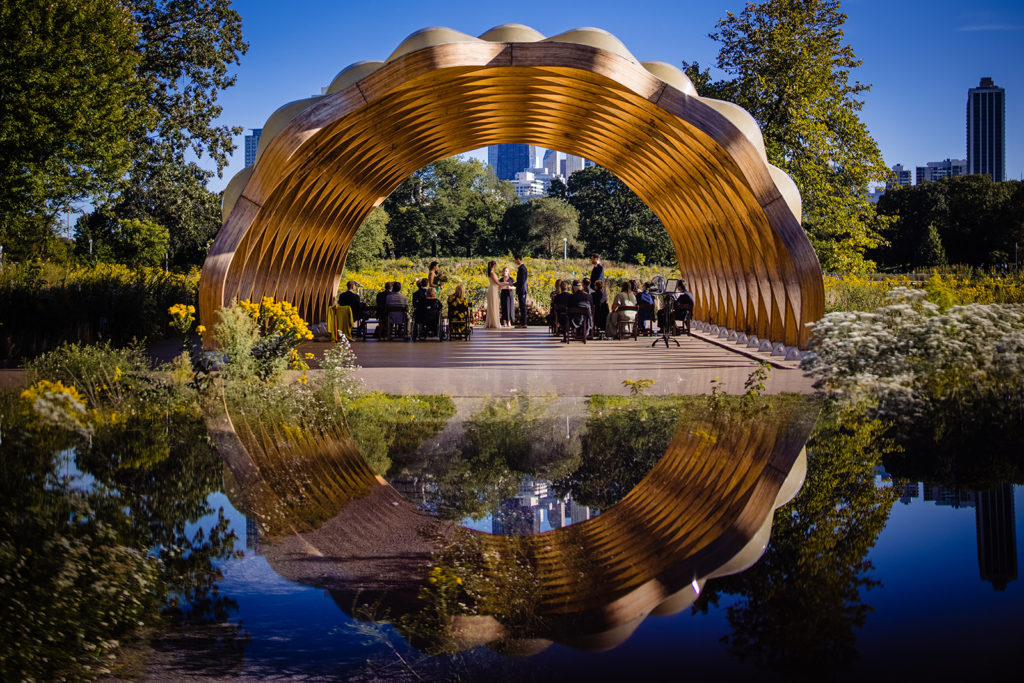
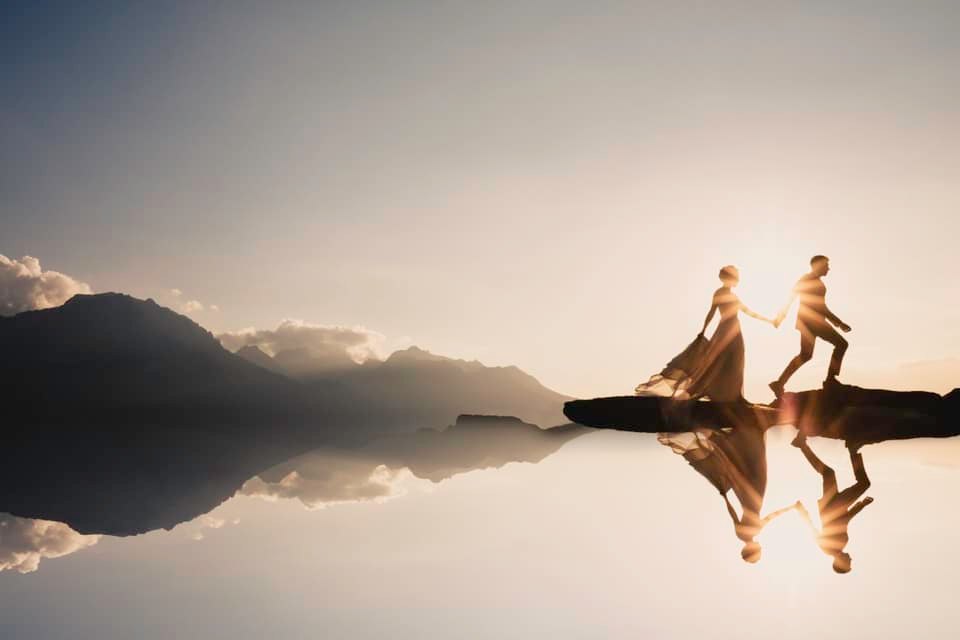
Part of the joy of photography comes from having a means to express ourselves creatively. Simple point-and-shoot photos are great for sharing on social media or through texts with friends and family, but with a little bit of effort and a toolbox of creative techniques, we can easily level up our imagery as well as the satisfaction we get from taking pictures. Building on compositional staples like the rule of thirds, symmetry, leading lines, negative space, and others, we can apply creative techniques to add visual interest to our photos. Whether you shoot landscape imagery, engagement & wedding portraits, or any other genre, one technique you should absolutely include in your virtual toolbox to boost your creativity involves photographing water reflections.
Water reflection photography uses water to mirror part of the frame and create an artistic, abstract photo. Don’t worry, it’s not complicated, and you can use this technique for a number of purposes, from concealing distracting elements in a scene to adding balance and symmetry to an image, or even revealing elements you wouldn’t otherwise see (such as overhead lights, treetops, etc.) without shooting on a wide angle lens.
After you master this technique, you’ll discover the results far outweigh the effort. Let’s get started.
Shoot in Manual Mode

Image by Rey Benasfre
In Auto Mode, cameras typically underexpose the reflected (or mirror image) area, as it usually registers as one of the darker areas in the frame. Instead, set your camera to Manual Mode and base your exposure on the darker areas within the reflection.
The exception here would be capturing water reflection photography with your smartphone camera. With a smartphone, you can usually select the reflected area and get a decent exposure.
Understand The Effect of water movement
When water is perfectly still, it creates a sharp, detailed reflection, almost like a mirror, capturing the subjects with remarkable clarity. In completely calm conditions, the reflection in clear water can be so precise that it mirrors every detail. However, even the slightest ripple caused by a gentle breeze can disrupt this effect, blurring the reflection and diminishing the detail. The more the water moves, the less defined the reflection becomes.

Slow Your Shutter Speed for Artistic Effect
Use a slow shutter speed (also known as shutter drag) to capture a smooth reflection, especially in choppy (ripply) water. Keep in mind, however, that the slower your shutter speed, the less sharp your reflection will be, unless of course the water is perfectly still. To compensate, you can stop down your aperture, which we’ll cover in the next tip.
If you decide to significantly slow your shutter speed, you’ll want to use a tripod to minimize camera shake.
Use Fast Shutter and/or Narrow Aperture for Sharper Reflections

Image by Lin and Jirsa
A fast shutter speed and narrow aperture (f/8-f/22) will give you the best chance of capturing a sharp water reflection photograph. These settings are ideal if your goal includes capturing as much detail as possible in the reflection. It also helps to shoot in calm conditions for the water.
Avoid Midday Sun Reflections
Ideally, you should aim for a sunrise session for calmer waters and favorable lighting, or else try to capture your images an hour or two before sunset. While it IS possible to take amazing photos under the midday sun (despite the popular notion to avoid shooting at noon because of harsh shadows and so on), having the sun directly overhead increases your chances of getting too much sun glare in the shot. This brings us to our next two tips.
Use a Polarizing Filter (or ND Filter) to Reduce Glare
Polarizing filters (or ND filters) will allow you to slow your shutter speed under brighter lighting conditions; this can prove especially helpful if the water you’re using for reflection is choppy (as we discussed earlier). These filters also help reduce the amount of glare in the reflection, which typically translates to a sharper image.
Find the “Right” Angle (Get Low!)

With water reflection photography, finding and shooting from the right angle is key. When shooting a landscape image, for example, photographers generally try to create as much symmetry as possible and perfectly mirror the top and bottom portions of the frame.
On the other hand, you may be using the reflection to highlight a couple standing off in the distance, which would require you to get lower and closer to the water source in order to find the couple in the reflection.
Flip (and Crop) the Images to Create Abstract Art
Framing your subject in a water reflection can make for interesting, abstract art, especially if you flip the image. Doing so completely changes the viewer’s perspective and understanding of what they’re seeing. The area around the reflection typically falls out of focus, and with the orientation of the image reversed, even recognizable objects can look unusual. It’s worth noting that ripply water works well for distorting the subject and maximizing the abstract effect, especially if you crop the frame and minimize the context clues that viewers might get from other areas of the image.
Shoot Wide and Tight for Unique Results

Image by Henington Studios
The focal length you use can have a great impact on the final image. Experiment with different focal lengths to see how they affect your photo and the subjects in it. As we mentioned in the previous tip, zooming in or cropping the image can add an abstract quality, while a wide angle of view reveals more of the environment and elicits a different reaction to the scene.
No Water? No Problem!
You don’t need large bodies of water to create amazing water reflection photographs. Puddles are sufficient and more calm than large bodies of water, and you can even find puddles at the beach. Moreover, you really don’t need water to capture a worthwhile selection photo. Water is only one of many reflective surfaces. You can also use your smartphone, mirrors, table tops, shiny floors, windows, and more to achieve a similar effect.

Image by Marissa Joy Daly
Conclusion
We hope you enjoyed this article with 10 water reflection photography tips. Hopefully, the next time you head out with your camera (or even your smartphone), you can incorporate some theses techniques into your shoot and walk away with photos you can be proud of.


