One of the first things you must learn as a new photographer is the relationship between ISO, aperture, and shutter speed. Known as the exposure triangle, this is the foundation of photography the way addition and subtraction are the foundation of math.
Wrapping your mind around the relationship between these three concepts when you’re just starting out is genuinely hard. I had pages of notes taken from Bryan Peterson’s Understanding Exposure, and I was drowning in diagrams and test shots at every ISO/shutter speed/aperture combination I could think of. One day it clicked, and everything else followed. (Check out our friends at Photzy for more free photography cheat sheets.)
The chart below would have saved me a lot of time if it had existed back then. Daniel Peter of Fotoblog Hamburg created this free downloadable cheat sheet for beginner photographers using clear, simple diagrams. It gives you a visual overview of aperture, ISO, and shutter speed without going deep into the theory behind each one. That’s by design. It’s formatted to print on a business-card-sized piece of paper so you can carry it in your pocket while you practice.

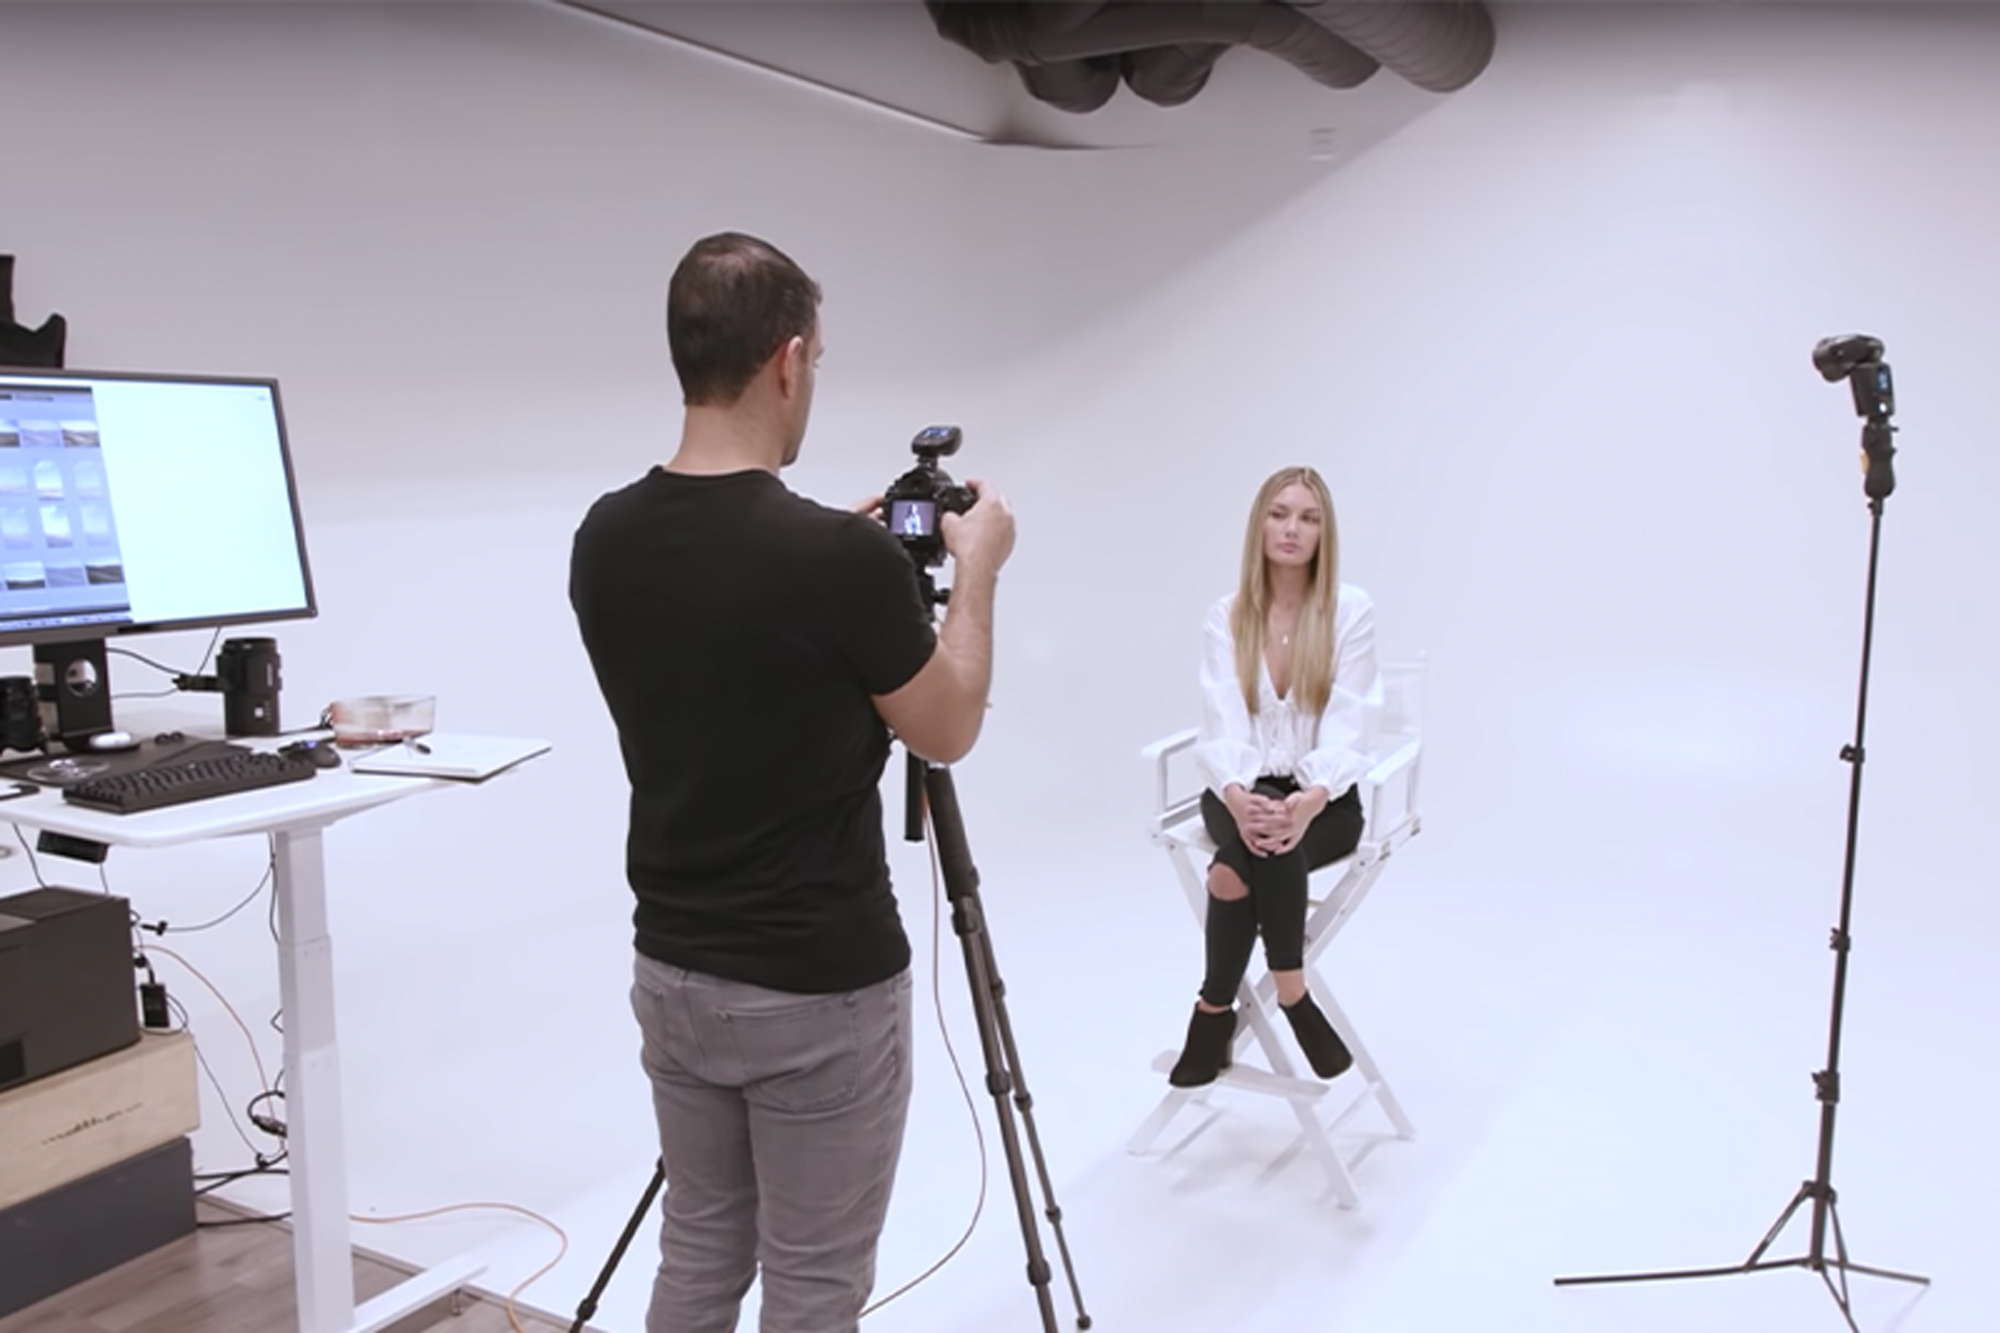
If you’d rather learn by watching, check out the SLR Lounge Photography 101 Workshop. We walk you through how to create strong images with basic gear, how to move from auto modes to manual mode, and how to actually use the exposure triangle in the field. Below is a sample from Photography 101.
Watch: understanding exposure with the exposure triangle
Watch the video below to see how Pye explains the exposure triangle. This is pulled directly from the Photography 101 Workshop.
Expanded explanation of the exposure triangle
Shutter speed is expressed as fractions of a second, so 1/50 is a longer exposure than 1/200. That trips a lot of beginners up. When photographers say “higher shutter speed,” they mean faster, not a mathematically larger number. So 1/200 is the higher shutter speed even though 1/50 is the bigger fraction.
Aperture works the same counterintuitive way. It’s also stated in fractions, so the smaller the number, the larger the opening. An f/1.4 aperture is wide open; f/22 is a pinhole. Bigger number, smaller hole.
A useful analogy: picture a bucket with an adjustable hole at the top and a stream of water pouring in. The smaller the hole, the longer it needs to stay open to fill the bucket. The larger the hole, the faster it fills. In this analogy, the hole is your aperture, the time the hole stays open is your shutter speed, the water is light, and a full bucket is a properly exposed image. Not much light available? Open the aperture wide and/or use a longer shutter speed. Lots of light? Close down the aperture and/or use a faster shutter speed.
Simplified: a lot of light means faster shutter speeds and smaller (higher-number) apertures. A little light means slower shutter speeds and larger (lower-number) apertures.
A full stop means you either double or halve the amount of light in the exposure. With shutter speed, this is straightforward: going from 1/100 to 1/50 is one full stop because you’ve doubled the time light hits the sensor. With aperture, the math is slightly more complex because you’re changing the area of a circle, but the practical result is the same. Each full stop on the aperture scale (f/1.4, f/2, f/2.8, f/4, f/5.6, f/8…) either doubles or halves the light entering the lens.
As you double the light coming in via shutter speed, you need to halve it via aperture to maintain the same exposure. They work in opposite directions, and balancing them is the core skill the exposure triangle is teaching you.
What do these settings actually do to your images beyond exposure? Slower shutters introduce motion blur: streaks of light, flowing water, a moving subject going soft. Faster shutters freeze motion. How fast you need to go depends on how fast your subject is moving. For hand-holding without camera shake, a good starting point is the reciprocal rule.
Aperture controls depth of field. At f/1.4 with focus on one person in a group, everyone in front of and behind that person will be blurry. At f/8 or f/11, far more of the scene stays sharp. This is exactly how human eyes work: squinting to see something more clearly is your iris stopping down. There’s a trade-off at very small apertures, though. Stop down too far and diffraction starts softening your image.
ISO is the third variable. The higher the ISO, the less light you need to achieve a correct exposure, which lets you use faster shutter speeds or smaller apertures than you otherwise could. Think of it as artificially pressurizing the water in our bucket analogy to fill it faster. The cost is image noise: higher ISO introduces grain and reduces fine detail. How much noise is acceptable depends on your camera’s sensor. On modern full-frame cameras like the Canon R6 Mark II or Sony A7 IV, ISO 3200 and even 6400 can be clean enough for professional work. On smaller-sensor crop bodies, we tend to cap things lower. The specifics change with every camera generation, so your own testing in your actual shooting conditions matters more than any general rule.