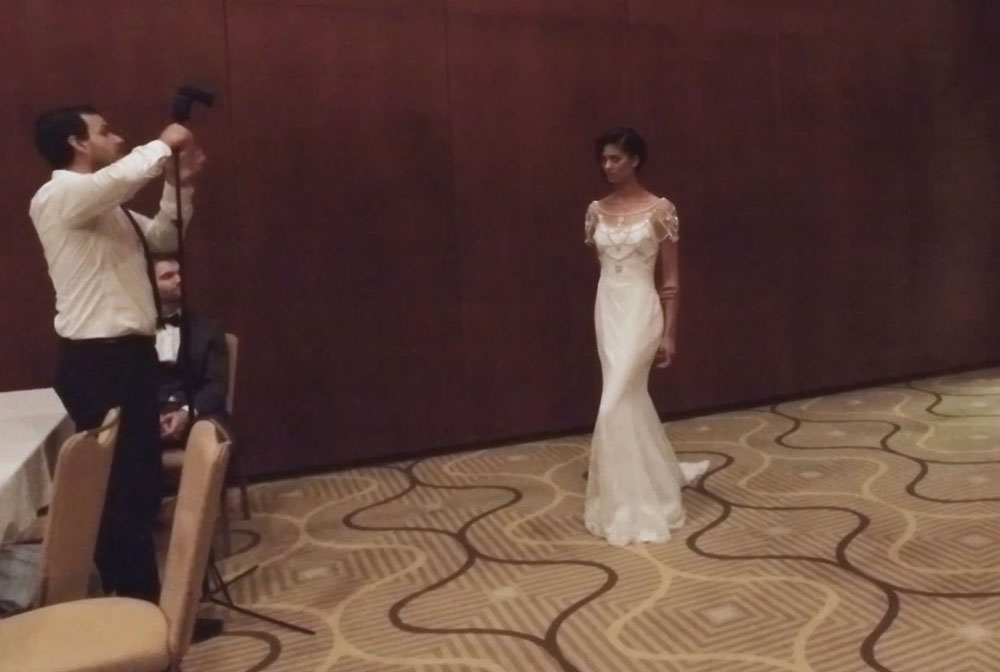
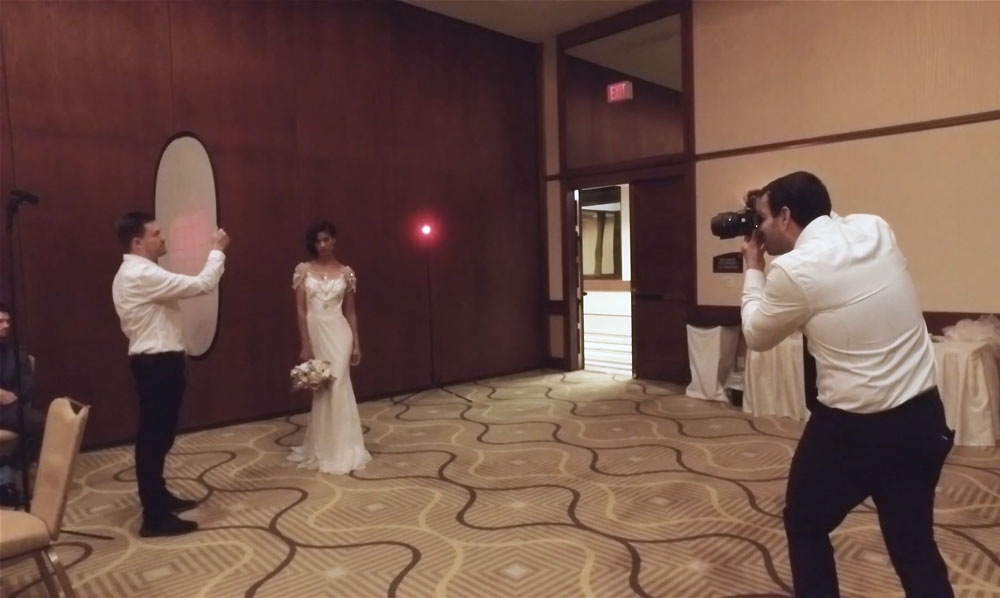
When options run out and your location is less than desirable, such as a boring conference room with bad lighting, simple light modification and quick post-production can make a world of difference – that’s where we step in. In the following article, we’ll review lighting tips, tricks and techniques you can use to transform a boring, somewhat ugly location into an interesting one.
Note: These concepts are taken directly from our Wedding Photography Training System.
1. SET AMBIENT EXPOSURE (USUALLY DARKER)
Even in the most unappealing backgrounds, there are sometimes qualities worth preserving, such as an interesting texture or wood grain. While adjusting your ambient exposure, consider how much of the original background you wish to reveal in the image and adjust accordingly.
2. USE MODIFIERS TO CONTROL FLASH SPILL & COLOR
After you have established your ambient exposure, it is important to carefully control the light that you add back into the scene. The existing light in the scene from the overhead lights in the conference room are Tungsten so we used a CTO Maggel to match the color. Using a grid or snoot on a pocket strobe will allow you to avoid light spill and instead add light only where you need it. We love the MagGrid for a quick pop-on solution.
3. ADD MAIN LIGHT (LIGHT TOP DOWN)
Start with one light and adjust from there. We recommend directing the light top down for a natural look, as opposed to bottom-up lighting that more closely resembles campfire lighting, which can cast unflattering shadows on your subjects’ faces.
4. ADJUST/MODIFY MAIN LIGHT
Modify your main light to get to your desired quality of light, whether that be diffused or specular, soft or hard. If you find that the edge of the light is too sharp, for example, use a scrim to soften the edges. Remember, the larger the light source, the softer the light fall-off. Place your scrim further from the light source to increase the size of the light. Hold the scrim closer for the reverse effect.
[REWIND: LIGHT QUALITIES]
5. DECIDE ON SECOND/RIM LIGHT
If necessary, or depending on the look you want, consider using a second light to add a little kick of light to the edge of your subject. This second light, or in this case a rim light, should further define your subjects’ features and separate them from the background.
6. ADJUST/MODIFY RIM LIGHT

As is true with the main light, be sure to modify the rim light as needed to complete the setup and achieve the look you are after.
7. PHOTOSHOP
Adjust images to taste in Photoshop, adding contrast, adjusting white balance, as well as dodging and burning to accentuate features or draw focus. The amount of editing for each photo depends largely on the genre in which the image exists. For fashion and beauty portraits, for example, the “acceptable” limits of retouching generally go beyond what would be deemed acceptable for regular client portraits. See exactly how we finished off this image in Photoshop.
To learn how to conceptualize and create stunning imagery like this upgrade now to SLR Lounge Premium and receive access to hundreds of lighting, post production, and posing tutorials! This specific image was created in our Wedding Workshop – Photographing the Couple!
Bonus 1 – Special Effects to Transform Scenes

In addition to other applications, special effects tools like small LED lights can be used to block out part of a scene. This can prove especially helpful when concealing an unsightly location.
Tips for transforming a bad scene with special effects:
- Set ambient exposure (usually darker)
- Use grid/snoot to control flash spill
- Add main light (light top down)
- Adjust/modify main light
- Decide on second/rim light
- Adjust/modify rim light
- Add special effects over lens (LED string, Prism, etc.)
Bonus 2 – Hotel Room Environmental Silhouette

Most of the time, photographers are looking for ways to add light to a scene, usually to make a room brighter. Before taking a silhouette image, however, we must imagine how a scene will look without light.
Tips for taking an environmental silhouette:
- Imagine +/- light
- Set ambient exposure first
- Adjust white balance for effect
- Add flash
- Adjust flash exposure/zoom/spill
- Adjust flash position to control shadow size
After making these adjustments, focus on posing and composition. Then, let the silhouettes begin!
Bonus 3 – Hotel Room Reflections and Creative Elements

To elevate your images from ordinary to extraordinary, you must first think differently. Find creative applications for everyday objects, from table tops to curtains, and then push yourself to use these objects in multiple ways.
Tips for using objects to enhance images:
- Reflections
- Shoot-throughs
- Creative exposures
- Use live view


