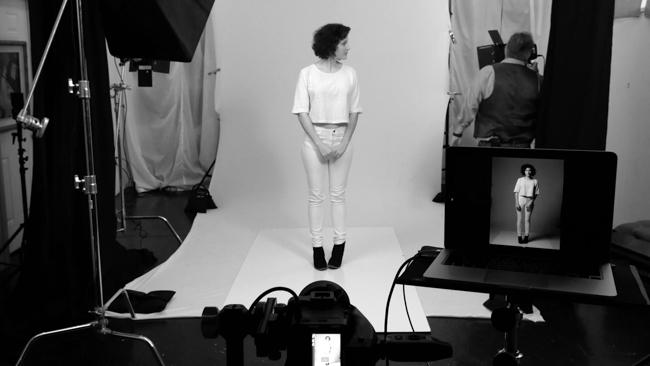
When we think about versatility in photographic equipment, there comes to mind a few staples; items that can either save us time, space, money, headache, or some combination of. A fast 24-70, a fast 50, a 5 in 1 reflector/diffuser, a speedlight perhaps, and a seamless white background. This plain white background needn’t always be white, and understanding how to light it will show you how it can be white, different shades of grey, and even black.
What is a seamless white background?
A seamless white background in photography is a pure white backdrop that is free of any visible seams or creases. It is achieved by using a large, evenly lit white surface, such as a paper roll or fabric, that is positioned behind the subject and extends to the floor. The white background creates a clean and simple aesthetic, allowing the subject to stand out and be the main focus of the image. The seamless aspect of the background refers to the absence of any visible lines or edges that would indicate a break in the background surface. This effect can be achieved through careful lighting and positioning of the subject and background, as well as post-processing techniques such as background removal or color adjustment.
Why the seamless white background is a powerful tool
Its simplicity is largely what makes it so versatile, because it is metaphorically and literally a blank canvas, and can be used equally in photo or video productions. Generally speaking, they can also be had for relatively cheap, which is good because if you don’t have one, you’ll likely want to get one after seeing the videos here-in.
Zack Arias released two videos walking you through the adaptability and uses of a white seamless background, and serve as a great introduction to the ‘hows’ and ‘whys’ of using one, all in his hallmark frankness and humor. In Part One, Zack explains what background he uses (Photo Basics 9′ x 20′ High Key background) and what other equipment is needed to get the most out of your background. The entire demonstration is done using constant lighting, which makes the process easy to follow along, and makes adjustments easy to understand in real time, imparting more information than what comes from Zack’s words.
In order to get the most from your background, you must understand the limitations of your studio or whatever area you are setting up in, should it be an enormous studio, or a small office space, and those limitations will highlight the considerations required – such as using flags or v-flats to absorb light. It’s also his suggestion to use no less than 3 lights; one for your subject, two for the background, and to make them studio strobes, although speedlights could be used if need be.
In Part Two, there’s discussion about the challenges faced when in a small setting, and how to maneuver that. Zack also gives his pointers for how to place your subject relative to the background for the most pop and least light wrap or flare, and walks through different scenarios and set-ups and how each affects the final image. He then finishes up with how he handles the post processing. It’s all quite thorough and a good starting point for those looking into building their first studio, or just adding this tool to their kit.
You can find more detailed written breakdowns of each on DEDPXL.com (Part 1, Part 2). We will be reviewing Zack’s One Light (trailer below featured videos) which is bound to be something many of you are going to want to see. Keep an eye out.
Seamless white background videos
Find more from Zack on his site and YouTube.


