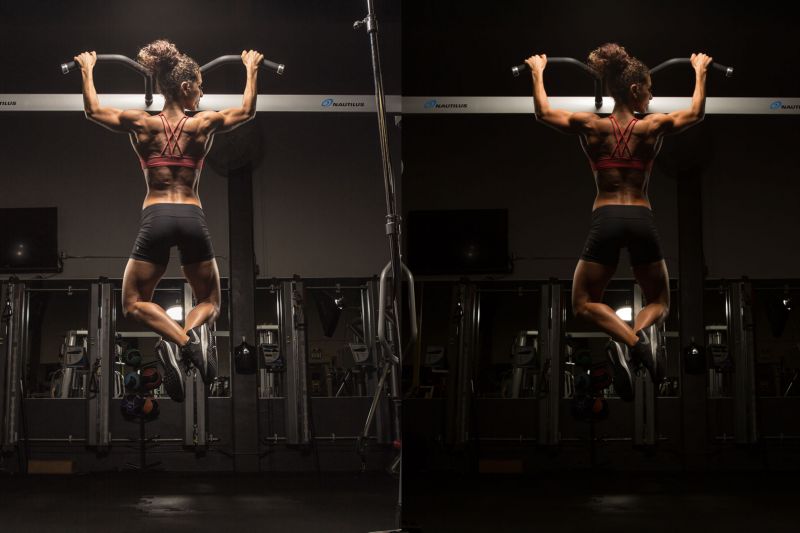
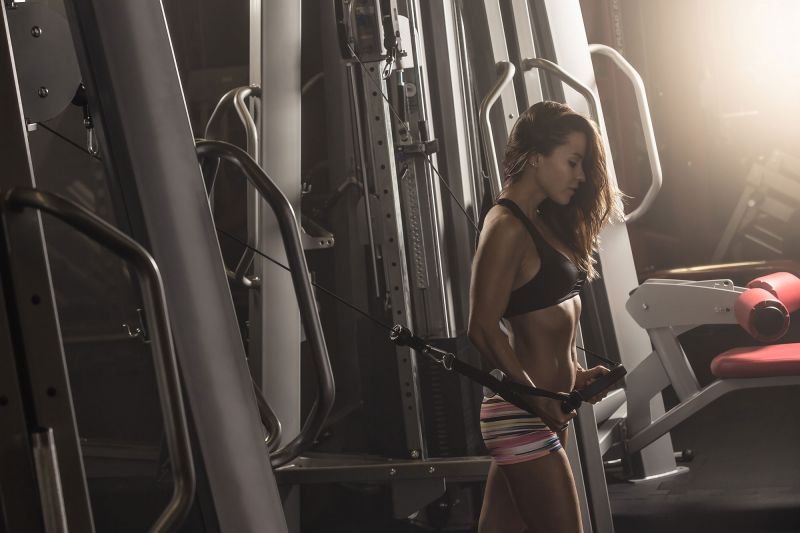
Capturing the perfect shot in fitness photography requires a combination of technical skills, creativity, and knowledge of the human body. Whether you’re a professional photographer or a fitness enthusiast looking to capture your progress, there are a few key tips that can help you take your fitness photography to the next level. In this article, we’ll explore some of the best fitness photography tips that will help you create stunning images that showcase the beauty, strength, and power of the human body.
What is perfect light? Well, that’s always going to depend on the subject matter and the desired effect. In this tutorial, we are going to give you a few simple tips on how to chisel out the human body using dramatic highlights and shadows which will work perfect for athletic and fitness portraiture.
Fitness Photography Steps (The Approach)
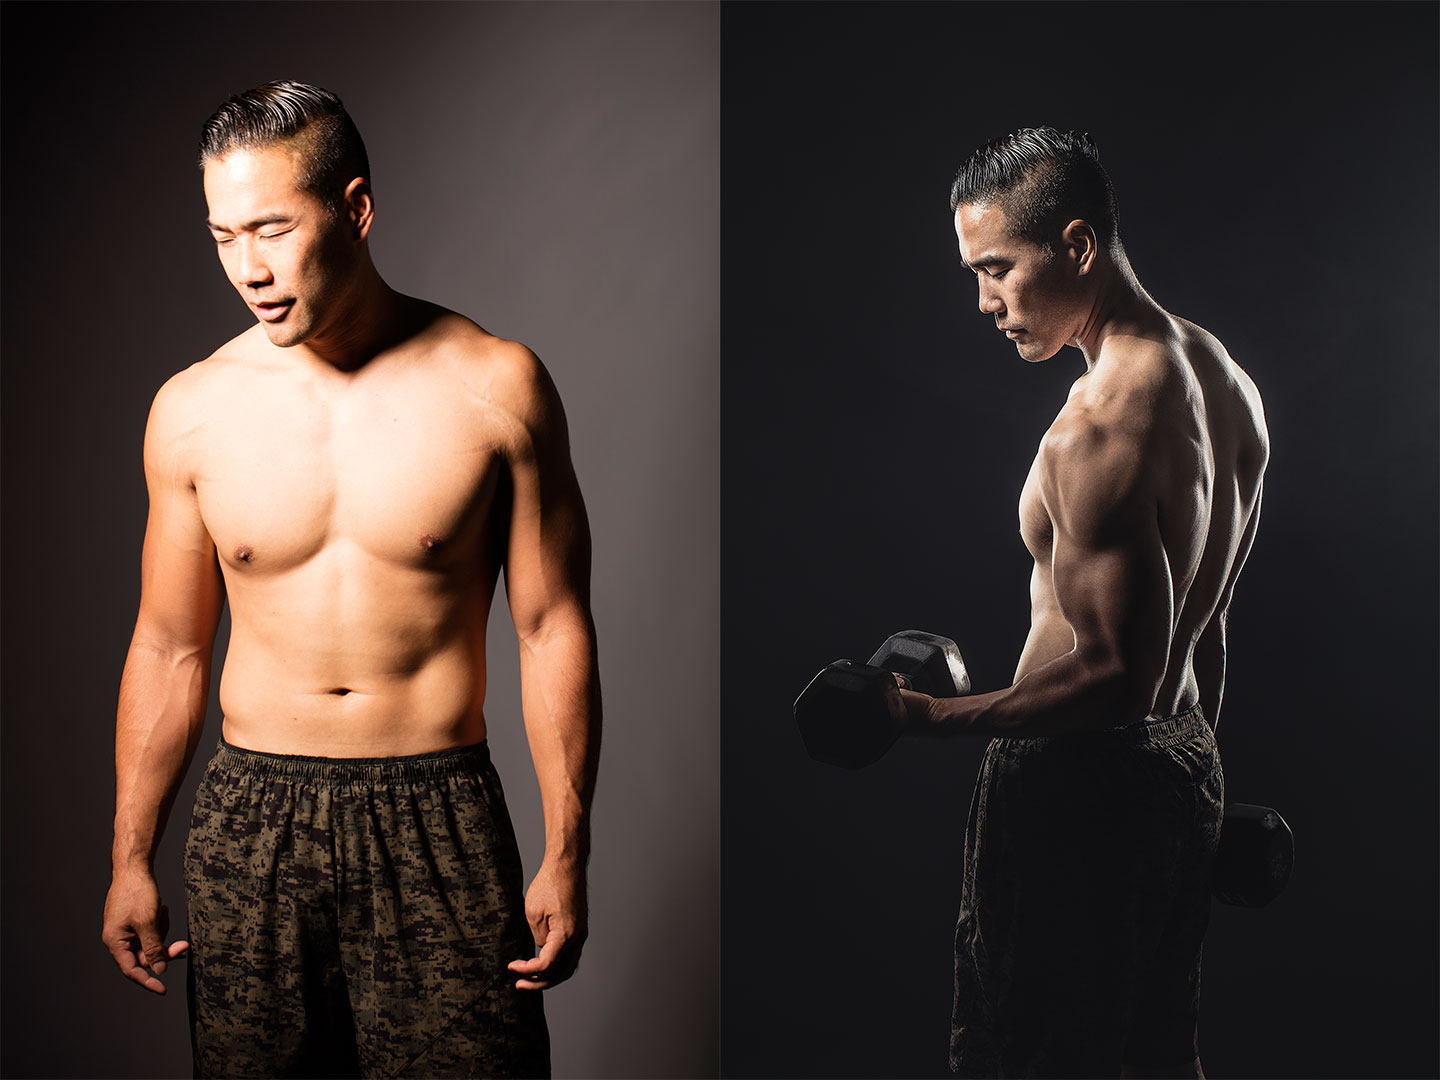
Photographers tend to shy away from deep shadows and hard highlights but these elements can be so powerful when they are used with purpose. Even though our model is in great shape, you can see that without properly configuring our light that his body structure and features don’t show through if not lit correctly. For the image that we want to create, what we want to do is allow the light to break across our model’s body creating deep shadows and bright highlights which will reveal his muscle definition.
1. Start with One light
Even if you eventually want to create an image with a multi-light setup, always start with just one light and then figure out if you need to add additional light sources. For our shoot we started out with the Profoto B1 as our primary light that is meant to be cast over our model’s face and body.
Although we aren’t huge fans of shooting TTL, Profoto’s system features a hybrid TTL system that is quite useful – it allows you to set the camera’s settings to your desired Aperture, Shutter Speed, and ISO and then simply set your Profoto remote to TTL. The remote will dial in the appropriate exposure on your Profoto B1 and at that point you can switch the remote over to manual for it to retain the power settings previously decided in TTL mode. From there you can simply adjust up and down with micro-adjustments to modify the power of any of your lights in the scene.
2. Determine if an extra light is needed
After that one light is setup, target areas of the body that are lost in shadow and decide if you need to fill or if you need an additional light. Turning on your modeling light shows you exactly where your light will hit your subject. This is one of our favorite features of the Profoto B1 because it has a built in modeling light. The lack of chords and built in battery also make it extremely portable making it easy to set up 3 to 4 of these on shoots without worrying about having a generator on hand.
[REWIND: THE 3-LIGHT SETUP THAT ONLY REQUIRES ONE LIGHT]
For our second light we set up 2 additional Profoto B1’s with gridded 1X6 Profoto Stripboxes to diffuse and direct the light. These two added lights help to chisel our our model’s features, especially against the darker background where we noticed a loss of detail as the body faded into the shadows.
3. Adjust model’s post and position
Once your lights are set into their basic positions adjust your light setup by adjusting your model’s pose and position. This will have a dramatic effect over how the light is falling onto your subject. Using the exact same lighting setup we were able to create all of the following images by simply moving and adjusting their pose within the set.
Fitness Photography Editing Tips
After the fitness image is photographed, finalize and polish the photos in Lightroom and Photoshop. Here are essential fitness photography editing tips.
Choose Between Natural and Dramatic (Stylized) Edits

For a more natural look, start by dropping contrast and raising the exposure. You want to flatten out the shadows and highlights since natural light has a softer appeal to it. When it is more stylized that’s when we increase clarity and bring back our shadows and blacks to increase the intensity and drama in the image.

In your natural edits, focus on getting natural skin tones, which can be more challenging that other forms or portrait photography. Why? To prep for a fitness shoot many of your subjects are going to use spray tans to build better muscle definition, which can cause skin tones to be oversaturated. On top of that you might be u lighting/strobing methods with generally harder edge lights, adding in harsh shadows and highlights. So the first step is finding your natural skin tones.
Add Shadows, Blacks, Sharpening and Clarity in Photo Editing for Fitness Photography
Add Shadows, Blacks, Sharpening and Clarity when photo editing for fitness photography. These can enhance certain features of the body without over-doing the image as a whole. Specific lighting adjustments like this are perfect for Lightroom to handle in an efficient and simple manner, and the best part about it is, if similar images are taken in this series, the edits can be batch synced across to make them look uniform.
This is another great example of how we can create gritty, textured images all within Lightroom just by tweaking the lighting to enhance and carve out features. Fitness Photography leans toward the high-sharpened look because of its incredible attention to detail.

Crank up the clarity and add dimension to your images so that you can see clear and defined muscles in your images. Fitness photography is all about showing off the body in the most flattering way possible and that stems from a combination of a great camera angle, impeccable lighting, and strong and dynamic editing.

Try experimenting with High-Pass filters to enhance and sharpen your image to get that gritty, textured fitness look.
Use Photoshop as Needed

The above edit needs to be taken into Photoshop for all the meticulous background retouching, something that Lightroom would probably be unable to handle. The Patch Tool in Photoshop is the perfect option for a fix like this, sampling similar areas to regenerate a cloned portion of the image.
Pulling the previous into Photoshop, we are able to make refined adjustments due to the powerful tools of the program. We can retouch with greater detail in Photoshop and not have to deal with the Lightroom’s inability to keep up with finite adjustments.
Using Liquify to Reshape Awkward Body Shapes

Liquify is the perfect tool for adjusting for reshaping and recurving certain areas in the body to get to a natural, enhanced version. Fitness photography is all about the body so we need to pay close attention to how the body is shaped, lit, and shot.
High Key Editing

High key images have strong highlights which you can see being clipped if you press “J” in Lightroom. You want to first brighten up the image to bring up skintone and then add in highlights and whites to bring up the exposure of the background. It is important to always retain full detail from your subject and reduce bleeding whenever possible in camera. If you don’t, the shadows to be too dark nor the highlights to be too white on the actual subject.
Low Key Editing
In the example below, we start out with our image more on the dark and moody side of lighting, but that doesn’t necessarily mean we can’t completely alter our lighting in Lightroom. You’ll see that the top right corner of the image has a small flare from the light being placed to add a rim light to the subject, and you can enhance that flare with a simple one-click Local Adjustment brush in LR.

Fitness Photography Inspiration
Here are more fitness photography photos for your inspiration taken by Pye Jirsa.


Conclusion
In conclusion, fitness photography can be both challenging and rewarding. With the right techniques and approach, you can capture stunning images that showcase the beauty, strength, and power of the human body. Remember to experiment with different lighting, angles, and poses to create images with interest and impact. Stay flexible and open to trying new things, and don’t be afraid to take risks and push the boundaries of what is expected in fitness photography. By following the tips outlined in this article, you’ll be well on your way to creating images that inspire and motivate others to pursue their own fitness goals. So grab your camera, hit the gym, and start capturing the magic of fitness photography!


