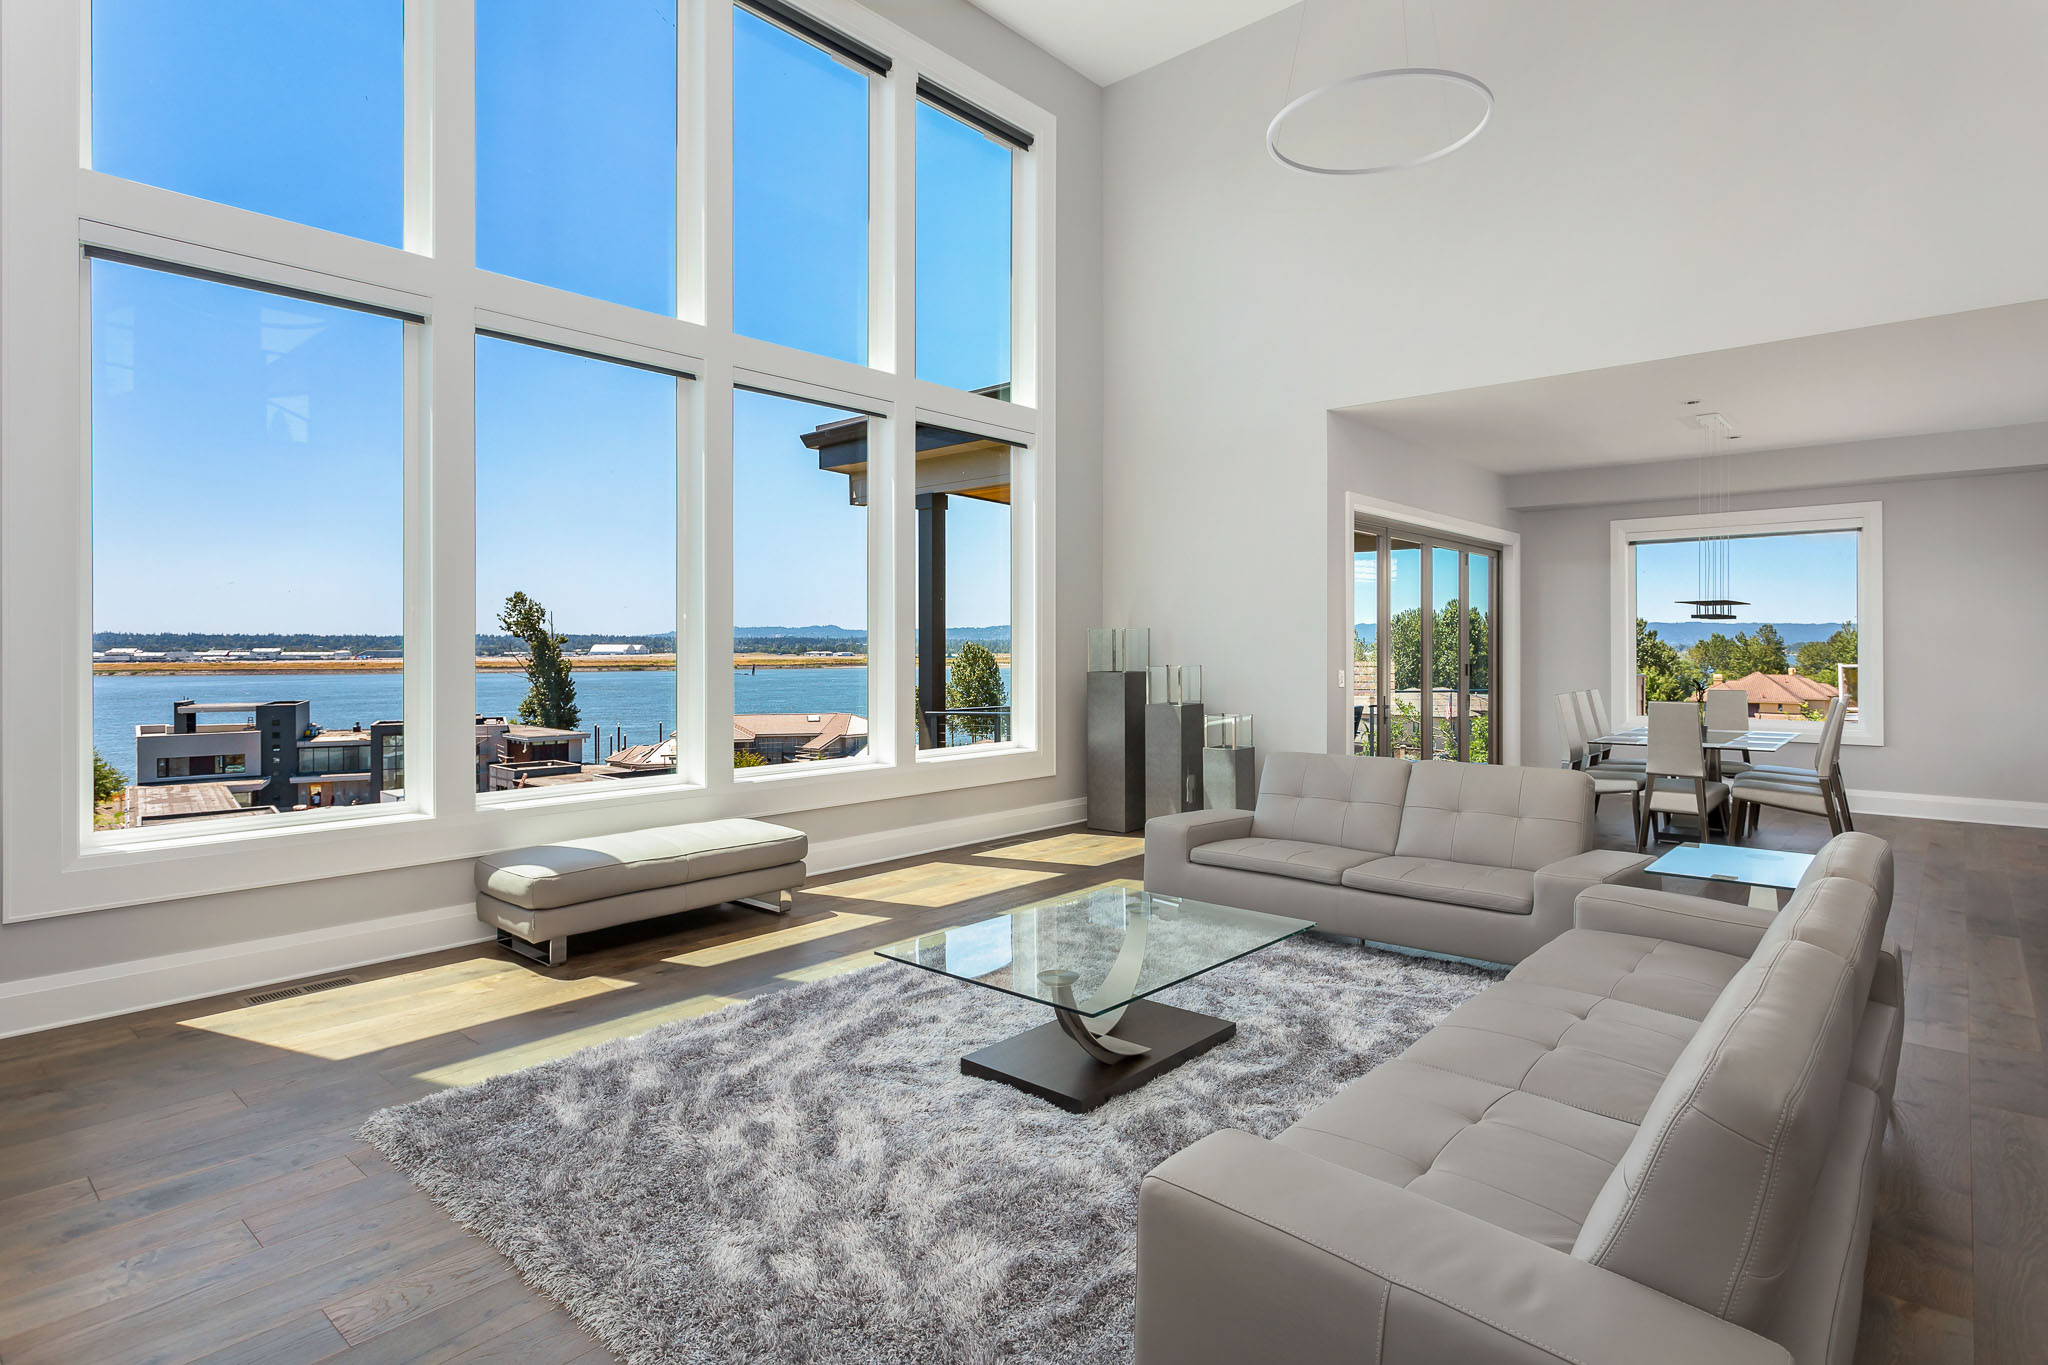
Are you thinking of getting into real estate photography? If you’ve always had an interest in architectural photography, it could be a dream job! Of course, like any career in photography, it’s not easy to get started. However, with just a few key things to learn and prepare for, you can be well on your way! In this article, we’ll cover six very important tips, in the category of things to avoid, or, things that you could easily get wrong, but could also easily get right.
For additional tips on getting into real estate photography, here is a step-by-step guide to getting into real estate photography! Also, here is a guide to real estate photography pricing.
1. Don’t Show Up Without The Right Lens For The Job.

One mistake that a real estate photographer can make when shooting their first few jobs is, simply having the wrong lens. For example, if you’re going to be shooting in very tight quarters you’ll probably want a wide-angle zoom lens. Oppositely, if you’re doing a lot of outdoor work, a normal or telephoto lens can be very useful, especially the more space around the property you have, or if there are any beautiful backdrops such as mountains, beaches, etc.
This does NOT mean that you must go buy expensive, exotic lenses right away before you shoot any real estate work. The key is simply to know what you’re getting yourself into with each job. There are plenty of jobs that you can accomplish quite well with just a 24-70mm or 24-105mm lens, if the interiors are spacious and the desired images are simple compositions.
However, if you’re photographing a lot of tight quarters, or small rooms, then having something like a 16-35mm or 14-24mm ultra-wide lens could really save the day. If you don’t have one of these lenses yet, try renting one!
Again, don’t mistake this for needing the most truly exotic, expensive lens. In almost all real estate photos, your goal is to get everything in focus, so you’ll be stopping your lens down in most cases. Even a modest, affordable lens like the Tamron 17-28mm f/2.8 (for Sony mirrorless) or 17-35mm f/2.8-4 (for DSLRs) can work wonders. Or, if you need to go even wider on a budget, Rokinon’s 14mm f/2.8 lens is extremely affordable, and now offers a distortion correction profile.
(To read more about lens distortion and how to fix it, stay tuned for a future article coming soon!)
The most important thing you can do is, ask your client some questions about the size of the property, the rooms, and ask them what types of photos they’re expecting. This simple, easy communication can go a long way towards helping you deliver above and beyond the clients’ expectations!

If you’re stuck with whatever lens you have on hand, for one job here or there, the good news is that if you have a really good eye for strong compositions, and/or if you can do a quick panoramic stitch, then the client may not know that you didn’t bring the “optimal” lens for a job.
Unfortunately, from here on out, the rest of our tips will definitely be things that a client will notice, so if you weren’t already, it’s time to start taking serious notes!
2. Don’t Promise A Turnaround Time You Can’t Deliver On.

One of the biggest cardinal sins that your clients will definitely notice, is if you simply don’t deliver on time. Never promise that you can have images to them in just a day or two, and then take a week or two instead. You’ll probably never hear from that client again!
In real estate photography, each job’s required turnaround time can vary, but it is not uncommon for the client to expect, indeed require, the images as immediately as possible. If they’re having you photograph a property, they probably want to list it as soon as possible.

Some other types of professional photographers may be shocked by the idea of having to deliver a completed set of images in just 24 hours, or even just a couple of days, but sometimes it’s part of the job! Simply schedule yourself enough time after each job, either the same day or the following morning, to get your images processed.
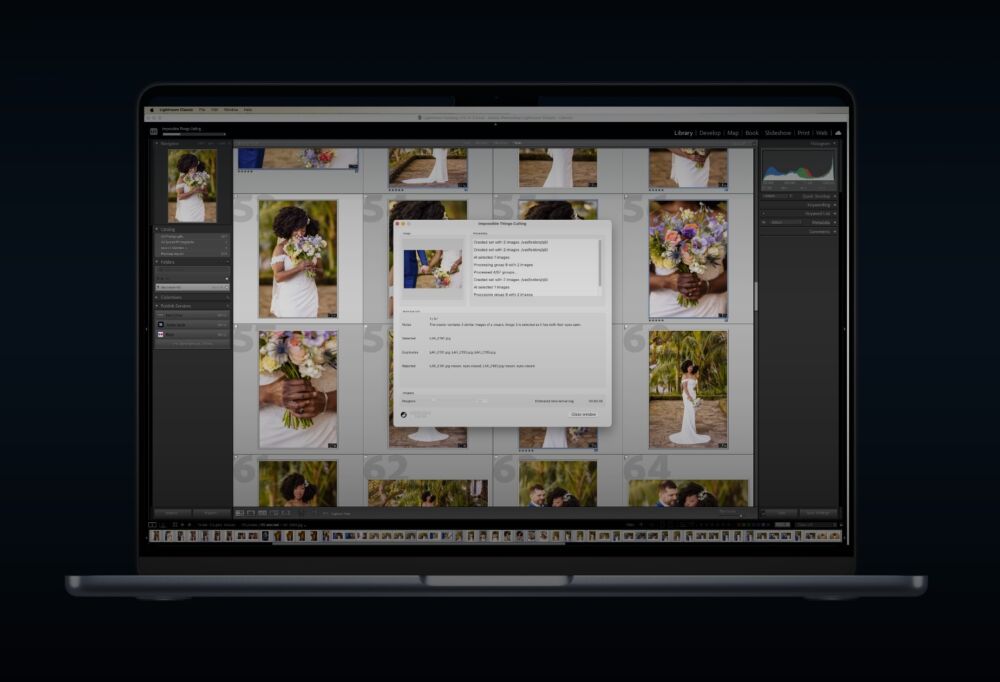
Thankfully, post-production for real estate doesn’t have to be too complicated. If your images are simple single exposures, basic color correction that is batch applied to every image of a room with similar lighting may be sufficient, with only minor image-to-image tweaks.
If you have any reason to create composite images, oftentimes things like panoramas and HDRs can be done effortlessly within Lightroom, or for greater control with a highly streamlined process, dedicated HDR software such as Photomatix by HDRsoft can seamlessly integrate into your workflow, even for batches of bracketed images.

No matter what you do, the best thing you can do is deliver ahead of schedule. When it comes to making clients remember you as a professional that they’d love to work with again, nothing creates an awesome impression like surprising them by delivering good-looking images early.
3. Don’t Forget To Ask The Client To Prepare The Space For You!

This is a big one, and if you’re a softspoken artist who likes to be self-sufficient and never ask for anything, it can be difficult to break that ice and request that the client prepare the space to be photographed.
The truth is, thankfully, this is a very common practice, so you’re not asking too much if you require, even in your contract, that the property be “ready to photograph” when you arrive. Aside from a few minutes of putting things away if someone is actively living in a property, you should be able to arrive and start shooting as soon as you’ve had a walk-through and set up your gear.
Standing around waiting for someone to clean up a messy room, let alone having to do it yourself, is simply NOT in your job description. Or, if you want to offer such a service, you’d better charge extra for it!)
4. Be Careful Offering Deceptive Retouching or Photoshop.

This depends on where you’re doing business, of course, but in some areas/states, there are laws against real estate property being significantly misrepresented in photos.
It may be the real estate agent or company that gets in trouble, but you could still find yourself dragged into a huge time-wasting fiasco as the photographer. Also, if that client is in deep trouble, you could lose business.
How you respond to such requests is totally up to you as a professional, but, first and foremost you should educate yourself about the laws of your area. And, although it might be none of your business, if you sense that a client is simply not scrupulous, you might want to broach the subject with them.
5. Don’t Over-Process Your Images.

Even if your Photoshop retouching work is minimal, another cardinal sin of real estate photography is processing your images so over-the-top that the tones and colors themselves are not just unnatural, but unattractive.
Remember, photography is art, but it is also used as an accurate representation of reality. And any time you are picturing something that is for sale, whether a property or any other object, realistic representation should be balanced with “artistic liberty” a little bit differently than other forms of artistic photography.
Simply put, your goal is to render tones and colors relatively naturally. Leaning in the direction of “bright” and “warm” instead of dark, shadowy, and “cold” can help to make a room look more attractive, of course. Just try to keep your overall color-correction realistic and natural-looking.
If you do need to capture a bracketed sequence of a scene, be careful to not go too over-the-top with wild HDR processing. Lightroom’s built-in HDR merging feature gives the benefit of having a DNG file that you can “play with” without leaving your raw converter, however, for the maximum amount of smooth tonal control possible, we’ll usually use Photomatix with one of our more natural, neutral looking presets that allows us to process a scene brightly, and smooth-toned with just the right amount of contrast and clarity from dark shadows to bright highlights. That’s one of the major drawbacks of most raw conversion software, especially with extremely dynamic scenes: it can be difficult to manage contrast differently between highlights and shadows, whereas Photomatix is specifically designed for complete tonal control throughout the entire range of light.
6. Don’t Forget To Raise Your Prices!

Sure, everybody has to start somewhere. Your first job or two might have to be for a friend, for free, or for someone who just got their realtors’ license yesterday.
But, here’s the thing. Every photographer who enters this debate of, “how much should you charge for your first gig?” …often overlooks the most important step of the process: Getting your first few gigs under your belt is not the issue. However, AFTER you’ve shot your first few gigs, THEN your business pricing strategy becomes extremely important!
Many photographers get stuck in the rut of continuing to work for free, or charging way too little because they’re afraid of parting ways with those first few people who gave them a chance.
The absolute best thing you can do for your aspirations as a real estate photographer is, to charge a fair price as soon as you’re qualified. Yes, you’ll have to tell a few clients that you’re going to be charging more, but if your images are remotely good enough, the serious, respectful clients will see your value.
Then, the minute you have more work than you can handle in a week or a month, you know what that means? It means you have “too many” clients saying “yes” to your existing prices. It sounds like that couldn’t be a bad thing, but it is. Why? Because you could raise your prices a little bit, have a few clients say “no” but still have most of them say yes, and make equal or even more money by doing, well, less work!
Or, of course, if you’re already raising your prices and still having more clients trying to book you than you can handle, it might be time to consider bringing on a teammate who can help you accomplish some of the simpler jobs all by themselves, and help you on some of the bigger ones.
[Related Reading: Real Estate Photography Lighting Guide]
Conclusion

Thanks again to the folks at HDRsoft for sponsoring this content! We’re really enjoying being able to bring you these great, real-world tips and guides on real estate photography. Stay tuned for more coming soon.


