LED panels have been a go-to within videography for quite some time, and photographers have recently began utilizing them within their workflow. They provide a great source of continuous light, are very easy to transport and setup, and can be rather cost effective in the grand scheme of things.
They range in price from just under $100 per panel on the low end up to $2,300 on the high end for something like a Kino Flo. The panels come in an array of sizes and configurations to choose from. Some have battery operated models with various power settings for added portability and some are bi-color which provides extra creative control when balancing light.
There are some things to keep in mind when working with LED lighting, such such as the fact that the panels have a much lower power output in comparison to a strobe, and as a result multiple panels are often required to achieve the specific look. The lower power often requires a wider depth of field and creates a softer feel that is great for beauty work and portraits. Let’s take a look at how to set up and shoot a simple beauty portrait using LED panels.
The Gear
- Dracast LED500 S-Series Daylight 3-Light Kit
- Savage 53″ x 36″ Seamless Paper in Fashion Gray
- Background Stand
- Canon 5D Mark III
- Canon EF 85mm F/1.2L II USM Lens
[REWIND: Shooting A Fashion Editorial In NYC | How I Shot It]

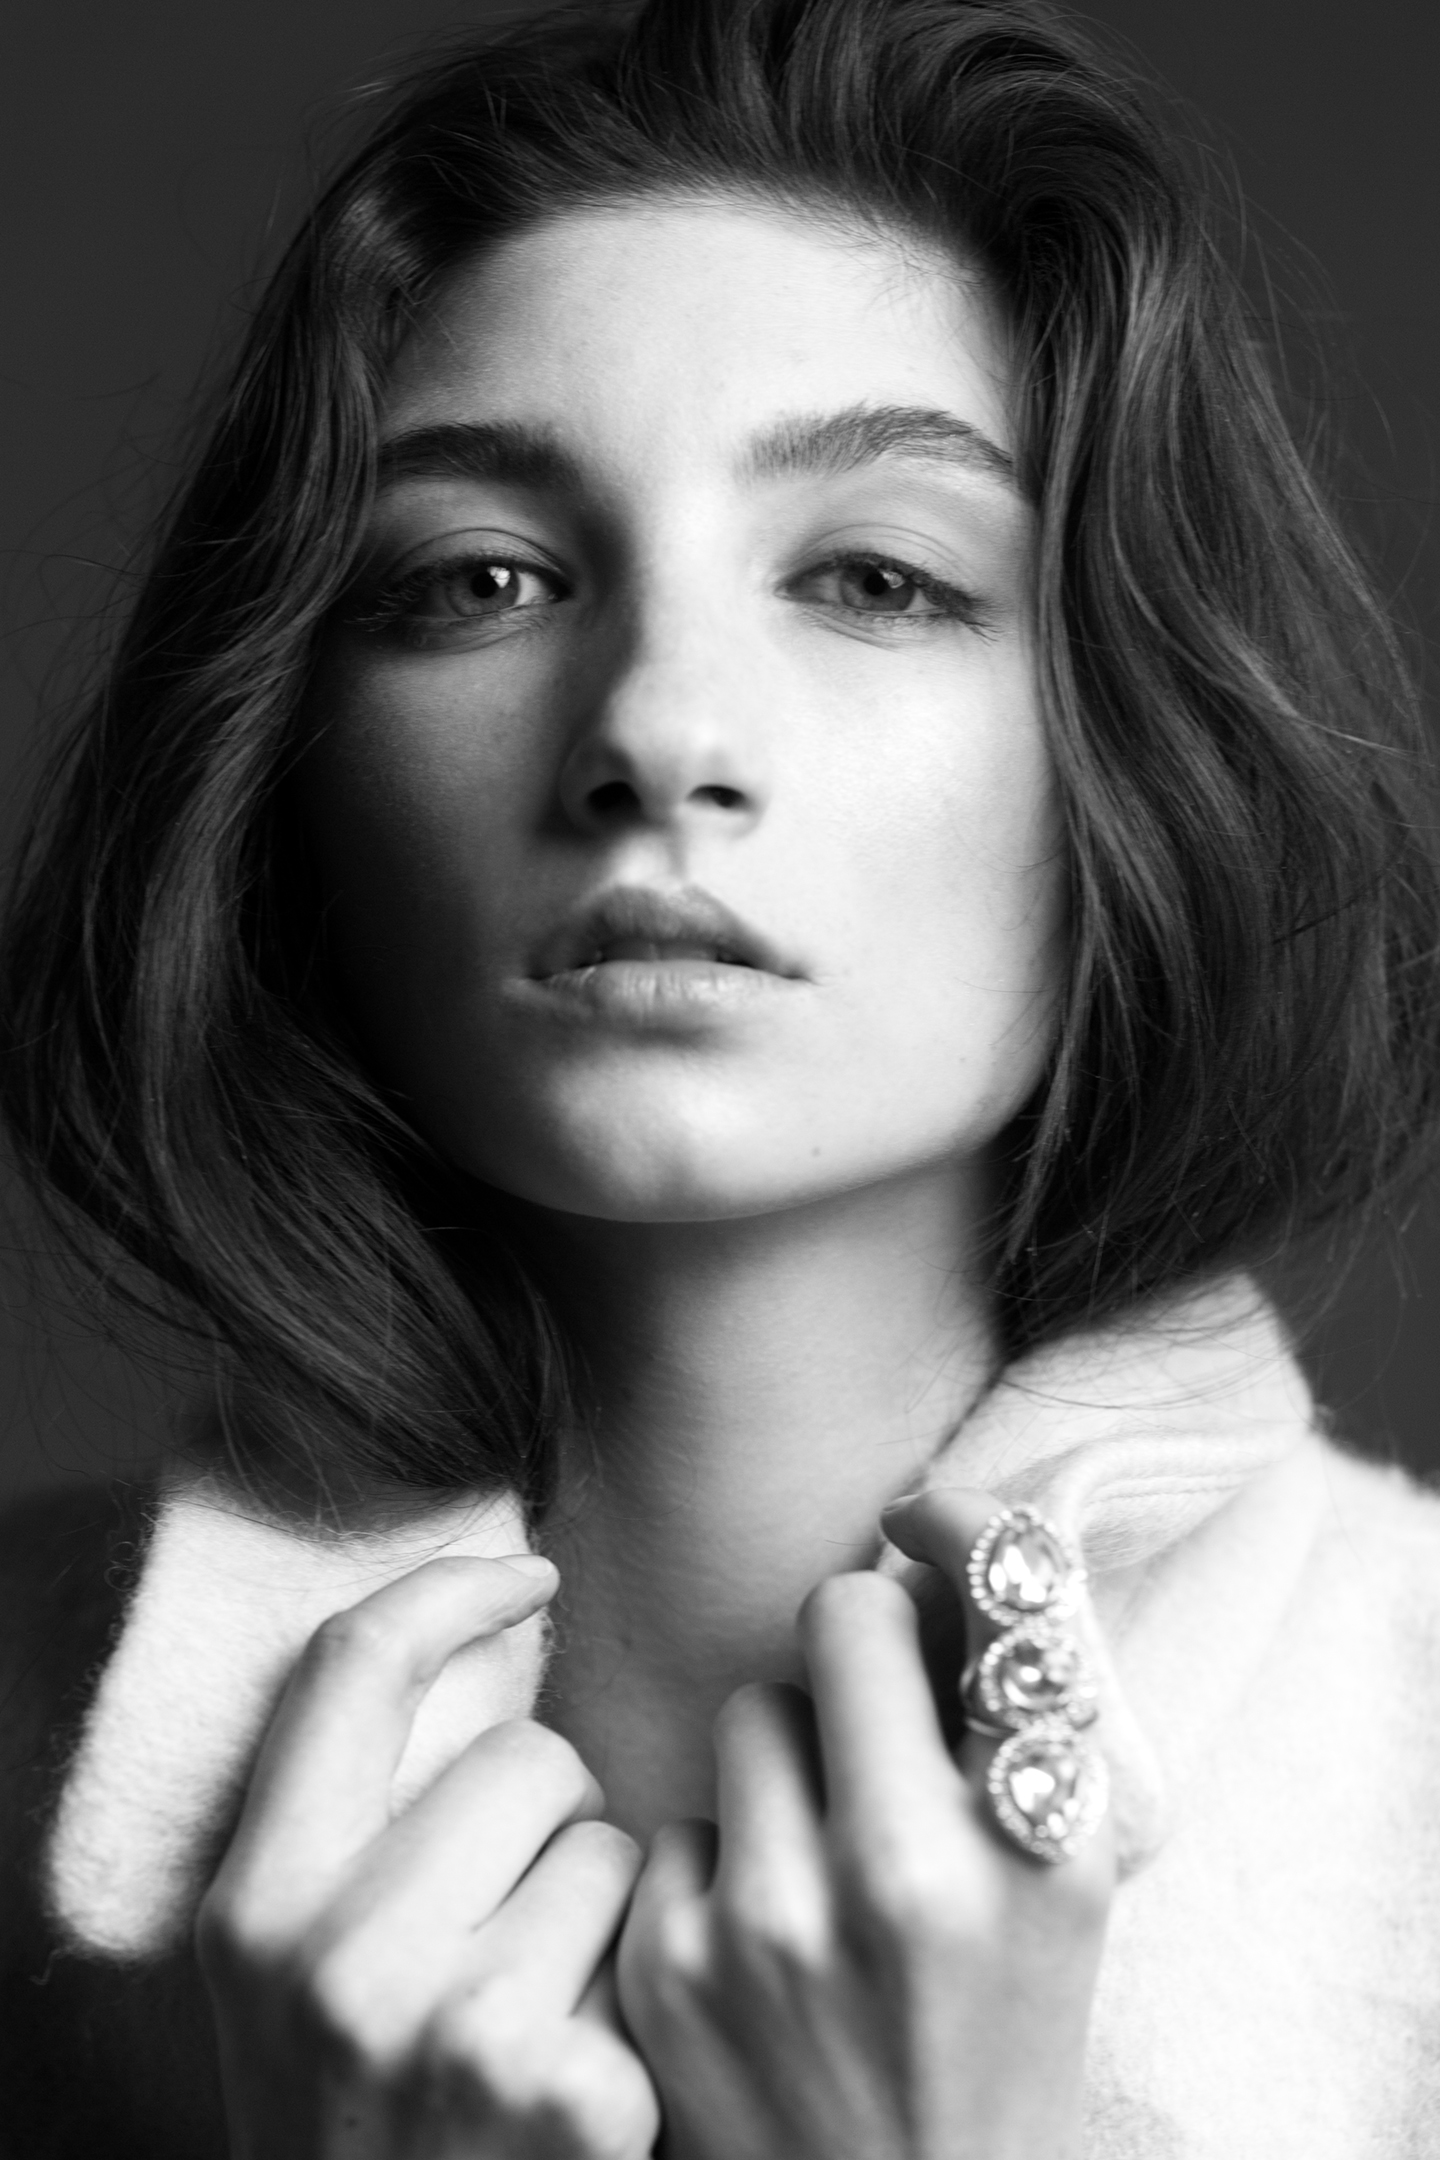
Gear Used: Canon 5D Mark III, Canon EF 85mm F/1.2L II USM Lens, Dracast LED500 S-Series Daylight 3-Light Kit
Tech Specs: ISO 250, F/2.8, 1/160th of a second.
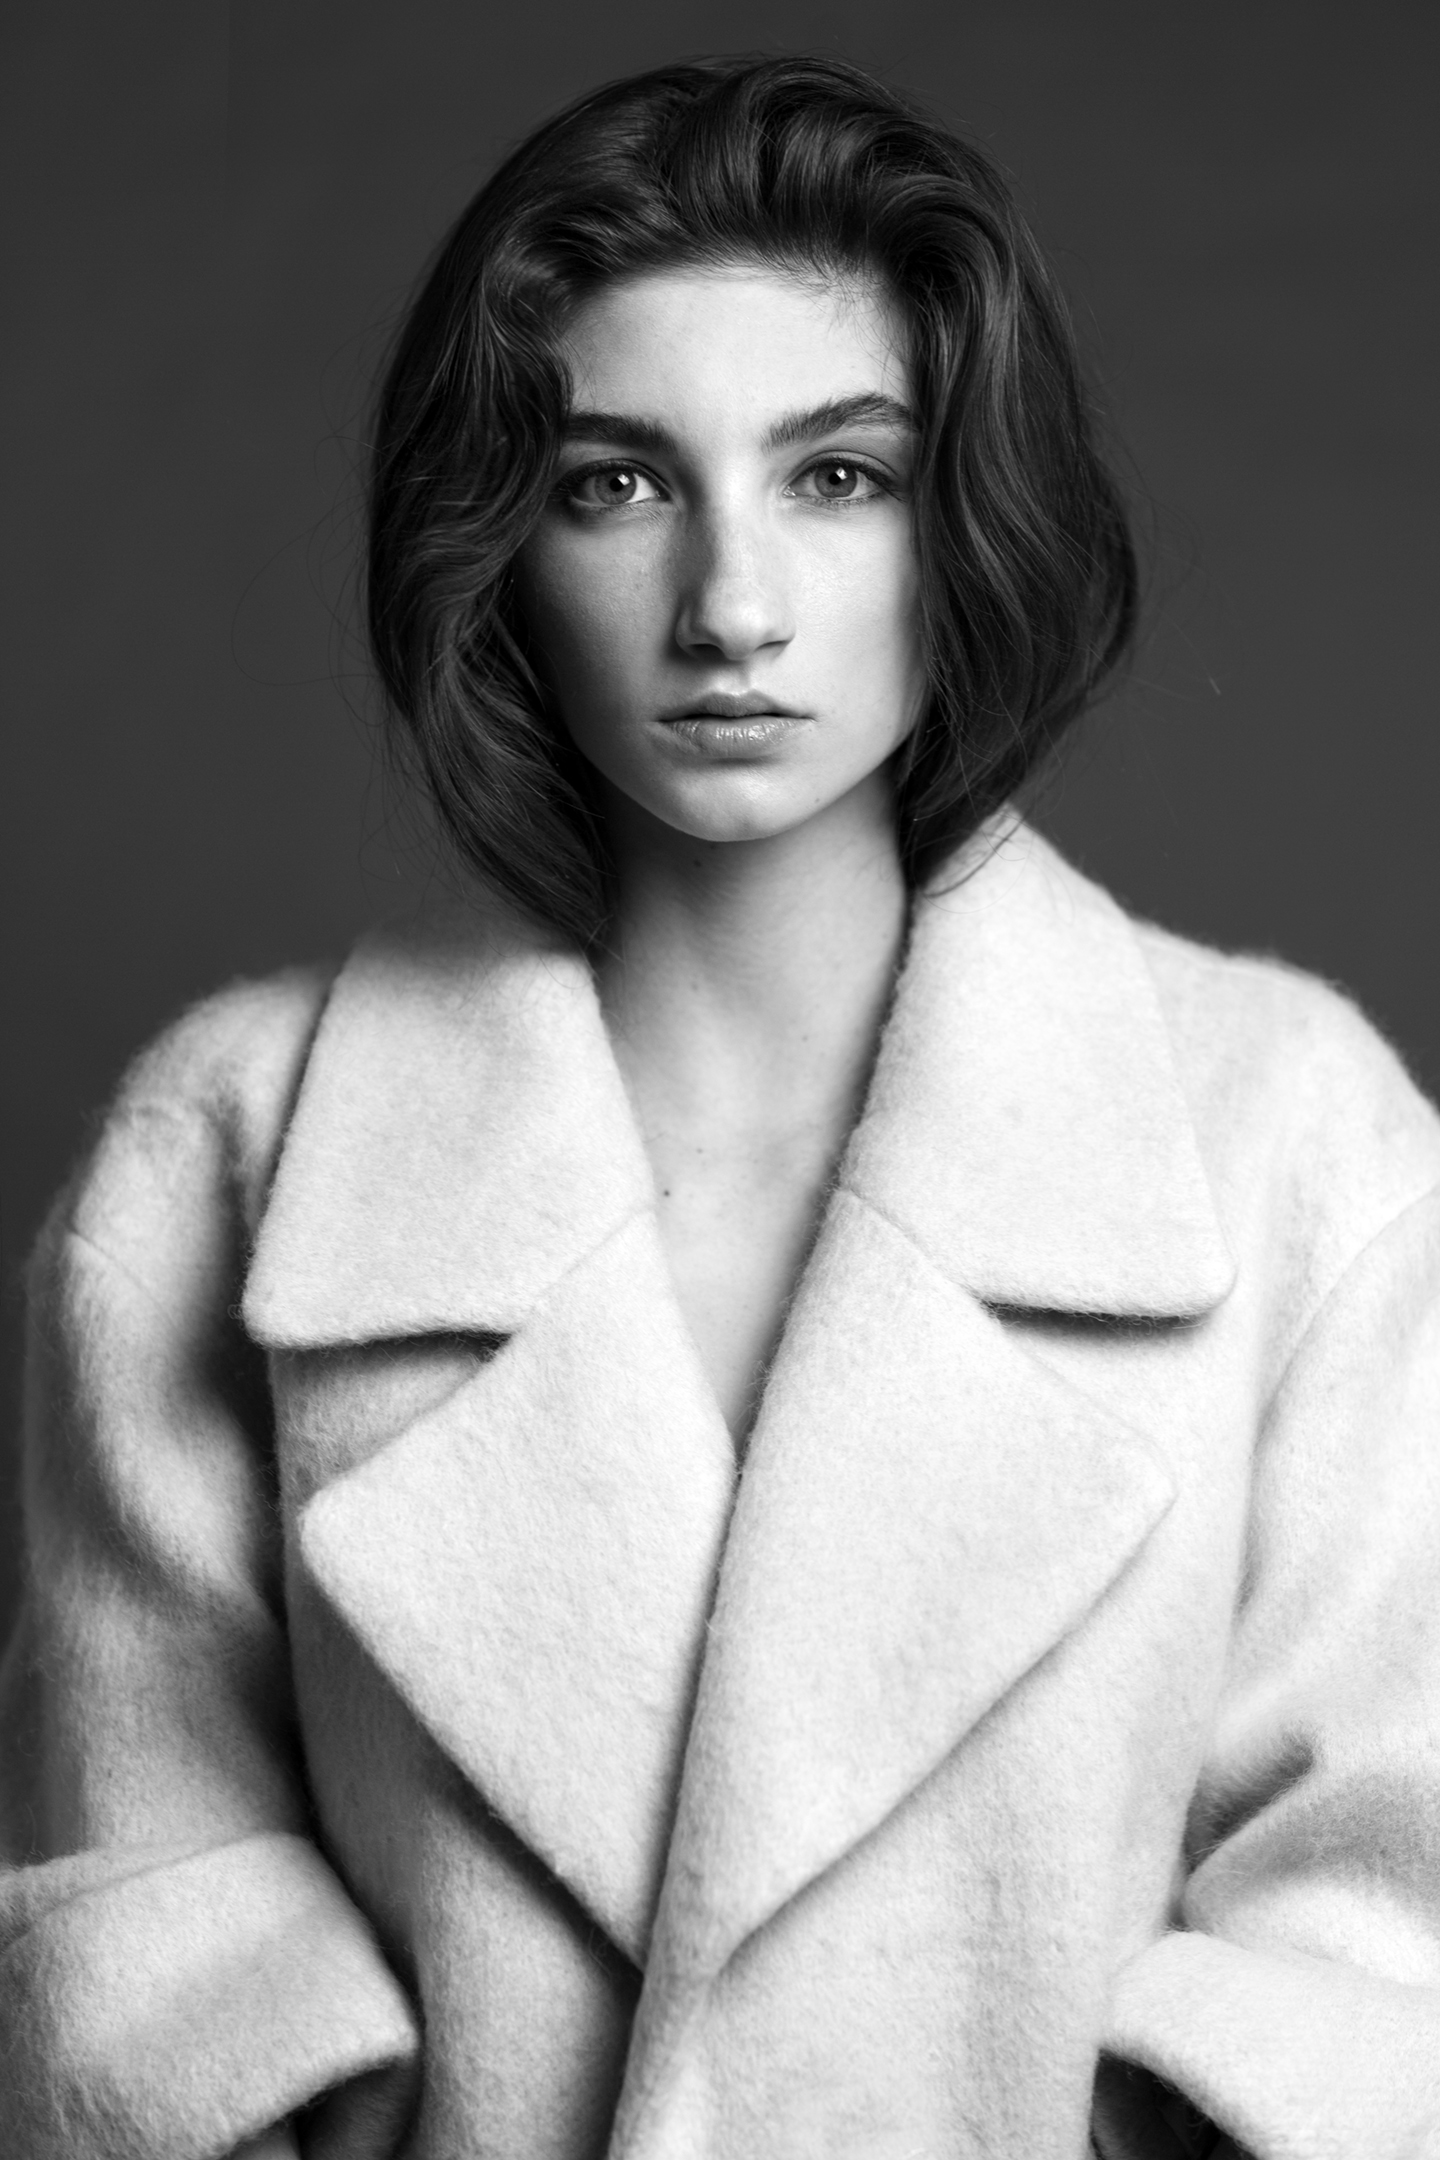
The panels can be set in various lighting patterns and ratios depending on the overall look and feel you are trying to achieve. For this particular shoot, two of the LED’s were paired together to function as a key light while the third panel functioned as a fill light which provided the overall soft and feminine look with a punch of contrast that I was after.
The first panel was positioned at a 45 degree angle to the right of the model and tilted down at a 45 degree angle. The second panel was placed slightly to the right and behind of the first panel. It was then raised a few inches higher which resulted in tilting it down at a sharper angle on the model. The third panel acted was placed at a 45 degree angle several feet back and to the left of the model.

Gear Used: Canon 5D Mark III, Canon EF 85mm F/1.2L II USM Lens, Dracast LED500 S-Series Daylight 3-Light Kit
Tech Specs: ISO 250, F/2.8, 1/160th of a second.
The three light setup adds a lot of versatility for different lighting setups and a fourth panel could easily be added as a hair light to provide more separation from the background. If the majority of your work is portraiture, LED panels are a solid lighting option and are probably best intended for closeups as well as half-body crops. Their ultra portability factor make it easy to setup shop almost anywhere, even in the smallest of spaces.


