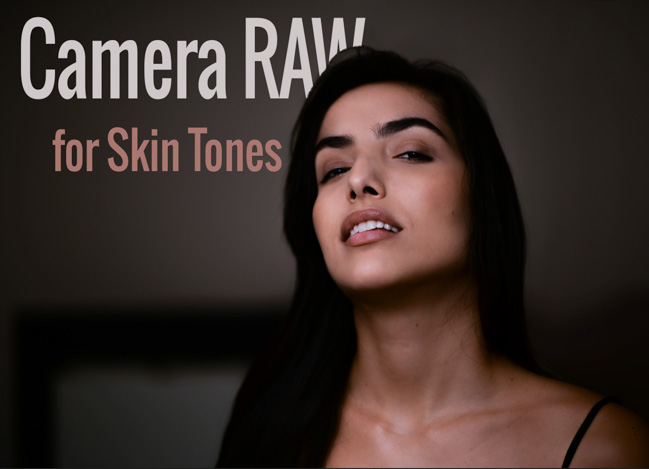

Each of us has some type of photography, that for whatever reason, as inexplicable as it may be to some, we gravitate towards. Sometimes, it’s not even the type of work we do to make a living. I actually know some aviation photographers who are utterly passionate about it, but on any given day, you’ll find them either crouched to the side of an altar shooting a wedding, or hunched over at their desk editing one. There’s an enormous piece of the SLR Lounge audience-pie that shoots weddings and/or portraits, and I hope the tutorial to follow, suits.
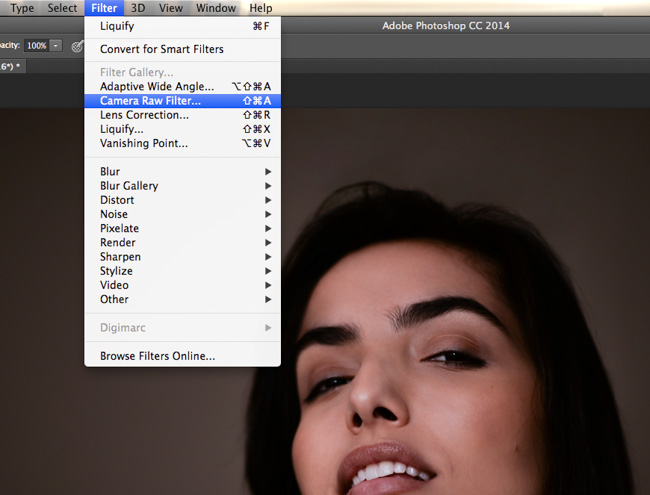
I love photographing two things: aviation, and people. But it’s people that really hold me as subjects, and luckily, they’re most readily available. Given the white balance issues that can arise in digital photography, never mind the host of other facets that affect color and tone rendition in an image, skin tone adjustments is something we generally always have to deal with. There is a veritable lucky-dip of methods to fix/adjust skin tone, and this is one of my favorites. I’ve only been using it for the past few months, but it is yet another reason I adore Camera Raw, and the ‘new’ Camera Raw Filter option in Photoshop which will let you easily open JPEGS and more in CR.
[REWIND: There Are Financial Benefits To Beauty – Shoot & Edit Accordingly]

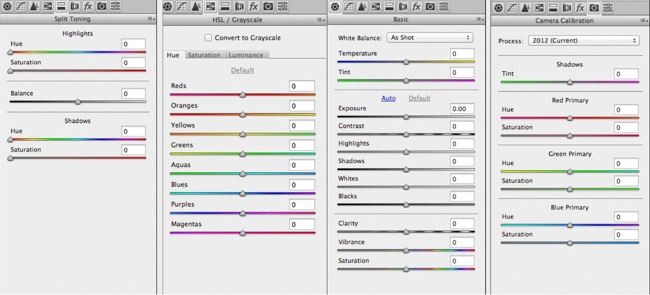
Camera Raw has a very similar slider panel set to Lightroom so if you’re a Lightroom user you’ll feel rather at home. Here are the primary slider panels we’ll be working with:
Slider Panels Within Camera Raw
Split Toning, HSL/Grayscale. Basic, and the little known and lesser used set under Camera Calibration.

Most people adjusting sliders will begin at the basic panel, and maybe adjust the temperature and tint, and then maybe move on to Hue and Saturation in HSL/Grayscale. I start at neither. I begin, most of the time, in Camera Calibration. I find that most of the skin tone errors I have, tend to be an overabundance of reds or magentas, and while there are those specific slider options under HSL/Grayscale, they tend not to be able to move the colors in the right way, in my opinion.
It should be noted that the use of these sliders at any point in the retouching process is fine. There are many times you may be numerous steps or an hour into your image and may decide you’d like to alter the tones, and this works well there. If starting from the moment you open the image you can use the dropper to find a better white balance all ’round, and then work from there.
Camera Calibration – The ‘Neglected’
Under Camera Calibration, I tend to use the Red Primary, and Blue Primary hue sliders to do the most impactful part of my tone adjustments. Even if you may not find it the most impactful, I find that the hues these adjust are the most difficult to adjust elsewhere. Typically, if there is too much red, I’ll pull down the Red Primary Saturation a little, and up the Blue Primary Hue. Having too much magenta, which is common, simply moving the Hue slider under Red Primary is often all you’ll need to see a drastic change. I may then desaturate a little, and up the Blue Primary Hue if necessary.

Split Toning
At this point, I have likely gotten rid of the overly red or overly magenta coloring and made the image a little too cool for my liking. A quick temperature adjustment in the Basic panel would warm it up with a more yellow/orange hue rather than red. Then going into Split Toning, I can up the Shadows saturation slider a few points, though typically I don’t, and then pick the appropriate hue from the Hue slider.

HSL/Grayscale
Lastly, since my first move may take out some red (lips in this case), that I may want back, I would go back into HSL/Grayscale and up the red slider in both the Saturation and Luminance tabs.

And that’s it. Here’s a comparison:
Before / After
In this example, you’ll notice the background and all over color and tone change in the final product, and this was desired. You may prefer to keep the adjustments strictly to the person(s) and a simple mask will allow you to do it. Duplicating the layer once more and using a mask will also let you, obviously, use the sliders to target one part of the face – perhaps to vamp up saturation and luminescence of the lips.


Of course, you can play around with it to achieve an artistic look, or add a particular mood to your image, and these sliders are more than capable of doing all of that too. I tend to always work with subtlety. I shot this with a Nikon D610 (review here), Nikon Sb-700, Nikon 85mm f/1.8, and a California Sunbounce Wall-Bounce which I’ll be reviewing later. So far so good though, as I shot this right out of the box, and enabled High Speed Sync.
All retouching I do to skin, since I’m asked so often, I use a WACOM Intuos Pen & Touch and you can see my review of it here, and its big brother here. I hope this shows that you can quickly, and very easily fix many of your skin tone issues within Camera Raw, and my last suggestion to you would simply be to be more subtle, and zoom out frequently to see just how apparent even the smallest changes can be.


Get Connected!