Digital artifacts are annoying, to say the least! For me, banding is one of the most frustrating issues. Within my product photography, banding is something I encounter all the time, and because of that, I’ve had to figure out what the best way of removing it is. Within this article, I’ll explain what banding is, how you can avoid it, and how to remove it.
What Is Banding?
Banding occurs either through editing or (more rarely) is an artifact you will see prior to any adjustments being made to your RAW files. The photo below is an extreme example of banding. I created a smooth gradient in Photoshop, lightened it using Levels, and then performed the opposite edit to bring it back. The result, as you can see, is anything but a smooth gradient. Instead, we are left with ugly lines which interrupt the tonal transitions.

Whether you edit in 8 bit or 16 bit (more on that later) there are a certain number of colors that Photoshop can display. If you’ve pushed and pulled your images, as we often do, it’s likely that there will come a point where Photoshop can no longer display a smooth transition from one shade to another. It’s at that point that patterns, like above, begin to appear.

It is possible to encounter banding straight out of camera prior to any editing. However, this is rare. So rare in fact, that I could not find an example photo from my own library. The best I could find is the photo you see above. The reason that this photo was more susceptible to banding was because of the very subtle gradient caused by the dense fog. The transitions in that area are so minute that even small amounts of editing caused it to appear.
[REWIND: PHOTOGRAPHY TIPS | ONE THING I WISH I KNEW WHEN I STARTED PHOTOGRAPHY: JERRY GHIONIS]
Banding can also appear after significant noise reduction or, as is so often the case for me, when creating gradients within Photoshop. I do this all the time with my product photography, and hence, banding is something I have come across time and time again. Wherever there is a subtle transition of color you’re in danger of seeing, or creating, banding.

How Can You Avoid Banding?
The first step, which I eluded to earlier, is to work in 16 Bit rather than 8 Bit. If you’re going from Lightroom to Photoshop, make sure that you go to Edit > Preferences and change the Bit Depth to 16 Bit. The reason that 16 Bit is superior to 8 Bit when it comes to banding is due to the number of colors it can display.
8 Bit = 16.8 million colors
16 Bit = 281 trillion colors
The difference between the two is gigantic. That’s why 16 Bit will give you a little more headroom as you push and pull your files, be that via exposure, color, etc. That additional headroom means that banding, while not impossible to create, will take longer to appear; especially if you’re only making minor adjustments.

Given that JPEG’s are 8 Bit files, the next tip may seem a little obvious: Shoot in RAW. If you’ve shot your images as JPEGs you cannot turn that file into a 16 Bit image. The info just isn’t there. Shoot in RAW and you’ll be far less likely to encounter the problem.
How Can You Remove Banding?
To remove banding we’re going to do something counter-intuitive. We’re going to add another artifact. One which you will all be familiar with: Noise. By adding noise (in the right way) we’re able to visually interrupt the banding. While this does not 100% remove the banding, it becomes far less discernible to the point that we barely notice it.
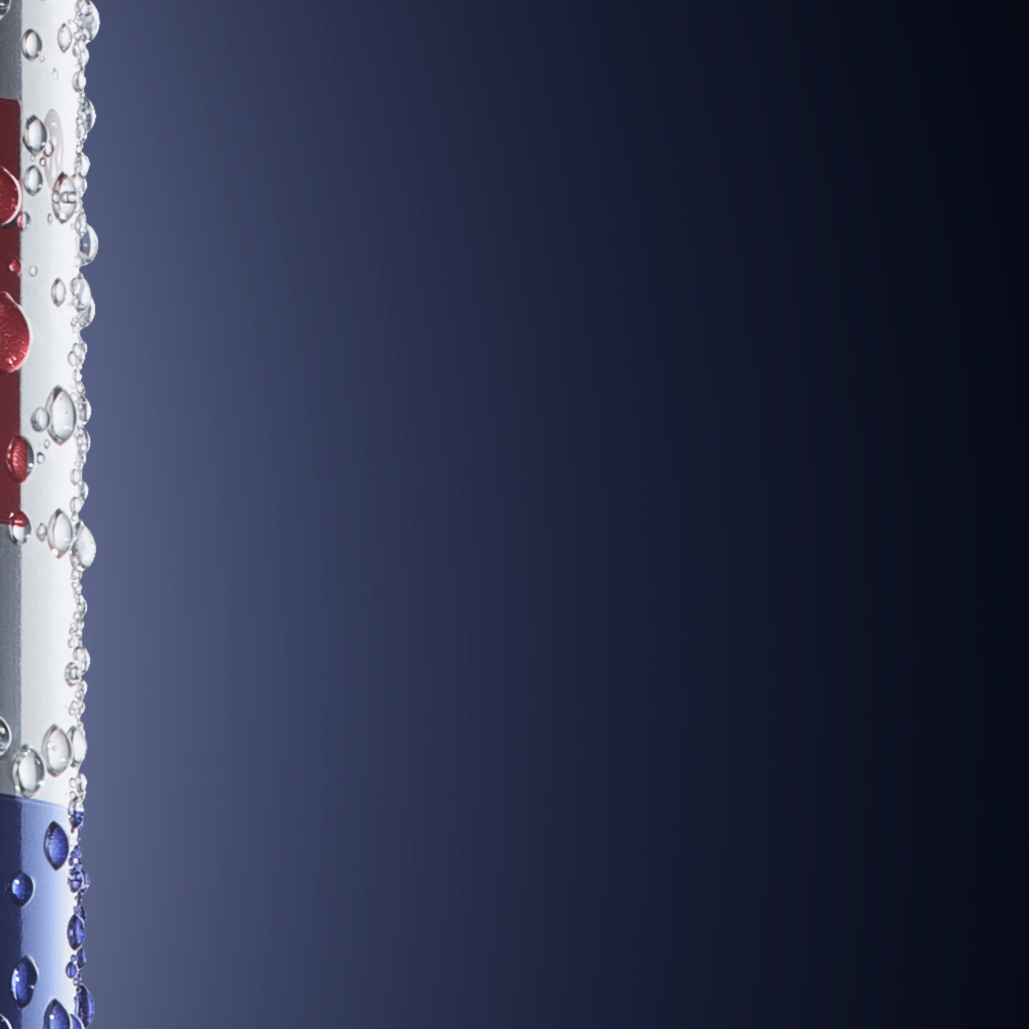
The photo above shows a banding pattern I’m very familiar with. It’s been created by me adding a gradient to a black background in Photoshop. To remove something similar to this, or to remove banding in any of your photos, follow these steps:
[REWIND: WHAT’S NEW WITH SLR LOUNGE | CHANGELOG]
1) If working with an artificially created gradient (like mine), duplicate that layer. If working with a “normal” photo, merge your edits onto a new layer. What we are doing could quickly become destructive editing if you don’t retain a backup. That’s why you MUST duplicate the layer.
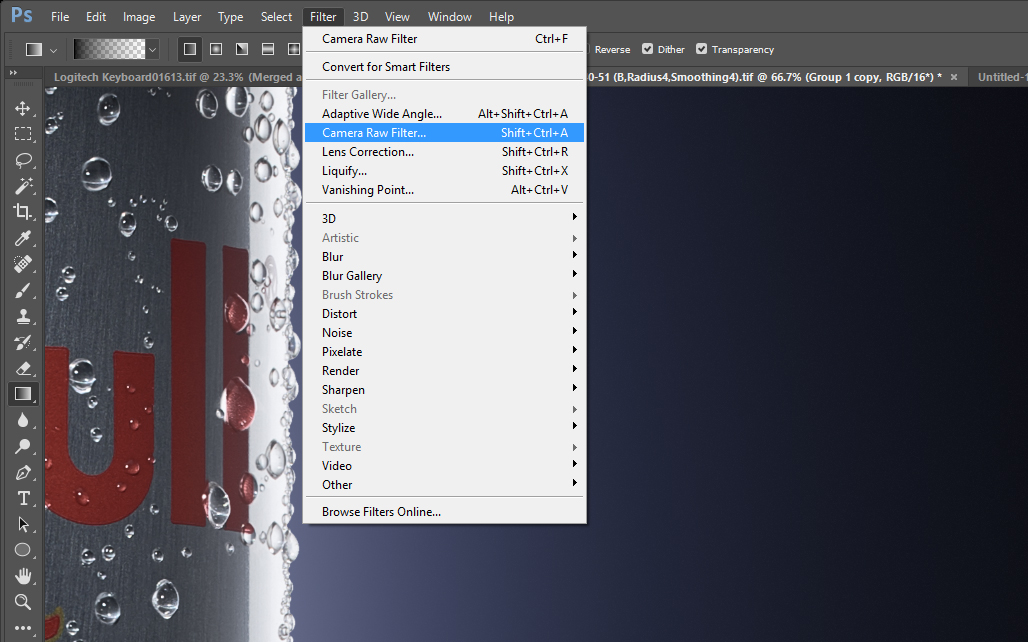
2) Go to Filter > Camera Raw Filter, navigate to the effects panel, and dial in whatever settings work. That statement is purposefully vague as different amounts of noise will be needed for different amounts of banding. In addition, as we are adding noise via the Camera Raw Filter, we have more control over its appearance and as such there is no “magic setting” which works every time. You’ll need to mess around and see what works.

3) An additional step is to add noise to the background layer. I’ve found that this, if it’s possible, can be a massive help and allow far less noise to be added in general. Of course, if your images are more conventional photos (not composites), then this step will not be possible. In that case, the Camera Raw Filter should more than suffice.
This technique is a variation on the most common method, to “Add Noise”, which I often see suggested. That approach usually suggests adding Noise on a separate, 50% gray layer. I have found that by doing so you need to add more Noise to get rid of the banding. I also find that by simply going to Filter > Noise > Add Noise, there is very little control, all you can do is decide between Uniform and Gaussian and select an amount.
Conversely, by adding noise in this way, you have more control over the look of the Noise and I often find less Noise is needed. After all, Noise is an artifact in itself and not something we want to add too much of.

Summary
The key to this technique is to apply the Noise directly to the layer which displays the banding and not onto a separate layer. The risk there, however, is to ruin your image. Therefore, I repeat, please duplicate the layer first. You could convert your duplicated layer into a smart filter (Filter > Convert for smart filters) but I tend to stay away from smart filters as they cause big edits to become very slow!
If you have any other pesky issues that always bother you, be sure to comment below. I love taking inspiration for articles directly from you.
For those of you who have not yet signed up to SLR Lounge premium, what are you waiting for? I’m amazed at how far SLR Lounge has come since I first started pouring over alldigital artifacts the articles it contained. SLR Lounge premium is the perfect development. I can’t tell you how much I would have liked it to be around five years ago. If you’d like more info, take a look here.


