
We’ve teamed up with Adorama to bring you a new series of photography tutorials called “Master Your Craft” to be featured on their YouTube Channel. Subscribe to see more of our videos on their channel throughout the next couple of months that will cover photography, lighting, posing, and editing education to help you hone your skills and master your craft.
Portrait Photography Posing Tips: Let’s Analyze this Shot!
In this episode, we are breaking down this couple’s photo taken just minutes apart in the exact same location with the exact same camera settings and edited with the exact same Lightroom preset. We will analyze the pose and timing to determine what makes the photo on the right more flattering than the left.
Let’s breakdown this image, section by section, to see just why one is more flattering than the other. These images were shot just minutes apart as the tide was rolling in at Laguna Beach, which is the first big difference that you can see that makes these images seem world’s apart but trust me it was just about waiting for the opportune moment. Before we walk through this, you’ll have to understand our C.A.M.P. Framework:
- Composition: What do we want our scene to look like? Where do we want the camera to be? What’s the angle? What do we want our subjects to be doing?
- Ambient Light Exposure: Choose the intention of the scene. Do we want a dramatic image (darkening the ambient light and using more flash) or do we want a softer image (brightening the ambient light and using a more natural power of flash)?
- Modify/Add Light: Are your subjects visible in the frame or do they need to be chiseled out? Do you need to add an additional light source?
- Pose & Photograph: Take your shot!
Composition: Walk the Scene

Put the camera down, walk the scene and scout out what angle and location work best for your shot. Being by identifying your light sources which will help you select an optimal angle that is flattering for your subjects. I got up a little higher to see what vantage point that would give me and it ended up being worth it – our final image shows the horizon line, tide pools further in the back and the entire ground of tide pools surrounding the couple. This gives us some room to allow water to come in either in the background or around the couple to add more interest.
Camera Settings: Maximizing Dynamic Range

For this shoot, we were using a Canon 5D Mark IV with a Sigma 24mm Art Lens. Since I am shooting wide and we have such a busy scene, I want to stick to a shallow depth of field, so I chose an aperture of f/1.4. Once we decide our aperture we can dial in our ISO to maximize dynamic range in our scene and make sure we are preserving all of the information in our shadows and highlights. With our ISO at 50, we can then dial in a shutter speed of 1/8000th. These settings, as you can see from the video, are identical in both images (both our test shot and our final image). But what else can make such a vast difference between the two?
Lighting: Finding Flattering Light

After placing our subjects in the desired location and dialing in our ambient light exposure we come up with a shot that looks like this. Although this image was shot in natural light, the sun is acting as our key light source which means there is still light direction to pay attention to. Right now the way the subjects are placed the sun is acting as a rim light, only highlighting one side or edge of their bodies.

Our secondary light source comes from the sky as a fill light, which fills blue light into the scene in the shadows and you can see some of that in the reflections in the tidepools. If you take a look at the video you’ll see we have a third light source – a sand-colored rock wall just to camera right that is acting as a bounce reflector, pushing out warm gold fill light. And just when you thought that was it, we have a fourth light source that is purely based on timing – the waves/tidewater coming in. The biggest difference between our first test shot and our final image is that the entire area was filled with water once the tidal wave came in which catches all three light sources and reflects it onto the couple. Now that we’ve clarified our light sources, what is the best way to pose the couple to give them the most flattering light? See our next section for portrait photography posing tips that best utilize our defined light sources.
Pose: What Makes the Difference?
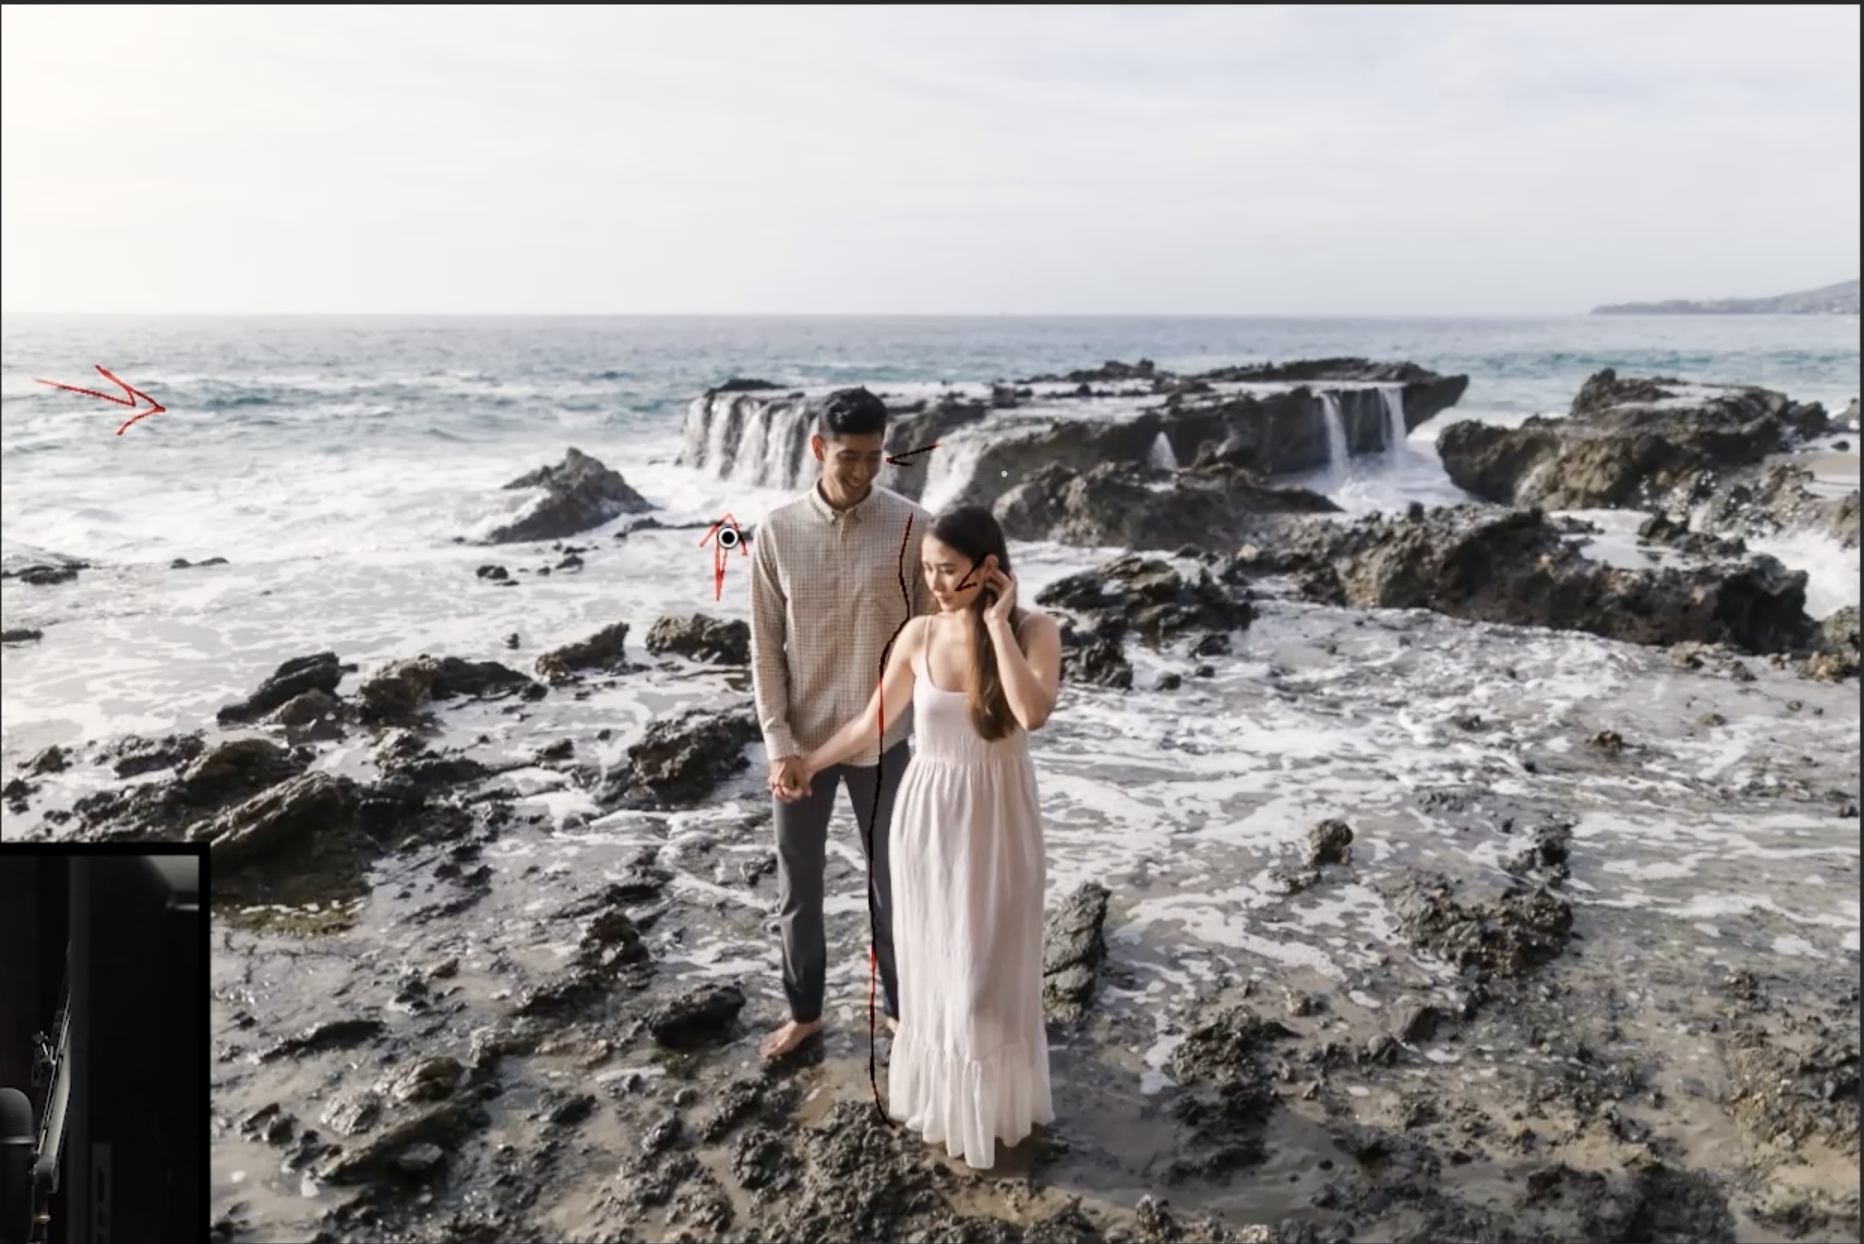
In a previous episode of ‘Master Your Craft’ we covered our Foundation Posing Framework, designed to give you 5 failproof foundational poses for any couple. Here we chose to do a stacked pose with her back in front of his chest so that the light mainly hits her face and body, separating her out. I go into more detail on the exact cues I gave her to get into this pose so make sure you watch the full video tutorial up above. For more portrait photography posing tips make sure you check out our Complete Posing Workshop or our FREE Couples Posing Guide.
Post Production: The Final Touch

We processed both of these images with the Visual Flow Modern HDR Natural Preset in Lightroom and you can use the slider to see that the exact same settings were applied but the timing of the wave coming in truly made the difference and gave the entire image a boost in brightness. There were no additional exposure adjustments so that you could see the true difference a pose makes.
We hope you enjoyed this video and lesson on portrait photography posing tips – catch our next episode of Mastering Your Craft on Adorama’s YouTube channel next Friday!


Get Connected!