We have been in this zone of creating professional training systems for SLR Lounge Premium, but we wanted to take it back to what originally started our love for this industry and we thought YouTube would be the perfect platform for a series we like to call “Back to the Basics.”
This series will focus on a set of challenges selected by our team here at SLR Lounge and audience participation. The goal is to create incredible imagery with any gear by using foundational photography education found in our Fundamentals Series.
Thank you to Canon for sponsoring this video/project.
Episode 1: Nighttime Portraits With Just A Phone Flashlight
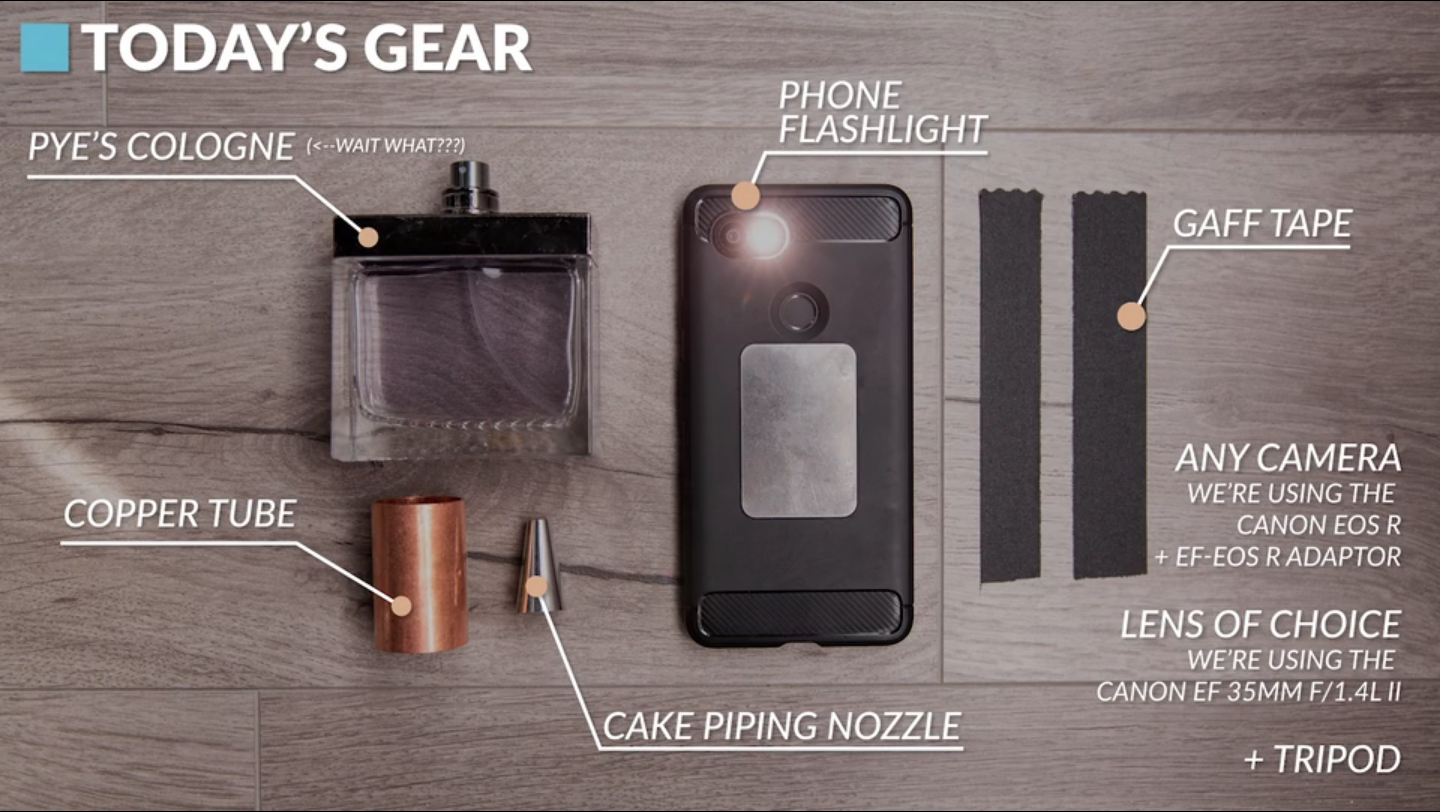
In this episode, we will only be using a phone flashlight to light our subject. Shiv restricted me to picking one camera, one lens, and a tripod to create these portraits, but I managed to sneak in a couple of tools.
The Gear
Camera: Canon EOS-R
Lens: Canon 35mm f/1.4 with EOS-R Adapter
Modifiers:
- Copper tube
- Icing tip
- Gaff tape
- Pye’s Cologne
- Any phone flashlight
- Manfrotto Nanostand
Location #1: Dental Office
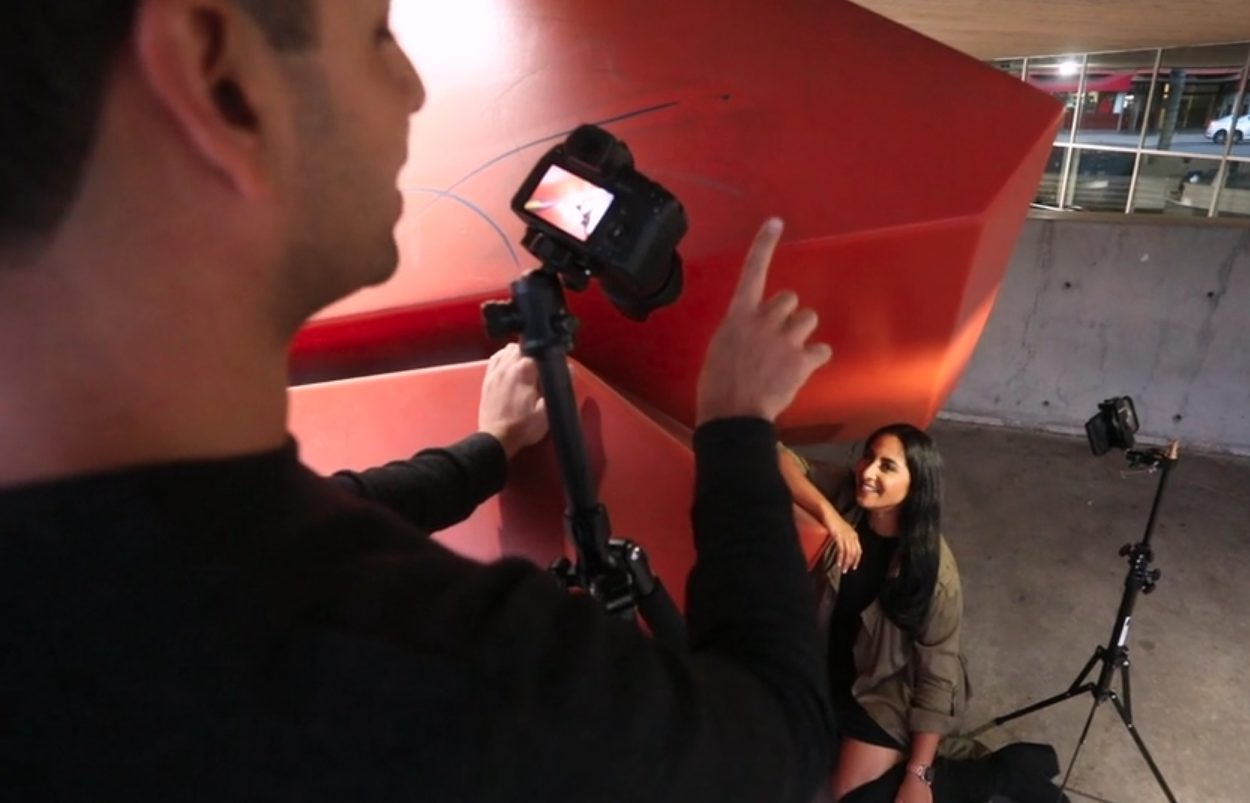
While driving around we noticed a large red sculpture in front of a dental office which had an overhang with interesting lines. This was the perfect place to start our shoot because the overhang provided some much-needed shade as it was still bright outside.
“Shape of Shiv”
For our first shot, I had Shiv sit down low and placed the phone onto the stand and lit her from camera right. She’s sitting down low so that I can then position the camera to shoot through the lines of the sculpture. Our phone flashlight is producing an adequate amount of light to be our key light source yielding our very first portrait in the series:
“Slice of Shiv”
For the next shot I noticed when you looked through the sculpture, there was this beautiful diagonal opening where we could place and frame Shiv. The tricky part was that the lights on the overhang were casting a bright light on the outside of the sculpture and I only had one lens to work with. This is where the EOS-R’s cropped mode became quite useful. Keep in mind. the cropped mode crops down the resolution to around 12MP, compared to the full 30MP file, however, it is still helpful as a compositional tool when you intend to crop in post. Here is the final image:
“The Executive”
Before leaving the dental office, I wanted to utilize the leading lines of the ceiling overhang. I placed the camera down low and am still using the 1.6 crop mode to get the right composition. I place Shiv over one of the lights in the scene to create a natural vignette and then use the flashlight to light paint using a 1″ second exposure down the side of her body.
Location #2: Parking Structure
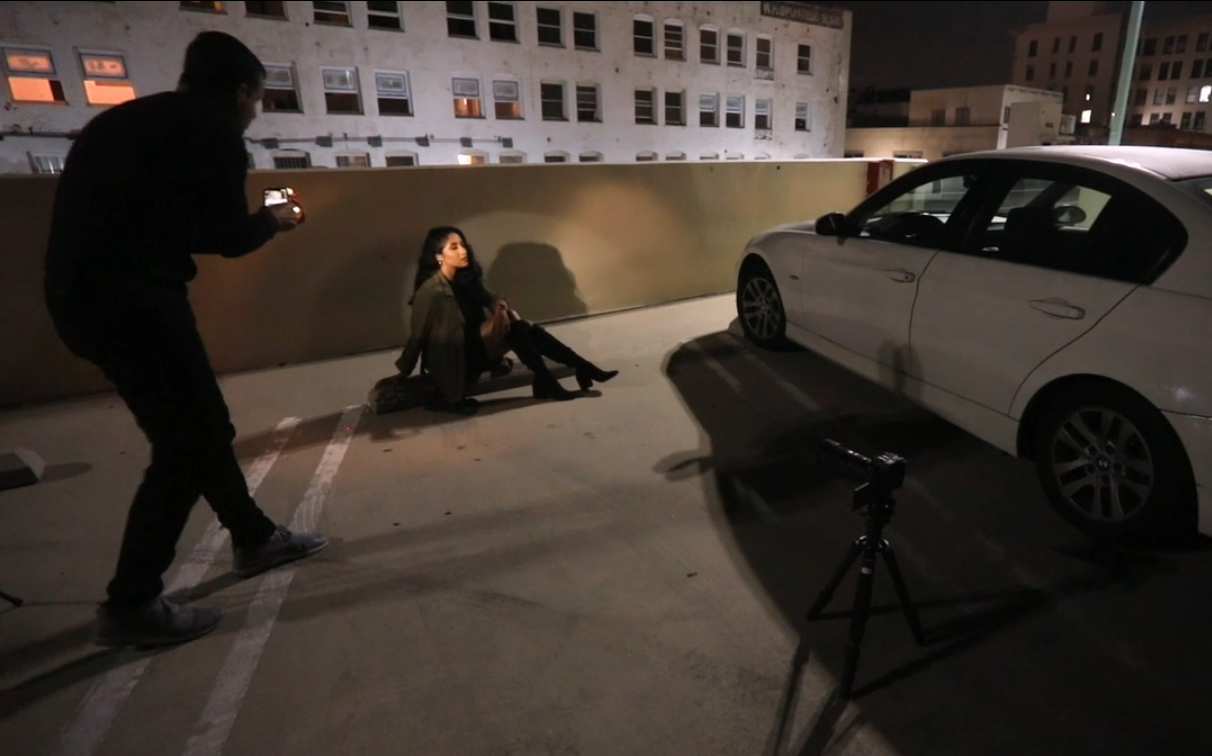
Next, we came to a parking structure and on the rooftop, we had these walls that we could use that helped provide a solid backdrop for Shivani. I placed her against the wall and used the copper pipe to lend imperfections and shapes to the phone flashlight.
“Copper Spotlight”
Often times I feel that a less-than-perfect light is what makes images dynamic and interesting to look at. The copper pipe not only shapes the light into a circular pattern, but it also gives me a beautiful hotspot which I can place right over here eye to draw attention into it.
“Light Painted Diva”
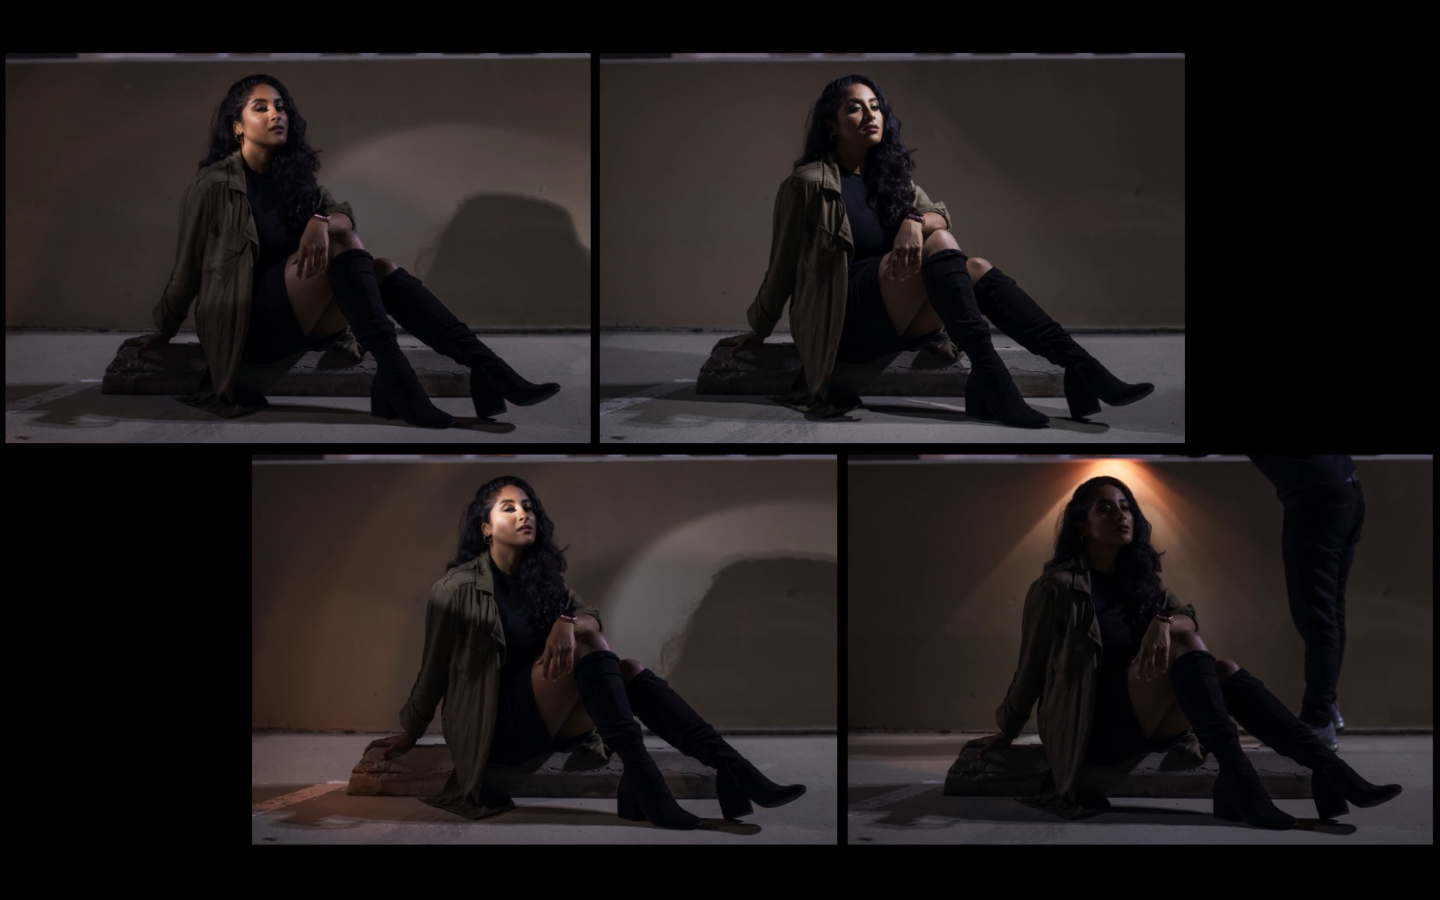
For the final shot in this scene, I use a technique of light painting that’s quite handy when you only have one light but want to create a shot that has multiple light sources. I use the light on the background and on Shiv to create 4 differently lit shots:
Shiv has to remain very still even with our camera on a tripod because what we do with these 4 images is combine them on Photoshop and simply mask in the light where we want it to appear.
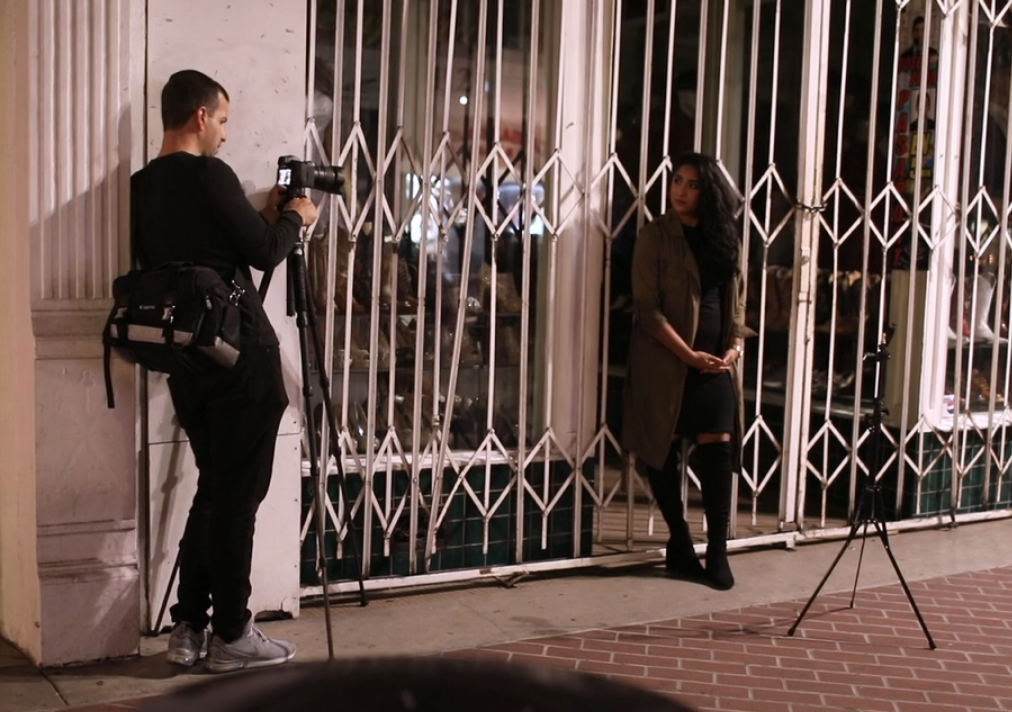
Location #3: Closed Storefront
For our next location we selected this closed storefront, and in particular, we found the fencing to be an interesting compositional element, especially when you shoot from the side and use them as patterns that lead into your subject.
“Dash Of Cologne”
To create a more interesting and dynamic light pattern, I am actually holding the cologne bottle over the flashlight to create streaks of light that I positioned directly over Shiv’s left eye.
“Icing on The Cake”
In the same scene, we adjust Shiv’s pose and position to lean against the fencing. Grabbing a frosting tip and some gaff tape, I make a snoot for the phone flashlight, creating a very controlled light. I dialed down the power of the flashlight because I wanted this scene to be very bright. My shutter speed is at 1/20th of a second, f/1.4, and ISO 800 to let a lot of light in. The makeshift snoot adds a kiss of light that draws our viewers attention into Shiv’s face and features.
Location #4: Loan Shop
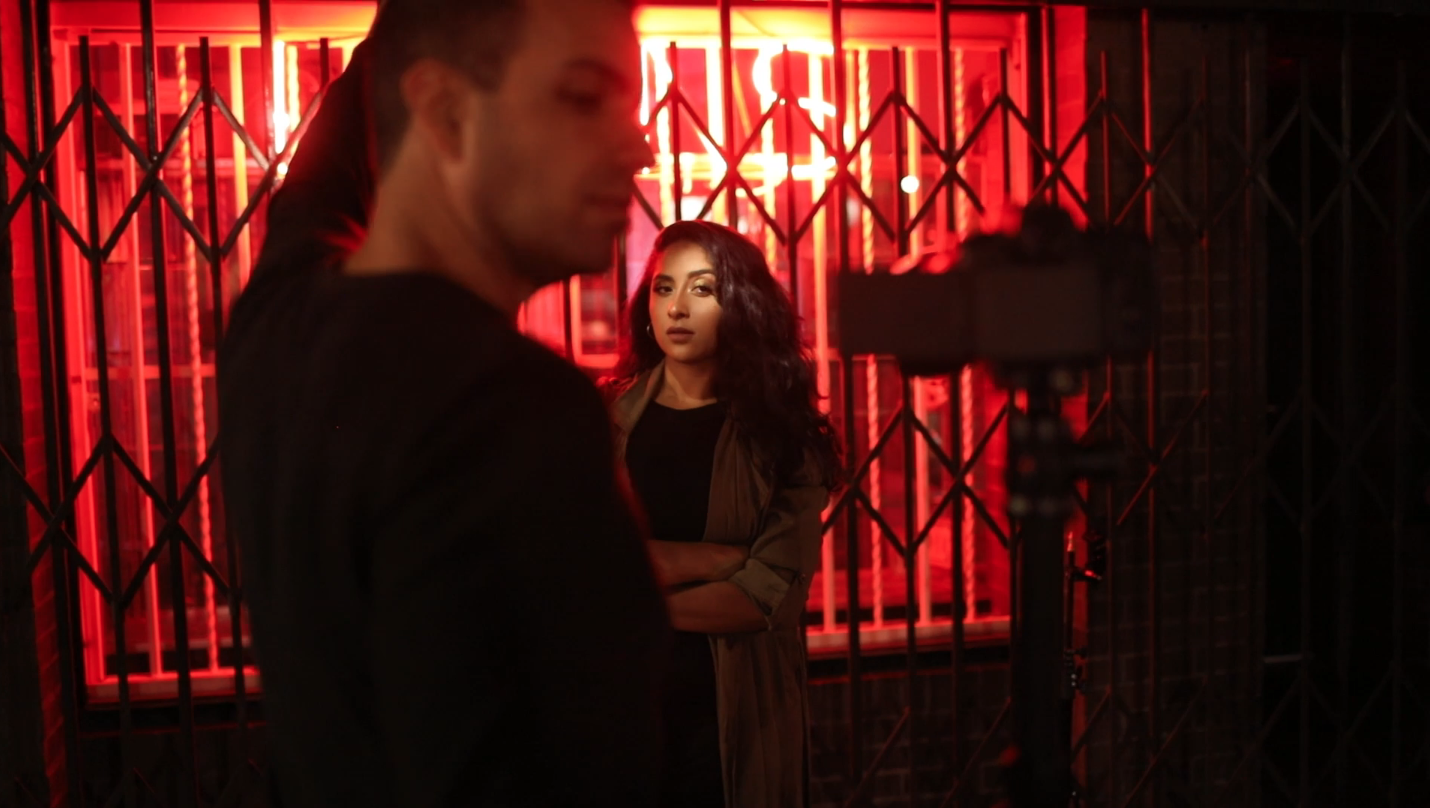
For our very last shot, we found this great loan storefront with this neon red loan sign that created beautiful light in our background and wraps Shiv’s head and body.
“THE Loan Shark”
We placed Shiv in front of the sign and gave her a strong pose to match the dynamism of the scene. I pulled out my trusty snoot for my flashlight to add a punch of light to brighten Shiv’s face up and clear the red off her face. Here is the final result:
If you enjoyed this video and want to see more like it please let us know in the comments down below. If you would like to see a specific piece of gear or have an original idea for our Back to Basics series comment down below!
This is video is sponsored by Canon.


