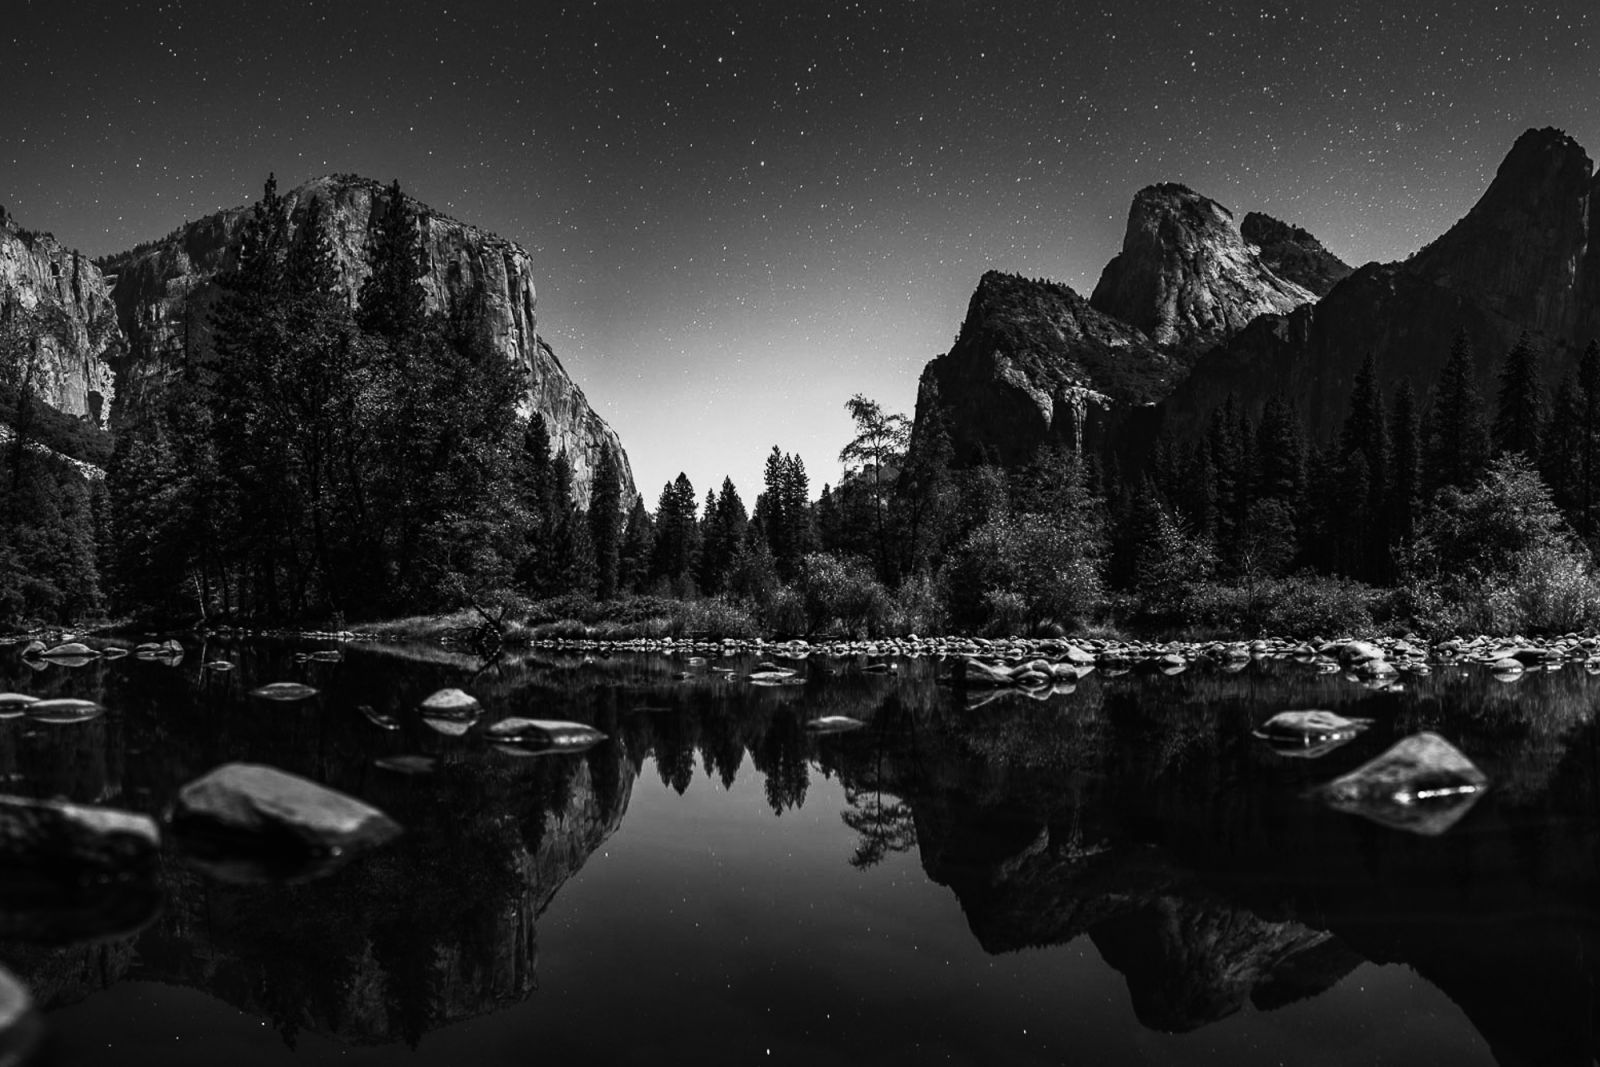
Have you ever captured a set of panoramic images, only to find that the results were wobbly and distorted? In this video tutorial, we’re going to demonstrate one simple way to correct distortion in a panorama.
The sample image we’ve chosen to use has a very well-defined reflection, so even though it is an outdoor landscape image with no straight lines, it still requires that all elements in the photograph be vertically aligned. Watch the video, and continue reading below for additional tips and details!
How We Shot It – Camera Settings
Camera: Nikon D750
Lens: Sigma 35mm f/1.4 Art
Settings: 15 sec @ f/2 & ISO 1600
The individual images were created with the camera in vertical orientation on an Arca Swiss style L-bracket, mounted on a traditional ball head with a separate panning knob, and a big, heavy tripod.
(Whenever I am taking pictures within a mile or less of my vehicle, I prefer to lug around my oversized, 7-pound Slik 700DX tripod because it really helps keep the camera steady especially when creating multi-image panoramas. Although a lighter, smaller tripod is also capable of sharp results, a big heavy tripod makes sharpness easier to achieve).

Unfortunately, as you can see, the images from the left and right edges of the frame have quite a strong slant to them. This was due to the difficulty of getting the tripod perfectly level on slippery rocks over running water, plus the fact that it was late at night, and I was rather sleep-deprived!
However, I knew in advance that I probably wasn’t even going to keep the edges of the composition; I only wanted to create a clean 2:3 ratio horizontal scene.
If you’re very serious about panoramic photography, you can purchase all kinds of panorama tools that allow you to perfectly level your shots, calculate your camera movements carefully, etc. Personally, however, I simply don’t do panoramas frequently enough to warrant spending hundreds of dollars on equipment.
Creating A Panorama In Lightroom CC
Creating panoramas (and HDRs) inside Lightroom has never been easier! Lightroom is now capable of taking your raw (CR2, NEF, ARW, etc.) files and converting them into a single, merged DNG file that retains all of the raw editing of the original file.
Simply select all the raw, unedited files that you’d like to turn into a panorama, double-check to make sure they have a lens profile applied if desired, and then right-click the images and go to Photo Merge -> Panorama. Or you can just use the hotkey Shift-M.

Usually, either “Spherical” or “Cylindrical” will work best. The “Perspective” option has a tendency to perform excessive, extreme corrections to your images, especially if you are using a wide-angle lens.
The resulting image is a DNG file that looks something like this:

Let’s edit the DNG file quickly using the SLR Lounge Preset System. For night shots with a full moon shining, I really like the SLR Lounge Preset “HDR Vivid Color”. If the panorama didn’t need any warp correction, the post-processing could be done with that single click!
Since this image is unfinished and still needs some serious warping in Photoshop, I will opt to turn down the contrast just a bit, to ensure that no highlights or shadows are clipped. If necessary, we can add just a touch of contrast once the PSD / TIF file is done being warped.
Colors are definitely better off being fully edited in the raw conversion, however, so I’ll tweak the white balance temperature and tint until they look right. For nightscape images, I often prefer a slightly bluer temperature, because it makes the scene actually feel like nighttime.
Using Puppet Warp To Straighten A Warped Panoramic Image
Once the DNG panorama has been edited to taste, bring it into Photoshop by hitting CMD-E or CTRL-E. Once in Photoshop, the tool we want is found in Edit -> Puppet Warp.

Personally, to aid in aligning vertical and horizontal points, I like to hide the mesh visualization, and instead, show a standard grid pattern by hitting CMD-‘ or CTRL-‘ (apostrophe).


The process itself is rather intuitive: drop pins on recognizable points that you know need to be aligned vertically, or horizontally. Then, using the grid visualization, click and drag the various pins to align them!
Sometimes you may only need to use 2-4 pairs of vertically aligned pin-drops, depending on how long and skinny your panoramic composite is.
The more pins you drop, the more each edit may negatively affect other parts of the image, so don’t drop any pins that you don’t need.

With just a few minutes of work, we can get the scene looking perfect. Hit enter to apply the Puppet Warp adjustment, and the add a Curves adjustment layer in Photoshop if you like, or save the PSD / TIF image back to Lightroom for a faint curves or contrast bump. Crop your final result to taste, and you’re done!

Yes I know, this image could have been a single exposure using the new Sigma 20mm f/1.4. The photo was captured before the 20mm Art was announced.
As always, this is just one way to do something in Photoshop, and Adobe has a nearly infinite number of options when performing simple corrections such as this. If you have any questions or tips of your own, please feel free to comment below! Also, don’t hesitate to share your own before and after images in our new critique section, or in our Facebook group.


