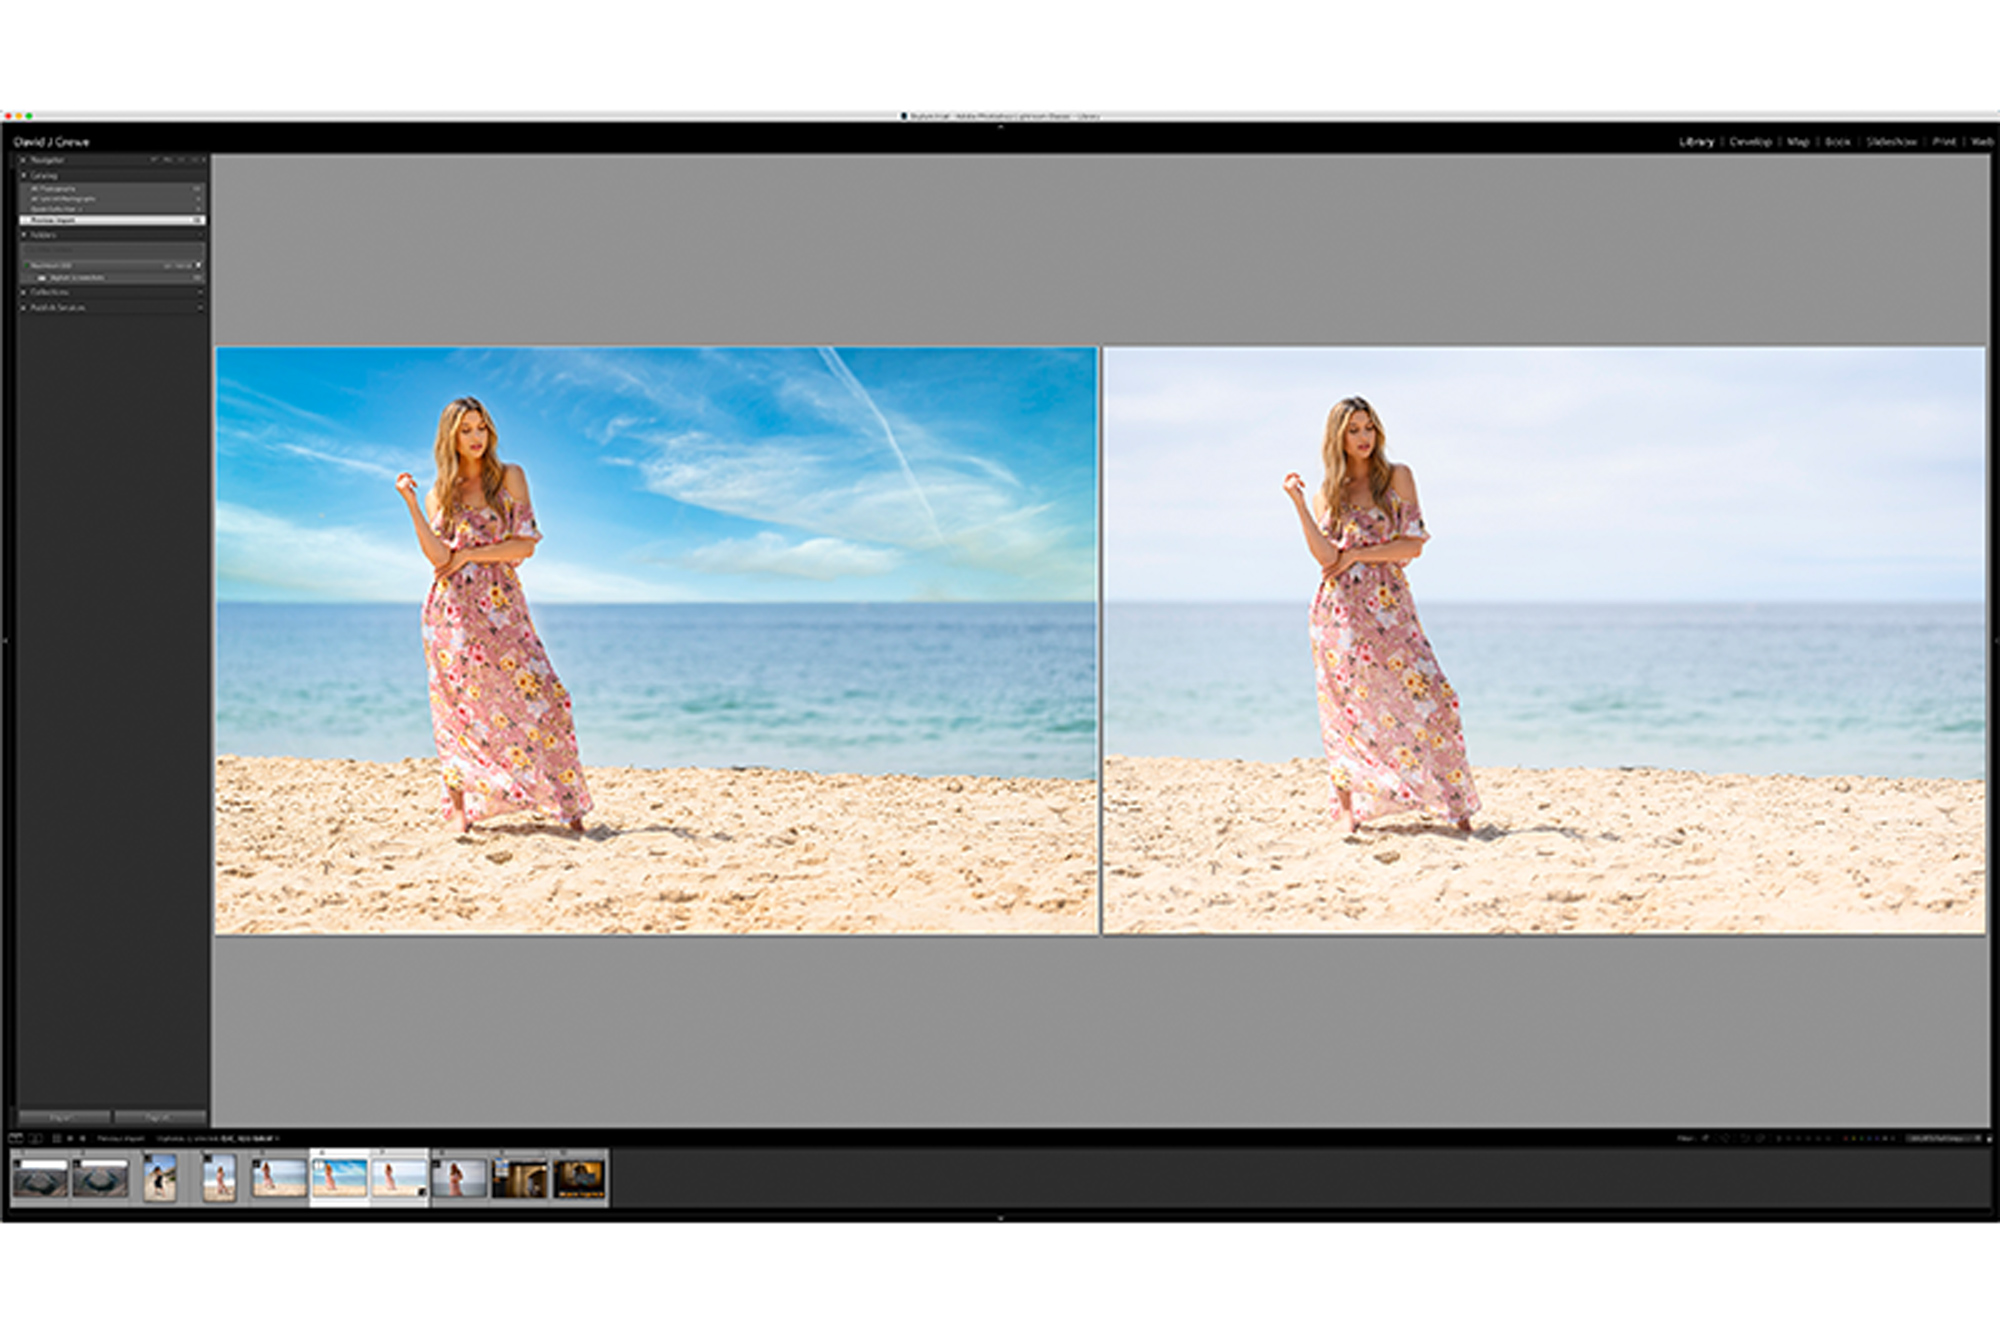
Skylum Software launched the much-anticipated update for their flagship software, Luminar 4. Why was this so buzzed about? It’s largely due to the AI enhancements that were teased for so long, including the Sky Replacement and Retouching Automation.
One of the things I love about this application is it can be used as a stand-alone editor, effectively replacing the subscription service of other apps, or you can use it as a plugin within apps like Photoshop and Lightroom Classic, allowing you to do all the things with ease and simple clicks that you either can’t do or are too complicated to do in the time you need by just using the other apps alone.
Most of us have used Lightroom for years and we’re intimately familiar with it. It’s become a part of our workflow on an unconscious level. Migrating over to something new can seem scary and intimidating. And even though you can, you don’t have to right away. Use the app for a while and maybe you’ll get to the point where you can abandon your subscriptions; for now, though, we’ll just use things as we need them. You can load up images directly (raw) using Luminar as the catalog tool, or you can use your Lightroom as usual and then send the file to Luminar to do all of your heavy lifting.
For this post, we’re gonna stick with what we know, using Lightroom as our main library tool, and then load up an image from LR to Luminar to do our editing. Read below for the ultimate Lightroom Luminar Workflow.
Get all these options bundled with Luminar 4:
- Amazing Planets Sky Pack ($49)
- California Sunsets Sky Pack ($25)
- Aurora HDR ($99)
Lightroom Luminar Workflow
Installing The Application & Plugins
For the purpose of this write-up, I’ll assume you’ve never used or installed Luminar before. We’ll start from scratch. First, you’ll obviously want to download and install Luminar 4. At some point during the installation of the application, you may get prompted to install the “plugins” for apps on your computer, such as Adobe Photoshop, Photoshop Elements, Adobe Lightroom Classic, and Apple Aperture. If you missed this step, don’t worry. Just open up Luminar and hover over the main dropdown menu to find the option to install plugins. Just open that option and select the applications you’d like to have Luminar installed in.

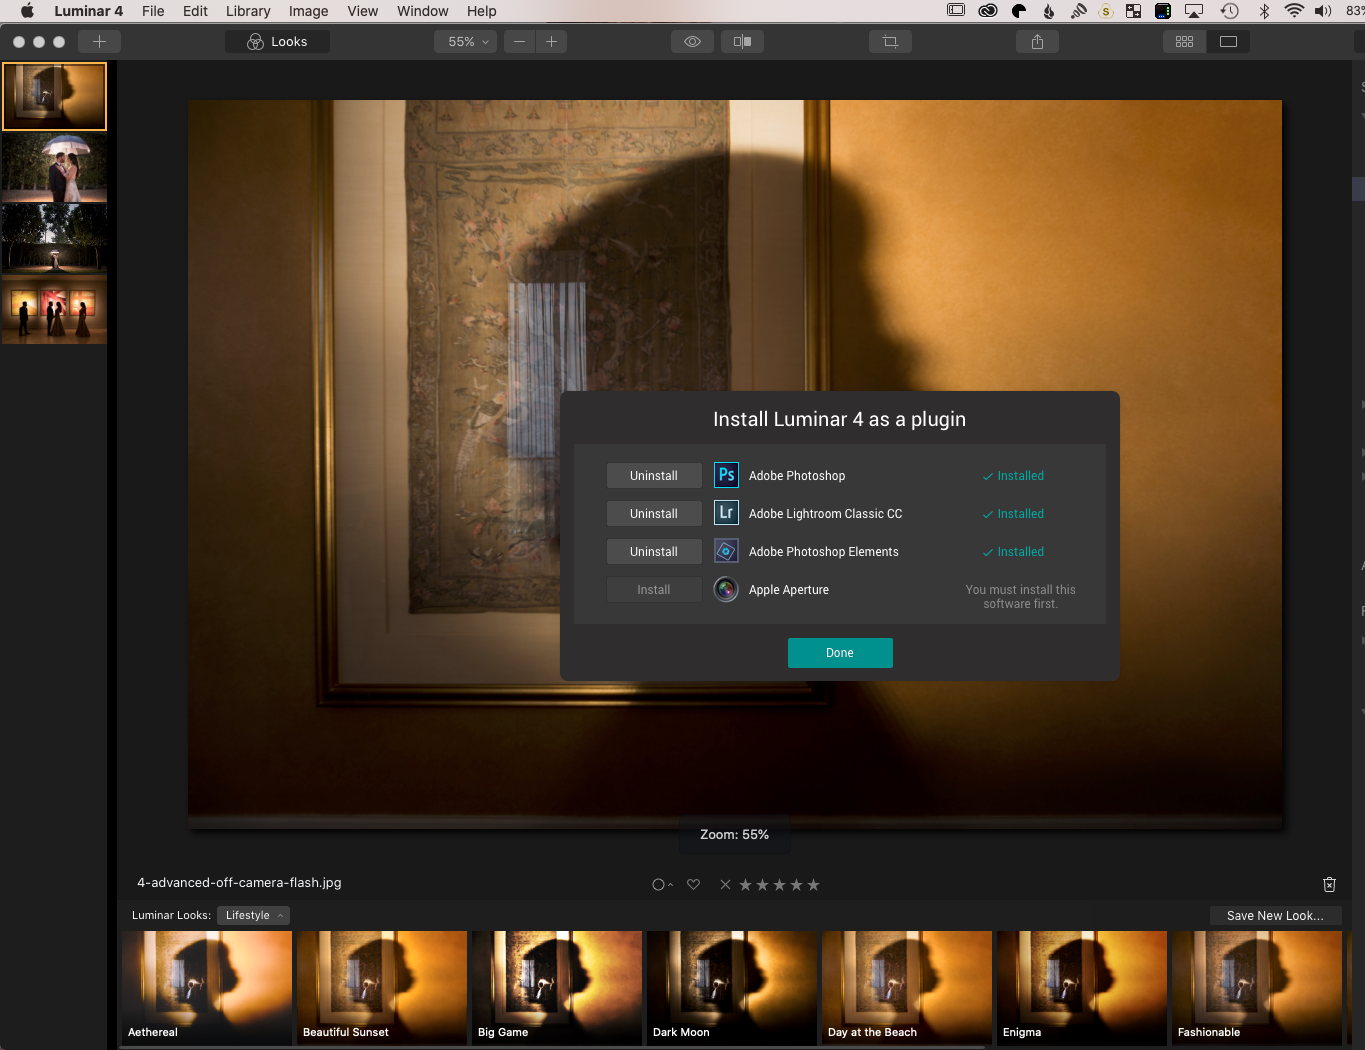
The Install’s done; now let’s get started!
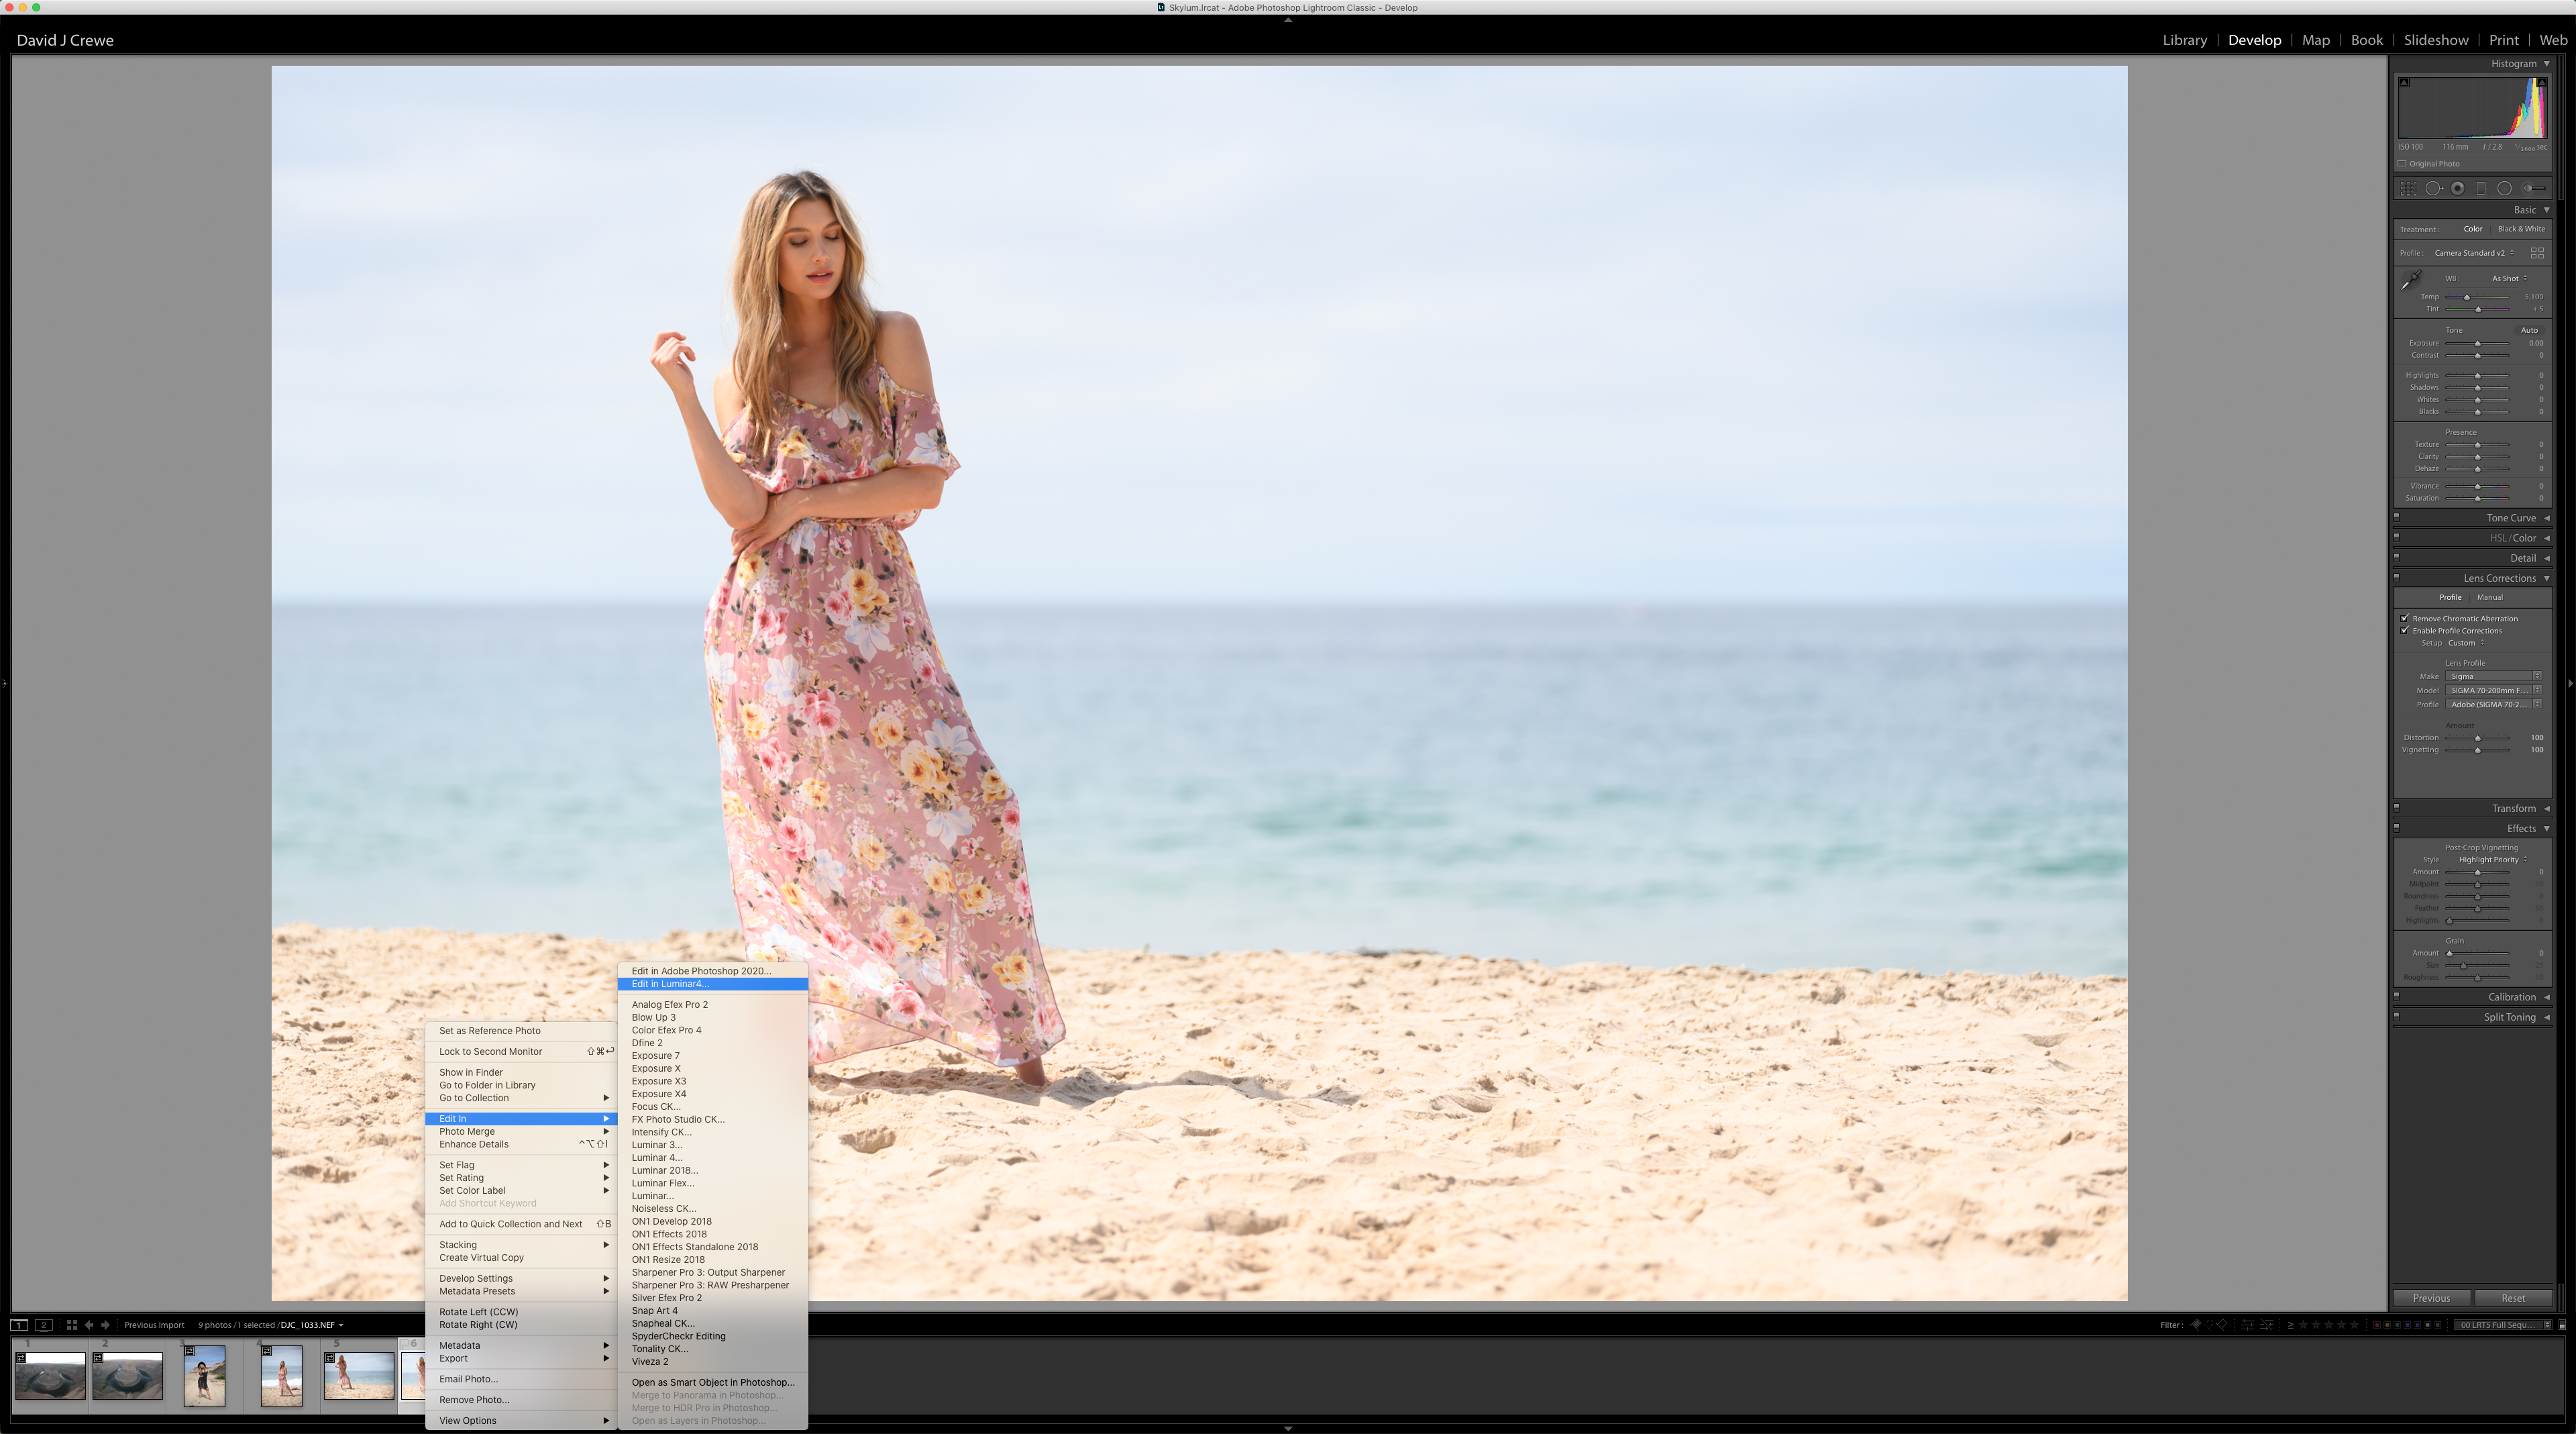
Once this is done, and you want to run Luminar from your Lightroom by following these steps
- Make sure Adobe Lightroom Classic is open.
- From Lightroom Classic, choose your image(s) that you want to work on with Luminar.
- In the top menu, click Photo > Edit In > Luminar 4, or right-click on the image and select Edit In > Luminar 4.
- The Edit In dialog opens. Choose your settings.
- Click Edit to send the file to Luminar. A new file is added to your Library and stacked with the original in your Library.
- Once you’ve loaded your image into Luminar, this is where the fun begins!
- When done, click the Apply button to send the adjusted image back to Lightroom.
Putting It All Into Practice
Now here’s the thing for me. I see Luminar’s new tools as a way to completely enhance, and massively improve on a LOT of my old images. Over the years I’ve gone on a LOT of adventures to some pretty epic places. However, when I went to a lot of these places, the weather was less than cooperative and, to put it bluntly, the skies often just were boring & bland, and they ruined the mood of the shots. Either the clouds or rain/haze sucked all the color out of the scene, or there were NO clouds at all and everything was harsh and bleached out.
I’m the type of person that never deletes anything, but it’s kind of funny. Even though I was really unhappy with the images I got at the time, I just loaded them into my raid and left them there, thinking SOMEDAY I’ll have a use for them. And well, now I do!

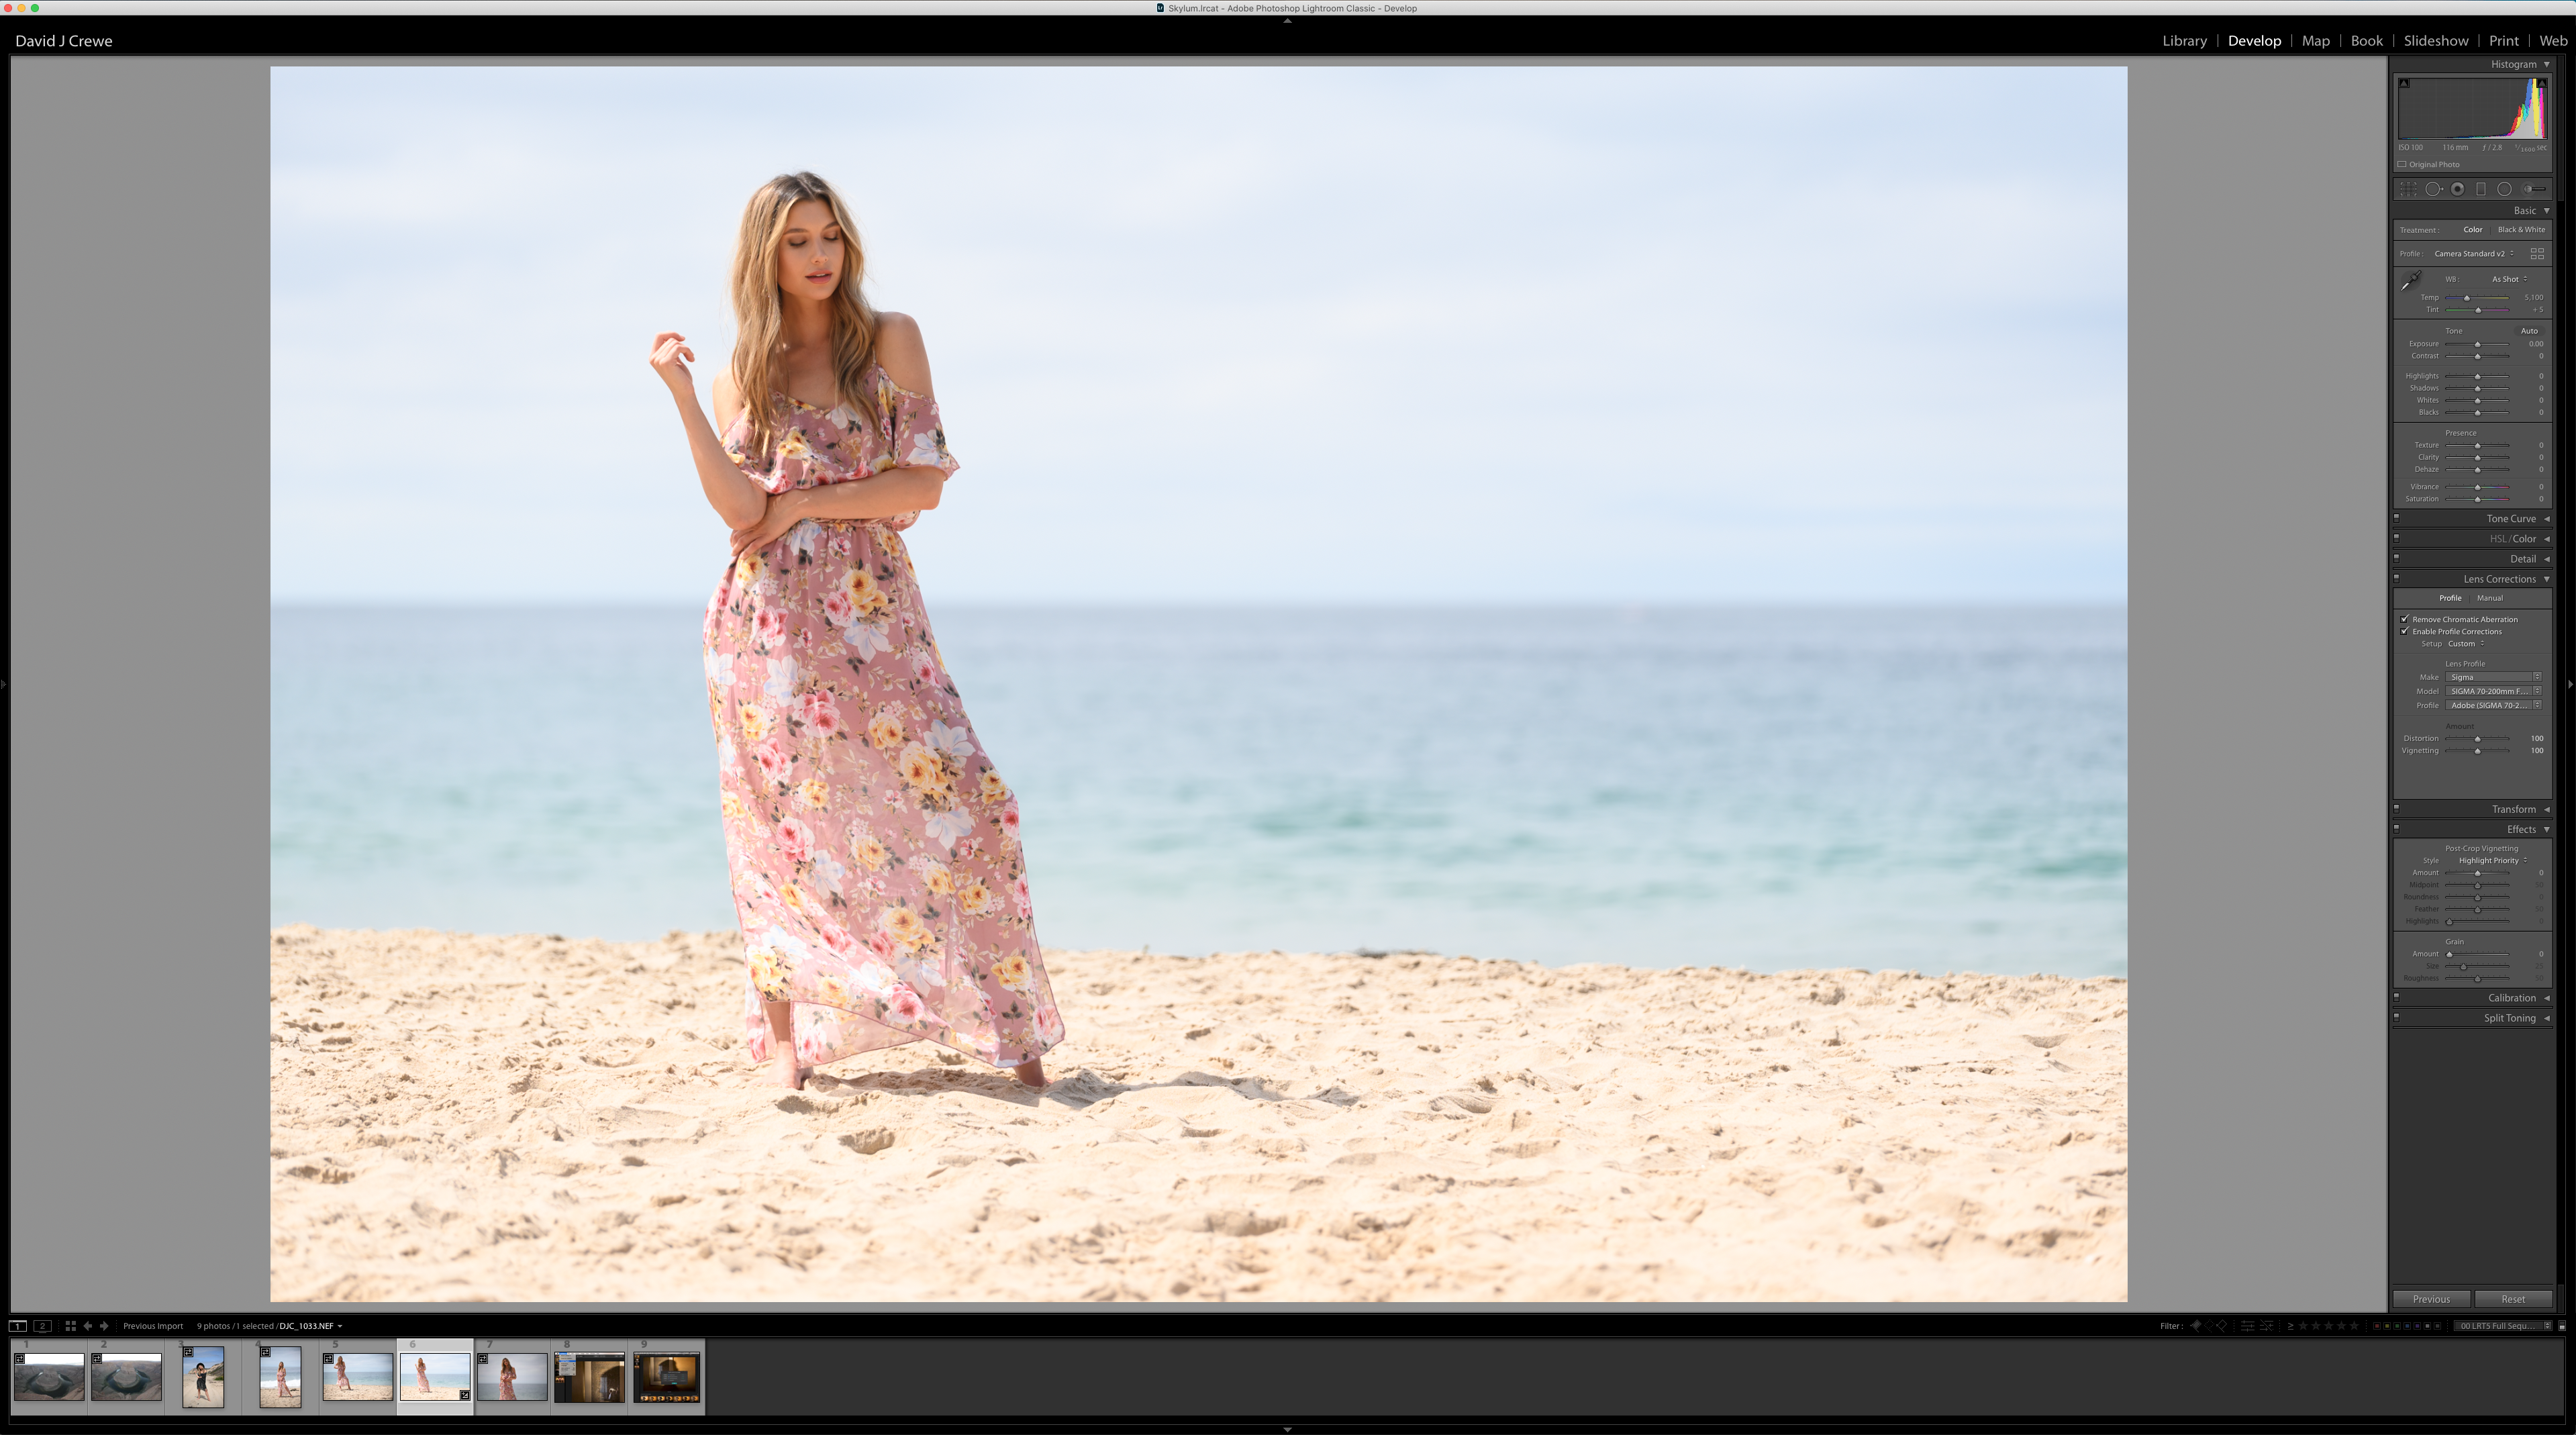
Take this Portrait shot on a beach, While in and of itself, it’s not a bad shot, it’s just a little bit boring, right? Well before I spend a ton of time retouching and cleaning up the clothing for this fashion shoot, I want to make it at least a little more visually interesting to match with the rest of the set.
Following the instructions from above, I sent this file into Luminar from my lightroom catalog by right-clicking on the image
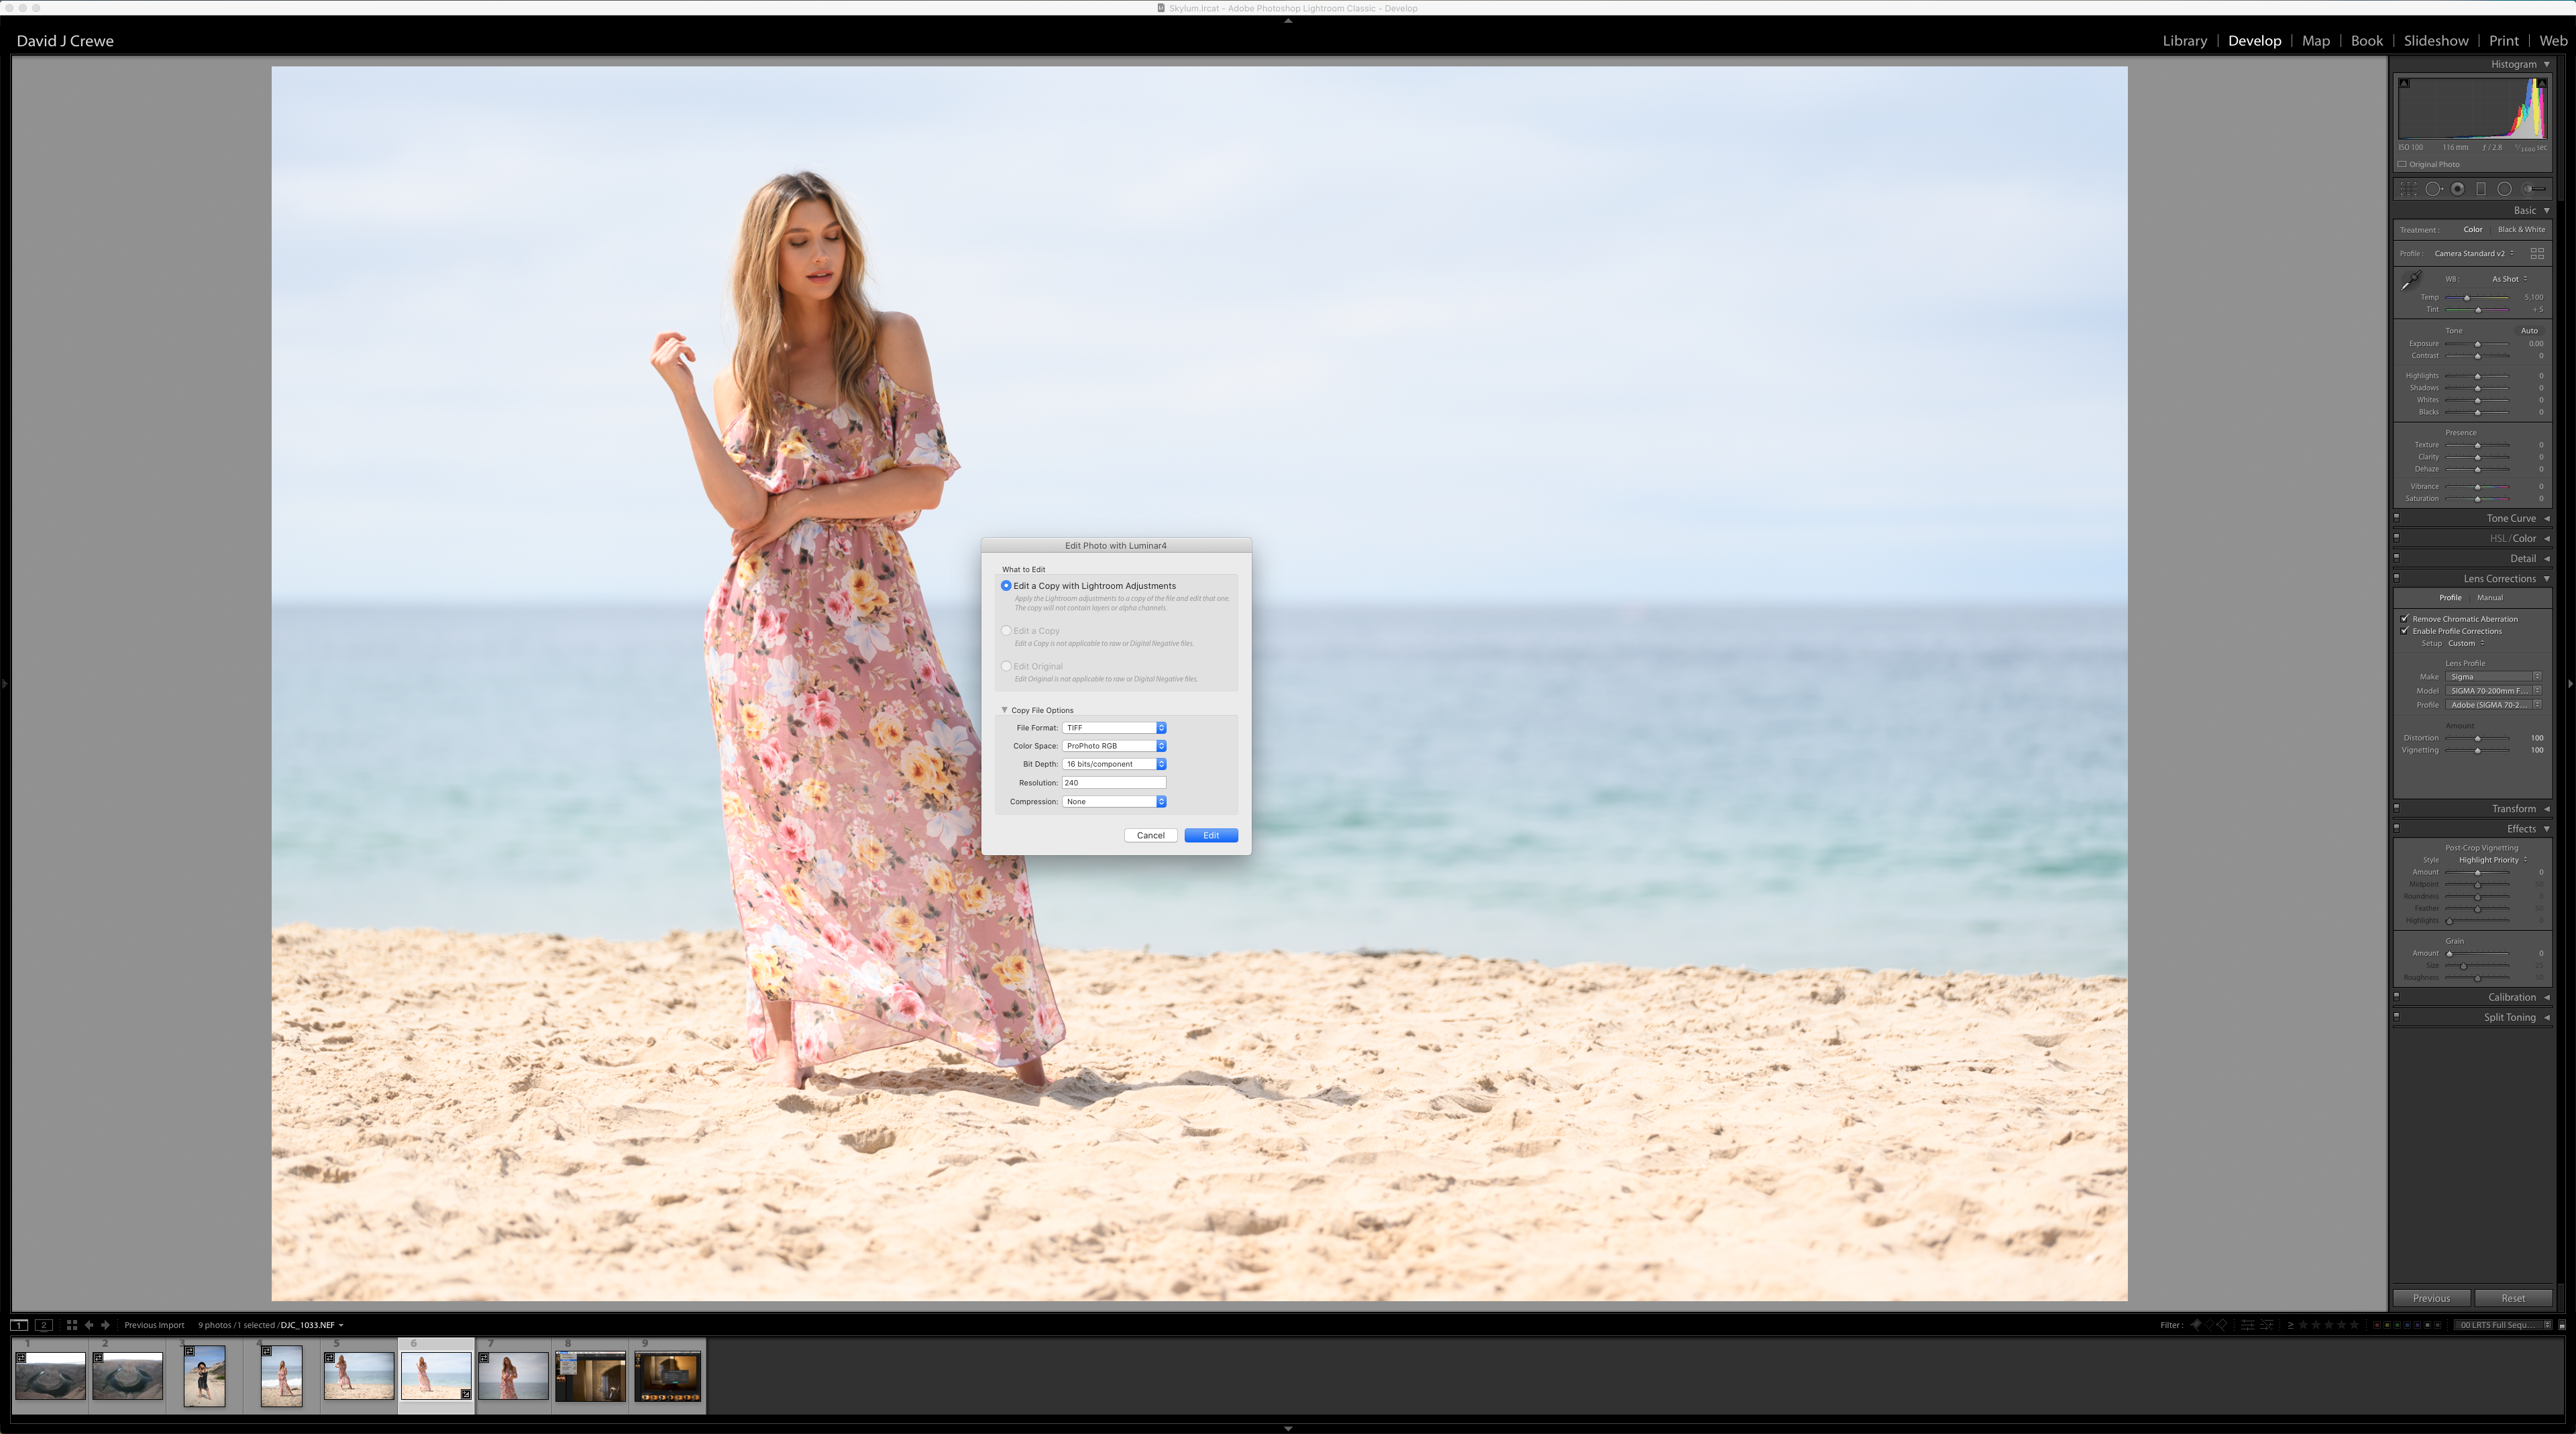
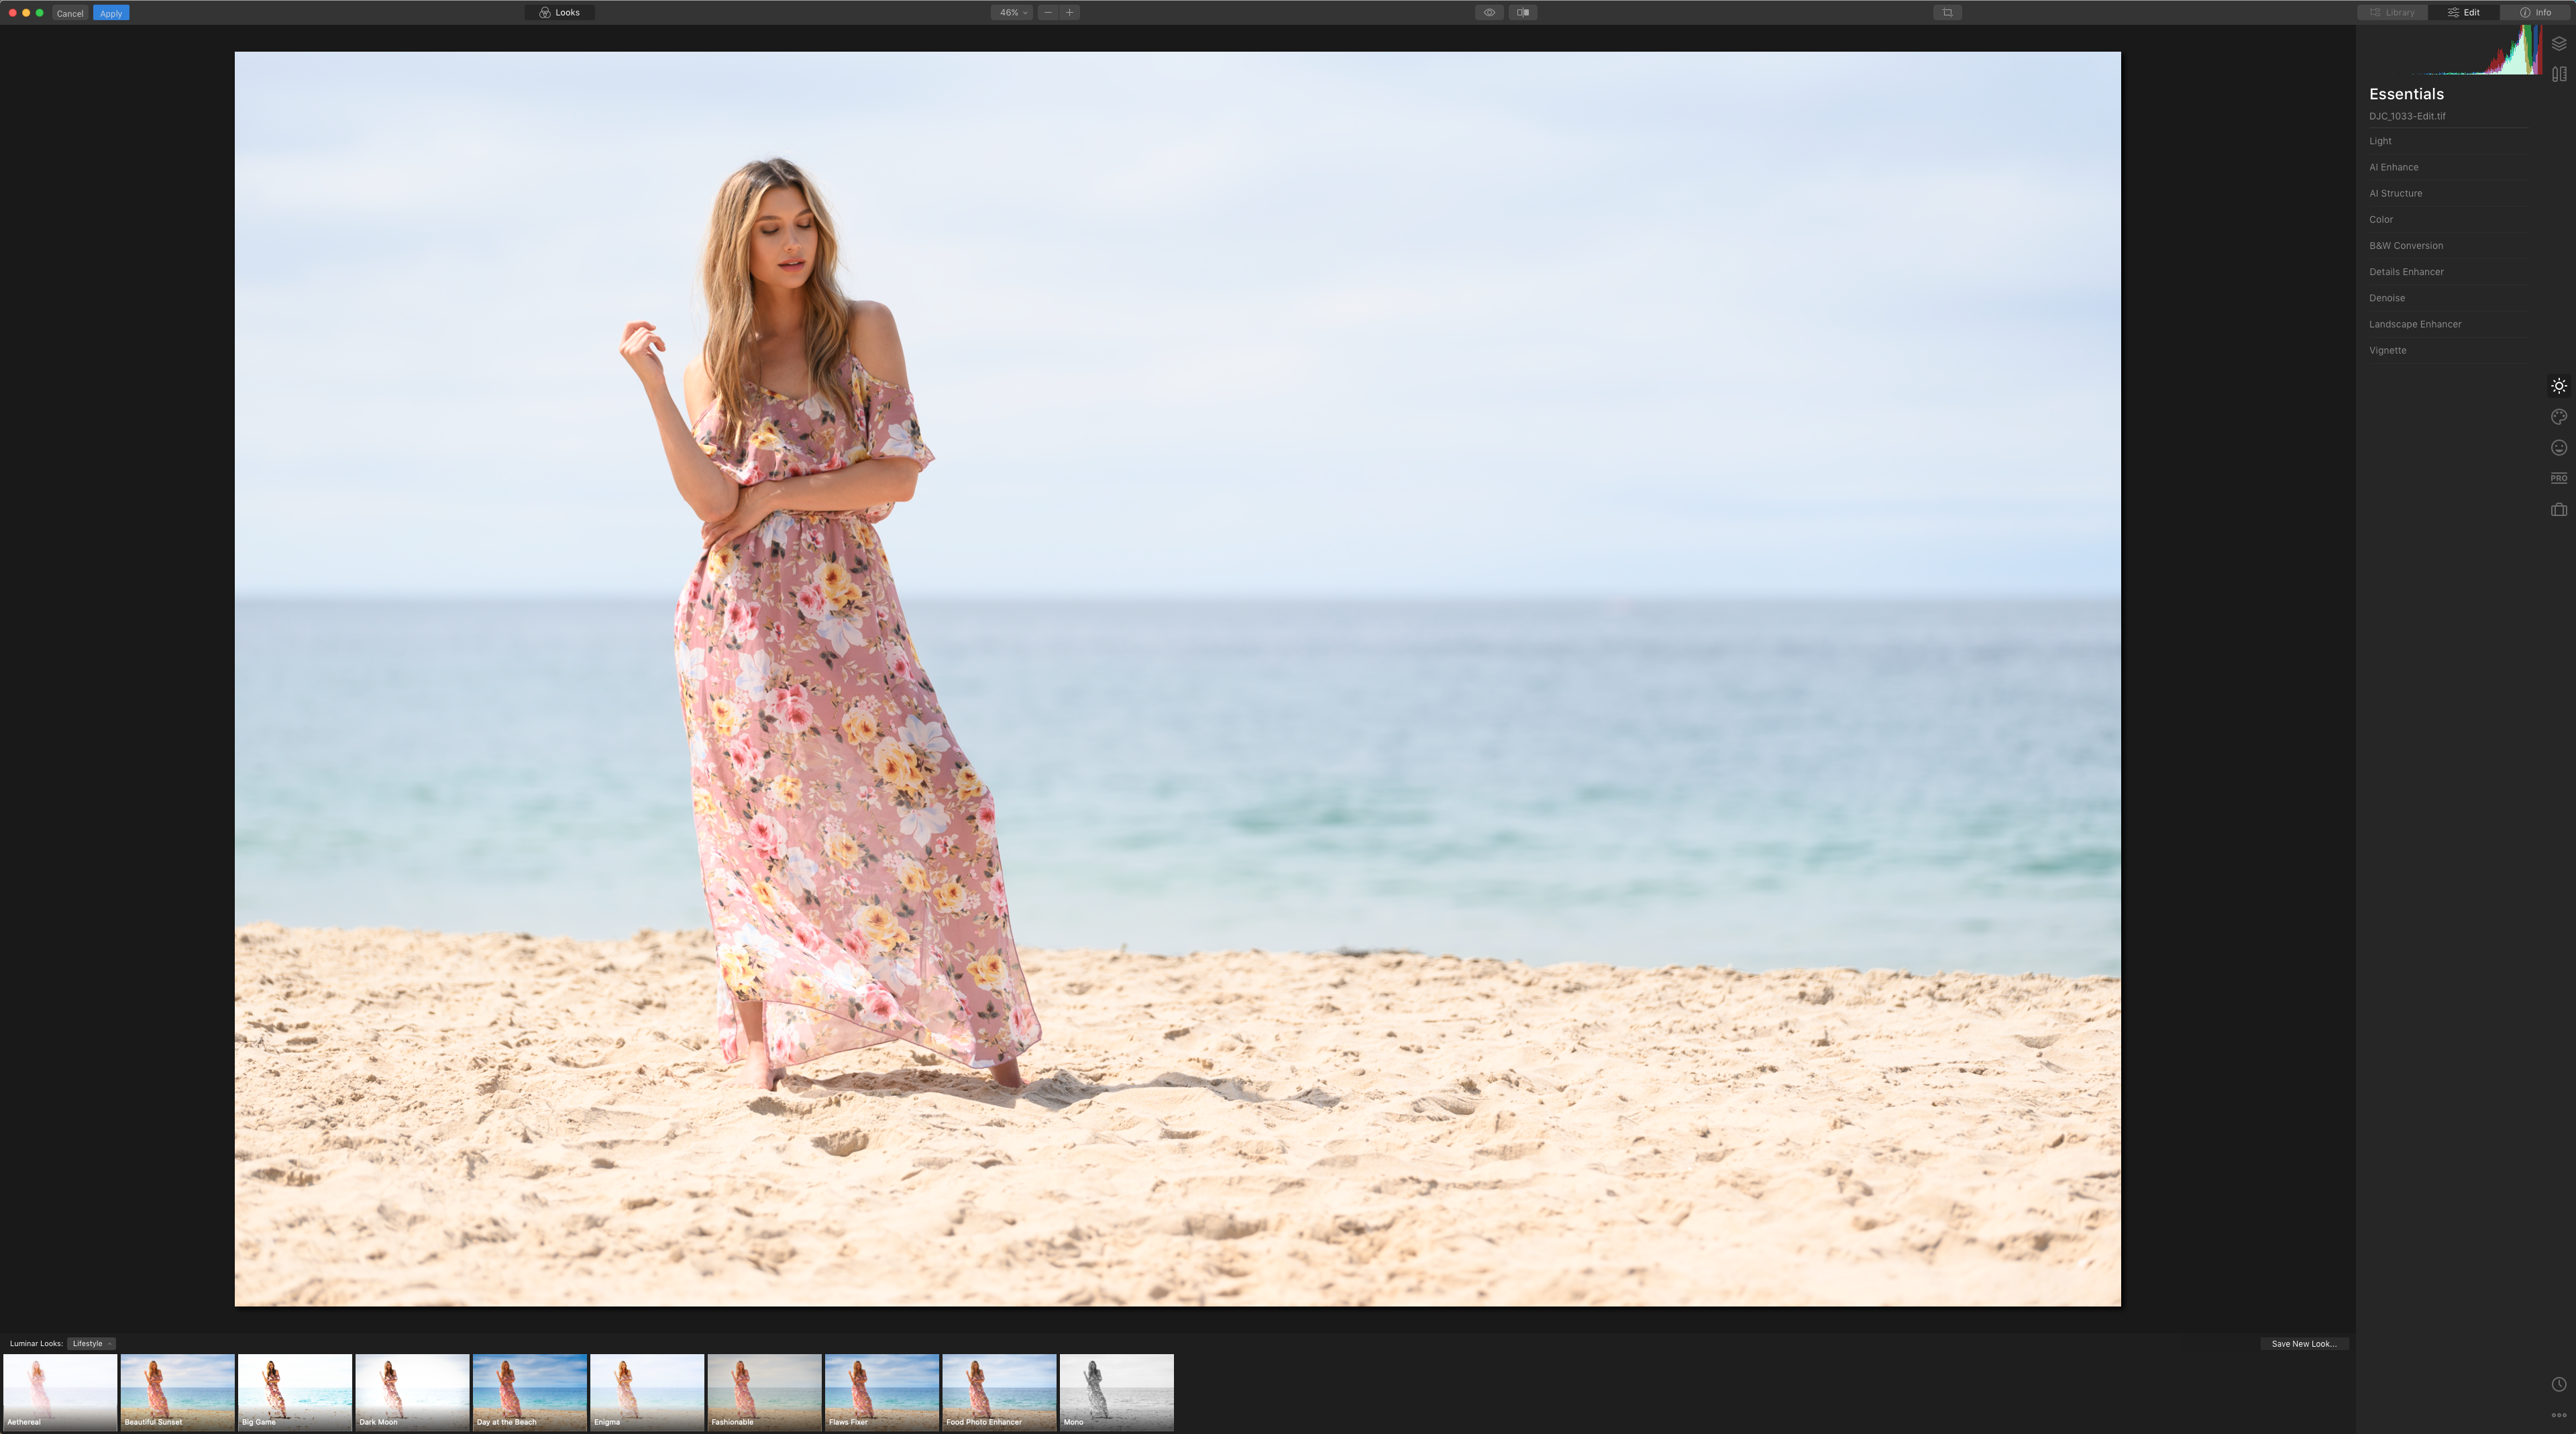

From there I duplicated my “background layer” and then started to tweak my image. First making my base adjustments that I’d normally do in Lightroom, adjusting my highlights and shadows, and then jumping into using the new powerful AI tools to add some extra detail to my foreground and background.
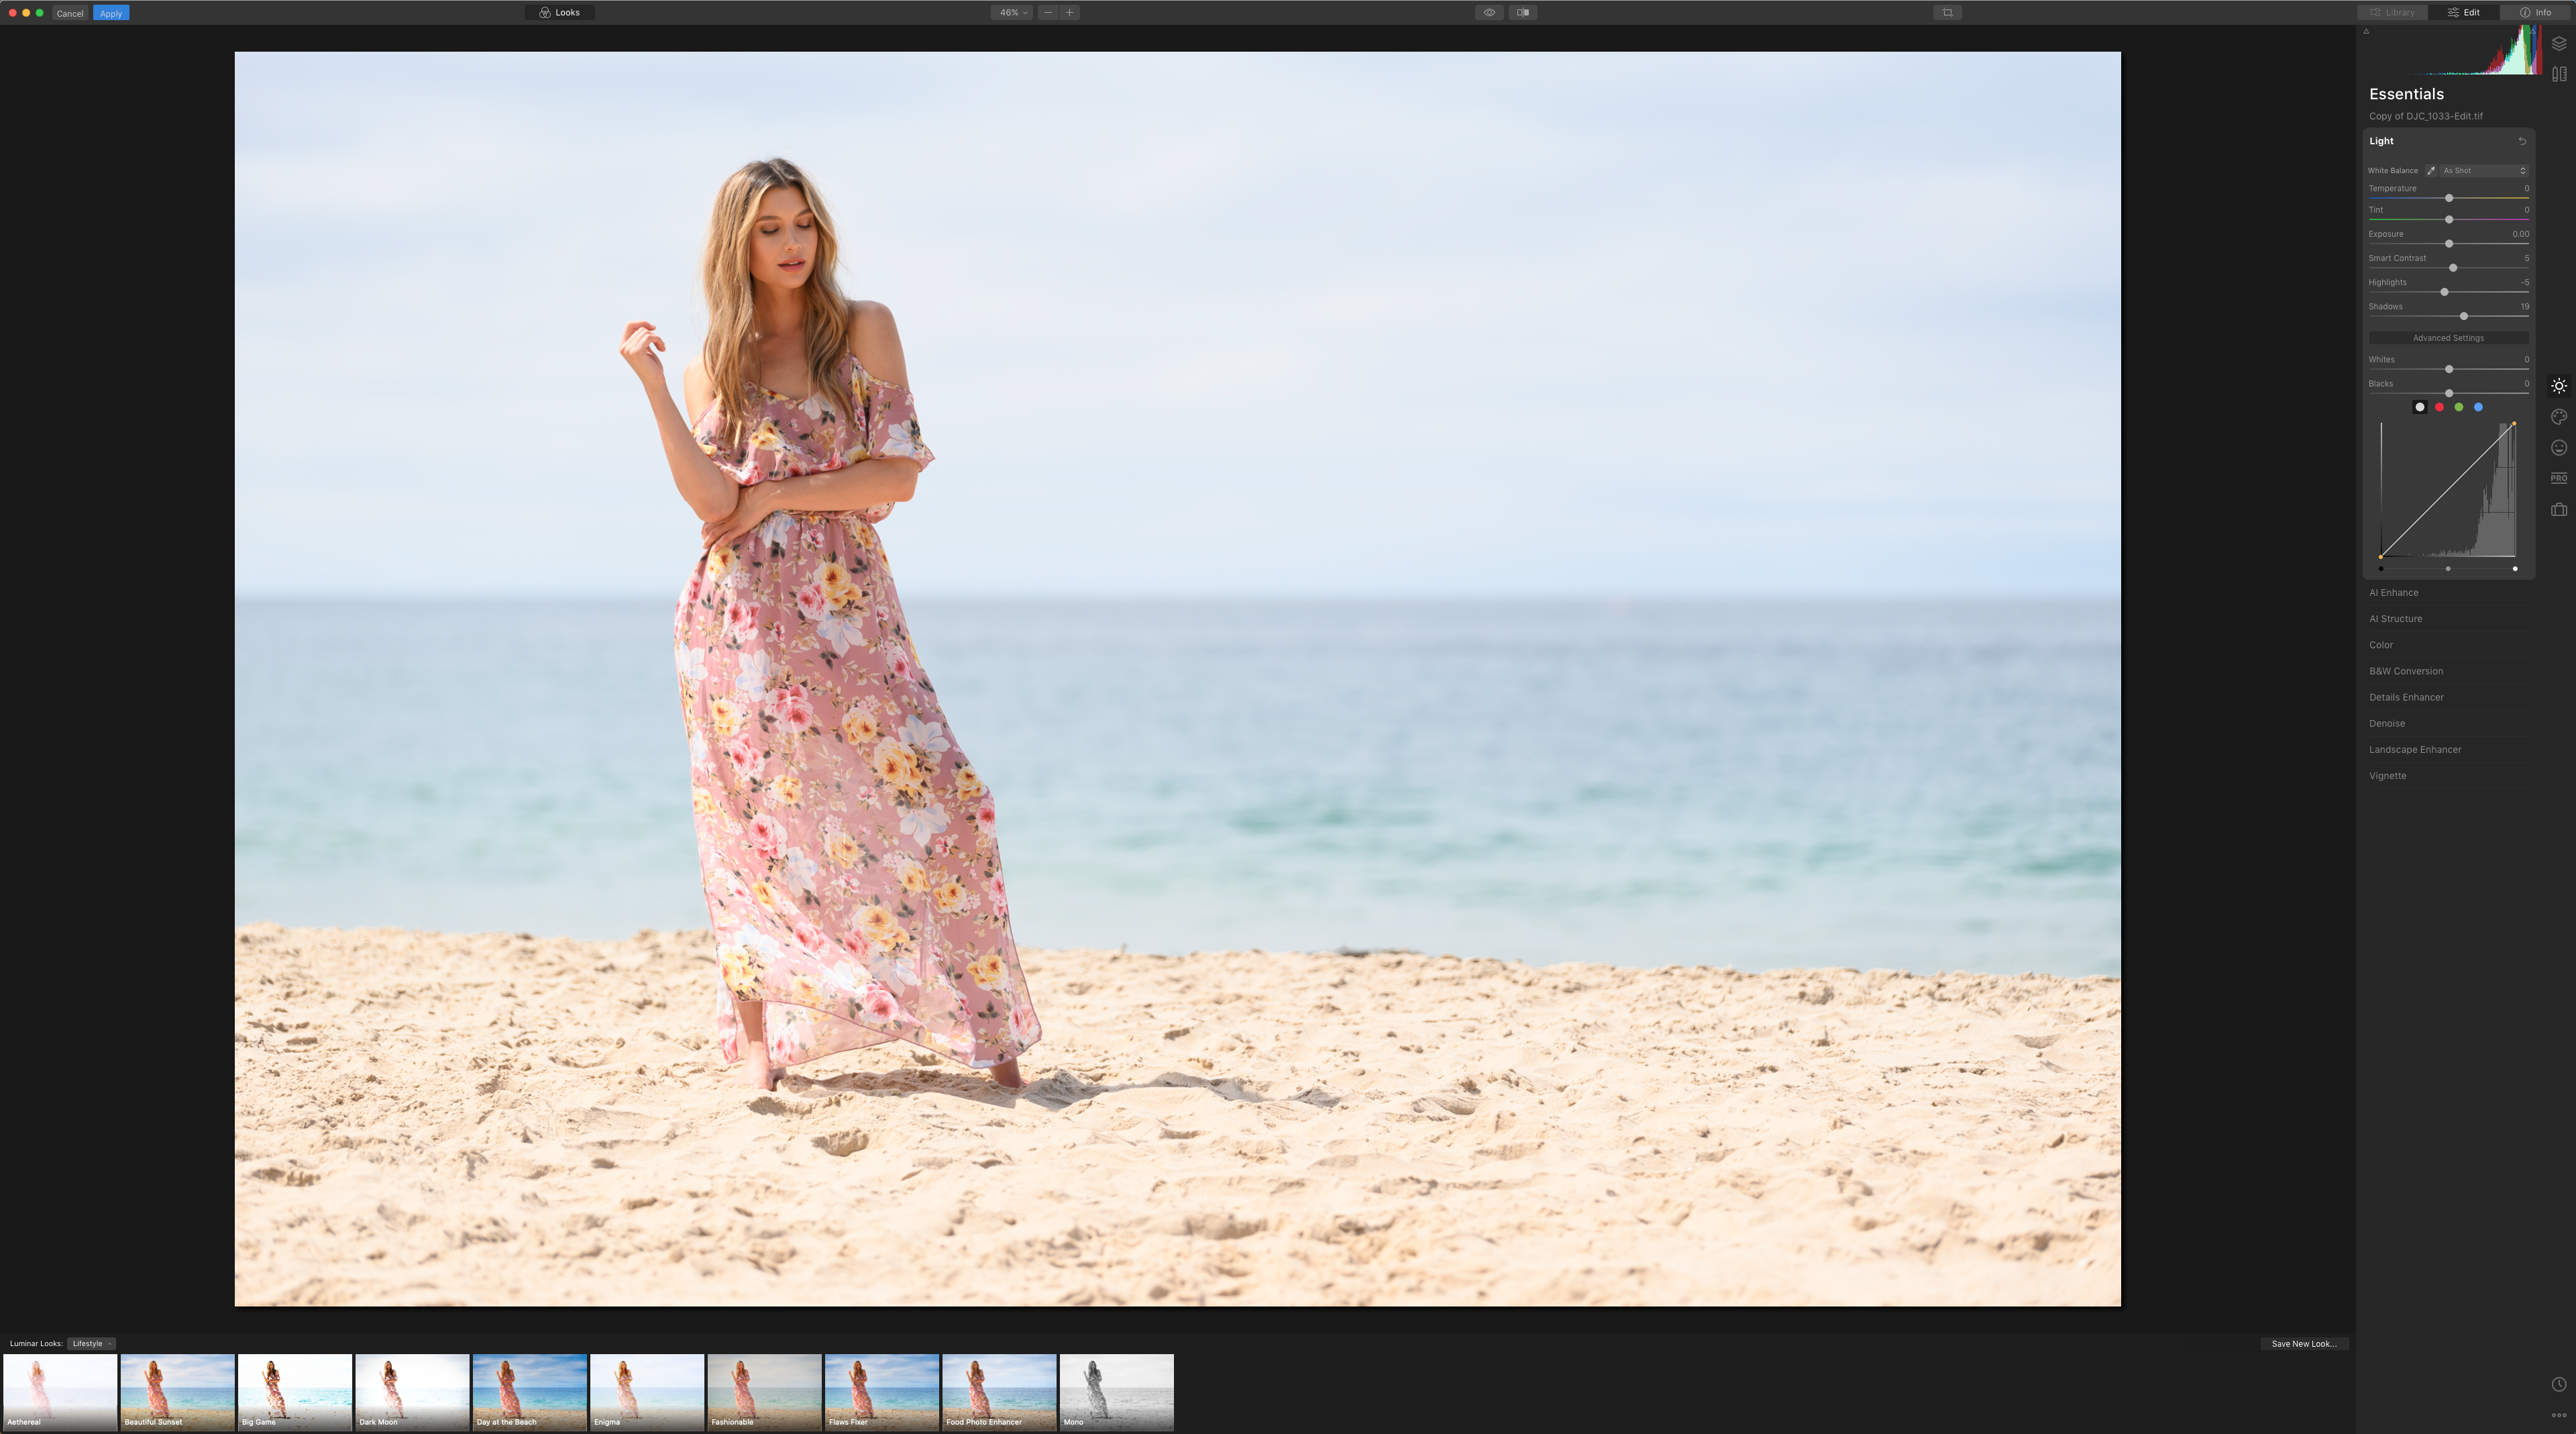
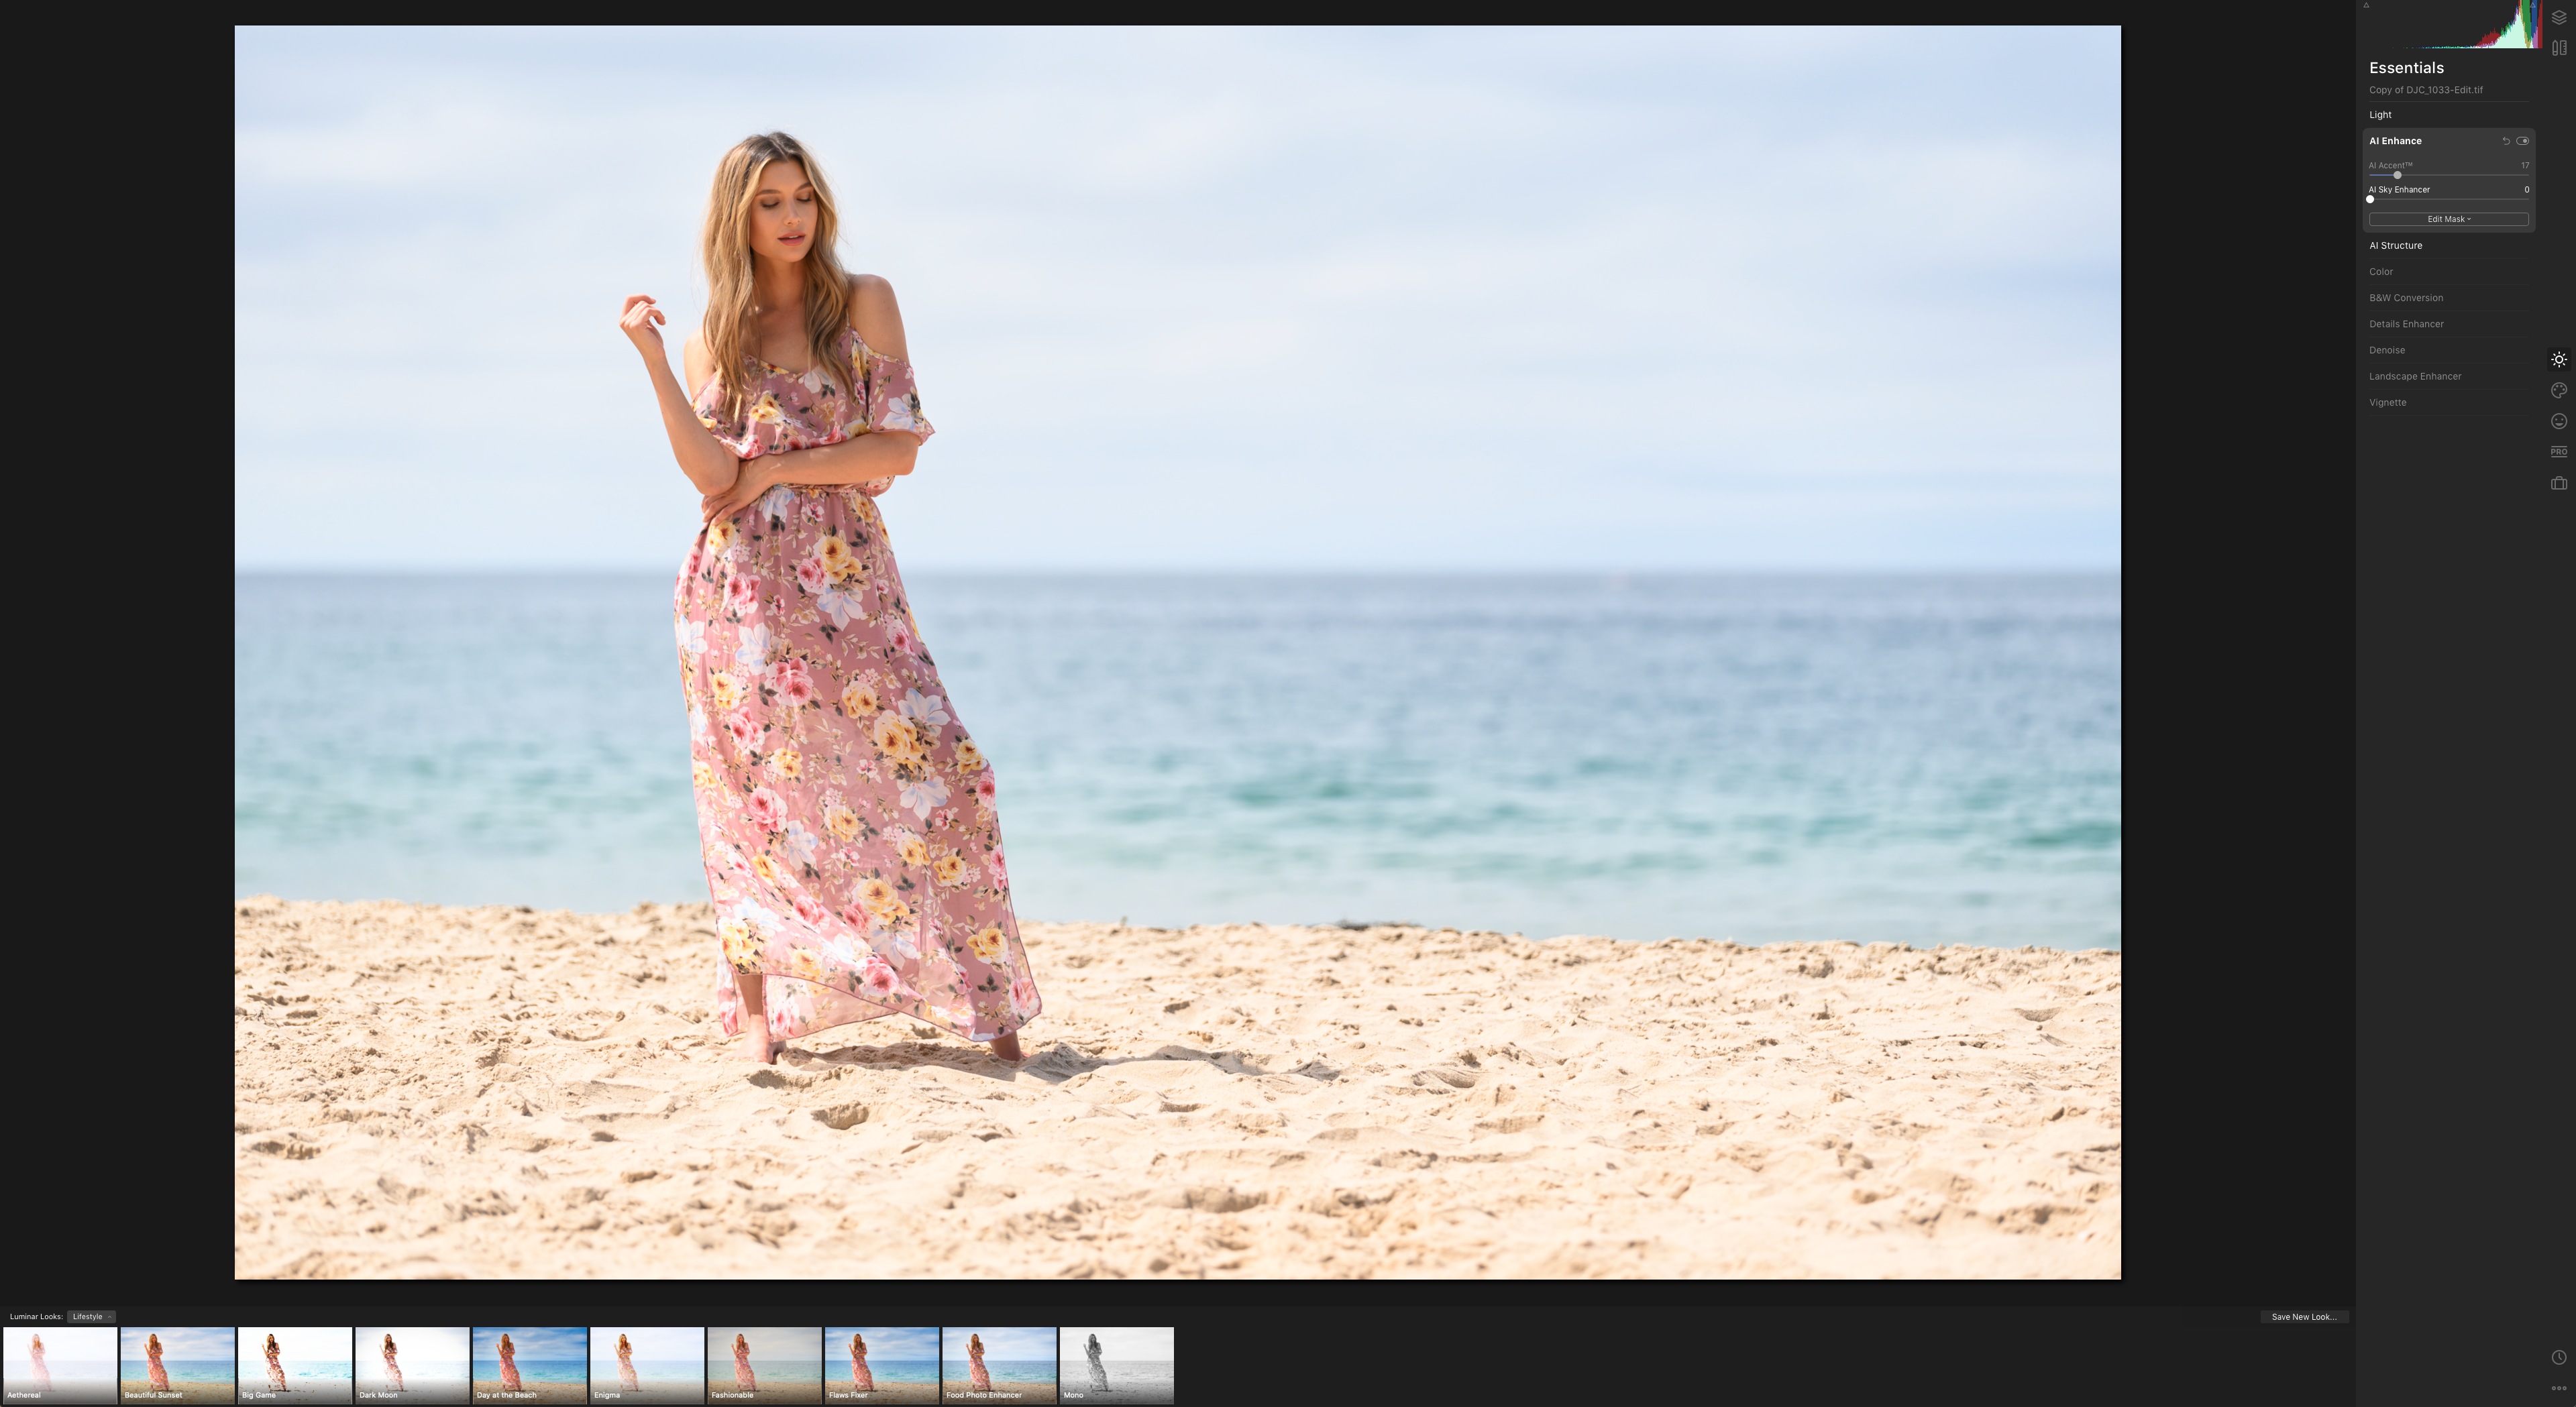
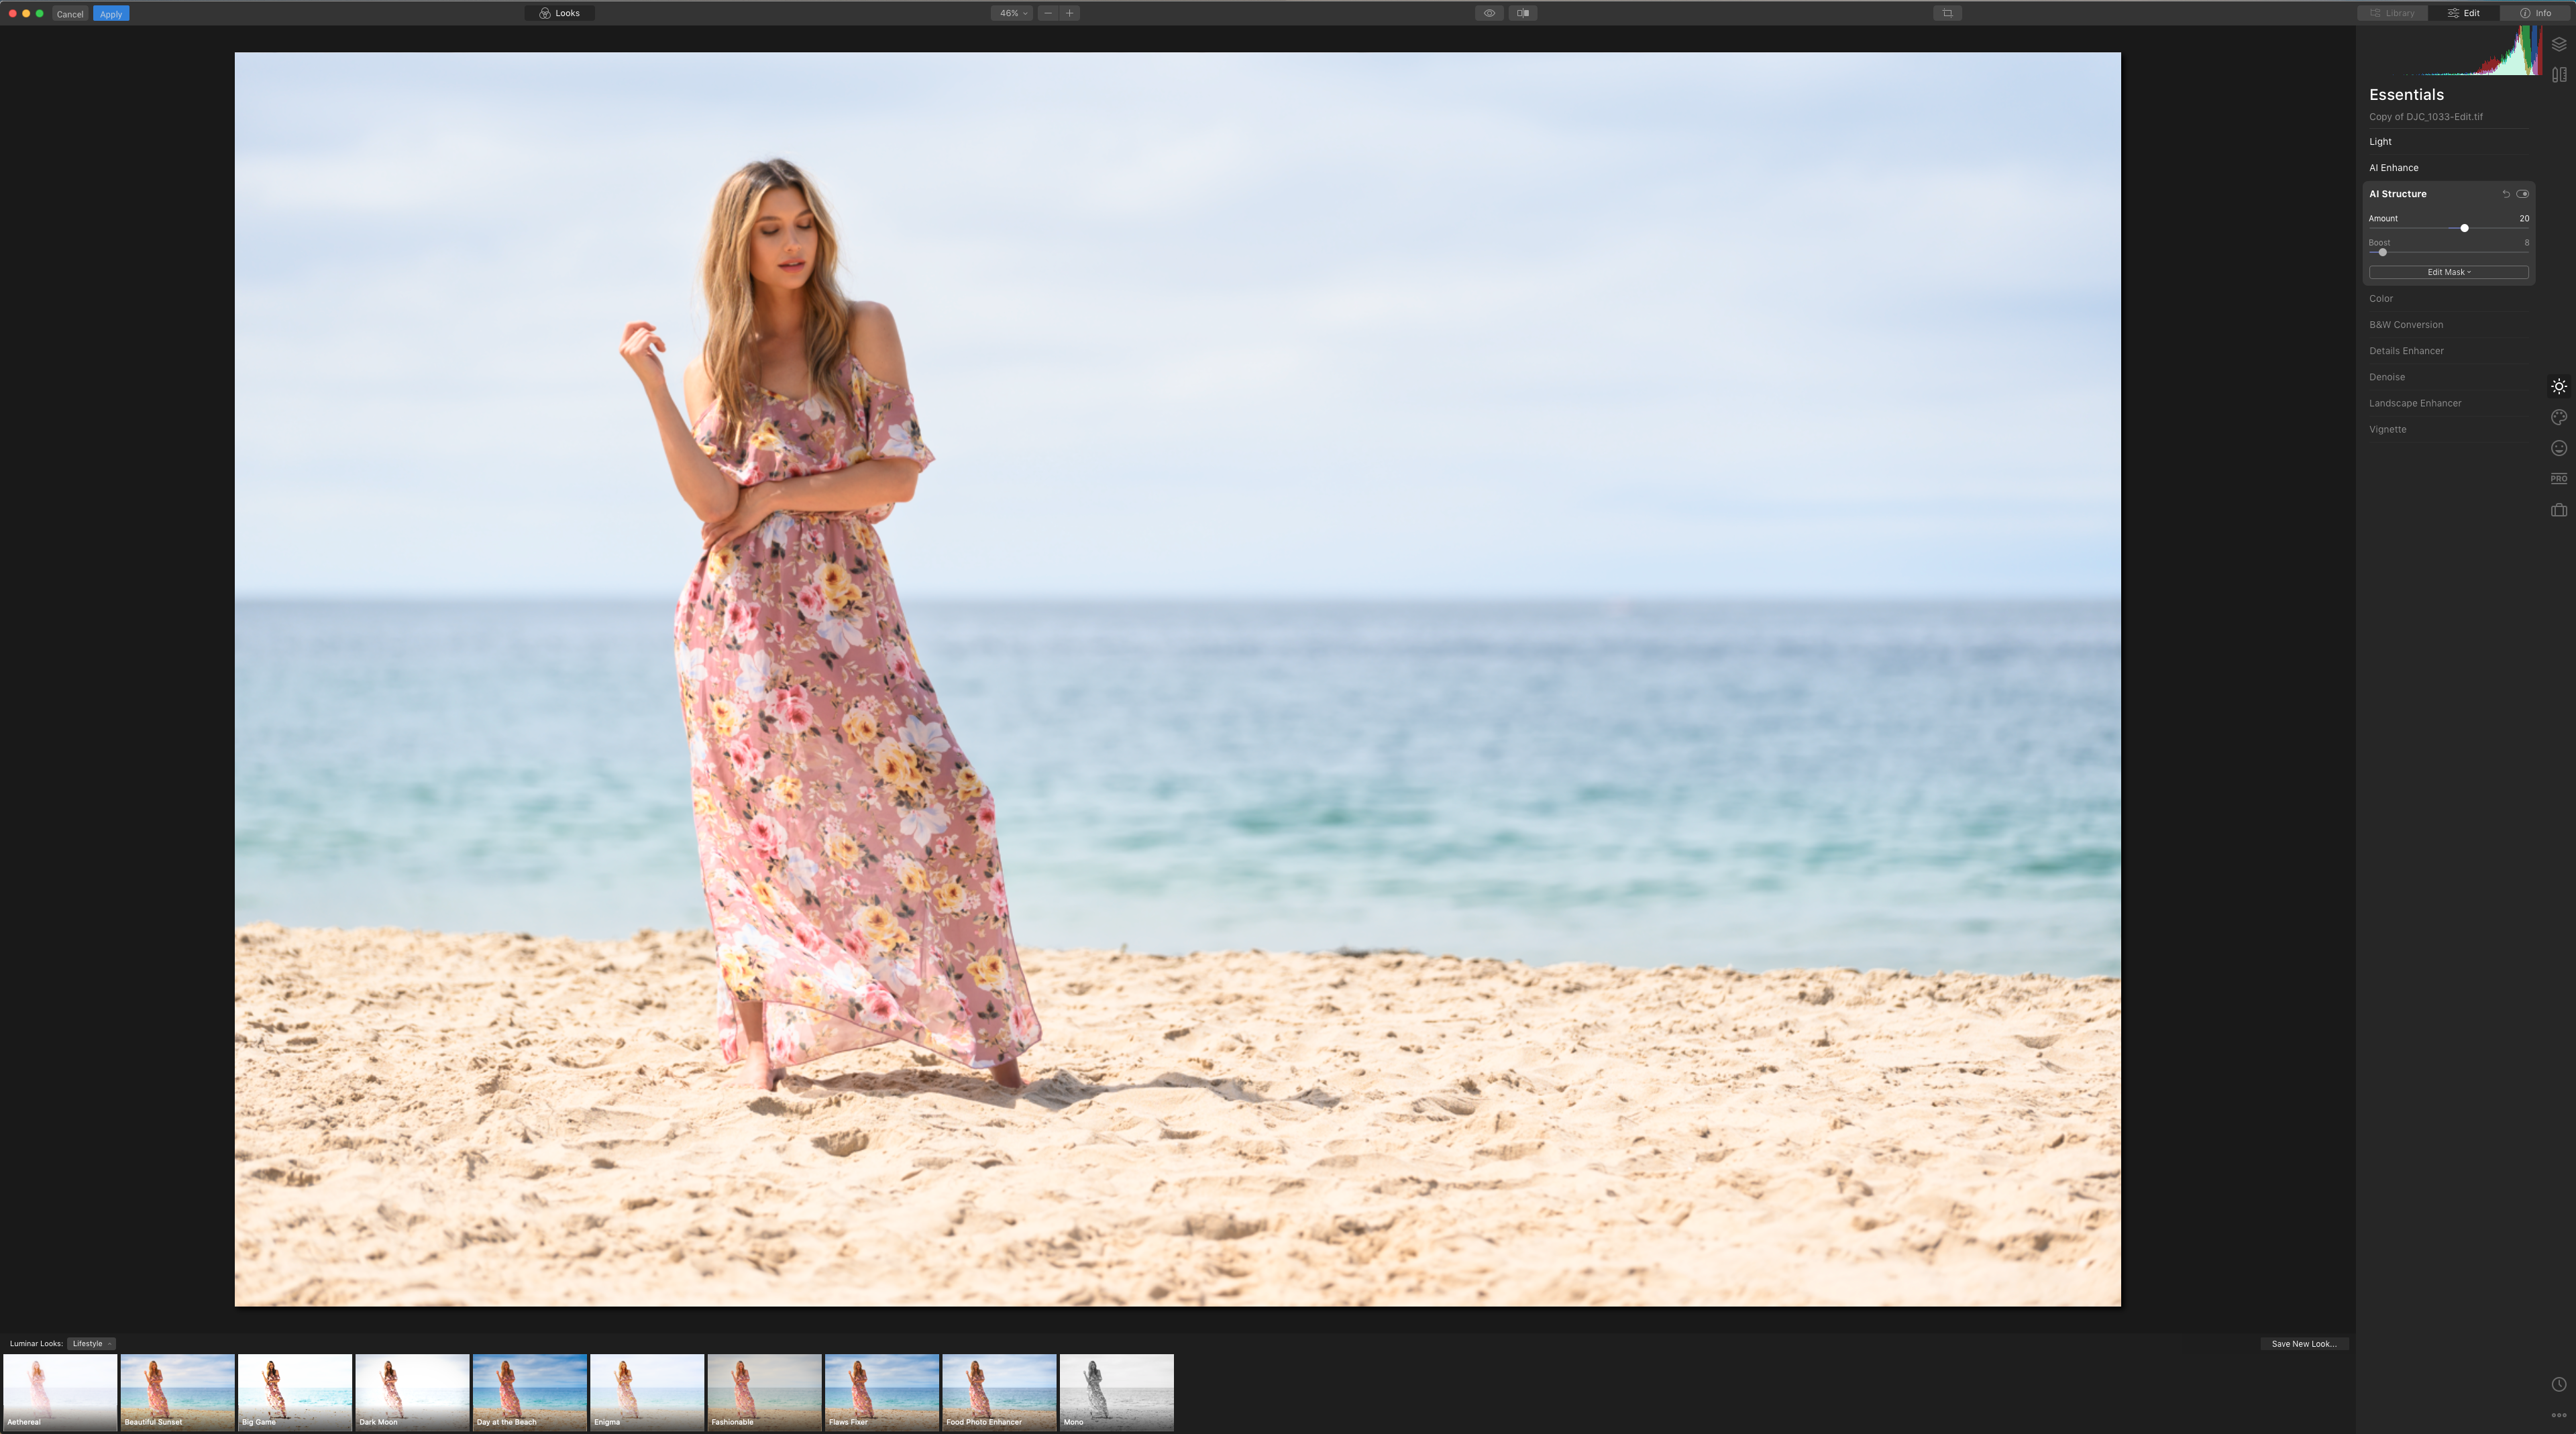
Now it’s time to dive into the creative tools and start testing out skies to replace in my image. After testing out a few different skies, I went with one that fits a little better with the mood and settings of my day, and then since I shot this very shallow, I opened the advanced settings of the sky replacement and adjusted the “Sky Defocus” so that the clouds matched the bokeh of the rest of my scene.

This took just about 5 minutes in total (including the amount of time it took me to select my sky)
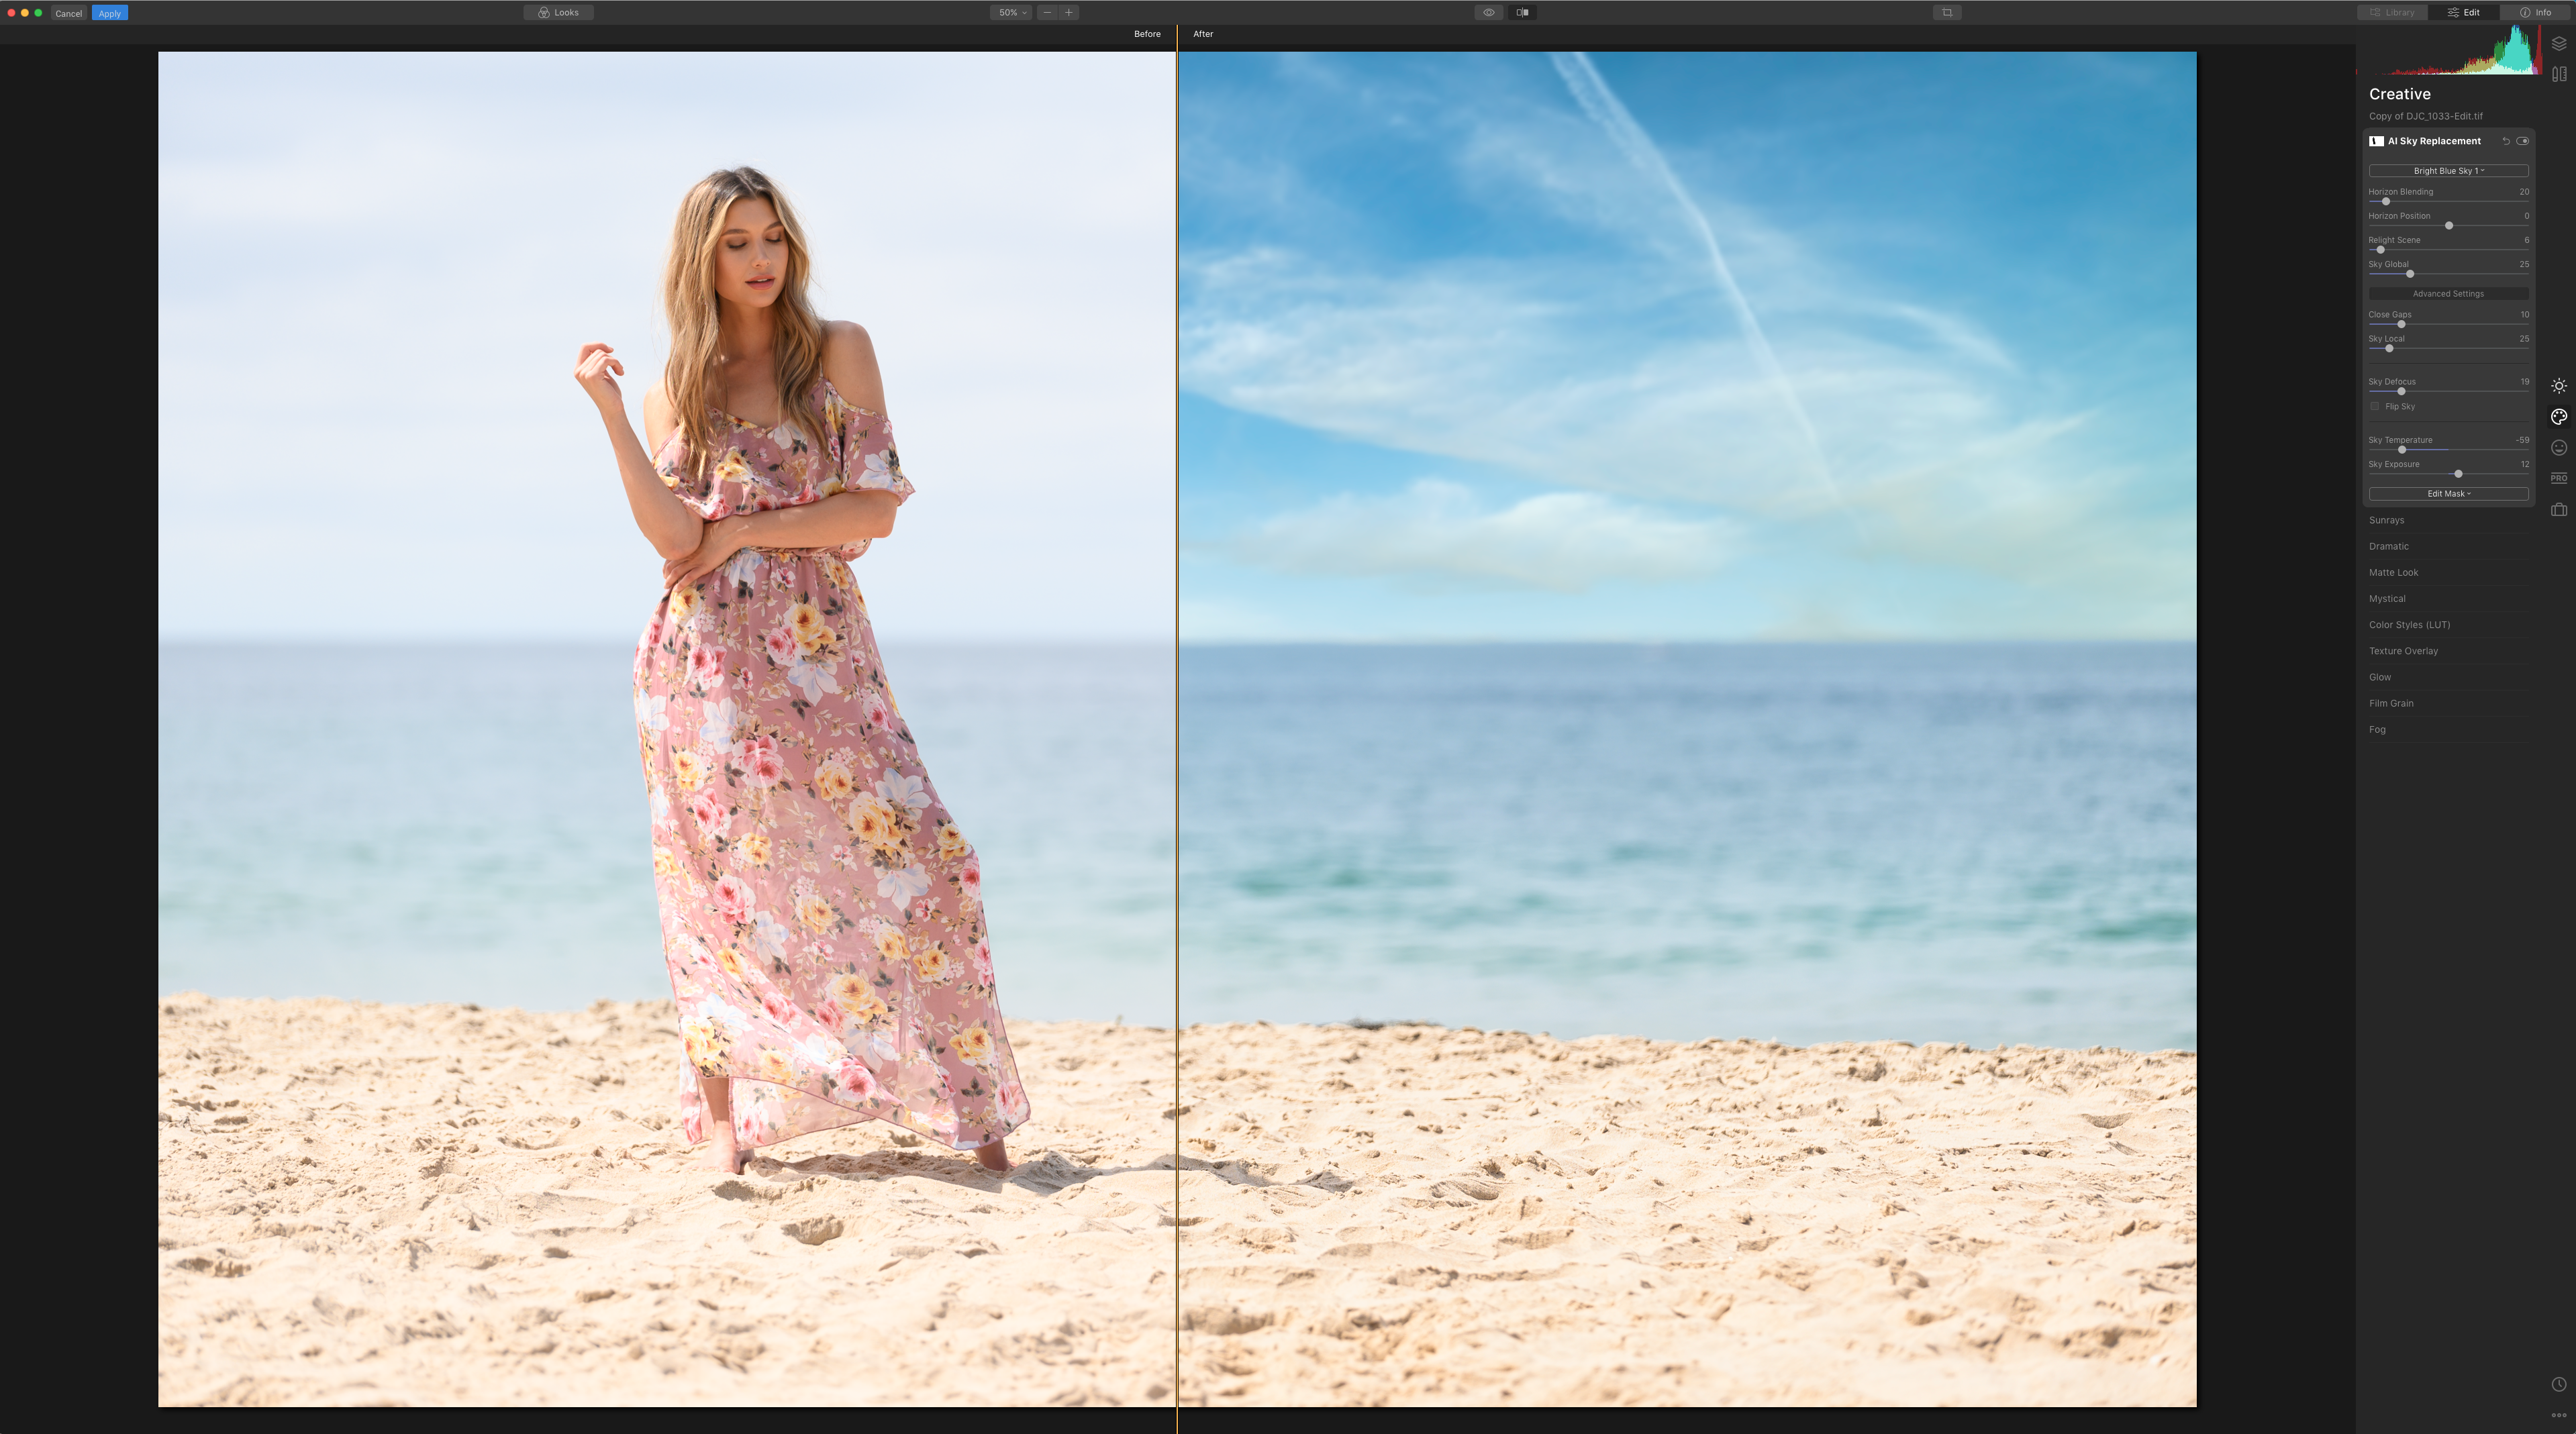
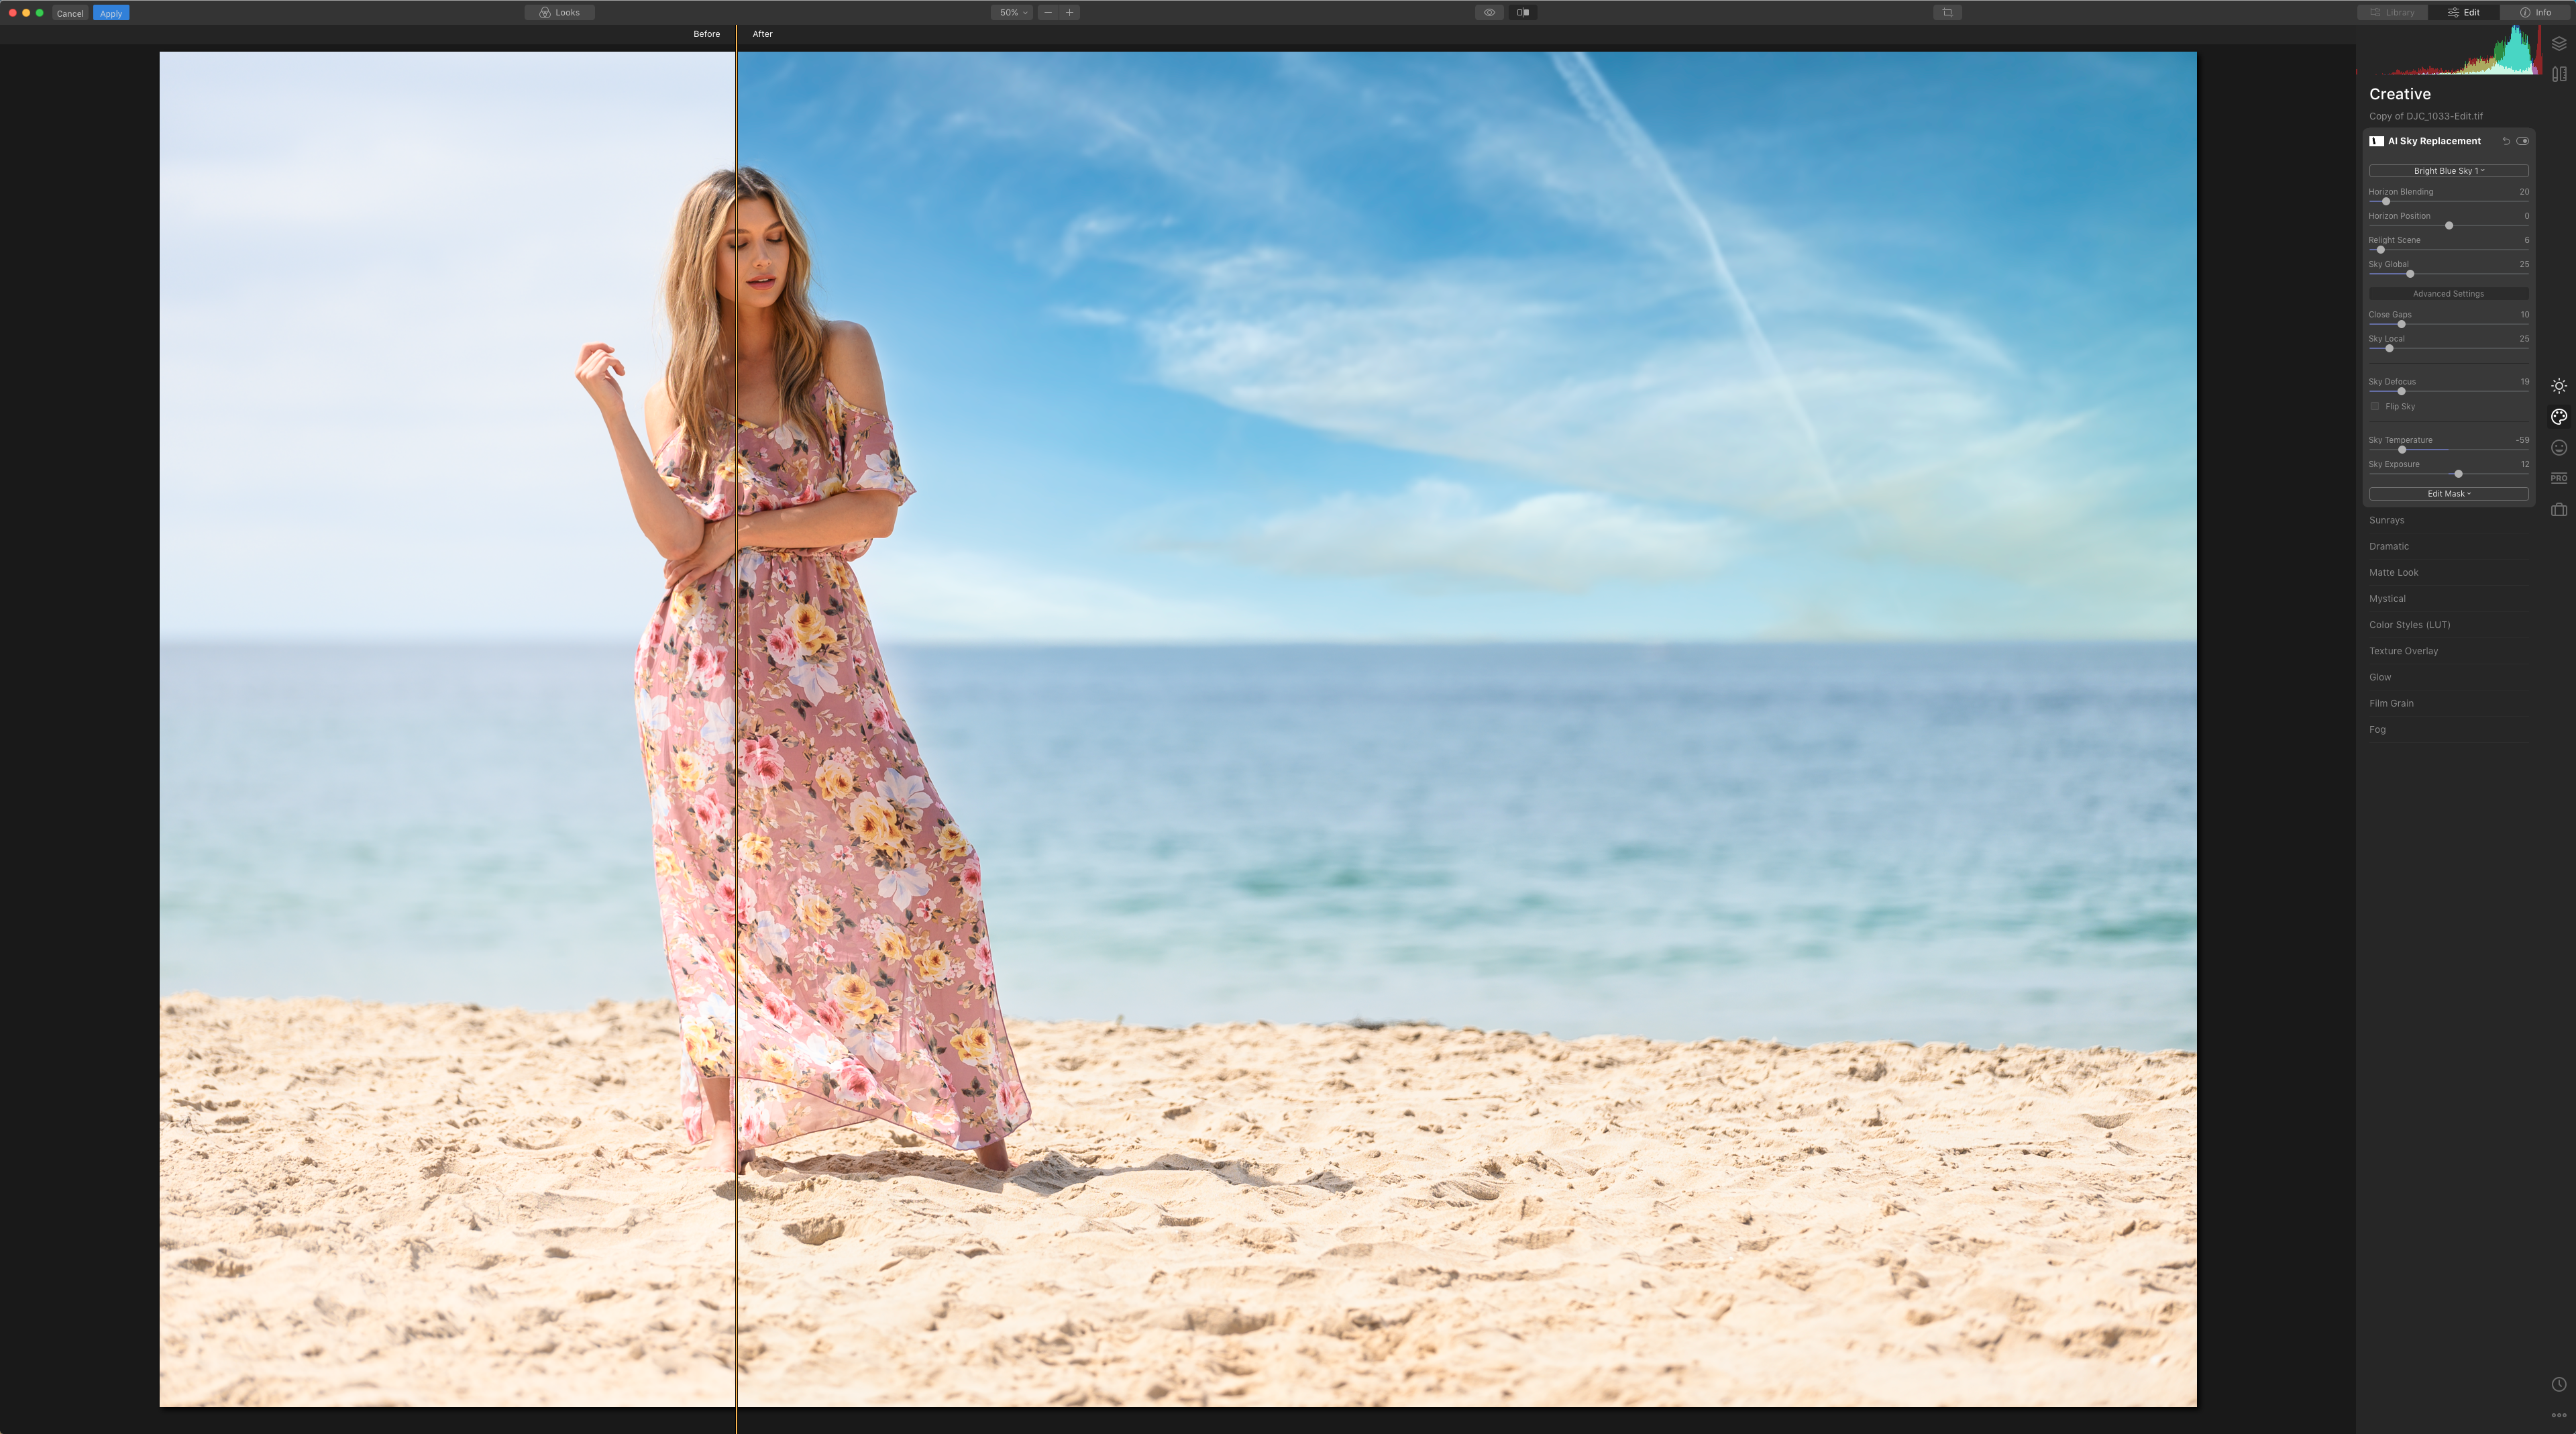
I then went through and added a few more adjustments with the “Professional” and AI tools. Using sharpening, smart contrast, and a quick dodge & burn. In just another 5 minutes, I ended up with this as my new “starting point” to bring into Photoshop.
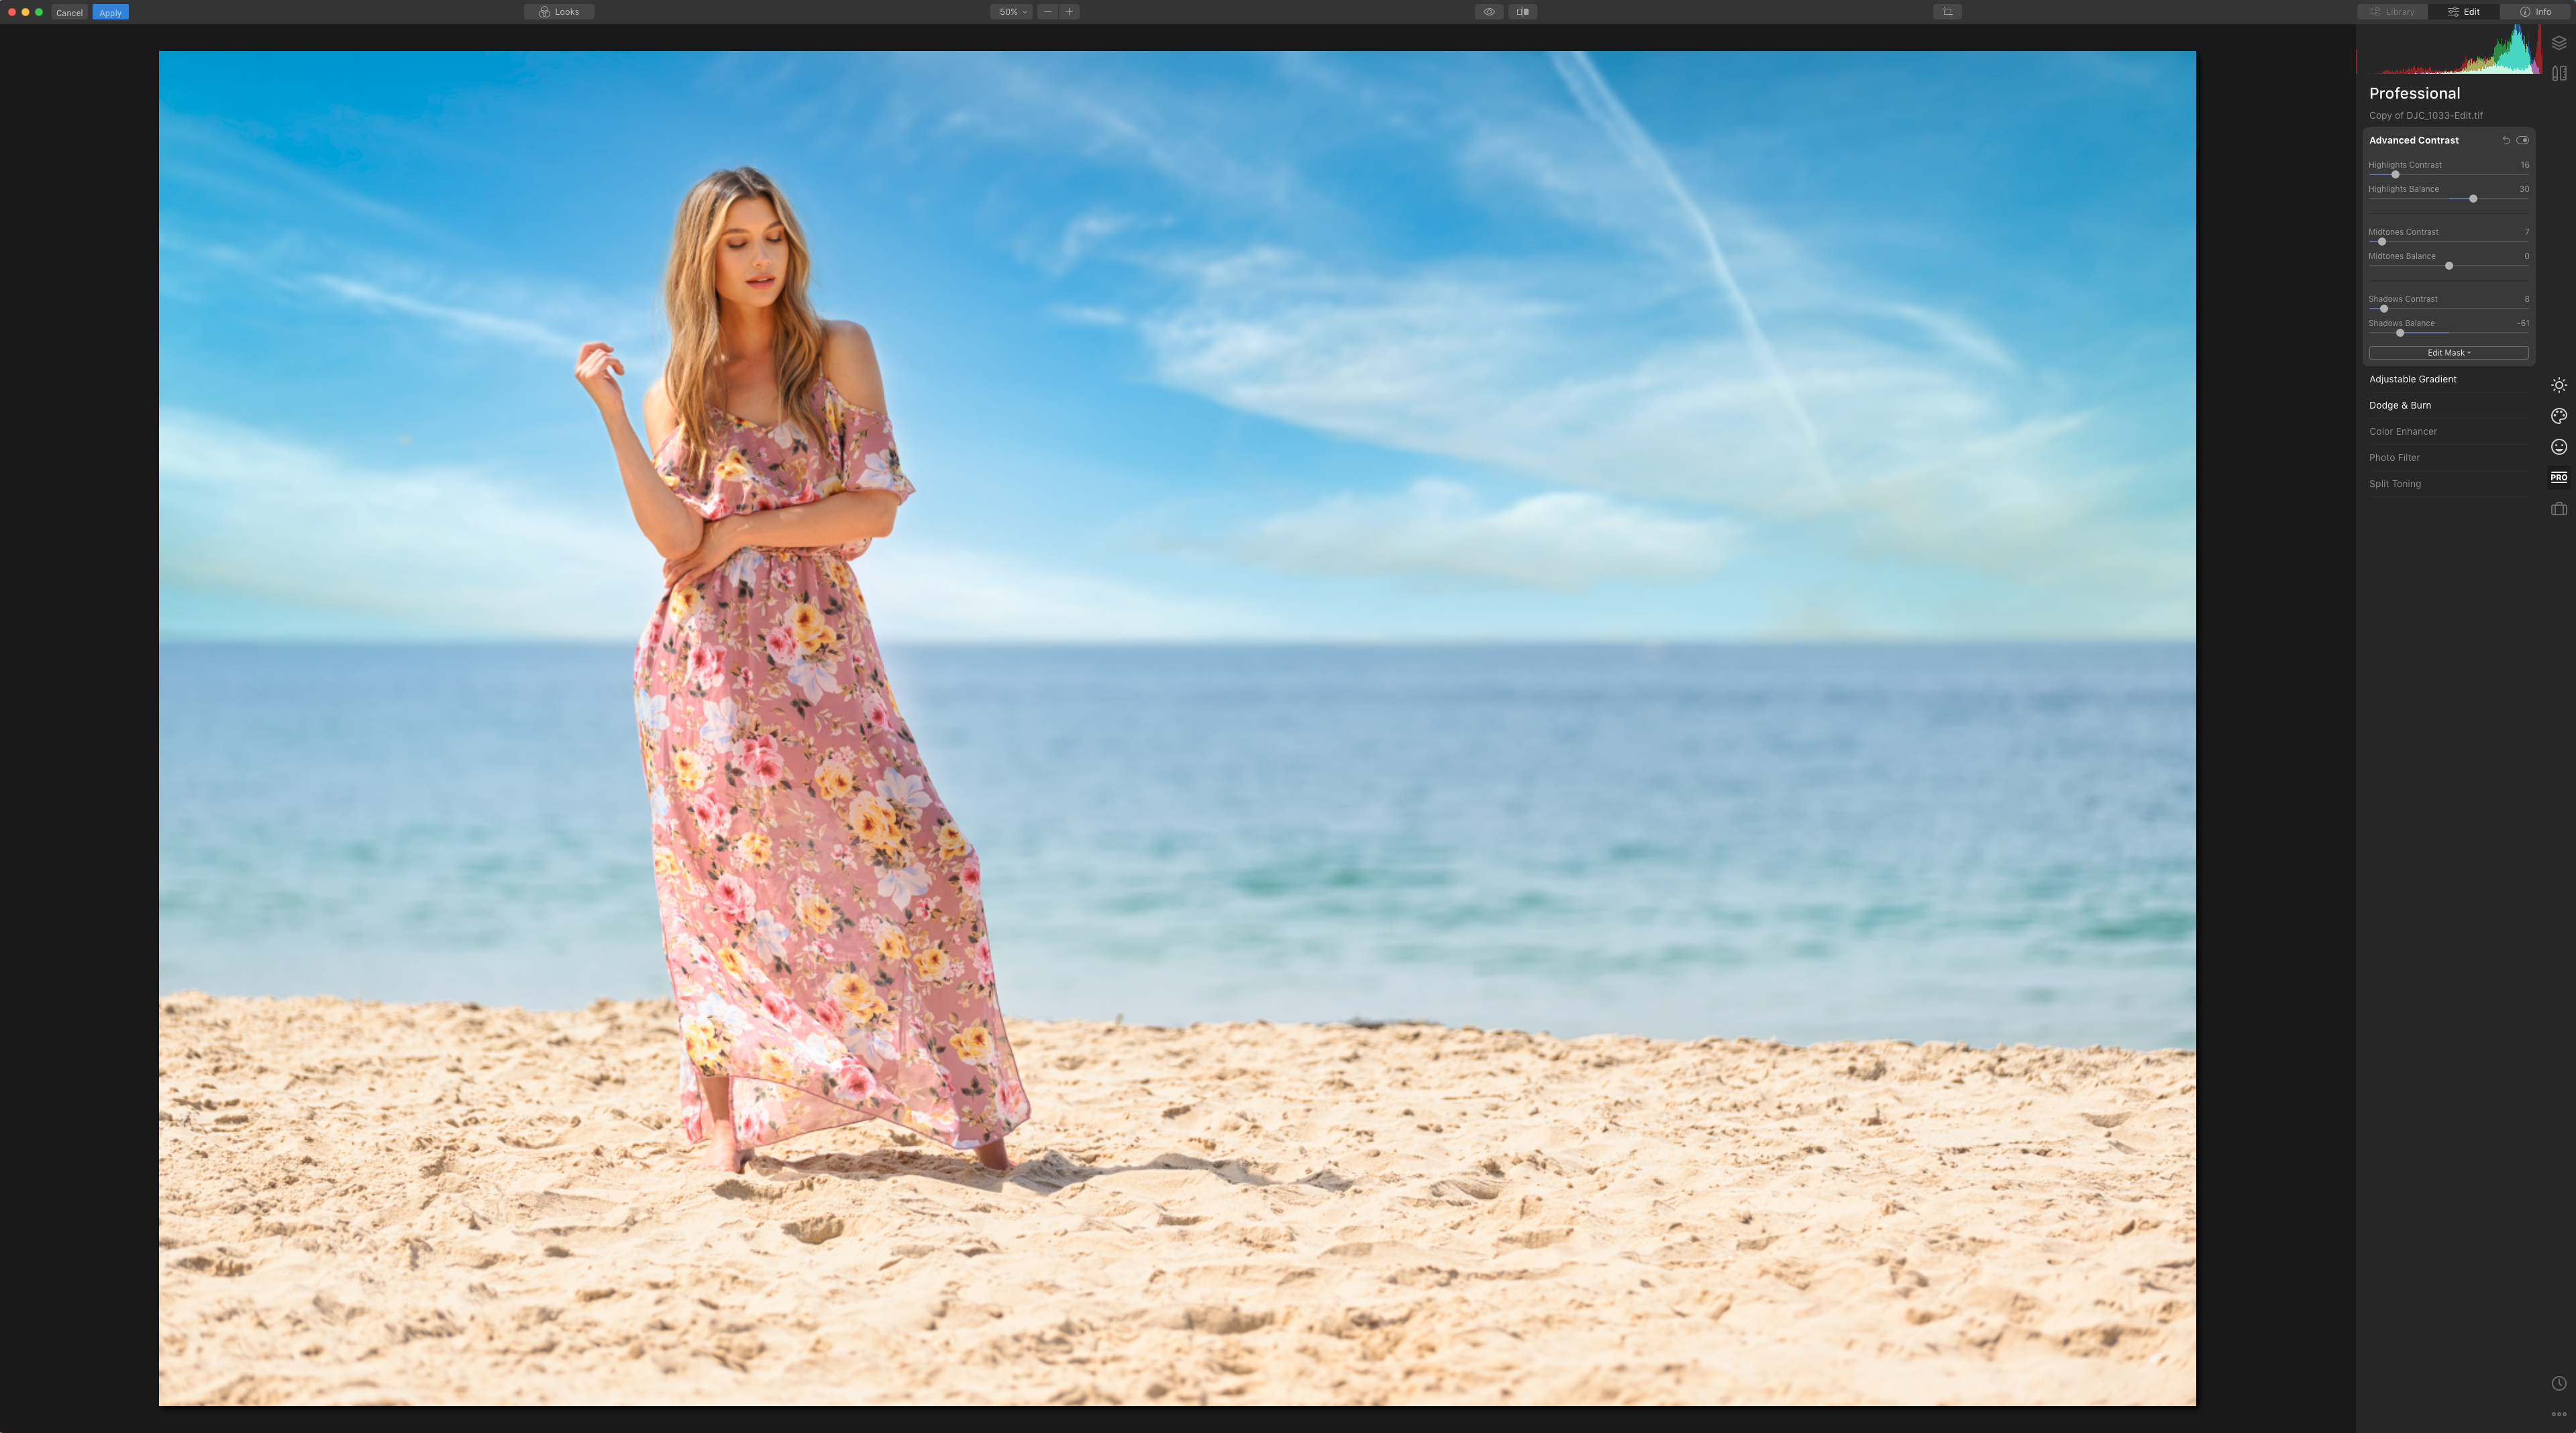


As a true before and after comparison, here’s the Luminar adjusted image compared to the original RAW file after I hit apply and sent the file back into Lightroom Classic.
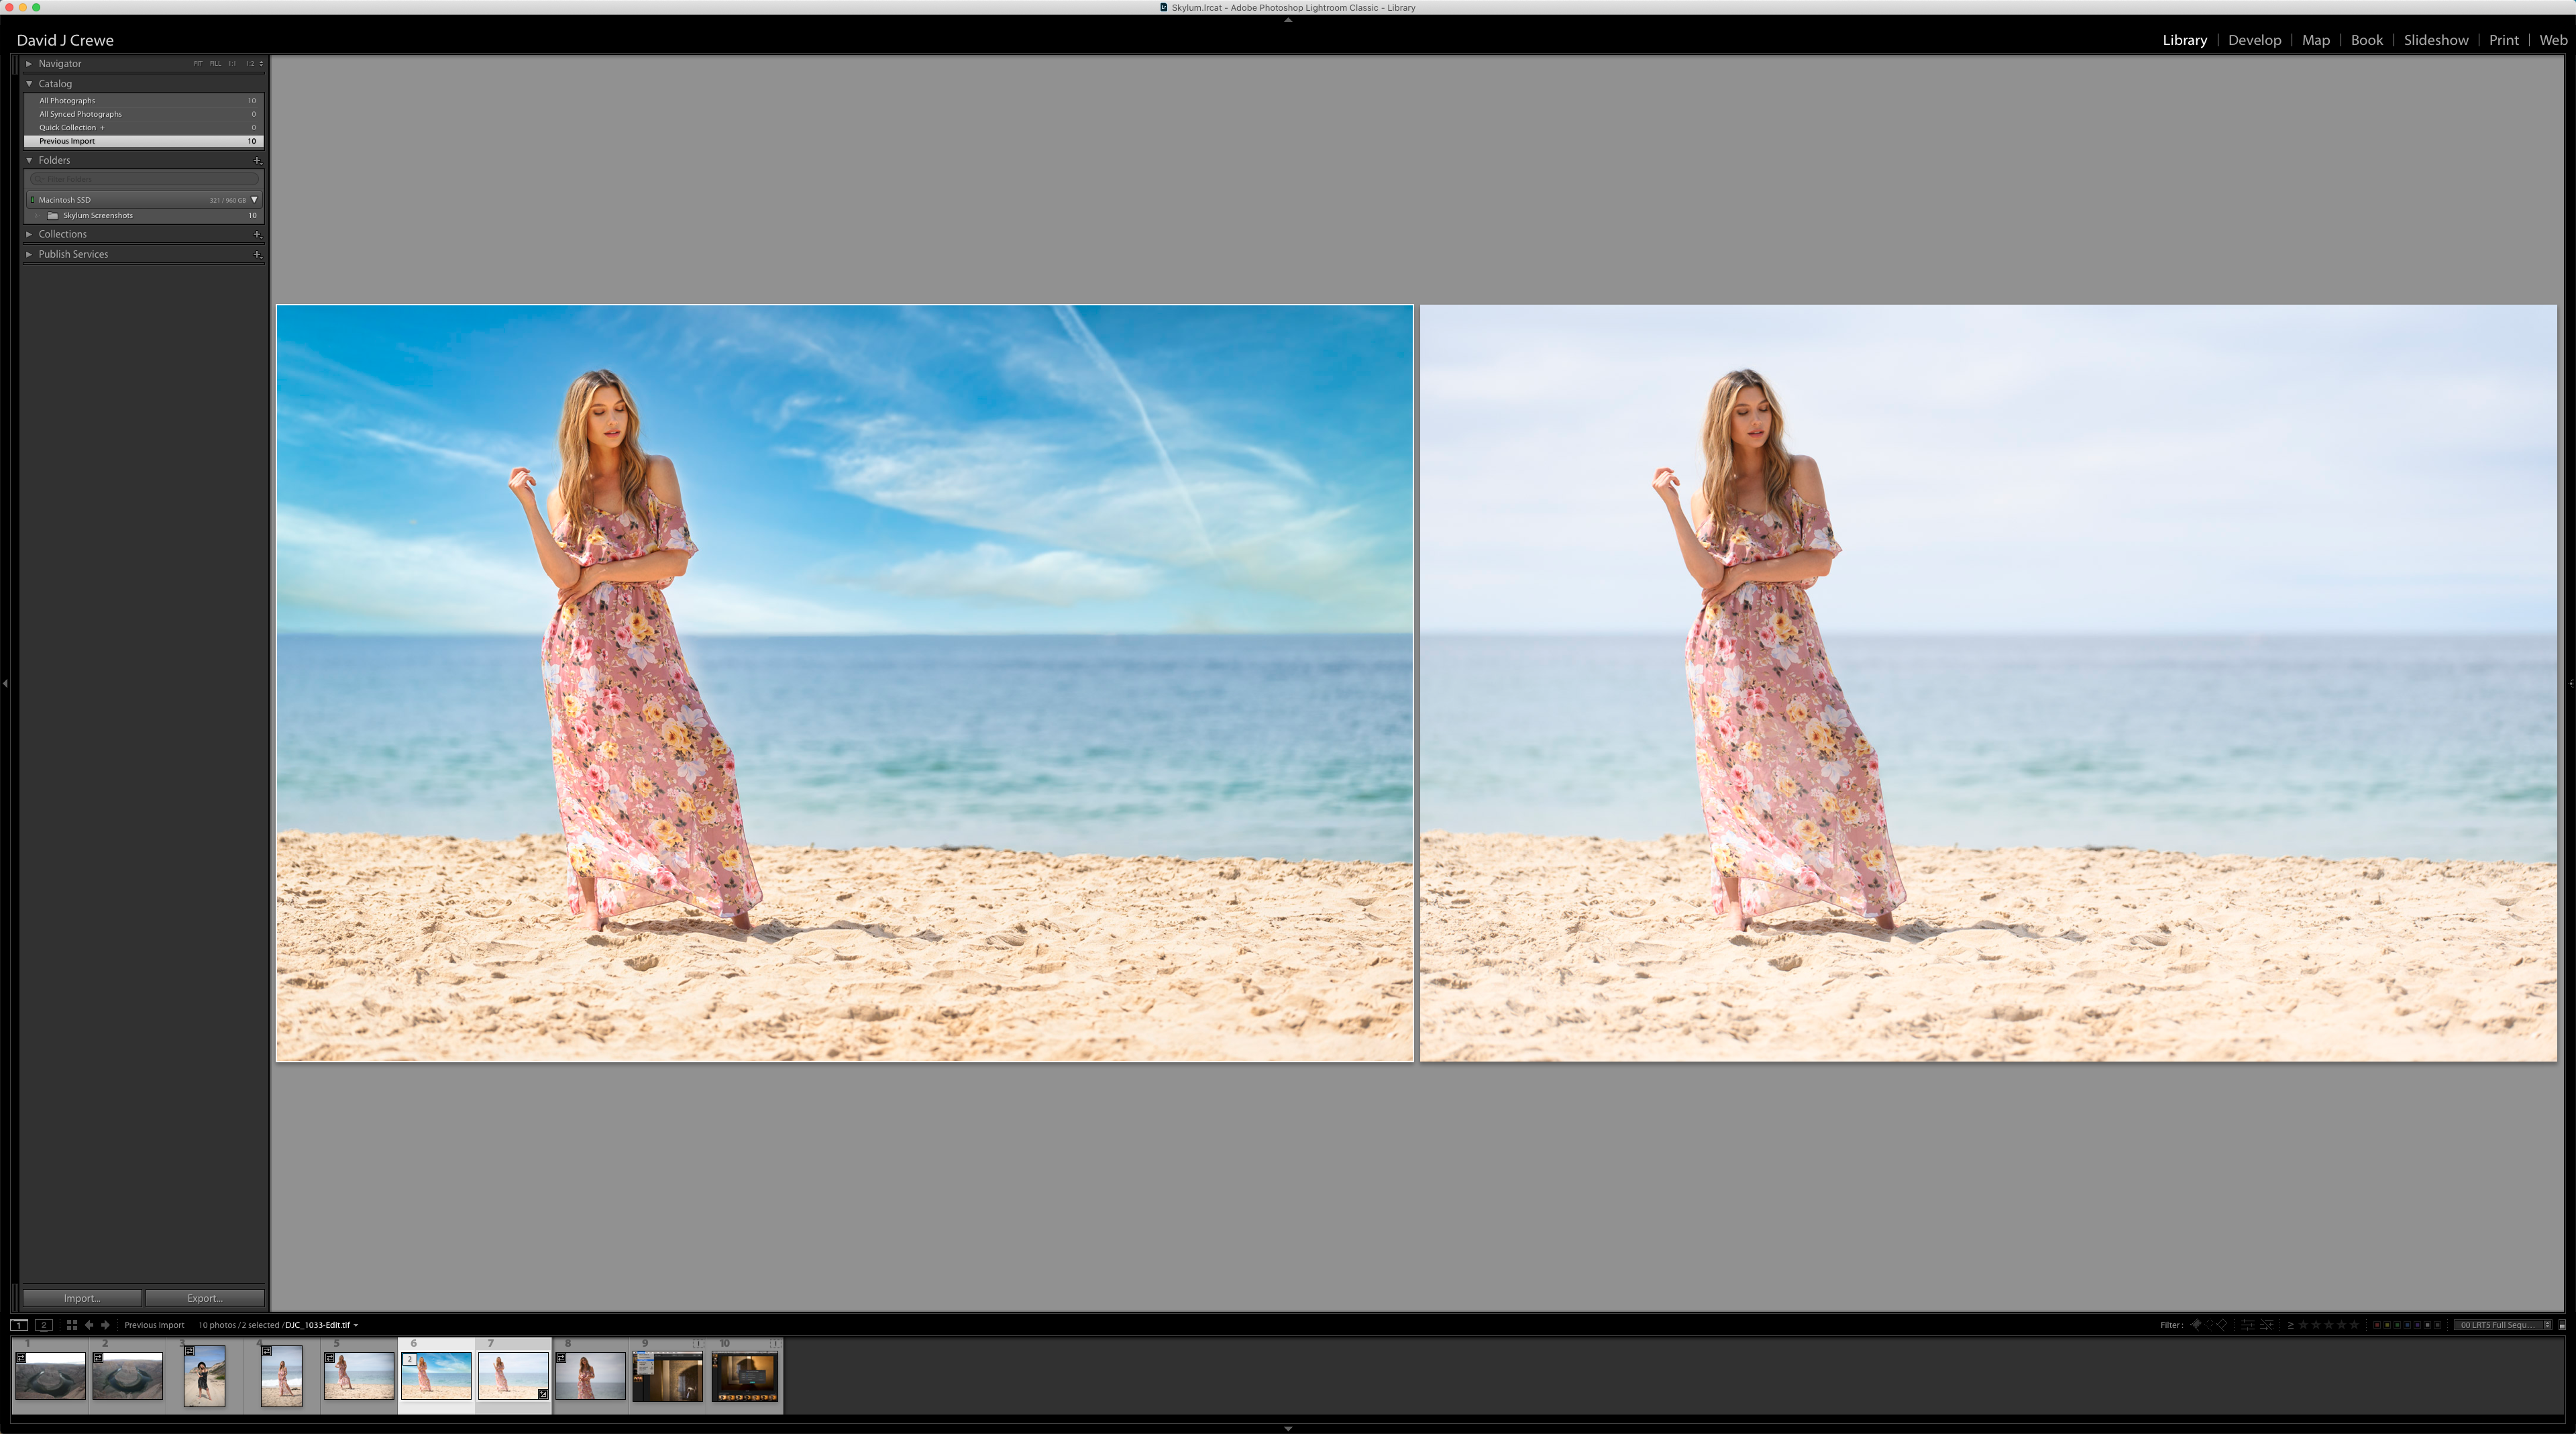
Now, I may have gone a little heavy-handed on this, but I didn’t take any time to fine tweak any of my settings. I simply wanted to prove what you could do with these powerful tools in no time at all. Once I got this back into lightroom, I dialed back my saturation a little bit and with a few other quick tweaks I was left with this image, ready to go into photoshop (if we wanted) to make any final adjustments.


Additionally, I also took a quick landscape image that I had captured on a “bad weather” day and felt it was flat and boring. Now, I know this is technically “cheating,” but again, if you are in a once-in-a-lifetime spot, and you get less than once-in-a-lifetime settings….it’s amazing what Luminar 4 can do for your shots!
Here’s what I started with for this landscape process;
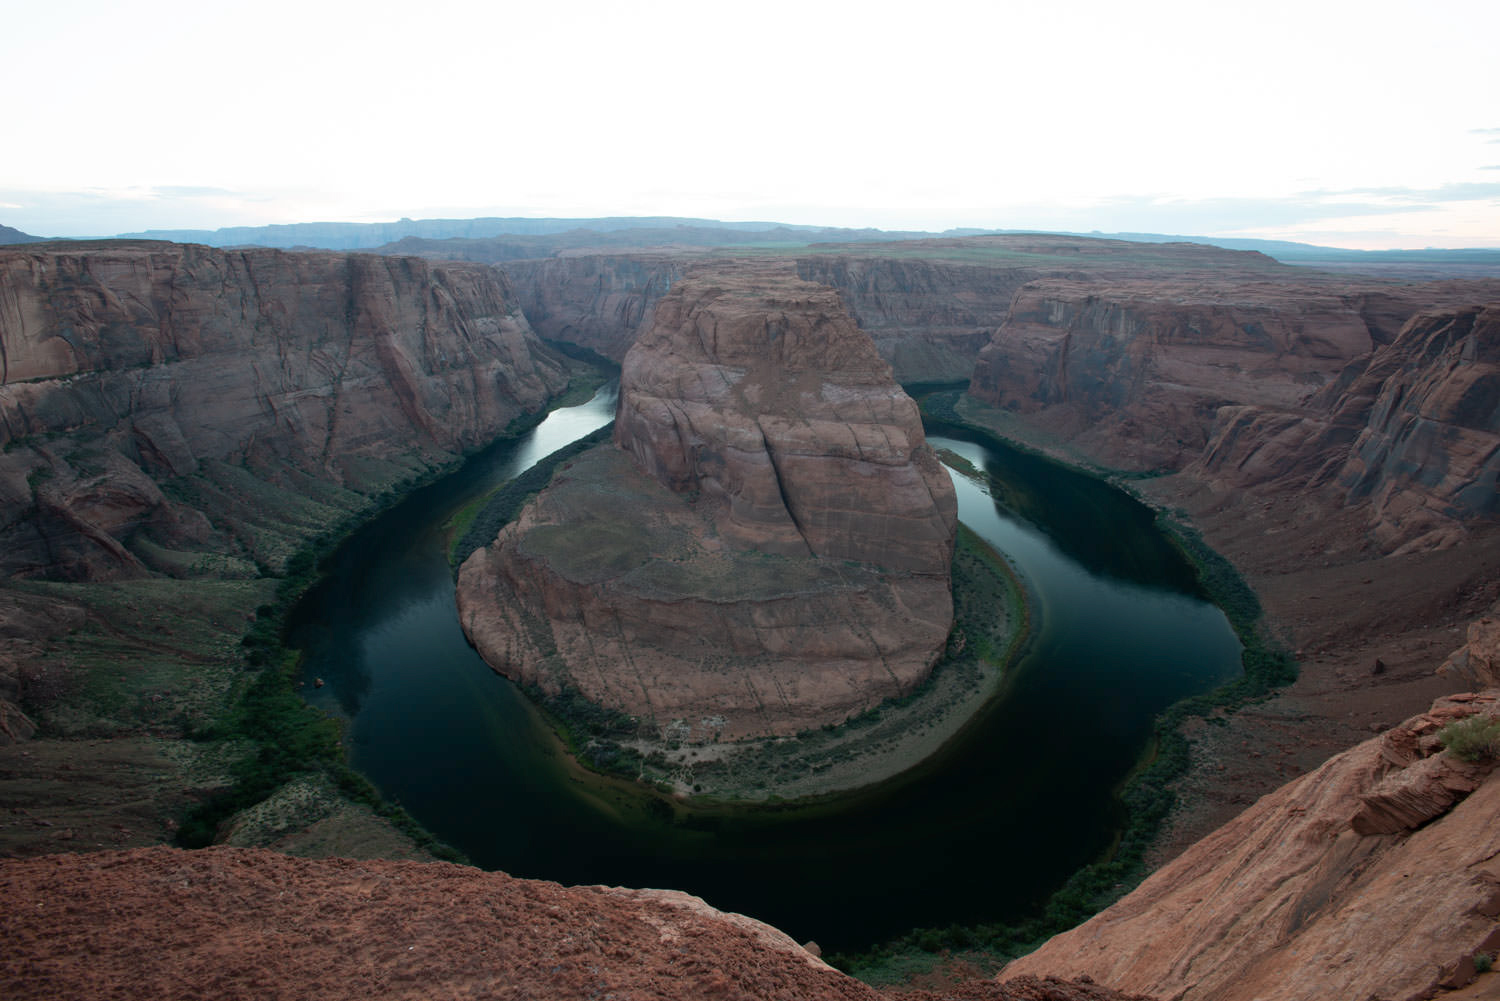
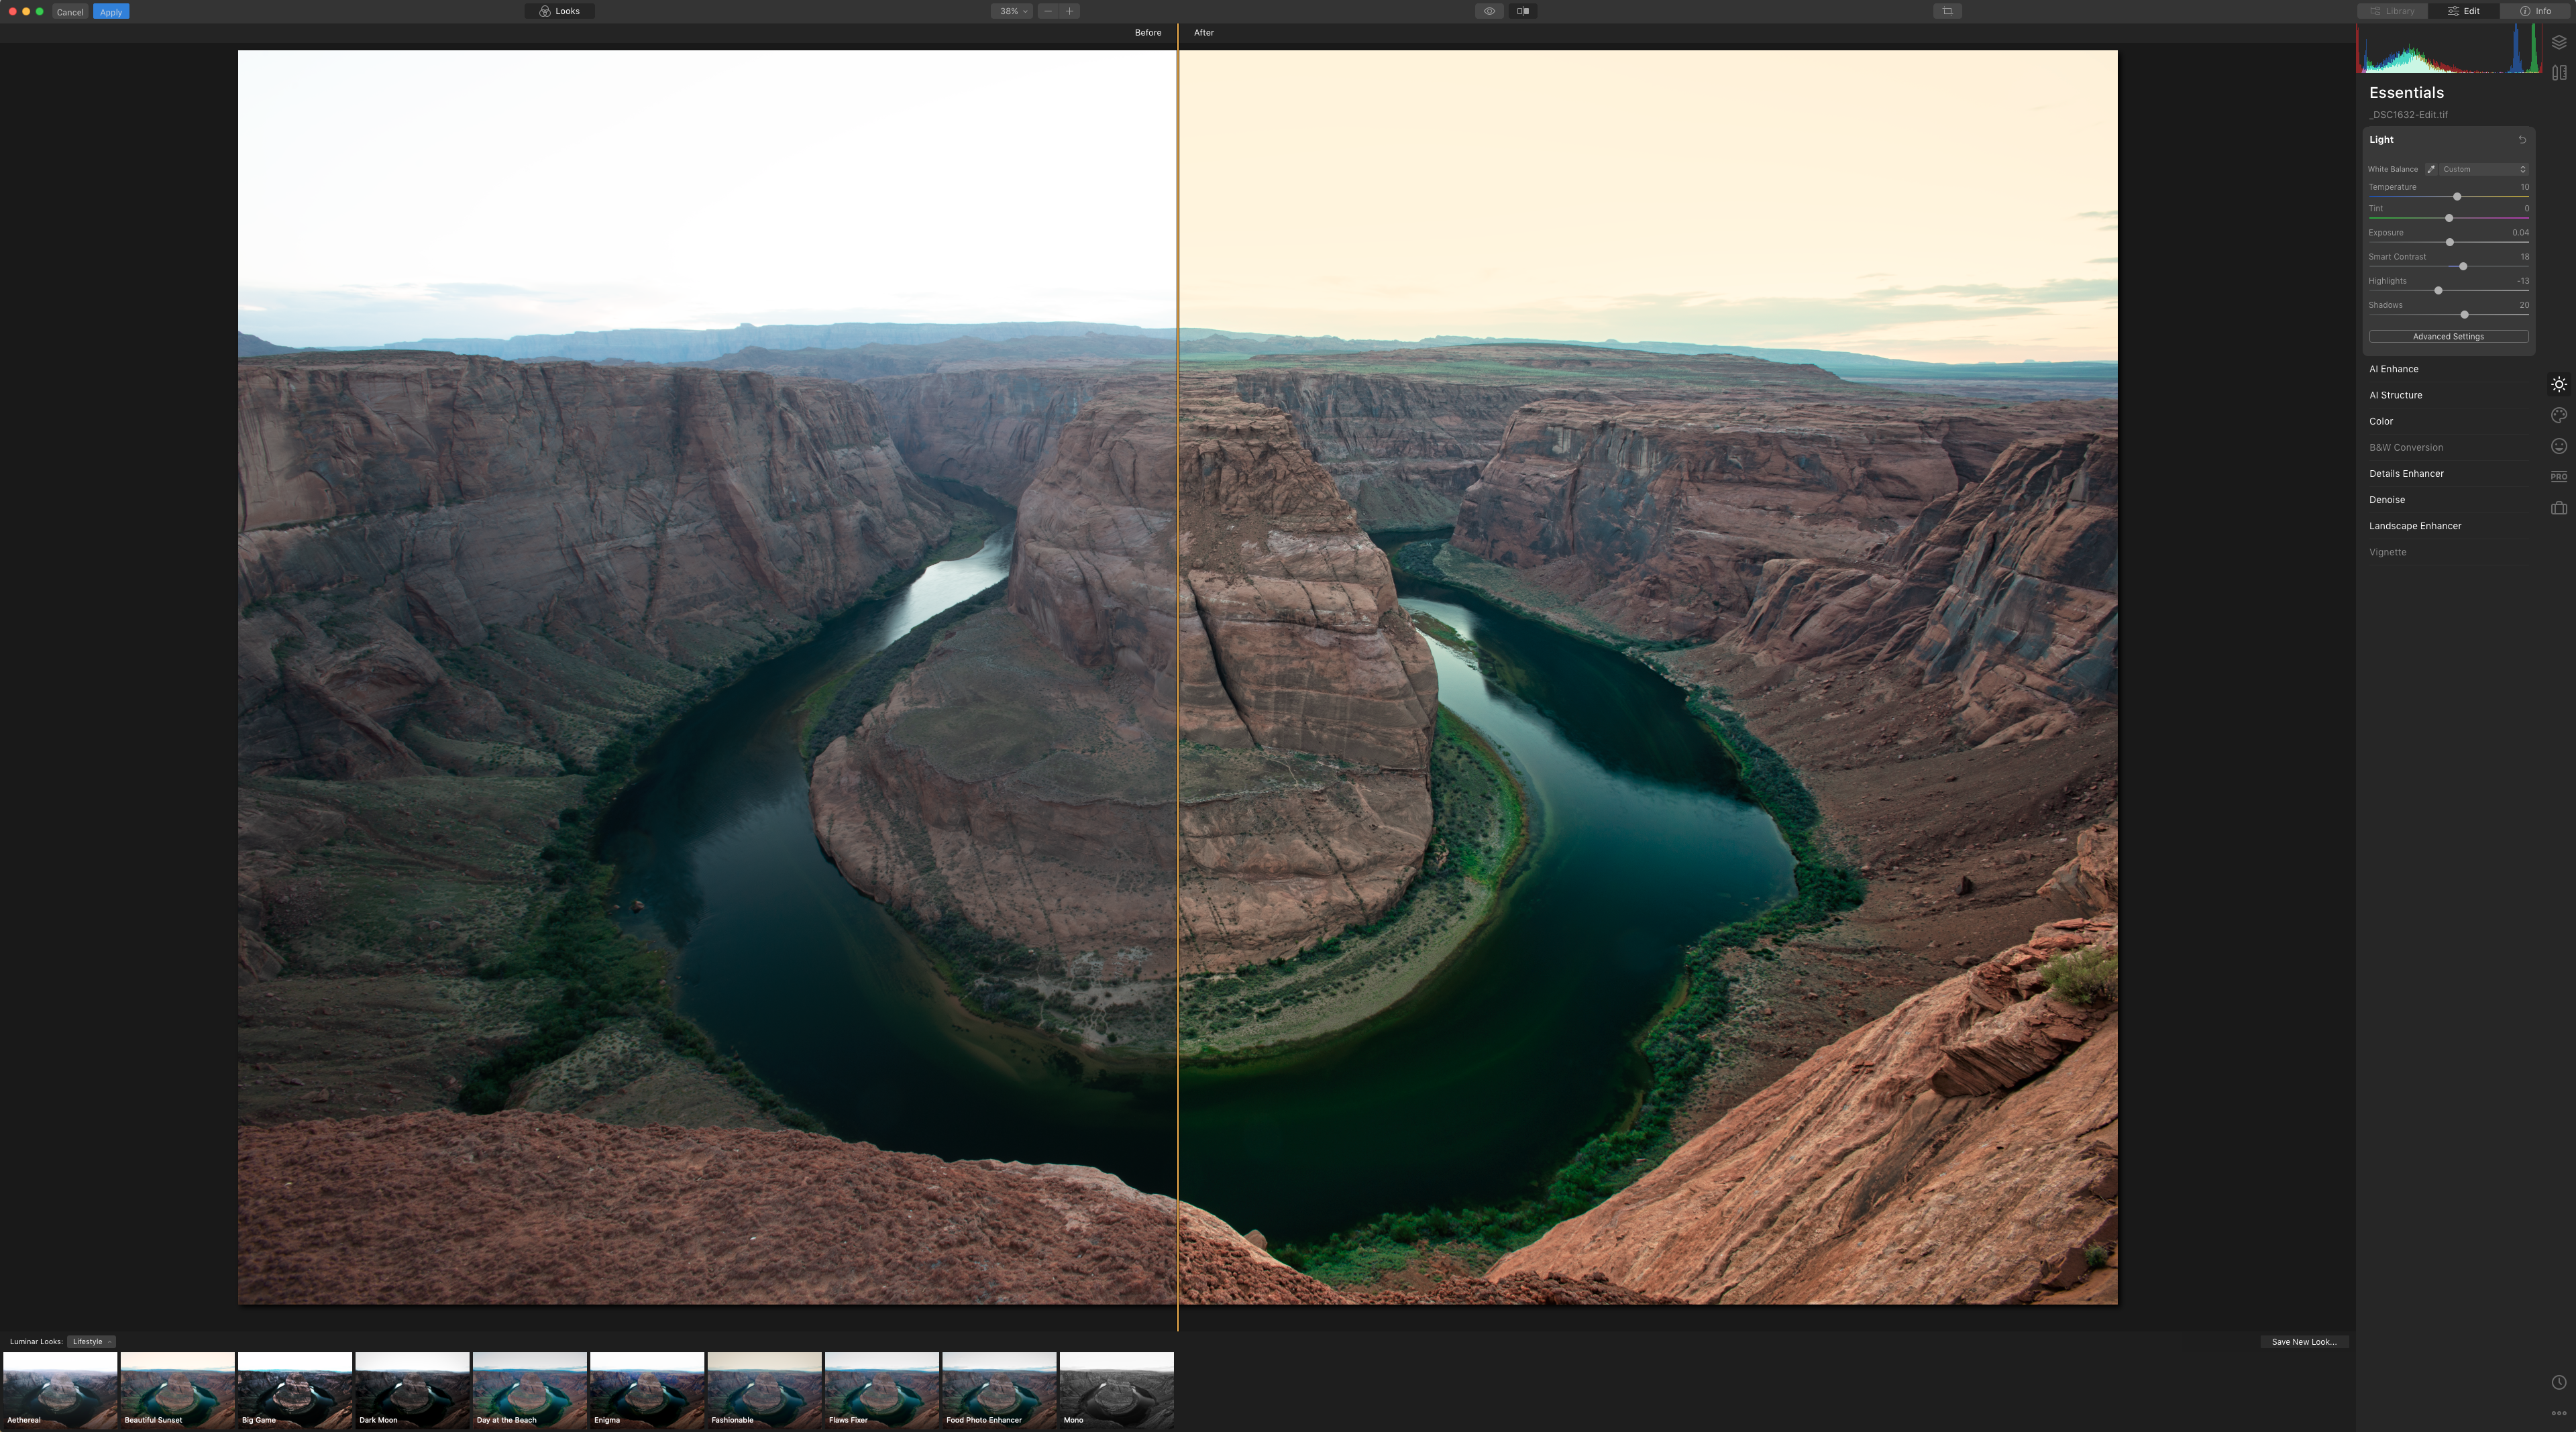
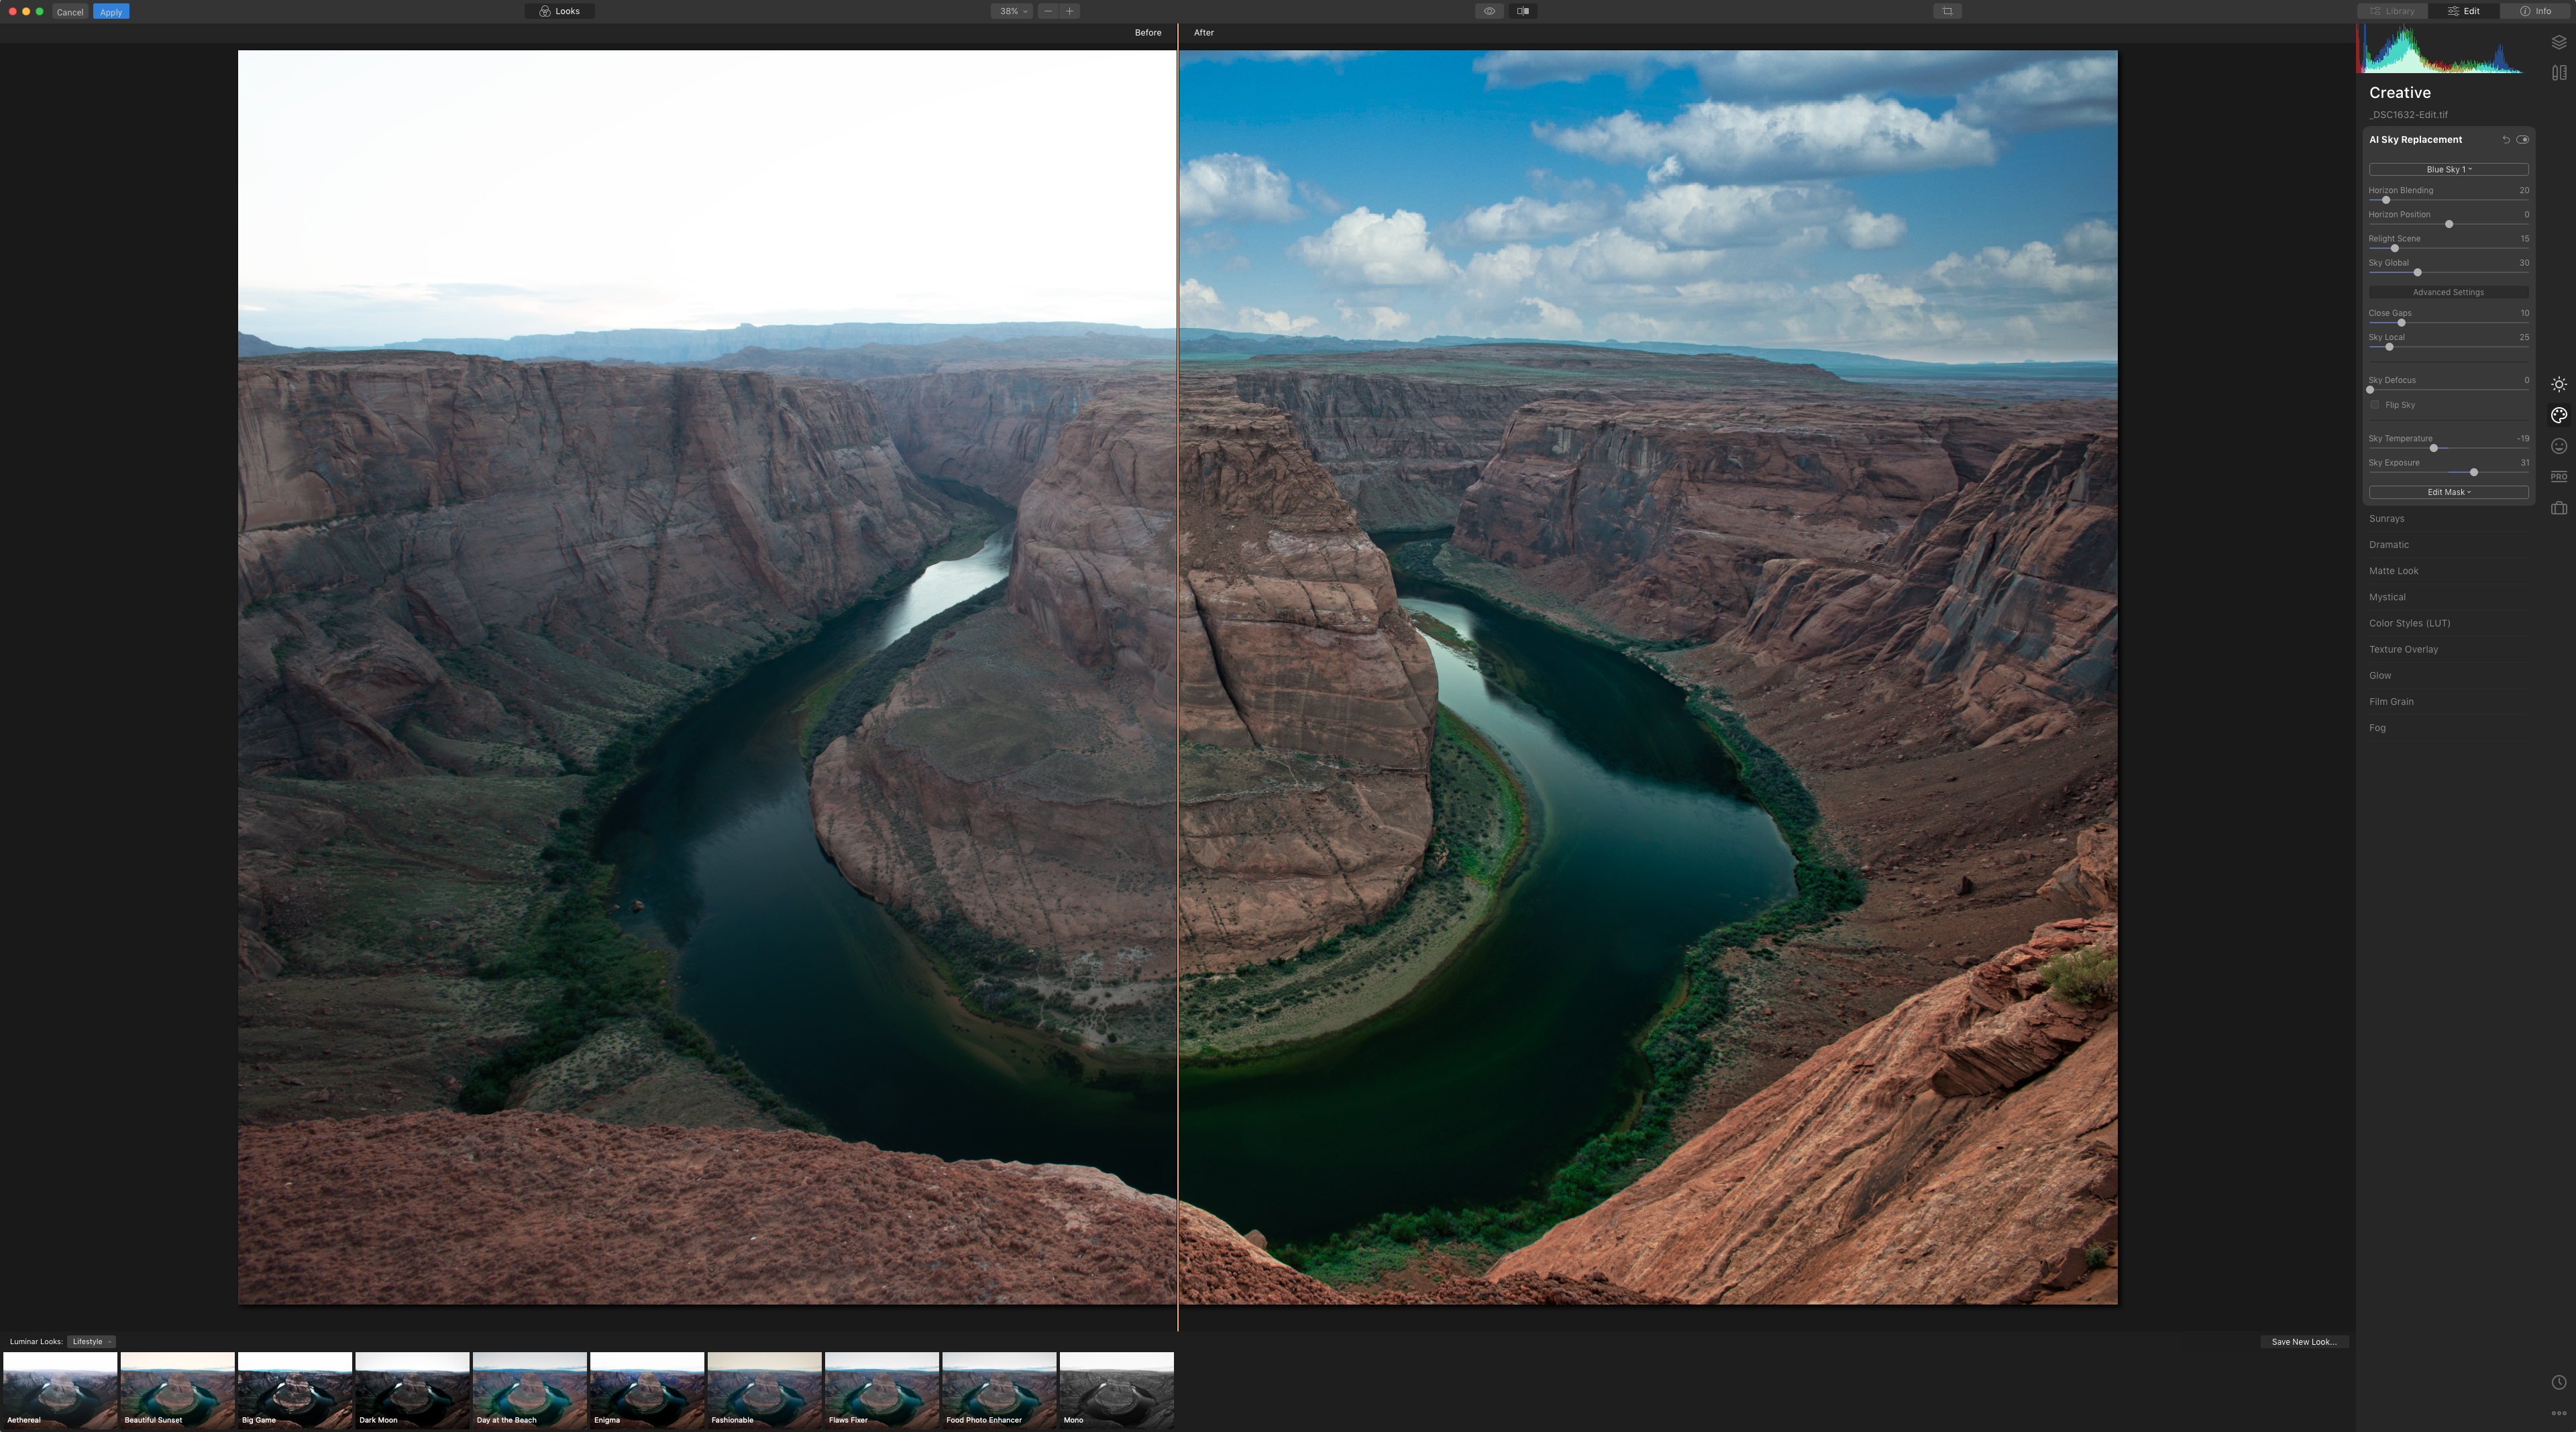
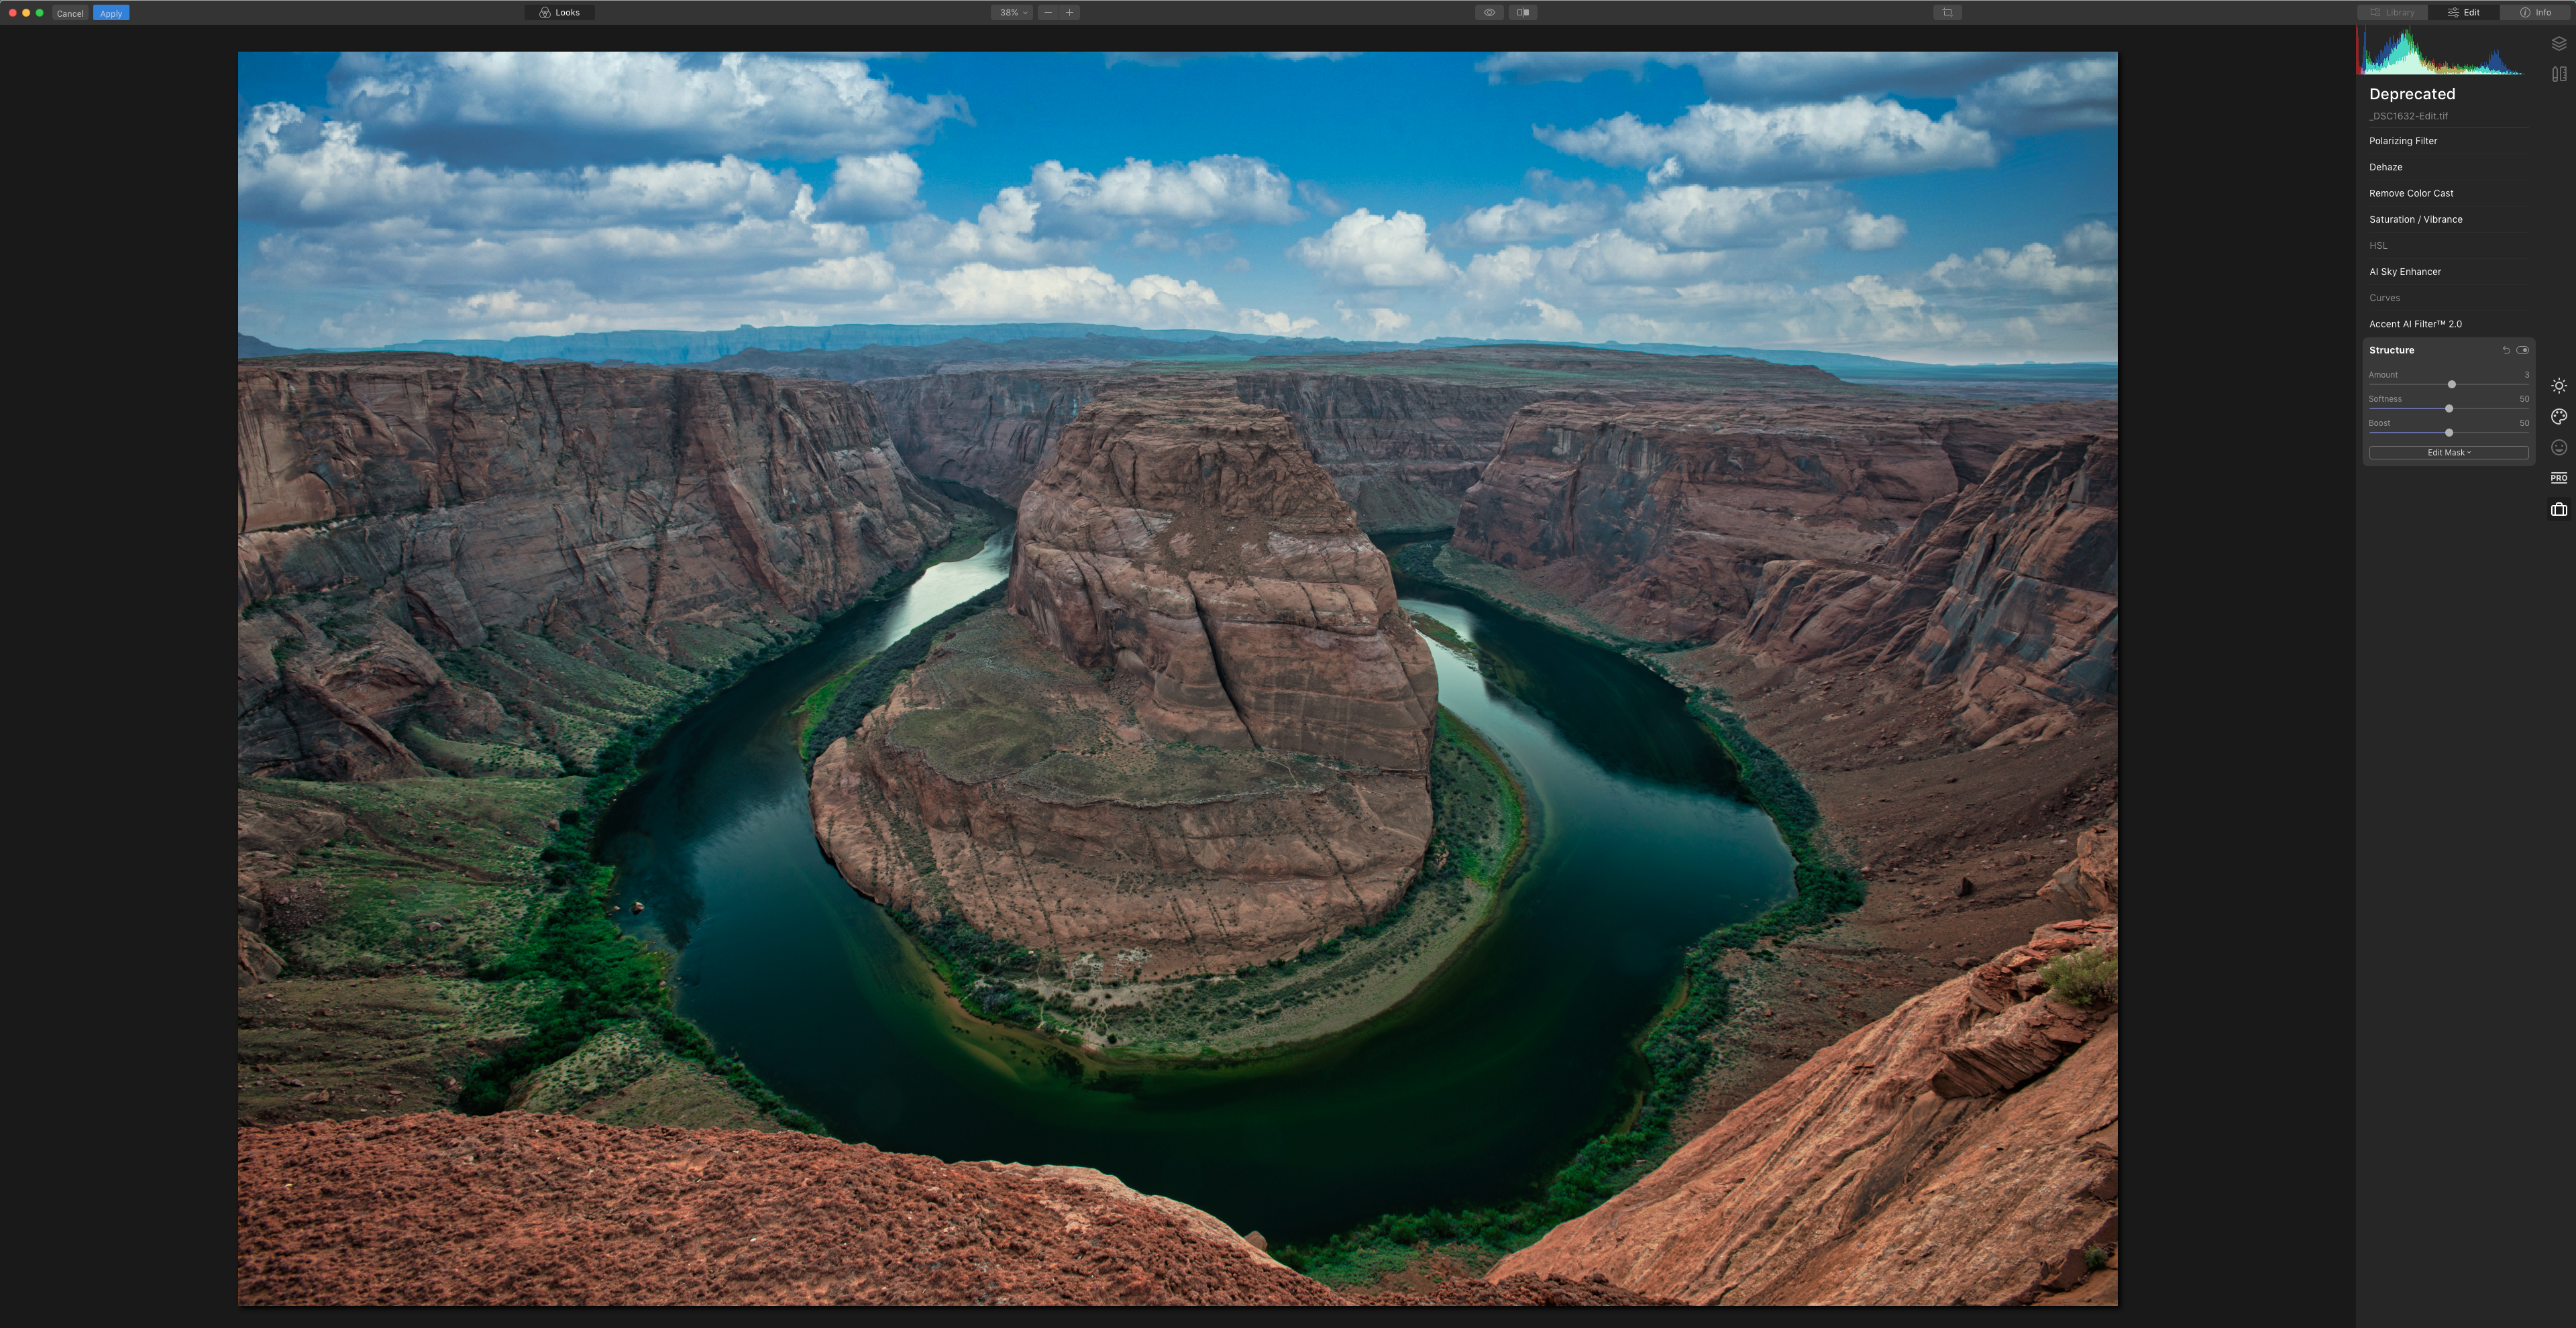
The process I went through was rather similar to what I did with the portrait above, so I won’t go into those details line by line, but to give you an idea of the workflow, here’s a few screenshots of taking my raw file into Luminar 4 and then back into Lightroom classic
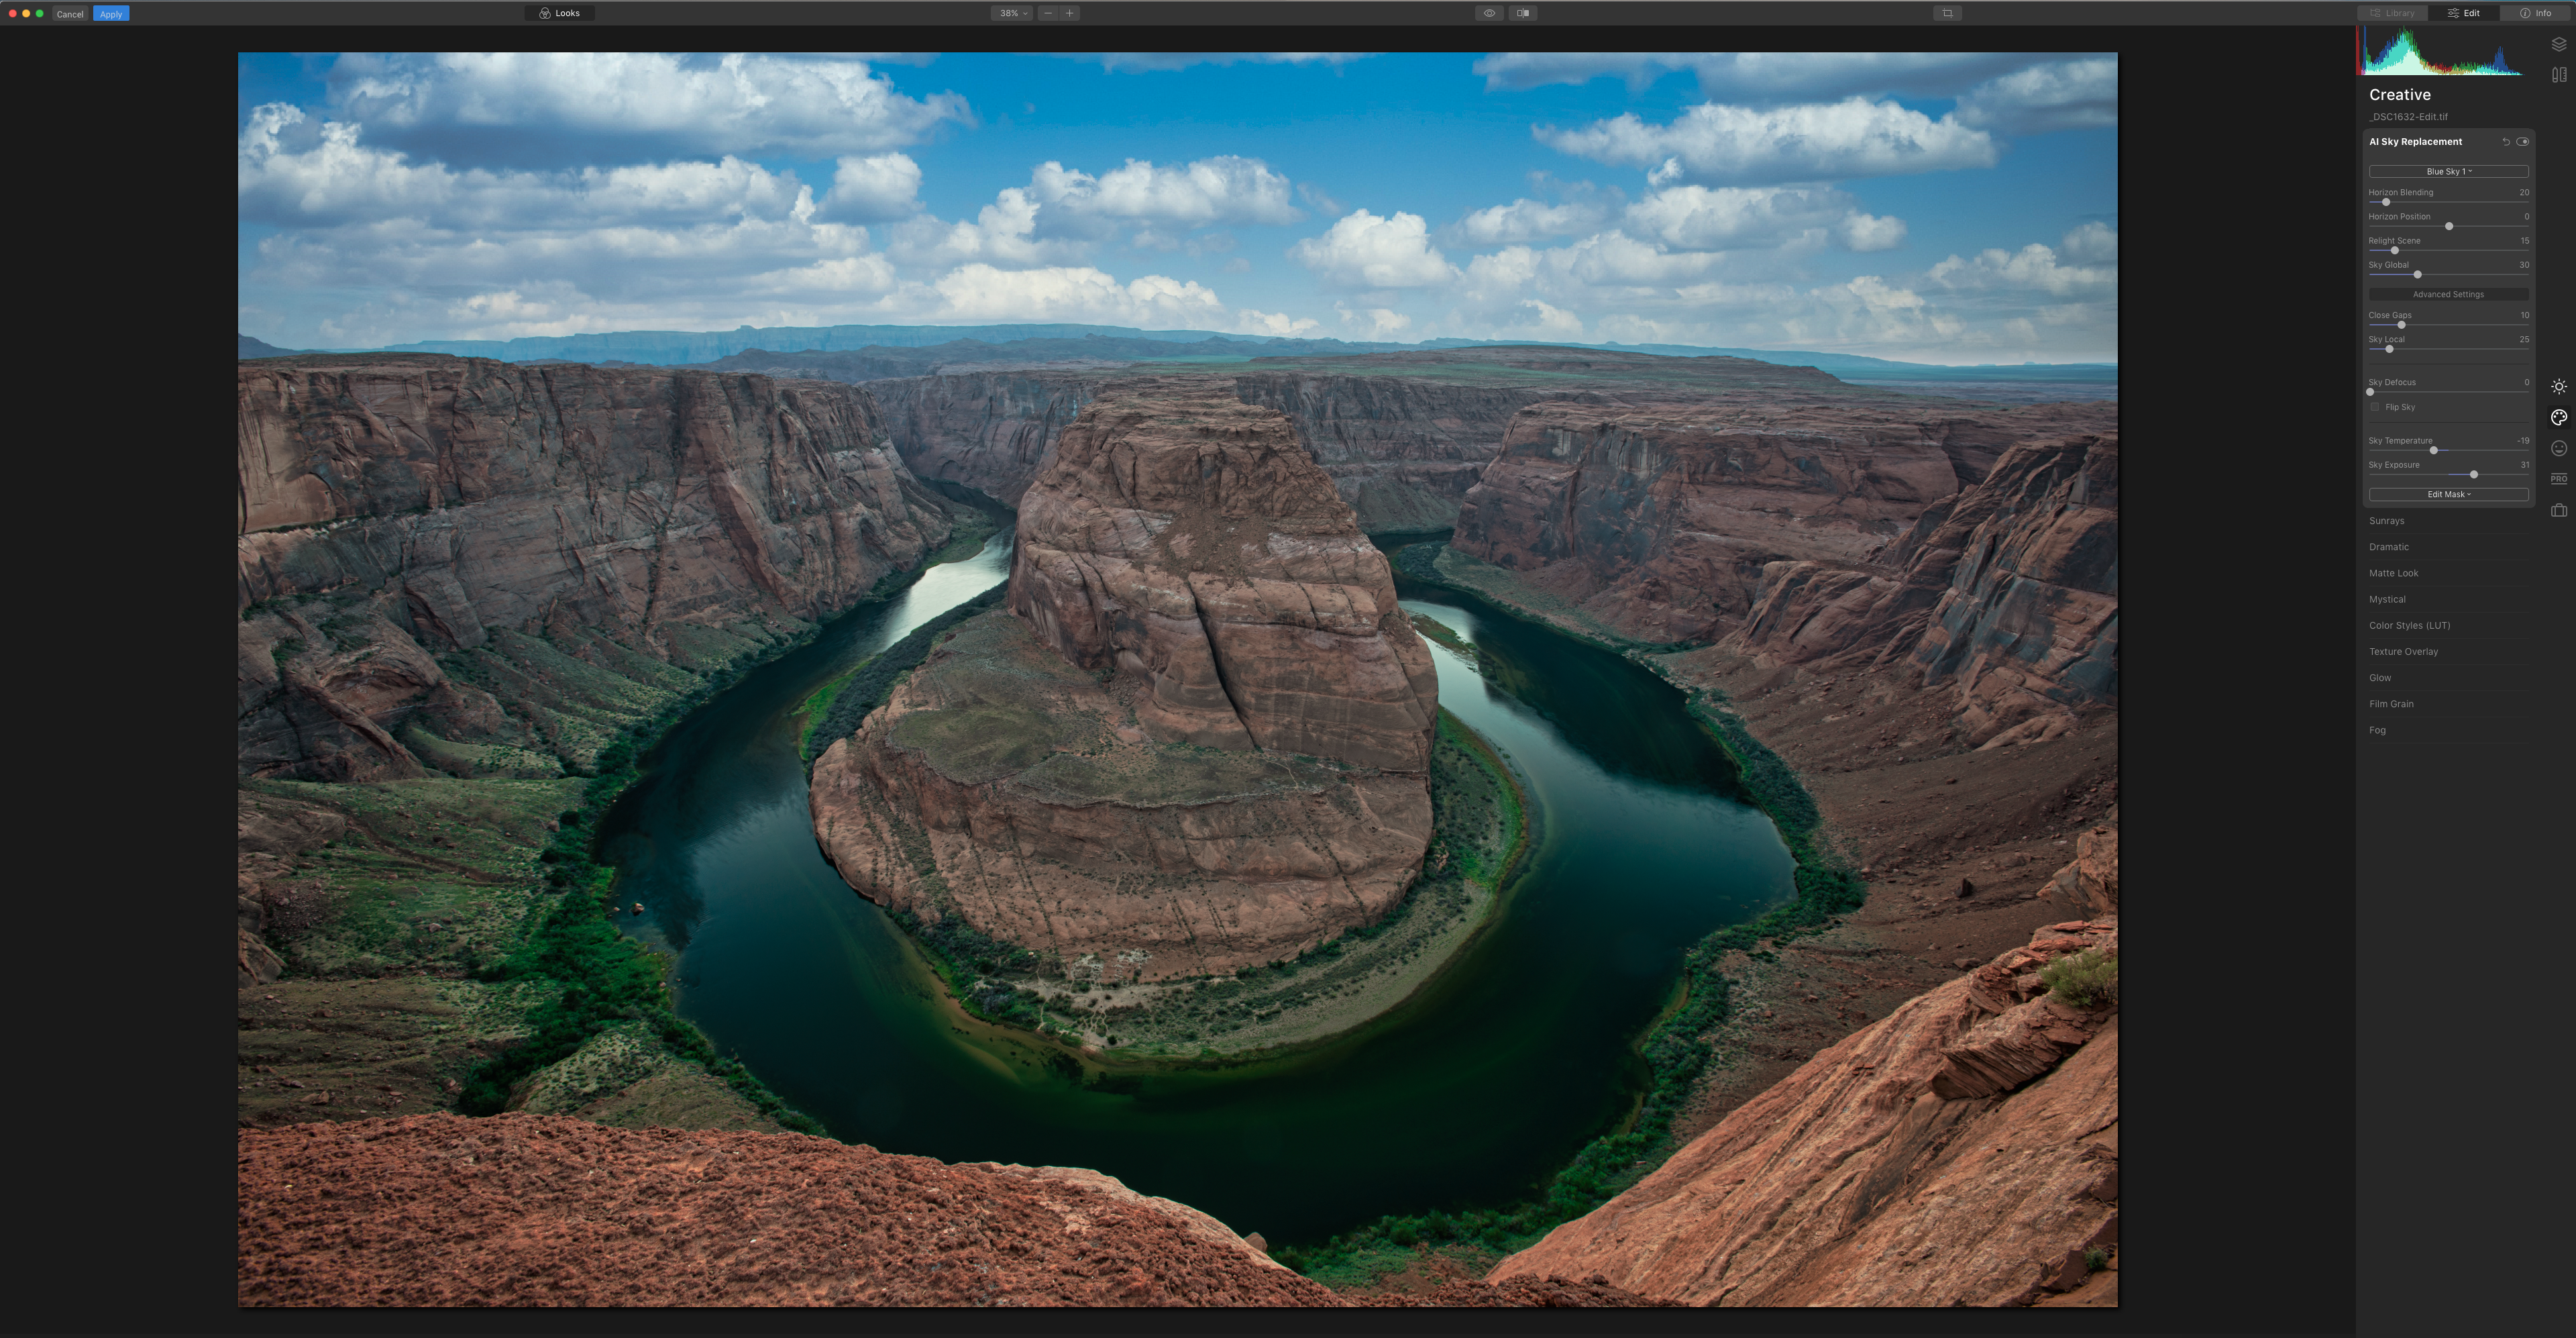
Now let’s add a few more minor tweaks
And now that we’re back into Lightroom, let’s look at the before and after once again.
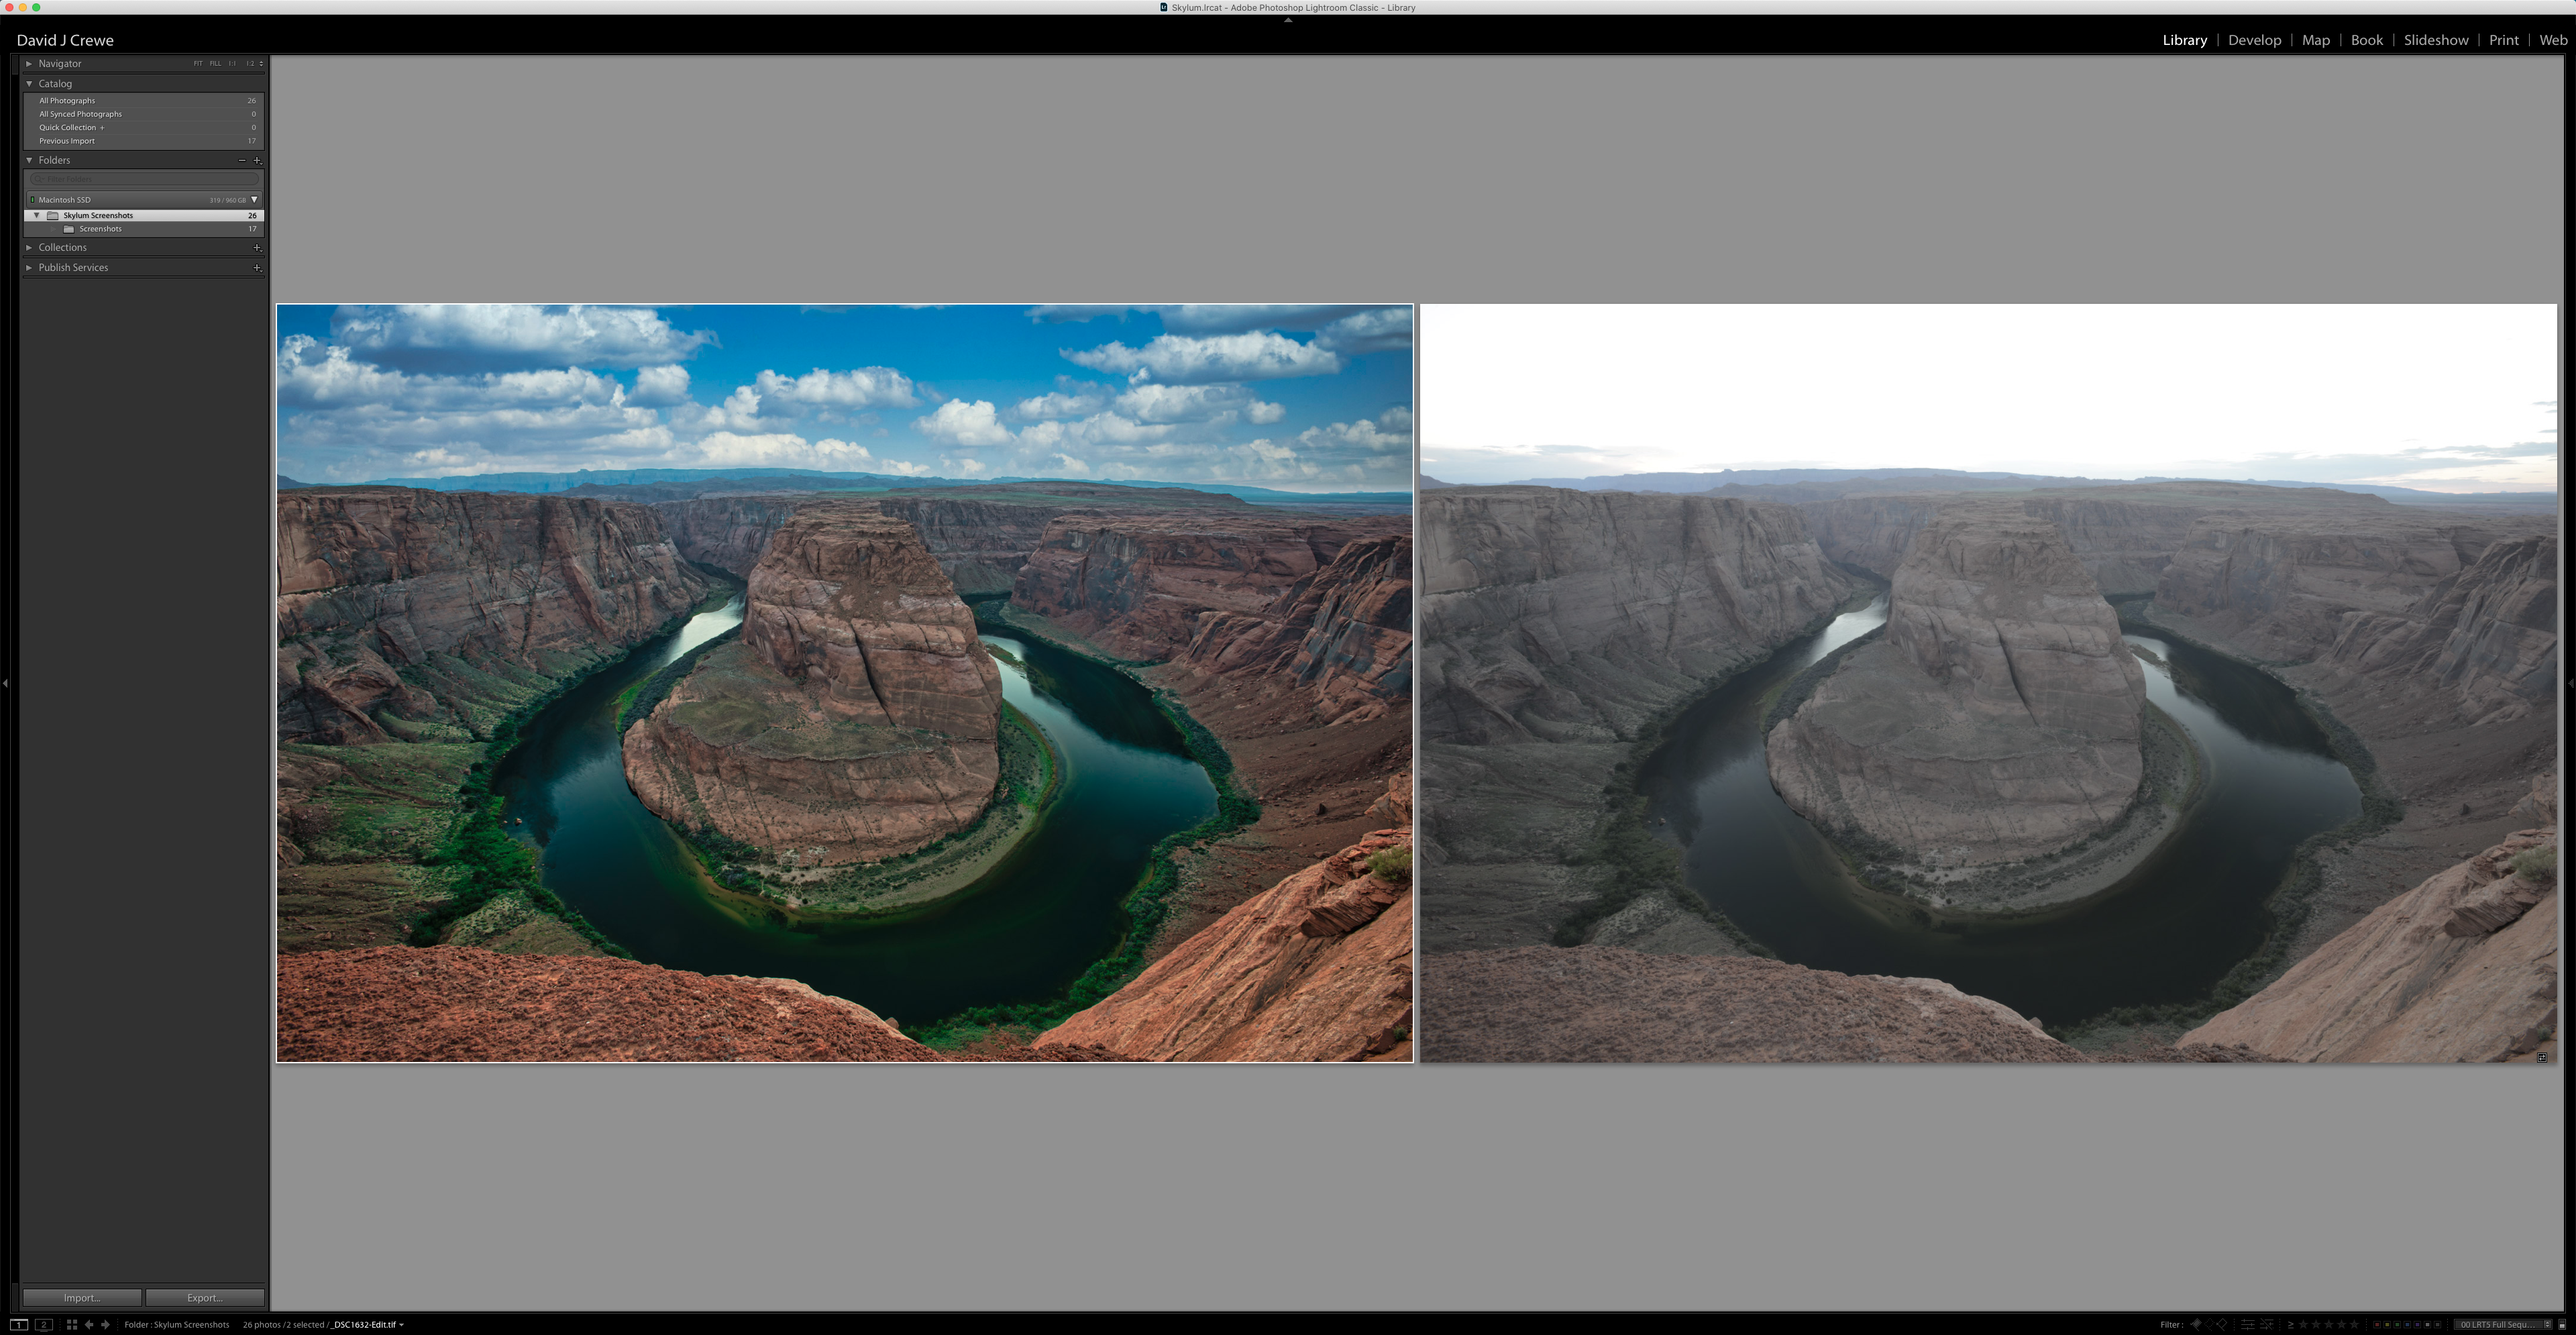
While there was some recovery I could have done on this file in Lightroom…it doesn’t even come close to comparing to the ability to fully replace the skies, automatically “relight” the scene, and then use the powerful AI Structure and Detail tools that are offered within Luminar 4. Once again, this edit took all of about 5 minutes to create and send back into Lightroom! From there I was ready to crop and add any final tweaks and get this image ready to send to print and publish!


Luminar 4 comes preloaded with 29 Sky files to work with, you can add your own, or download additional skypacks from Skylum to find the look that best suits your shot. Currently, you can only add one sky file at a time through the built-in import tool, but you can also manually add your files all at once with a little “hacking.” By that, I mean simply diving into the application folders and manually drag/dropping your files into the SkyTextures folder. You can do so by navigating to the following paths;
Manually Adding Bulk Sky Files to Luminar 4
On Mac
- Right-click on the Luminar 4 Application and click “Show Package Contents”
- From there, follow this path > Contents ▸ Frameworks ▸ MPLuminar4Resources.framework ▸ Versions ▸ A ▸ Resources ▸ SkyTextures
On PC:
- Navigate to the following folder – C:\Program Files\Skylum\Luminar 4\profiles\SkyTextures
After you’ve copied your sky files over, simply open Luminar 4 again and they will be pre-loaded as options for you to choose from on your next sky replacement!

