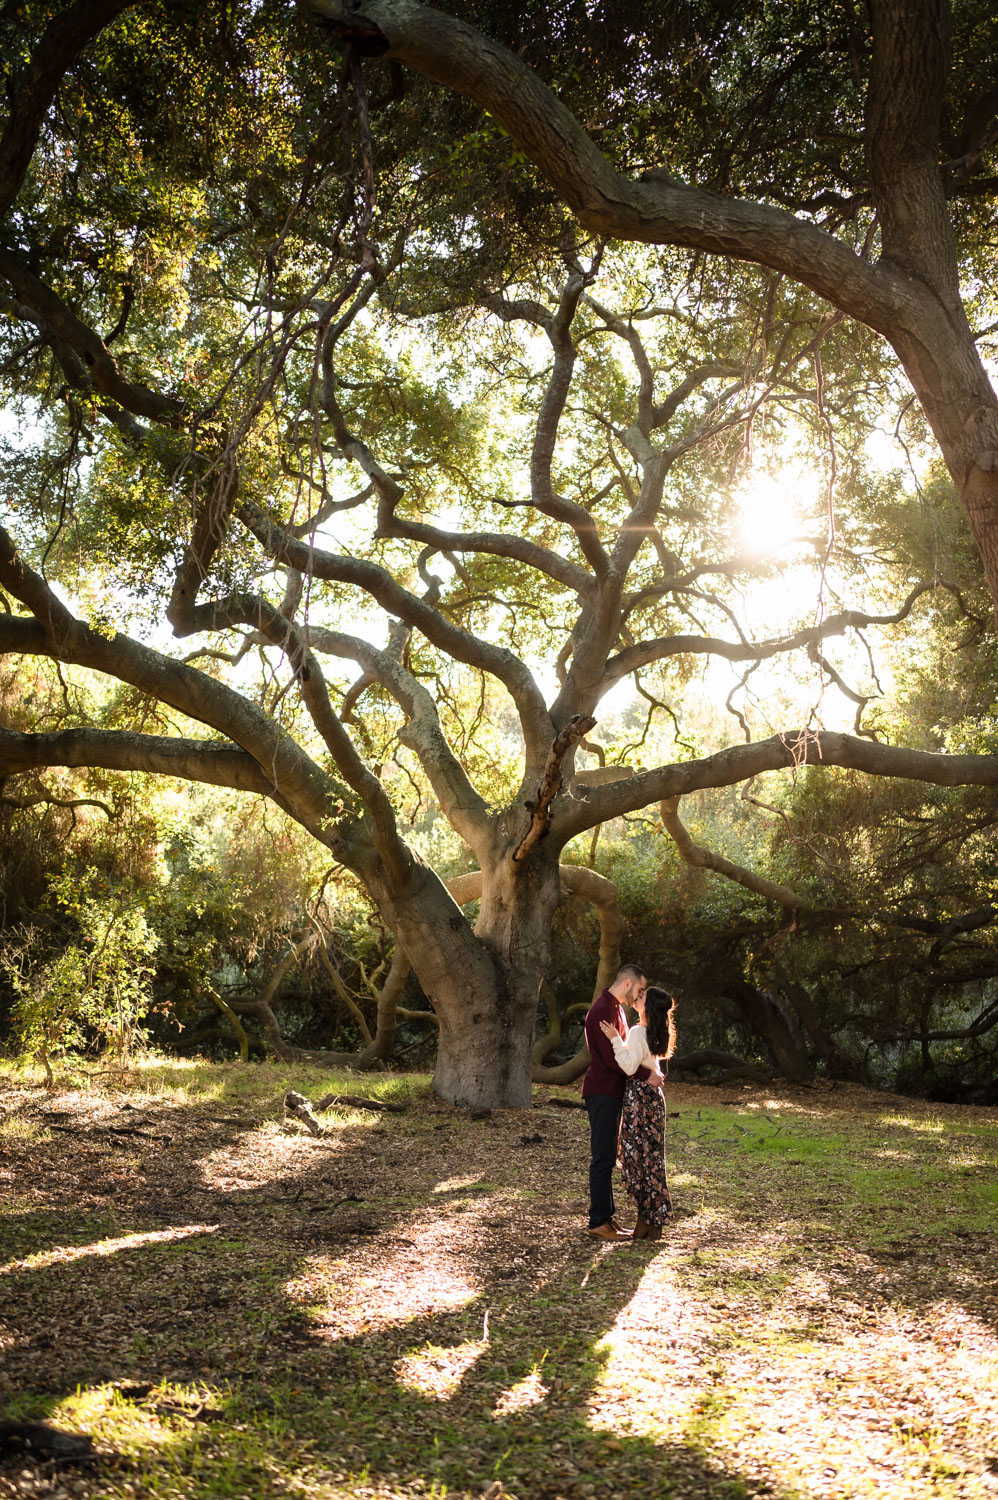
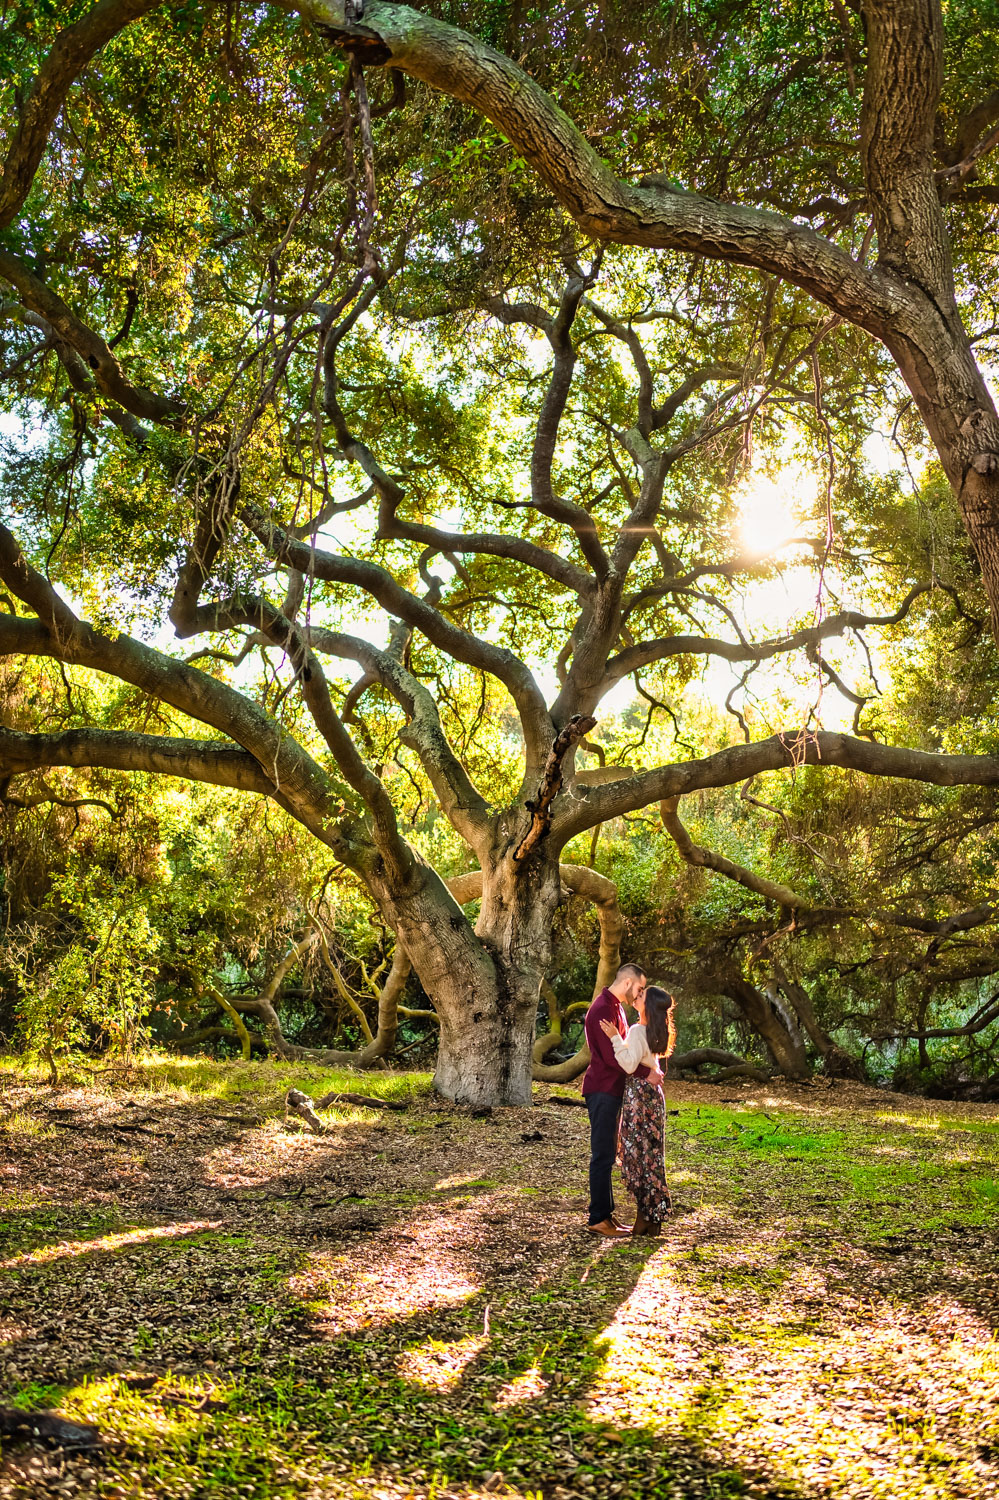
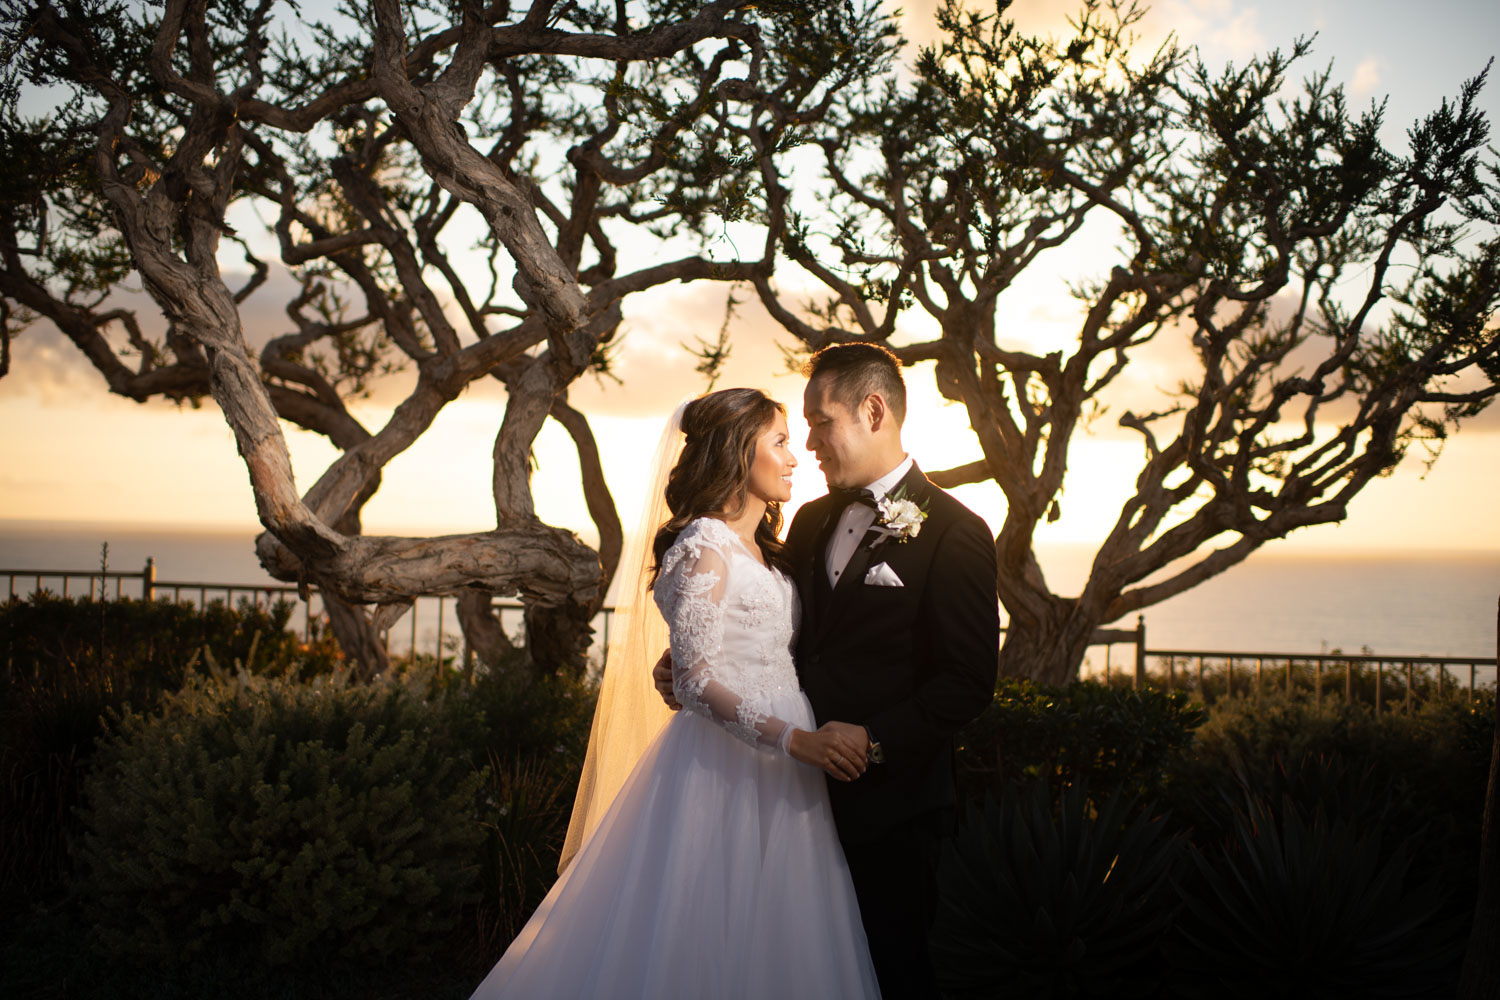
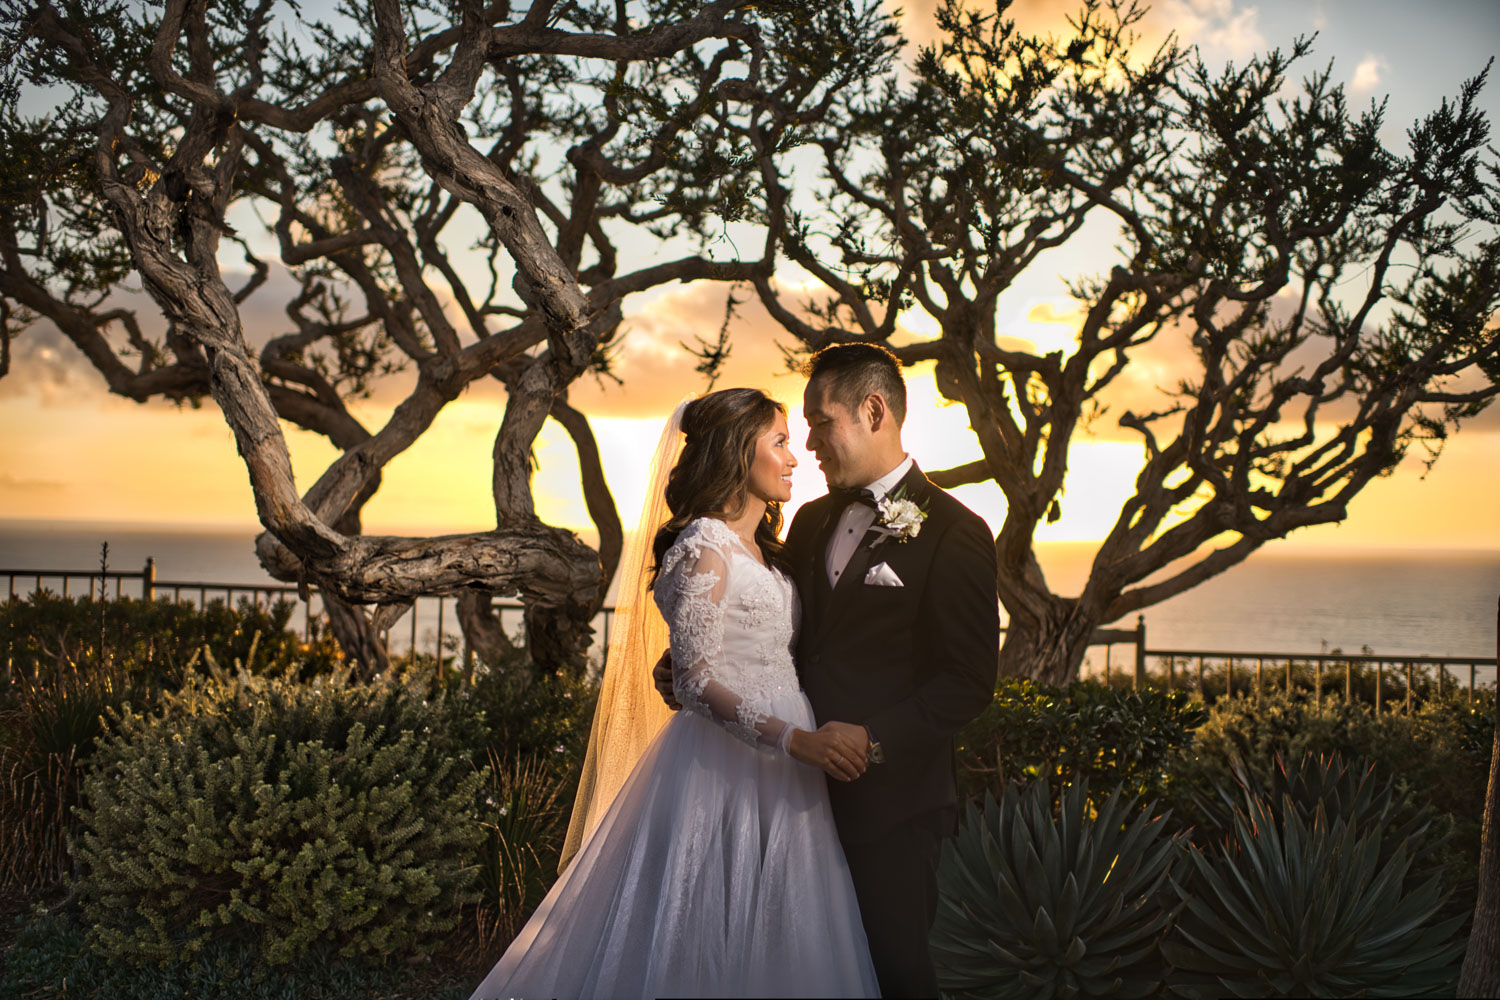
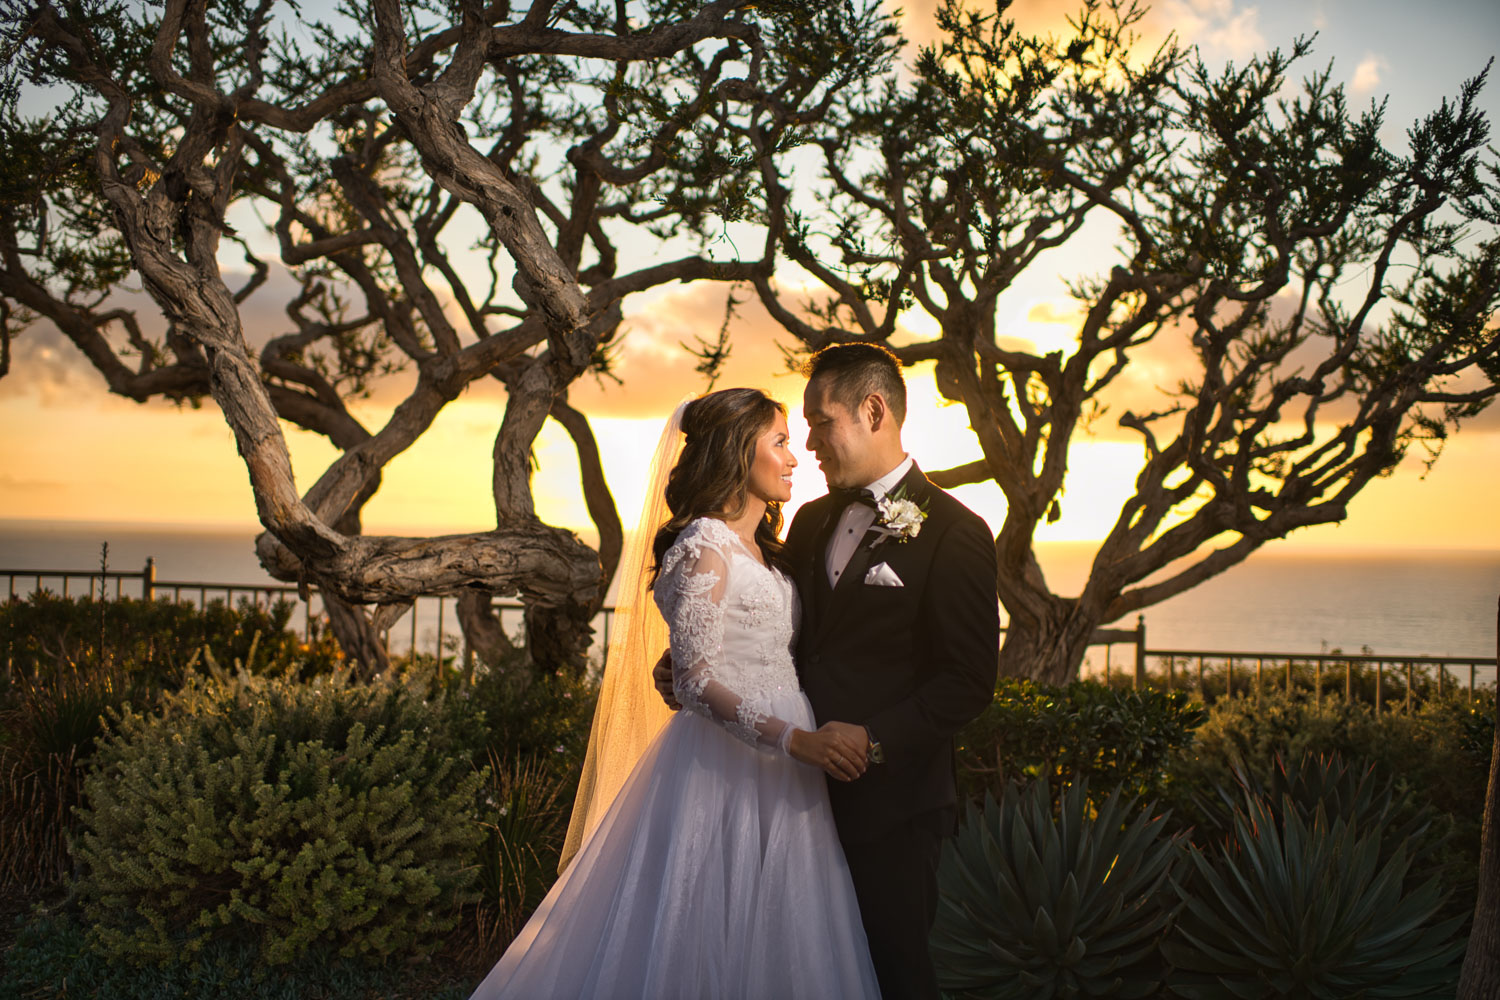
So here’s the scenario, your shooting a wedding or on the move and a perfect unexpected moment happens, and you capture it as best you possibly can, but if you were able to plan it out, bring in lights, scrims, filters, etc….you could have gotten a better detailed shot than what you captured. We’re not saying that the shot you have is bad, just that it’s possible you could have gotten something better. With a shot captured in a scenario like this, there’s a lot of details that may be lost. People/Decor in the shadows or blown highlights, or maybe the colors & saturation aren’t as nice as they should be. This is where the AI Structure tool in Luminar 4 can help.
I’ve been using this software more and more since it’s release, and it’s quietly and safely finding itself used in my day to day workflow more & more. So I can honestly say this feature is kind of incredible, and with that, let’s dive into what AI Structure is and what it does.
Why is the AI Structure Tool So Useful?
Content-Aware
Boosting details with traditional Clarity and Structure tools often make parts of a photo look horrible. Luminar 4 automatically identifies objects, (including people and faces, clouds, water, buildings and more), and improves them in an intelligent, content-aware way.
Human-Aware
The AI Structure tool automatically detects people in a photo and doesn’t overprocess them. As a result – faces and skin look natural, while the objects around them look deeper and richer.
No Noise, No Halos, No Artifacts
AI Structure is excellent at improving dynamic range and adding texture and clarity. What’s even better – it doesn’t add noise, halos or other artifacts giving you near perfect results in seconds instead of minutes!
What Is AI Structure and What Does It Do?

In the simplest terms, AI Structure is a content-aware tool that finds features and objects in your image that could use a “boost”, and then does it automatically. (You can find the AI Structure Tool in the “Essentials” section of the retouching tools of Luminar 4)
If you’re unsure, think about the clarity, texture, and sharpening tools in Adobe Lightroom. Luminar effectively rolls all of this into one tool; Leveraging content aware algorithms, the AI Structure tool automatically enhances a photographs structure without negatively impacting certain objects like faces, skin, skies, buildings and more. The AI will boost the hidden details and improve local contrast, making the results expressive and dynamic, while still remaining natural!
Why is this different and cool? Because as mentioned above, the plugin does NOT apply these structure and contrast enhancements globally. It identifies and excludes regions like skin, and excludes those areas from the application of the plugin. Saving you tons of time from masking out manually after the fact. To coin the phrase from the Skylum team, Luminar and the AI tools are “Human Aware” and does it’s best to avoid applying these filters to your subjects skin and hair.
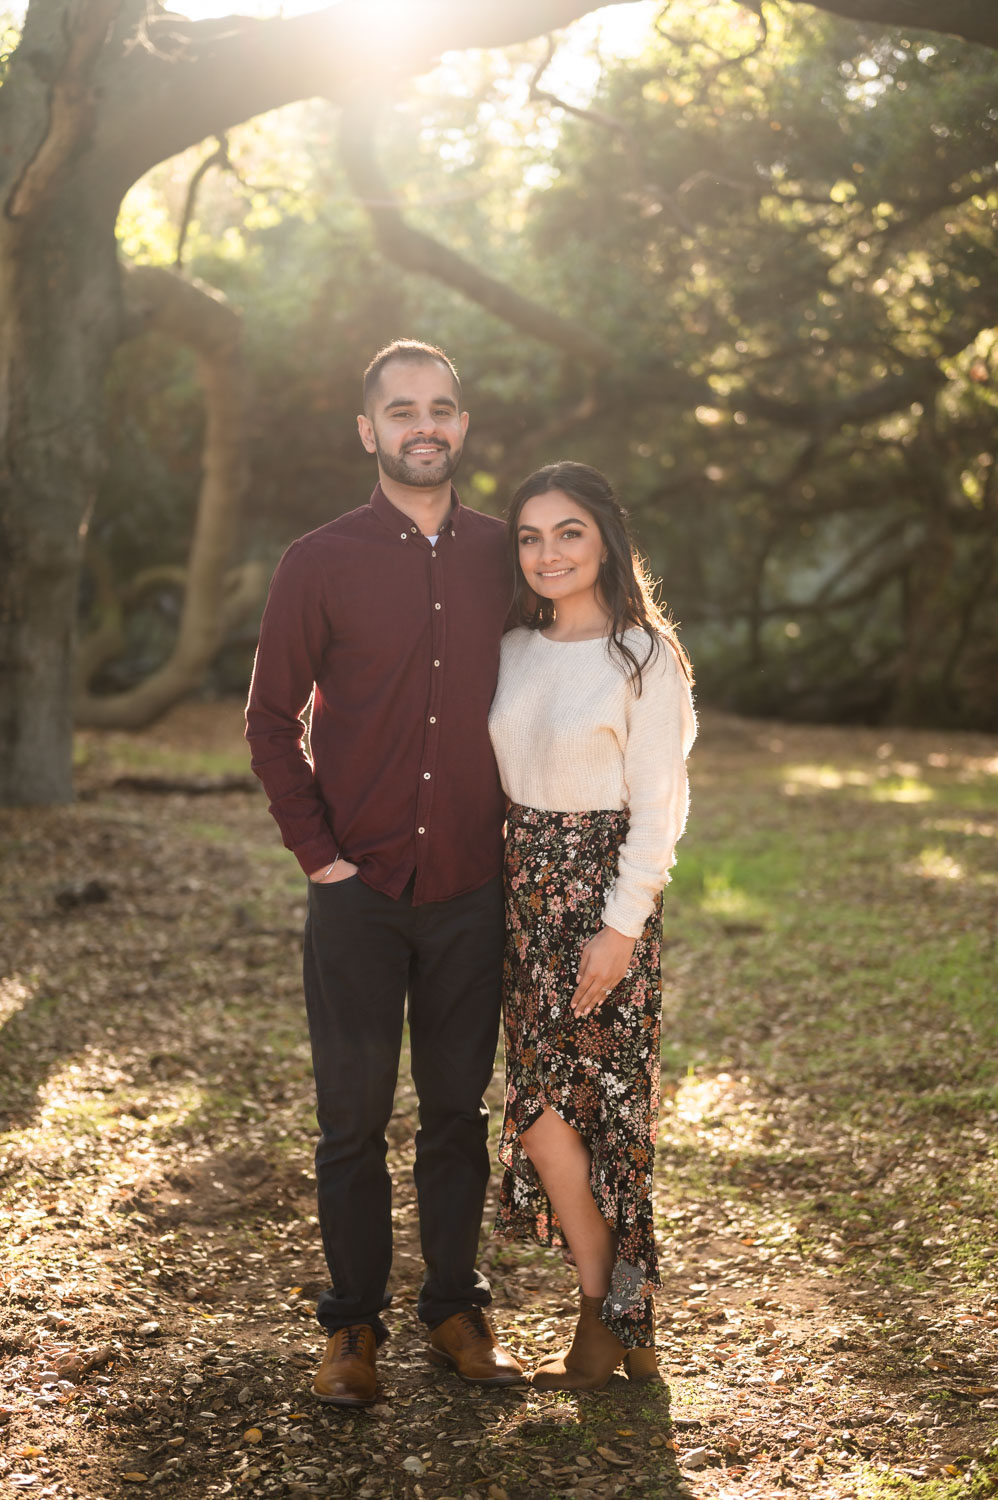
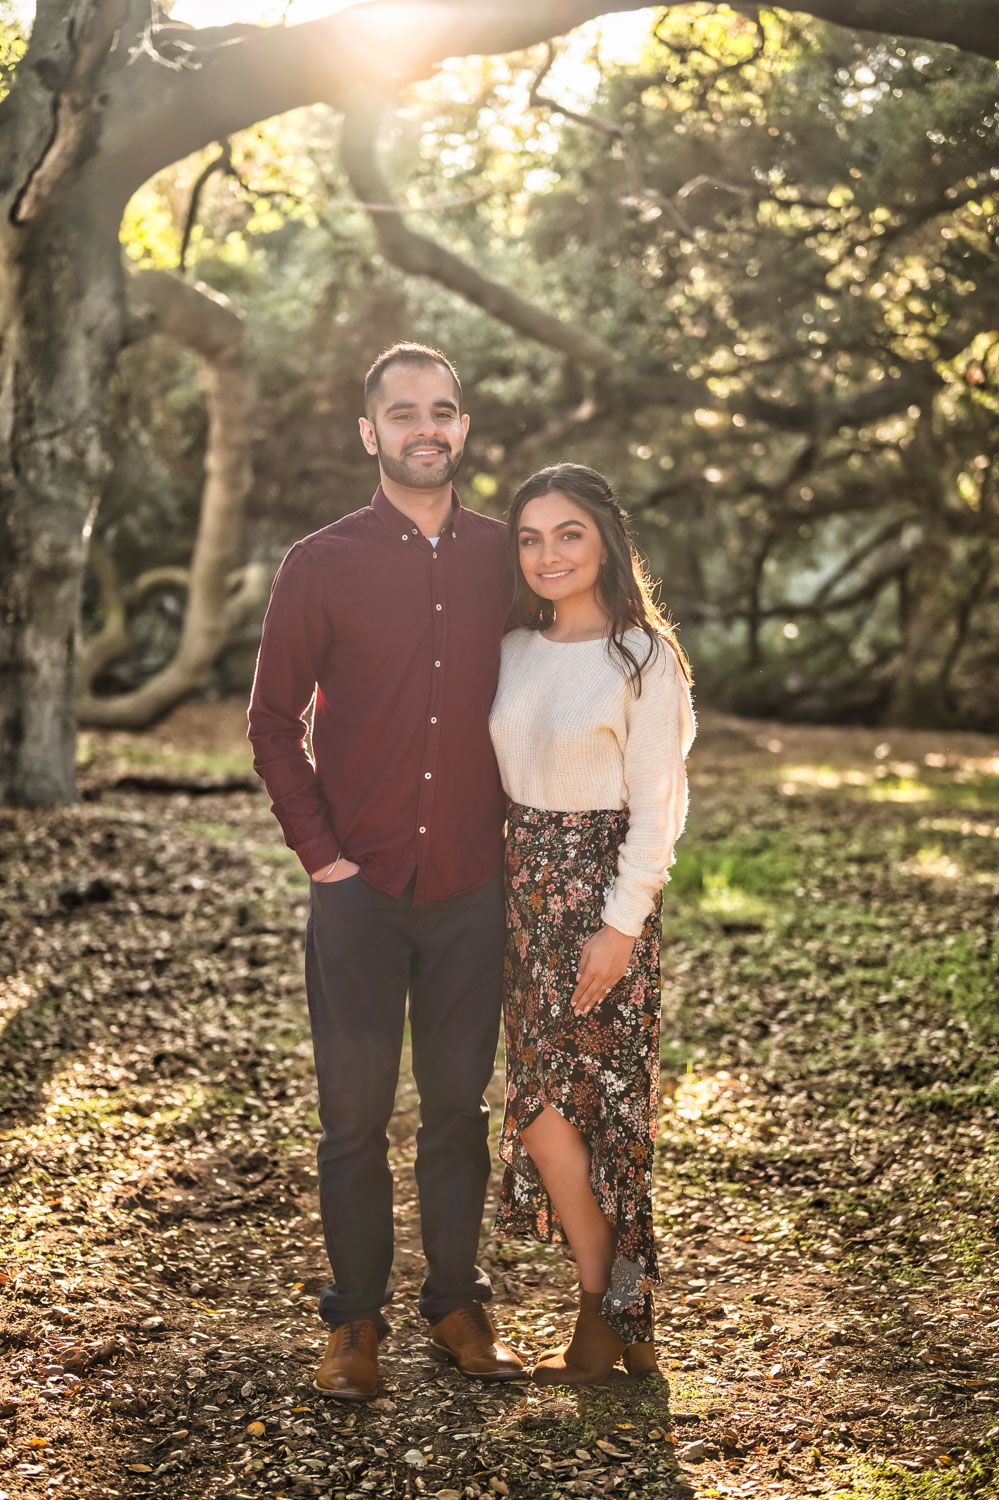
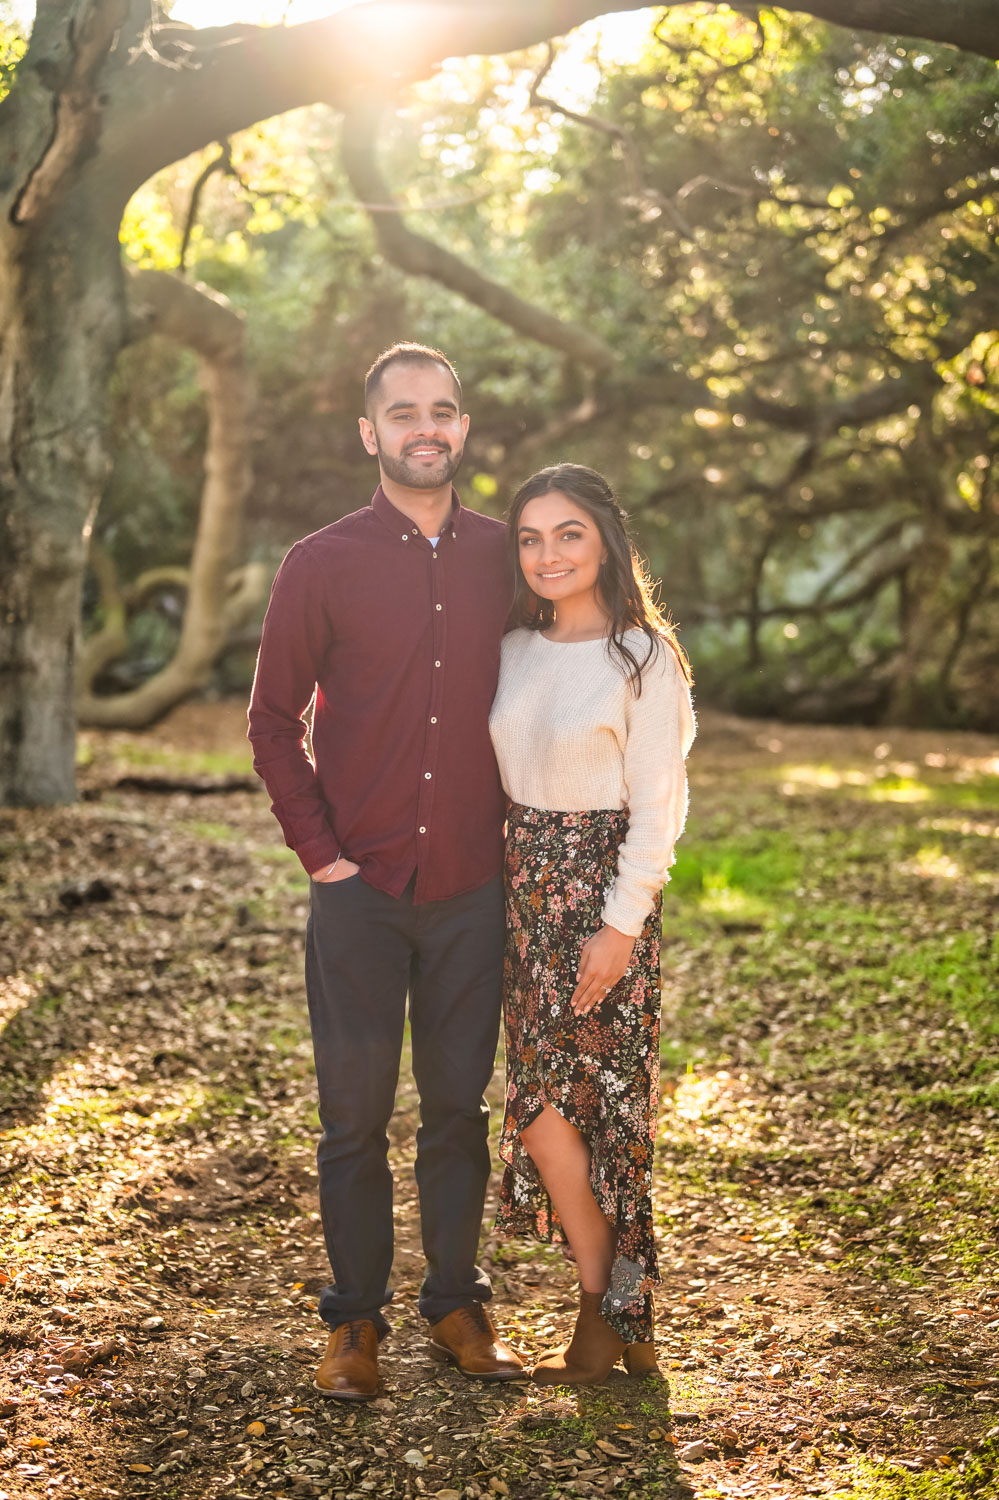
By comparison, have a look at the difference of this same raw file, with nothing but a 100% boost to clarity and texture in lightroom, vs a 100% bump in AI Structure and it’s “Boost”
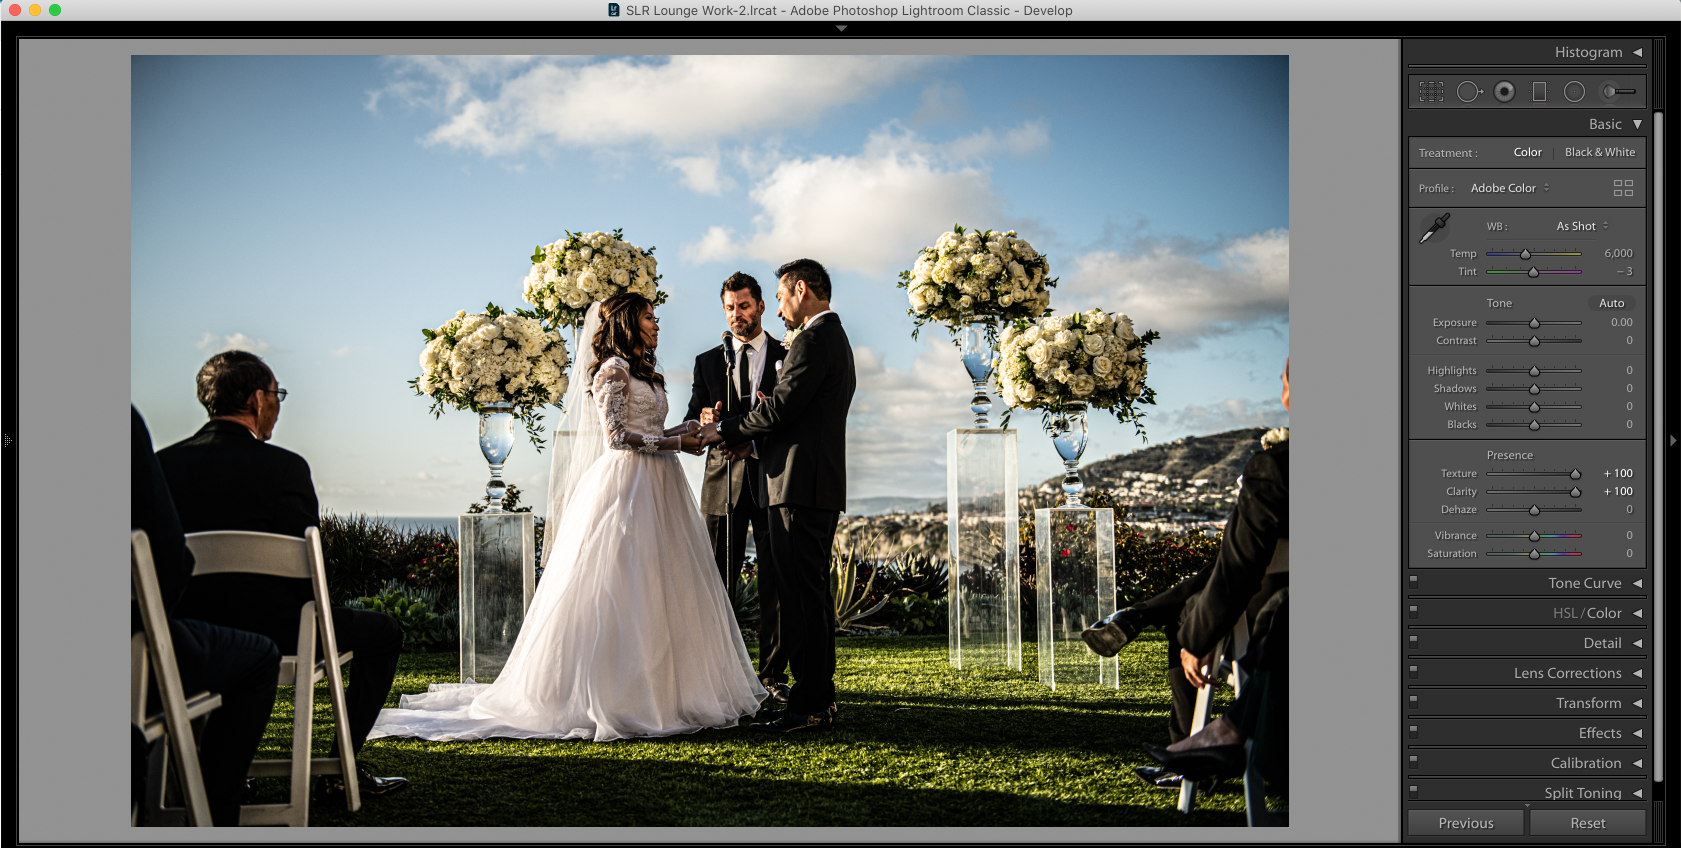
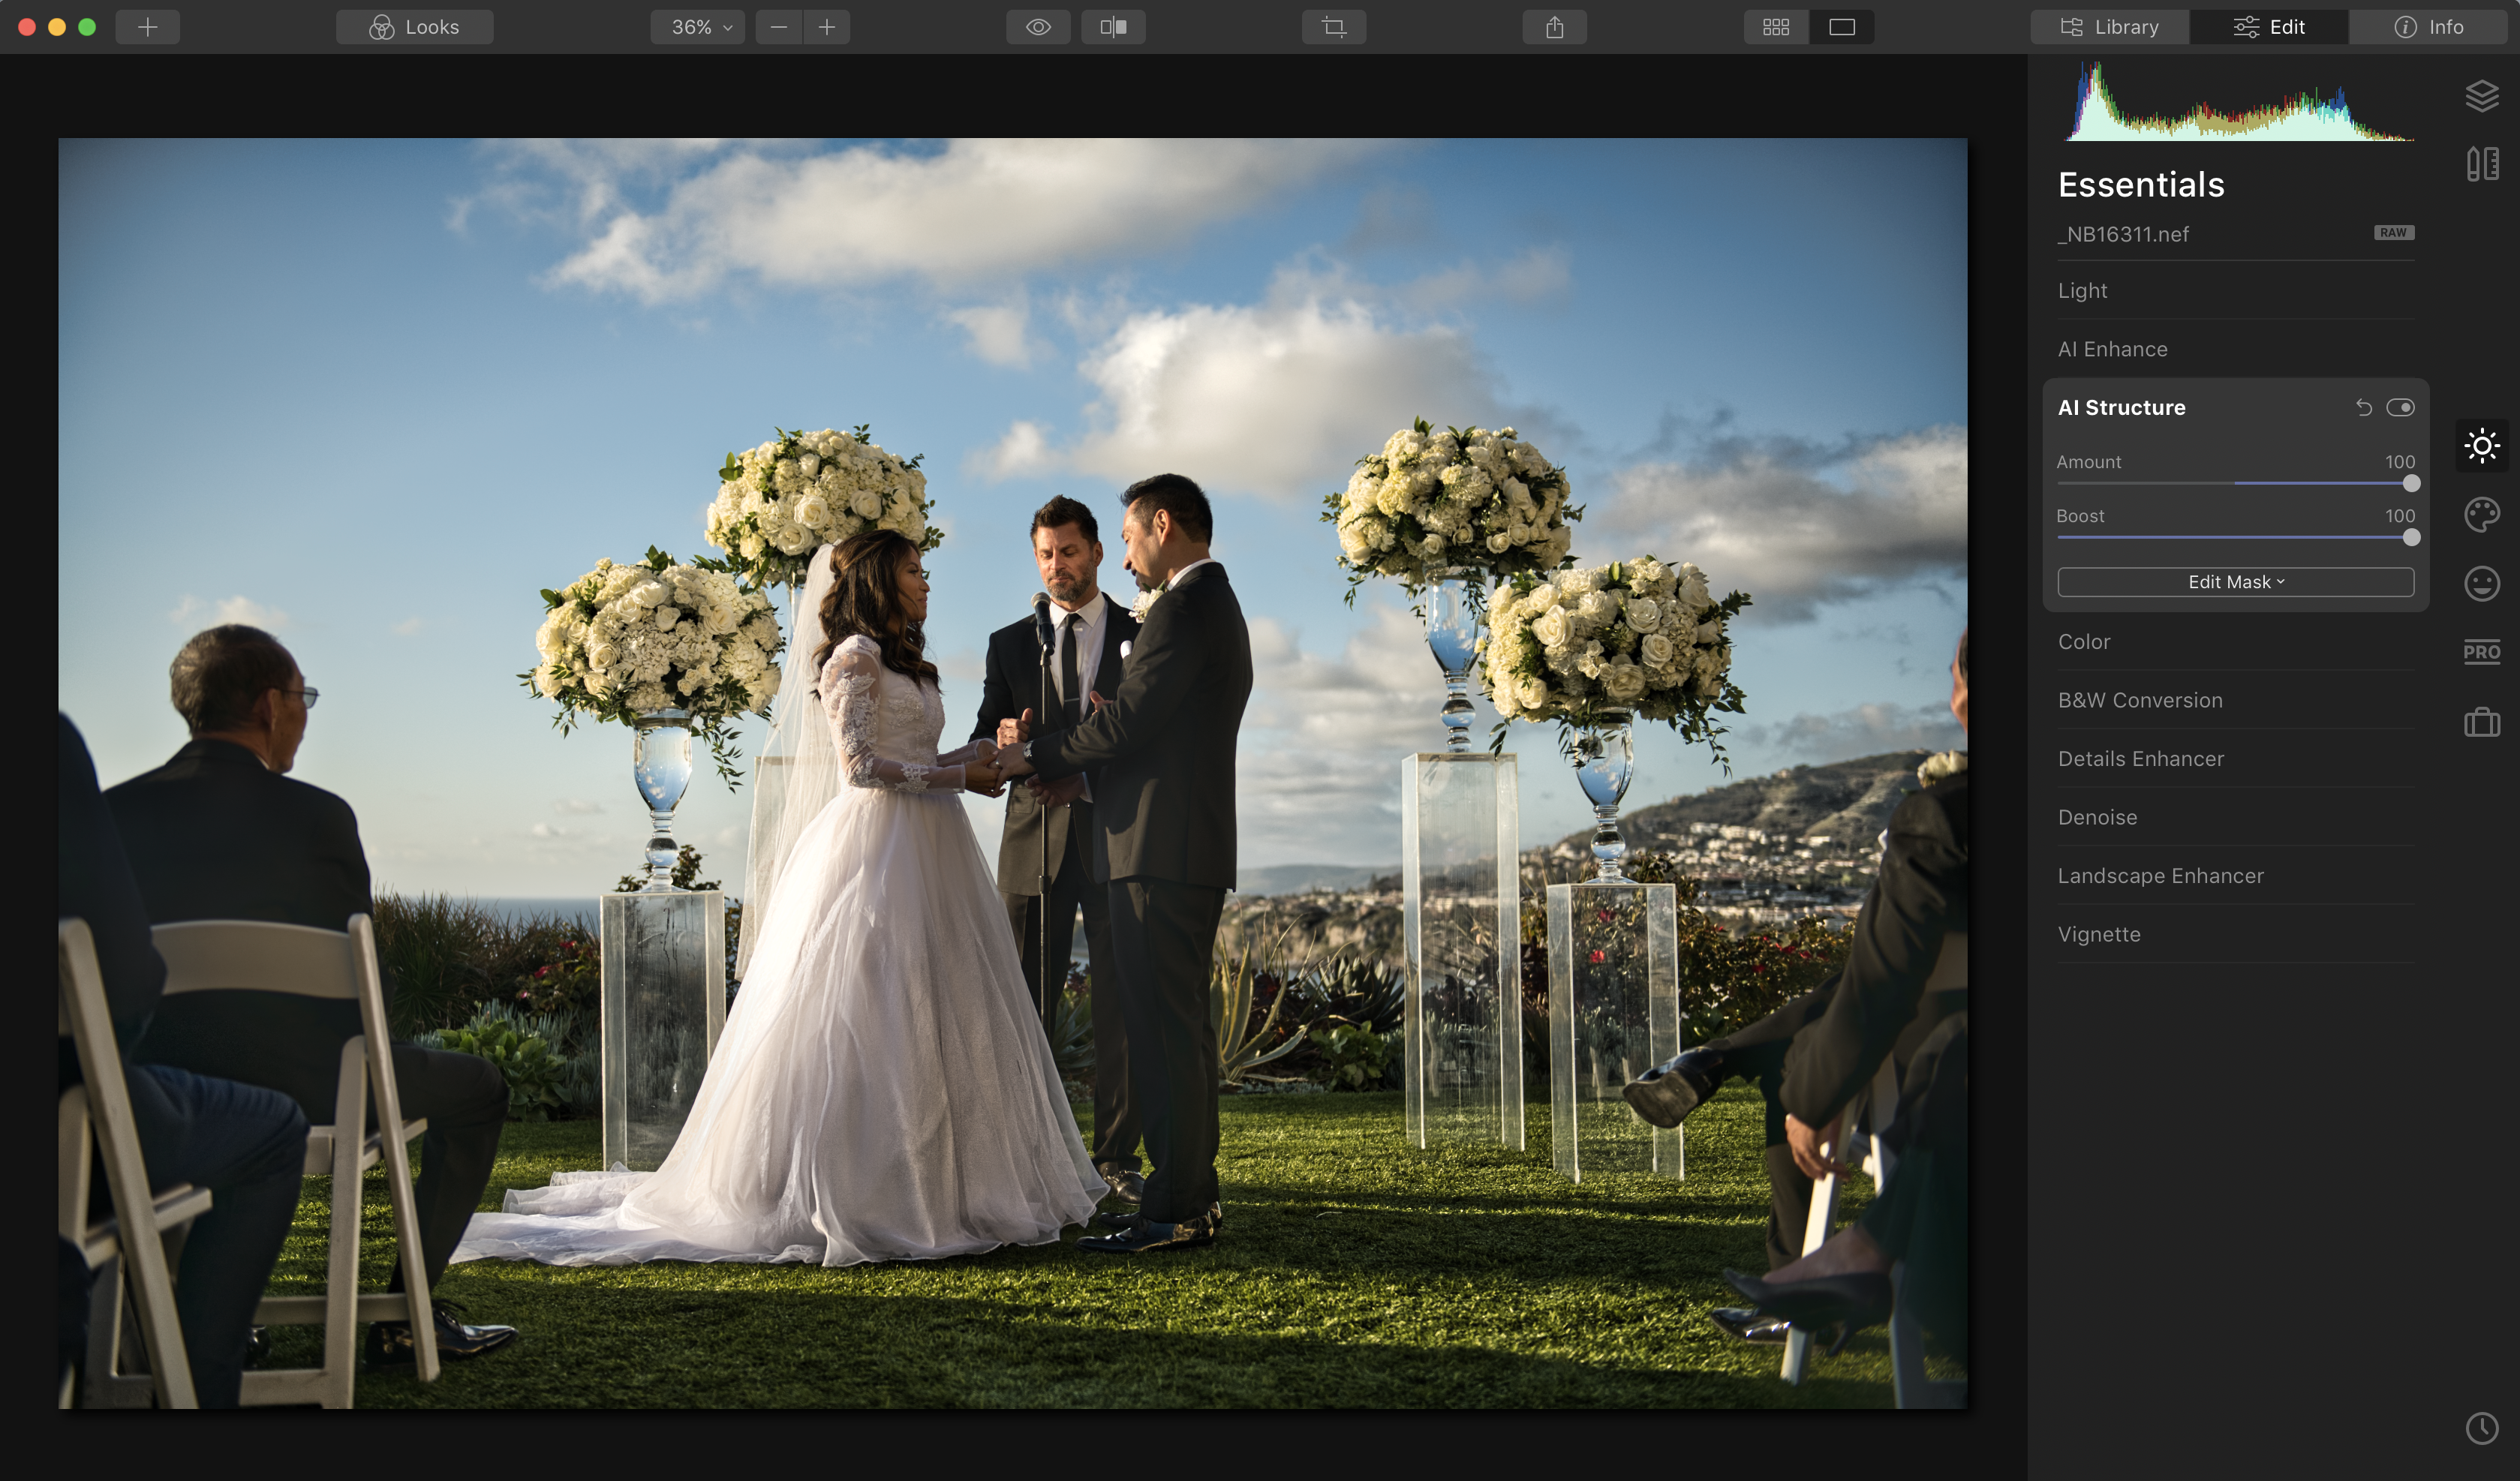
NOTHING has been done to these images but those individual sliders, both at 100%…..it’s pretty clear to see that the Luminar AI Structure has already done an absolutely stellar job, where as the Lightroom adjustment definitely needs some work, and masking, amd just look at the skin!?! Yikes!
Granted, you’d nearly never use 100% in practical application, but for this I simply wanted to show you what happens when you make a massive adjustment with the AI tool vs Lightroom’s sliders….especially since you don’t need to use any masking at all when working with Luminar!
A Lot of Power in a Single Slider
So here’s the deal, while Luminar and the Skylum team’s official write ups coin the term “human-aware”, after hours of testing and HUNDREDS of different images I can also safely state that the AI tools in luminar are pretty much “everything” aware. As it seems to detect skies, earth/grass/plant life, water, and solid textures like walls/cement and wood, and then applies these filters differently for each section! I could sing it’s praise all day, but honestly it’s something that’s best to be tried for yourself.
What’s even better, is if you use the tool as a stand alone, you can batch apply these edits to your whole set!
[Related Reading: 5 Tips for FAST and EASY Portrait Retouching in Luminar 4]
You _can_ achieve a similar look from Lightroom and / or Photoshop…but keep in mind, what takes you just seconds with these AI tools in Luminar, will take you much longer in LR and PS. (at least for me!). And really, with our work these days it’s all about saving time!
So let’s dive into a few different images here and show you what this tool can do!
First, let’s take one of my images from a clothing shoot this summer and compare the straight out of camera raw to the file with AI structure applied at 100% and boosted 100%


And here’s the image with AI Structure in moderation with a quick additional retouch using Luminar 4.

As you can see in these, the AI Structure tools effectively “ignore” the human in the photos, only adding a little contrast to harder shadow areas of their skin while boosting significantly, the more detailed areas of the foreground and background, as well as the clothing they’re wearing (to a lesser extent).
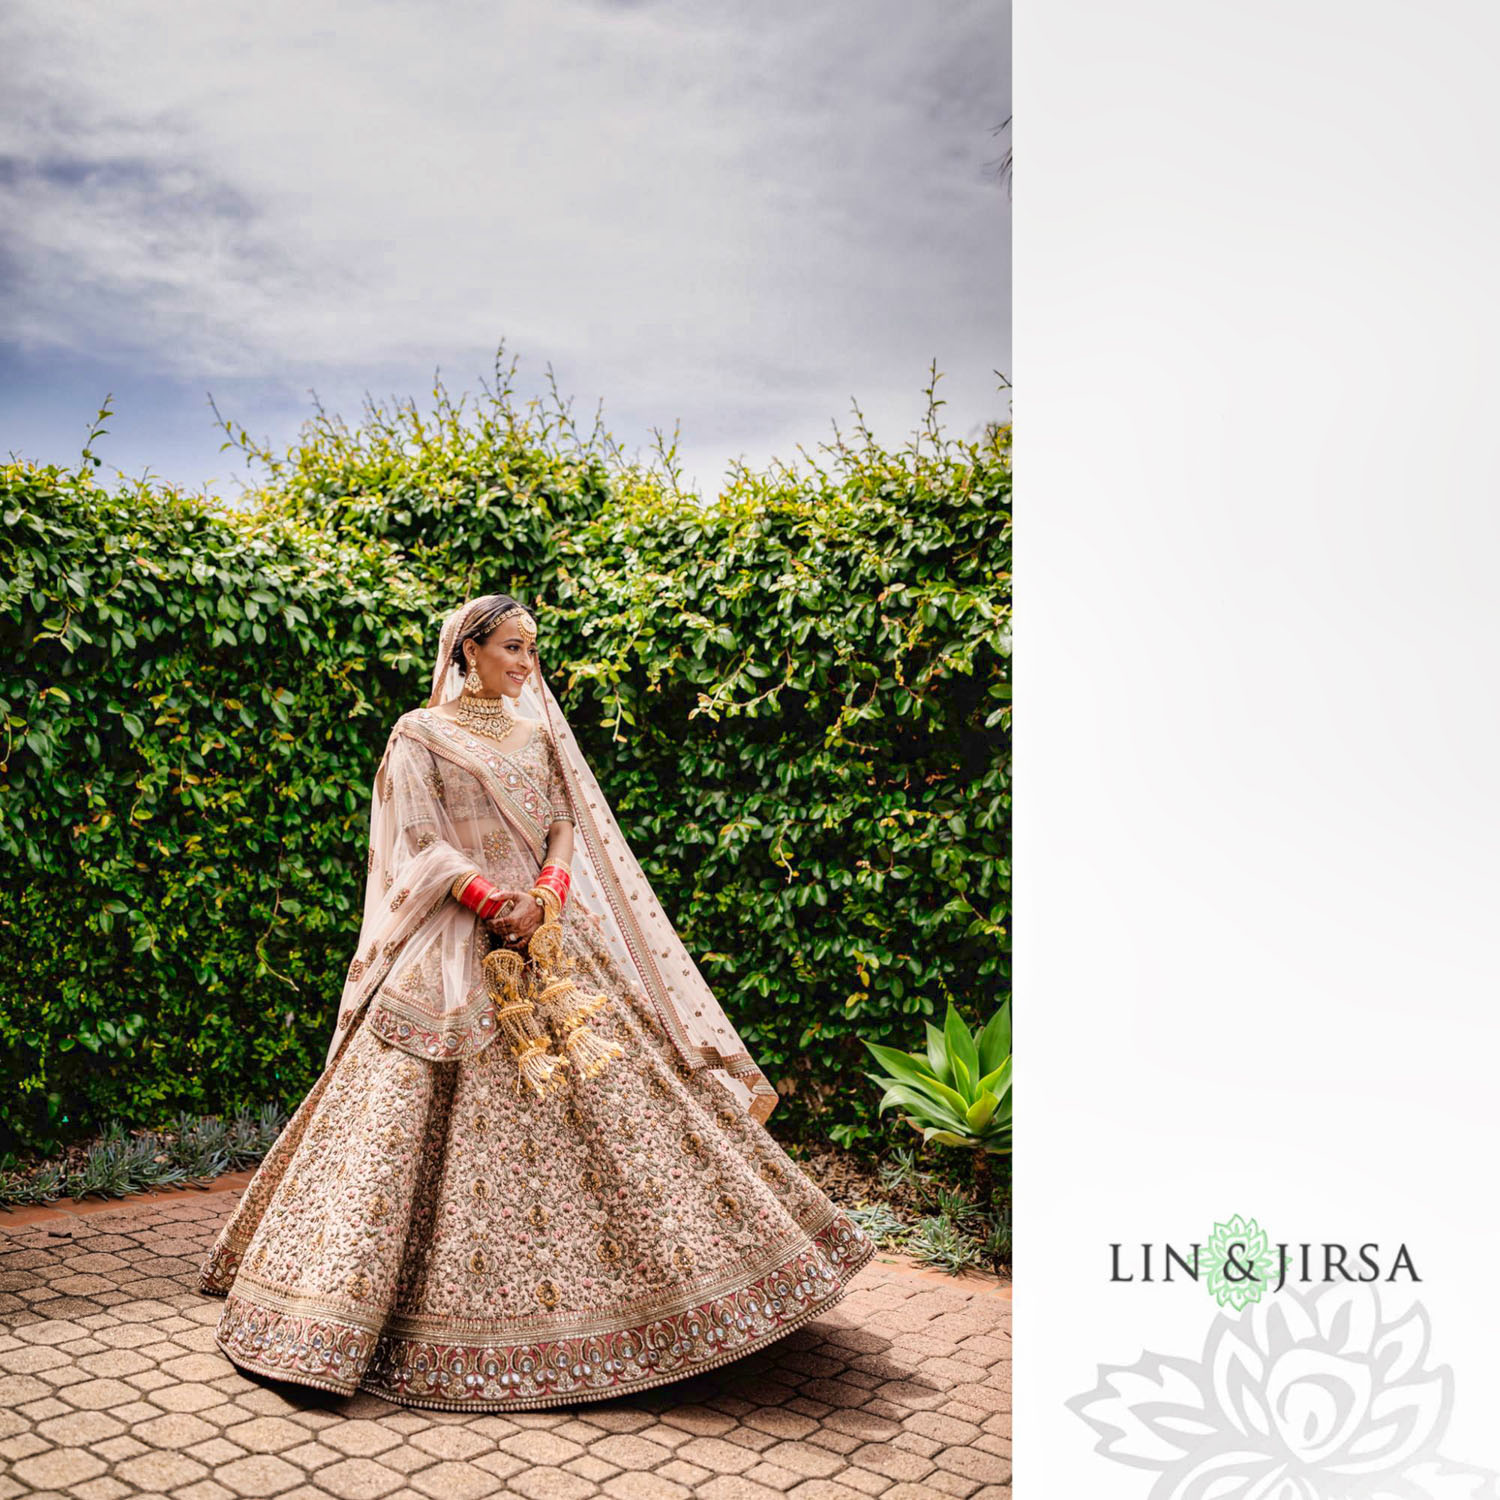
Let have a closer look at the image used in the header for this article contributed by our own Lin & Jirsa team;


Check out the details in the members of the crowd that were recovered by Luminar’s AI structure! Look at that beautiful blue sky and cloud detail, and most importantly, look at how the skin is mostly left alone!?

Again, once we pull back the sliders to a “normal” level and apply a few additional AI tweaks from the AI Enhance, Landscape Enhancer, and the Lighting tools to adjust the white balance a little, we’re left with a breathtaking shot full of details that were lost in the original file!
As a stark comparison, check out this “cityscape” captured at night in Las Vegas.


Putting It To Use – AI Structure Sample Image Gallery
It’s kind of incredible what you can do in just a few seconds non destructively with the AI Structure slider in Luminar 4. To stress the point even further, here’s a selection of images (JPG & RAW) with the AI adjustments made to them for you to compare. The thing to keep in mind here, is no masks were done manually, only the sliders in Luminar, and all of these edits took less than 5 minutes.


Conclusion
Okay, so there’s a lot of images here, but I really wanted to show you what was possible with this tool when using both RAW files and JPEGs in a multitude of different scenarios from fashion, to landscape, and to portraits/events. Effectively this all depends on how much detail and additional info you want to show in your images. Personally for things like wedding or fashion, I feel like the AI Structure tool is INSANELY useful for bringing details back in your shots to show off the detail in the clothing and wedding dress/jewels. And we haven’t even really talked about how it enhances your skies, the foliage or textures in your frame and more!
For the purpose of this write up I did everything as a global edit to the images to prove the point, but if you REALLY wanted too, you can still go in and mask away sections of your shot if you’d prefer to only have certain things “enhanced” in the frame. You can do this both inside of Luminar, or back in Photoshop as a new layer. The workflow decision is up to you if you want to go that extra mile, either way, it’s still a LOT easier than doing it 100% in Photoshop / Lightroom only, and that’s where the time saving awesomeness comes in!
So tell me, have you tested out Luminar 4 yet or do you plan too? Have you got any edits of your images using the AI tools you can share? Do you have any questions about these tools? If so let us know in the comments below. In the meantime you can Get a Trial of Luminar 4 Here and test out these tools for yourself! If and when you do please share with us as i’d love to see the results you’re able to create.
Also, for more insight into the Luminar Software, see this Luminar 4 Review by SoftwareHow.com. They’ve broken down their review into four categories:
- Effectiveness – 4 out of 5
- Price – 4 out of 5
- Ease of use – 4 out of 5
- Support – 5 out of 5
This is generally in line with our thoughts as well but in the review, you’ll get another opinion as well as some examples from other genres of photography, including landscape and travel photography. Enjoy!


