Welcome to part seven of our official Wedding Photography Guide, a series of weekly articles designed to teach you the fundamentals of wedding photography. In our previous article we covered how to photograph the ceremony, which includes everything from the bride’s walk down the aisle to the newlywed couple’s first kiss. This week, we present our official Group Portrait Guide, an overview of how to best photograph group portraits on the wedding day.
All of the education from the guides as well as our workshops is derived from our experience at Lin and Jirsa Photography. For complete wedding photography education, be sure to check out The Wedding Photography Training System within SLR Lounge Premium.
Why Are Group Portraits Important?

Successfully handling and photographing large groups can prove tricky, and it requires a variety of skill sets from communication and posing to lighting and problem-solving. The larger the group, the more challenging the shoot. The following tips should help you better direct groups into creative poses and turn an otherwise daunting task into a rewarding (and free) marketing opportunity.
Scout The Location Ahead of Time

Throughout this wedding guide series, we’ve repeatedly suggested that you scout the wedding venue before the day begins so that you can allow more time capture photos and limit the number of potential variables that might complicate your shoot and waste your time, such as lighting, availability of the spaces you plan to use, etc. The same holds true for group portraits. While scouting for locations, be sure to keep group portraits in mind and find a space close to the ceremony site that can accommodate a large group of people.
Some cultures tend to prefer specific locations for group portraits, such as the mandap for Indian weddings or the Chuppah for Jewish weddings. Be sure to communicate with the bride and groom to find out whether or not they have any preferences.
Use A Family Member Or Friend To Help Manage Groups
Once you’ve arrived at your location for group portraits, we recommend having a family member (or one of the bride and groom’s close friends who’re familiar with the family) help organize and guide the groups into the right area. This traces back to the planning and communicating phase, long before the wedding day. Be sure to ask the bride and groom to prepare a list of the guests they want included in family formal or group portraits (the bride’s side of the family, the groom’s side, both sides together, the bridal party, all of the college friends, etc.), so that nobody gets left out. Having a friend or family member help organize the groups based on the list will speed up the process and allow you to capture more images in less time.
Be Prepared with Lighting Gear
Here are our favorite lighting tools, modifiers, and stands that help us create dynamic and unforgettable imagery. We’ve listed several options so that you can choose what works for your budget and style.
Lighting:
- Canon Speedlite 600EX-RT
- Phottix Mitros+ TTL
- Yongnuo Speedlite YN600EX-RT
- Profoto B2
- Flashpoint XPLOR 600
CTO Gel:
Remote Trigger:
- Canon ST-E3-RT Speedlite Transmitter
- Phottix Odin II TTL Flash Trigger Receiver
- Yongnuo Wireless Speedlite Transmitter
Light Stand:
Diffusion:
Put Down the Camera!

In many ways, handling large groups while taking group portraits closely resembles public speaking. You are trying in equal parts to entertain the group and get them into a pose, and because of this, we recommend putting down the camera and stepping into the role of a director when the time comes. Be sure to engage with each subject until he or she is in place, and maintain a happy vibe to create a positive experience.
Decide Between a Symmetrical Or Editorial Pose
In general, when posing a large group during a wedding for a formal family portrait, imagine the bride and groom are your centerpiece and build the pose out from there. The specifics of how you build that pose will determine its style. There are two basic styles of posing for group portraits: standard symmetrical (classic) and editorial. Each style carries with it a number of pros and cons, which we’ll discuss below.
Standard Symmetrical Pose

On the plus side, symmetrical posing is quick, relatively simple, effective for safely capturing group portraits, and works well with both small groups of six or fewer and large groups of 20 or more.
On the other hand, while this style of posing gets the job done, it is less visually interesting than editorial-style group posing and will likely not get shared as often on social media. If time is running short, however, symmetrical posing for groups is a go-to.
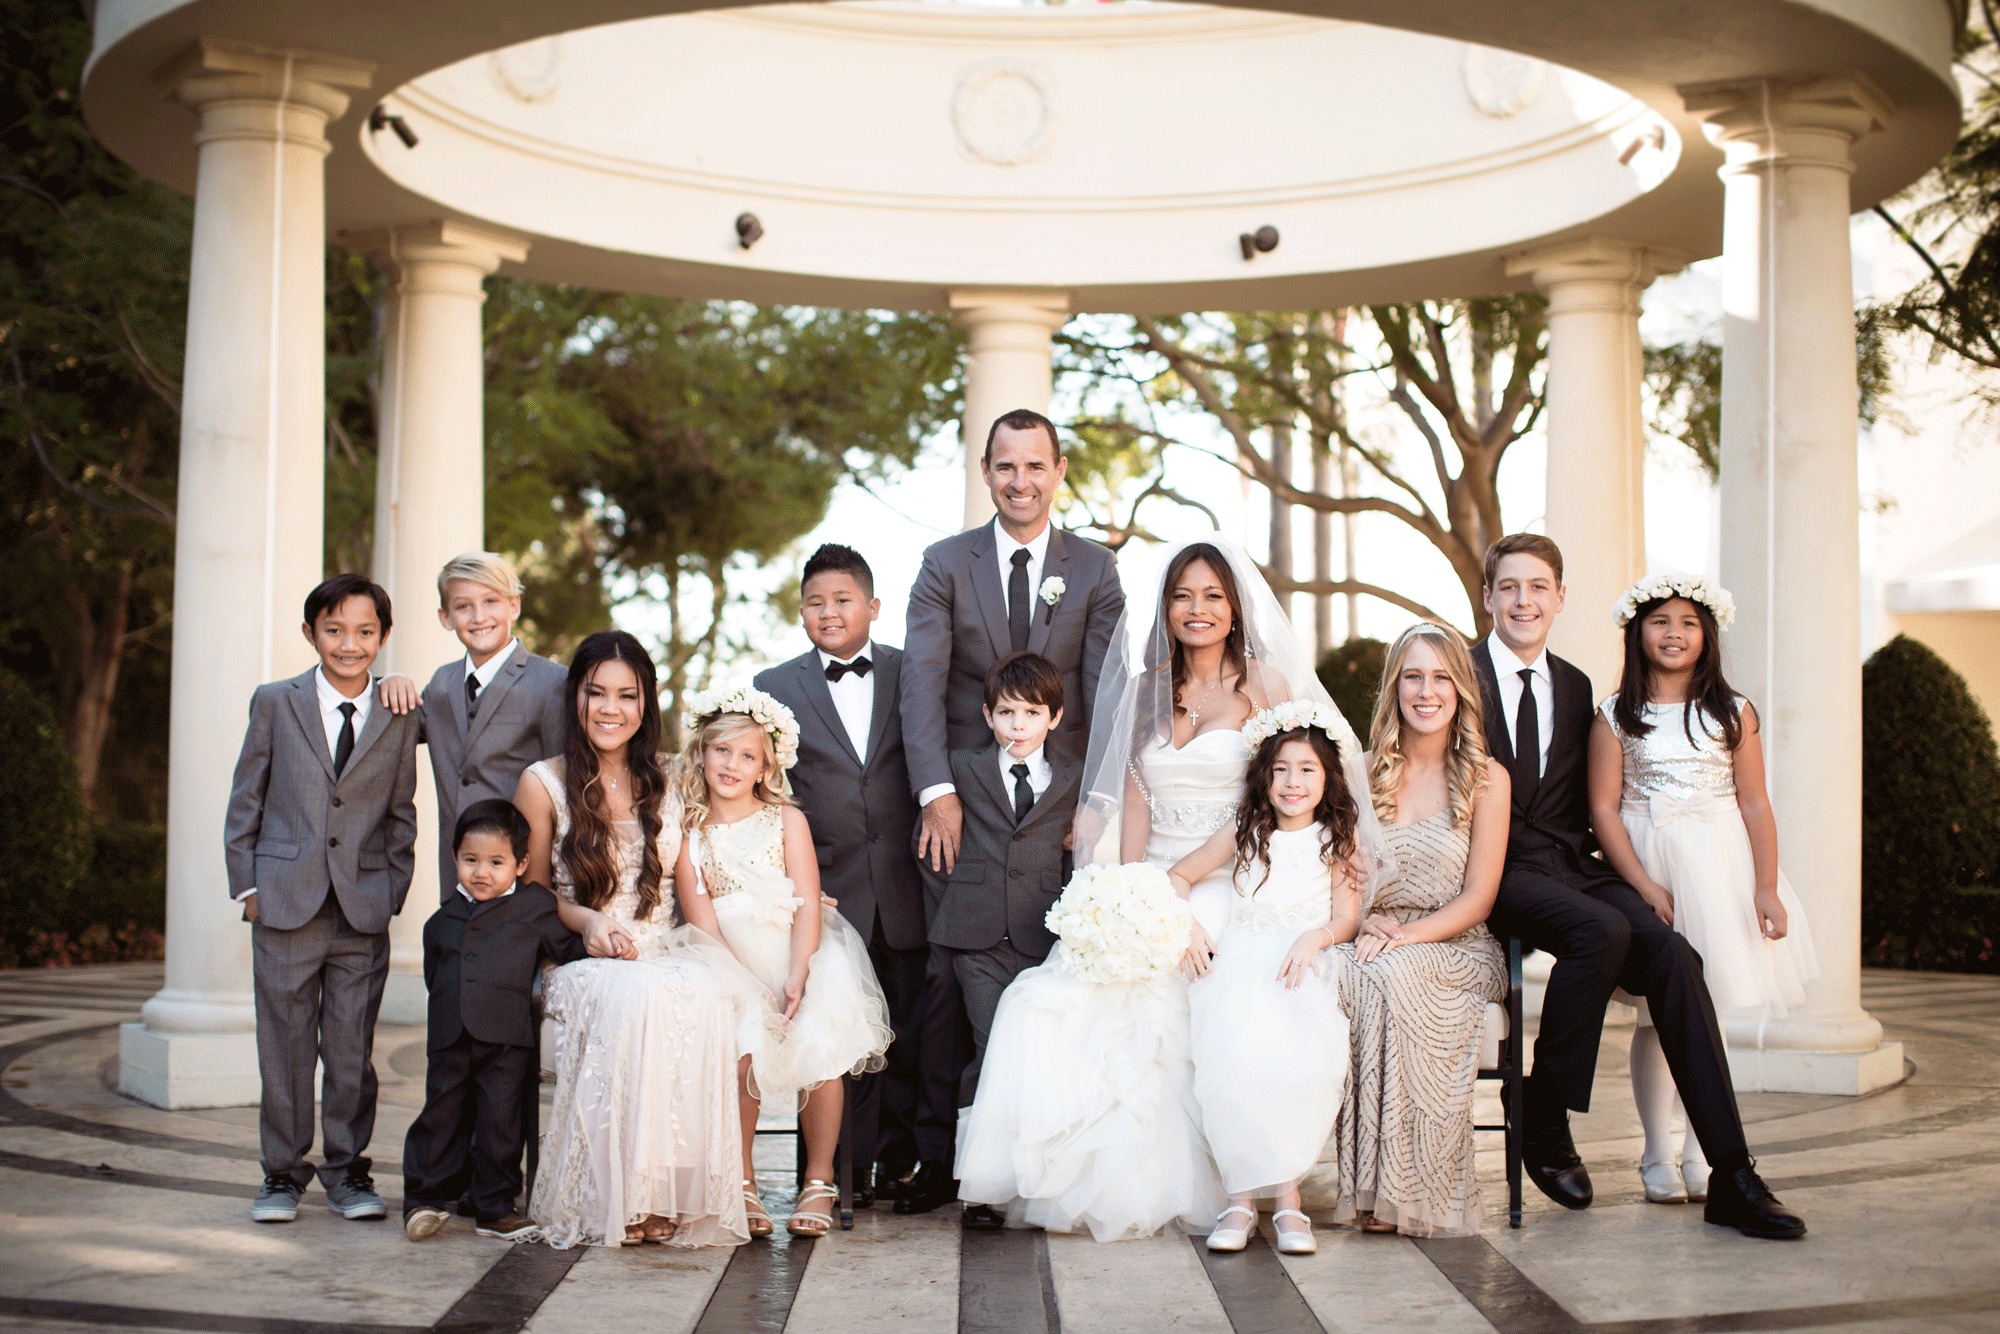
For a standard symmetrical group pose, you’ll want to make sure that the centerpiece couple is in the v-up pose (refer to Foundation Posing Framework), and the remaining subjects point their toes and bodies toward the bride and groom. Watch for height and symmetry across the group.
Editorial Pose

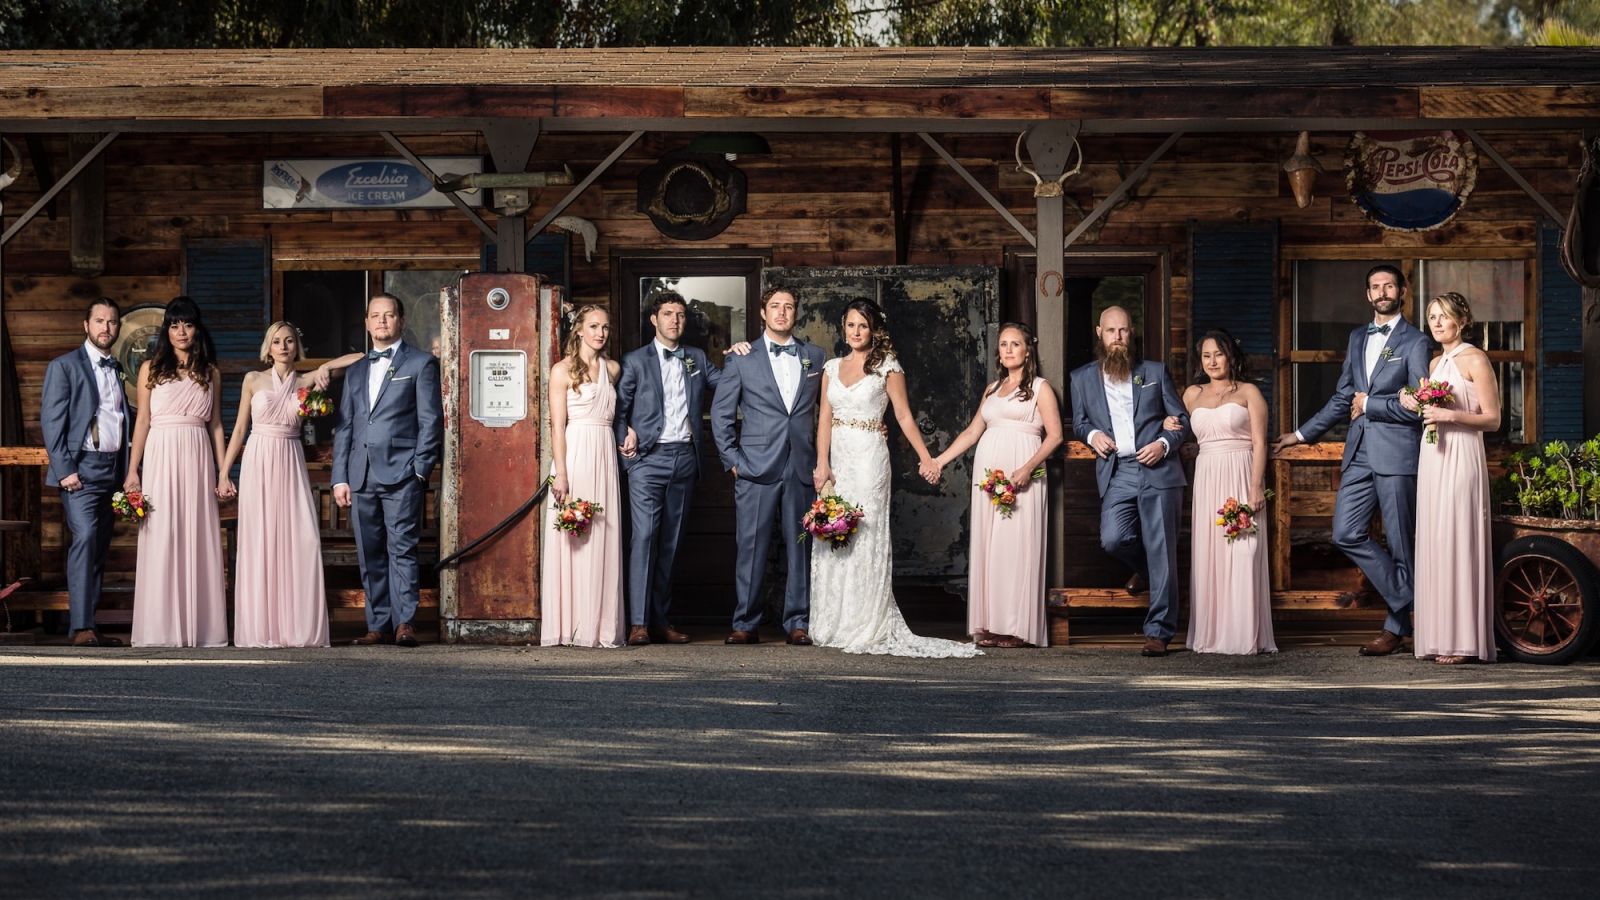
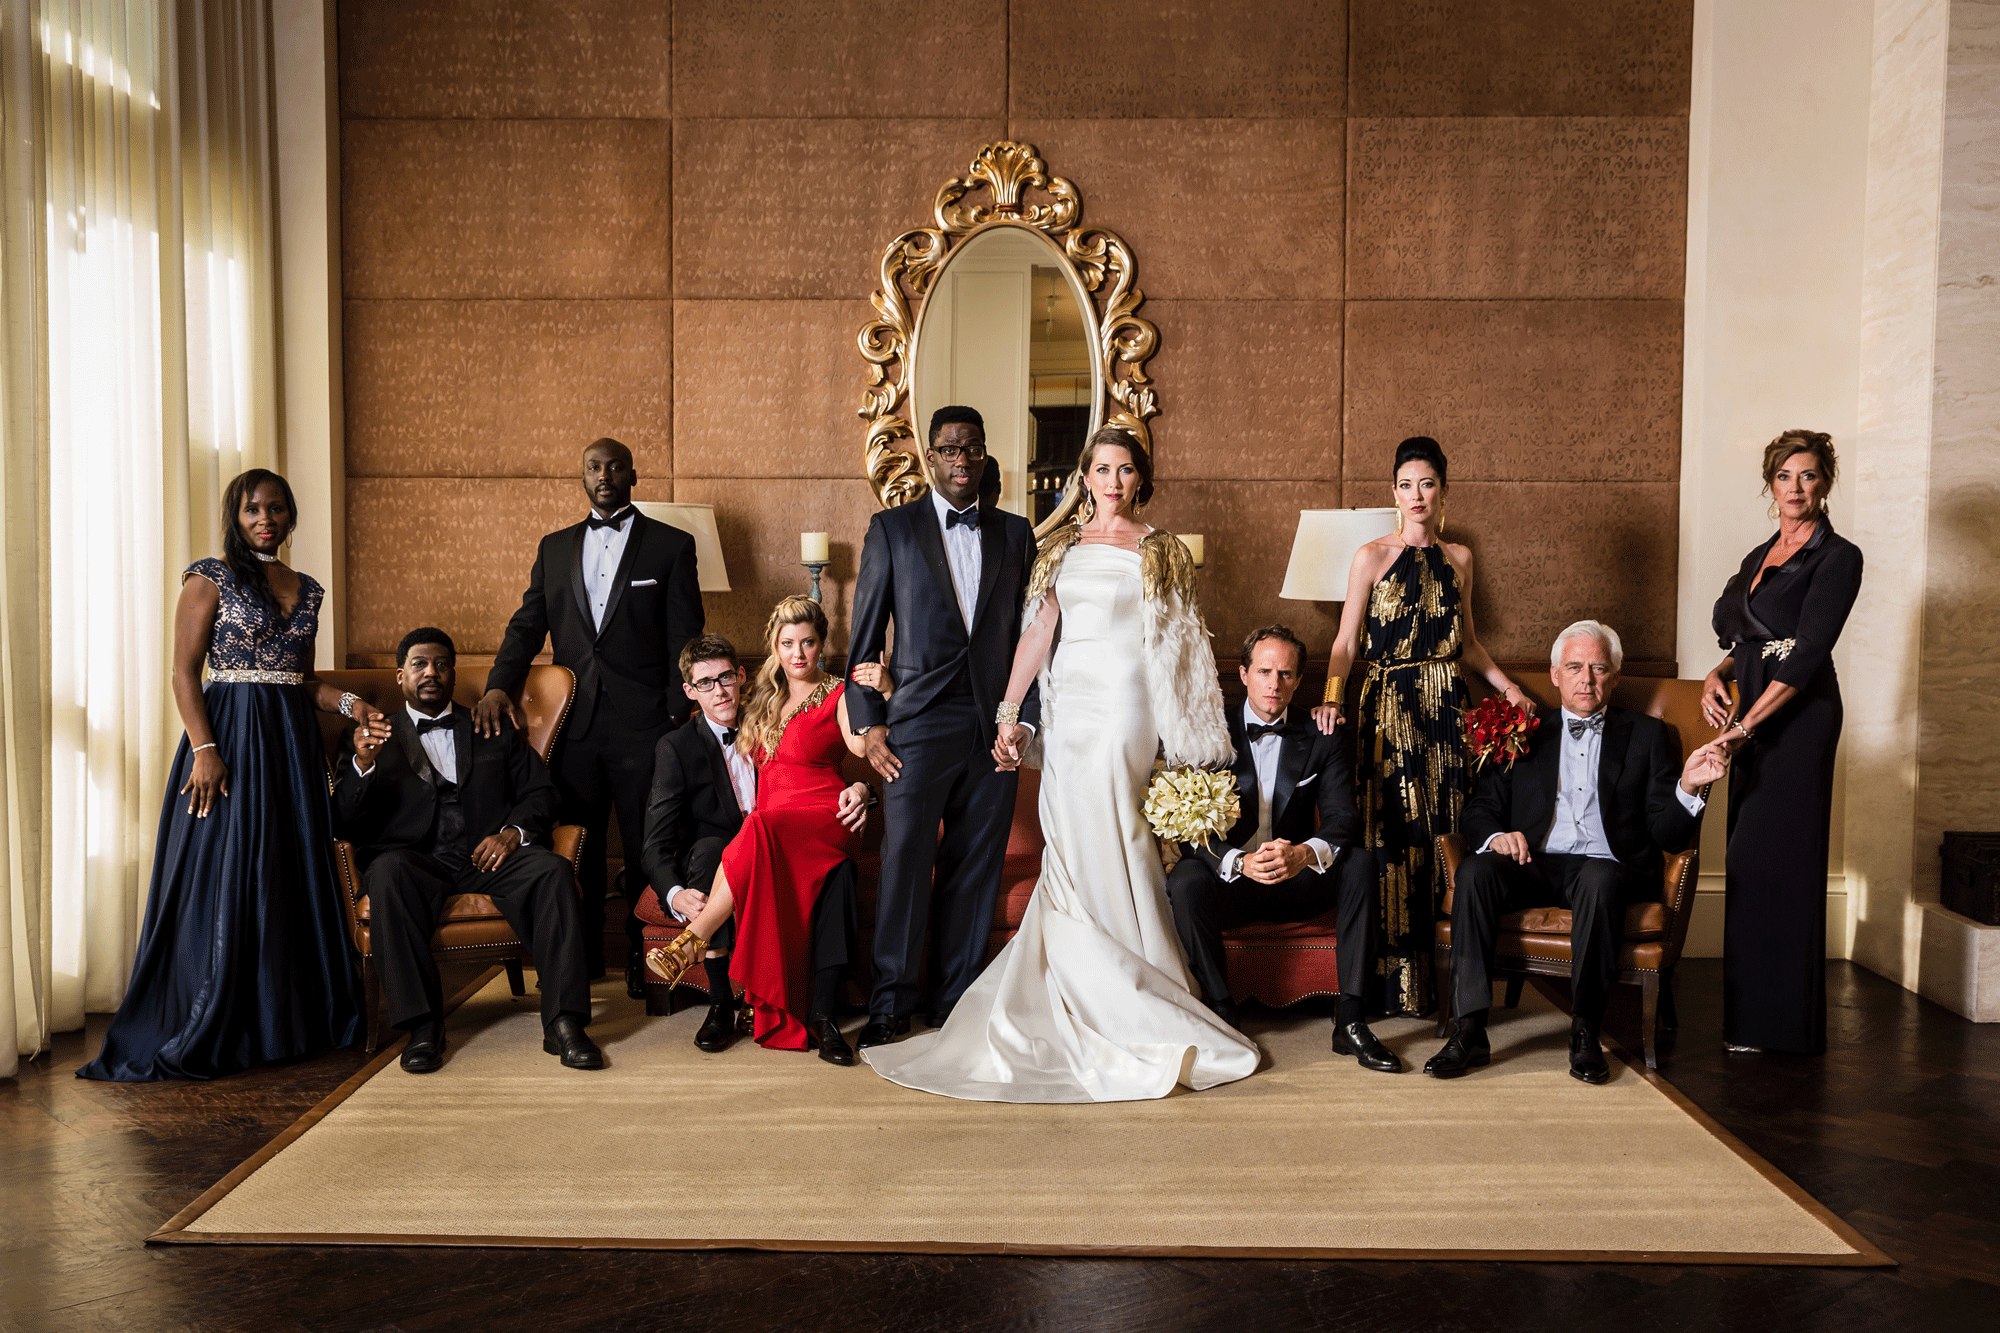
If you have the time, consider placing your family or larger group into a more dynamic, editorial style pose. Editorial balanced group portraits can take longer to direct, but this style of photography tends to wow viewers and often garners more online shares. Instead of taking the traditional route, don’t be afraid to try asymmetrical balance placement and direct your subjects to give serious expressions – see an example of large group editorial posing here.
Create Connections & Overlap subjects
For most large group portraits, each person in the group should only slightly overlap the person next to him or her, covering no more than 20-30% of the person’s body. Direct your subjects to stand in a straight line so that they remain in the same focal plane.

In addition, touchpoints are important for creating literal and figurative connections between subjects in large groups. While overlapping creates a level of connectedness, we suggest specifically placing hands on shoulders or weaving them through arms to convey a sense of familiarity and to establish relationships between the people in the image. More touchpoints between subjects implies more intimacy.
Build Layers
When photographing a particularly large group, use chairs to create rows and limit the width of the overall group. Using this setup, you can quickly create multiple rows, including a floor-seating row (usually for children), a second row for sitting on chairs, and additional standing rows with the tallest people in the back. Remember to adjust your aperture accordingly to keep all subjects in focus.
Spread light Evenly across the Group

There are multiple ways to light large groups, but simplicity and efficiency is key. Whether shooting indoors or outside, lighting needs will change based on available light conditions and the size of the group. See our article on Lighting Large Groups for three handy lighting options that will help you evenly light the group, no matter the circumstances.
Watch for Shadows!

In case anyone shifts from their position after you have posed the group, watch for shadows falling across faces or bodies. If several people shift after posing or if you are getting too many shadows, it is usually easier to reposition the lights rather than move the subjects. Raising the lights so that they hit the group from a higher angle will also minimize the shadows they cast.
Get Elevated for Better Angles
For the best wedding group or large group photos, use a ladder or chair to elevate yourself above the crowd. Getting higher up will allow you to create favorable angles and limit how much the bodies of the subjects in the back rows will be blocked.
Capture Multiple Expressions in One Scene

Get a greater payout for the time and effort put into setting up group portraits by capturing multiple expressions for each setup. For example, after capturing a standard portrait in which all of the subjects are looking into the camera, ask them to lean into one another, go in for hugs, or make each other laugh. In short, get a variety of actions and reactions all in one scene.
Consider Diffusing a Single Light for Large Groups

The more diffused a light source, the more power that light source will need to provide ample lighting. A diffused light source will appear bigger (or softer) than an unmodified light source, but not necessarily brighter; however, as the light source is bigger, the spread of light will become more apparent. To adjust for the added light spill onto the subjects closest to the light source, you will also need to add more distance between the light source and the group, which (when combined with the feathering technique) will allow you to light large groups more evenly.
Here is a diagram to further demonstrate how to use a diffused single light for large groups:

You can find additional information in Photographing Group Portraits, a comprehensive course in our Wedding Workshop series that covers everything you need to know about how to capture classic and editorial poses in a matter of minutes, as well as lighting tips to make each image look amazing!


