
Regular readers might be aware, I can be harsh when it comes to Adobe applications. I would prefer to edit my photo using the mix of Affinity and Capture One than the duo of Photoshop and Lightroom. Adobe did become the standard for a reason, but their long-standing position as king of the mound has made them complacent. The professional photography applications that Adobe offers are a few of the most (if not the most) popular editing applications amongst creatives, but those who choose not stick within a strictly-Adobe ecosystem are usually left out in the cold when it comes to these presets. Fortunately, there is a way to utilize the Lightroom Develop Presets you have in programs such as Affinity Photo or DaVinci Resolve, or Photoshop using LUTs, extending the usefulness of the presets you love and depend on, and here’s how.
*LUT files can be used to color grade video in DaVinci Resolve or Adobe Premiere or be applied to images using Affinity Photo or Photoshop using a LUT adjustment layer.

What is a LUT?
As any Lightroom user can attest it doesn’t take long to acquire an extensive collection of presets and plugins. With their huge popularity, companies like Mastin Labs, VSCO, RNI, as well as our Lightroom Presets from at SLR Lounge, have spent countless hours developing presets, plugins and actions that help photographers get the most out of their images. Lightroom (and to a certain extent Photoshop) users have come to rely on the film-like presets for years and even have large Facebook groups dedicated to the users.
A LUT (Look Up Table) is, in essence, is like a preset. It is a modifier based on a mathematical formula between two images – the original image and the displayed image. A LUT can also be used creatively to impose a specific ‘look’ on a source image, such as creating a high contrast or bleach-bypass look. There are few different types of LUTS: viewing, transform, calibration, 1D, and 3D.
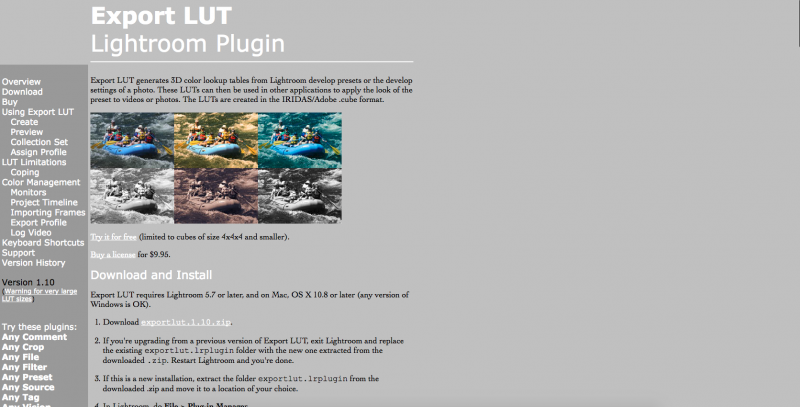
Export LUT Lightroom Plugin
The easiest way I have found for creating LUTs from Lightroom presets is a plugin by John R Ellis called Export LUT. Creating LUTs using Photoshop is the least expensive (read no additional cost – if you already have the program) way of converting presets into something that can be used in image manipulation software like Affinity Photo. The caveat is that LUTs can only be made from adjustment layers and not from Camera Raw presets. Export LUT can either create LUTs based upon a previously edited reference image or directly from the preset itself.
Develop Presets
Once the export preset is installed, you can create a LUT directly from a preset or a previously developed image. Keep in mind that LUTs can only do so much when it comes to color grading and editing and certain things cannot be accurately transferred (like highlight or shadow adjustments). The plugin will let you know via warning box which setting will not be converted.


Color Profile
It is important to keep the color profile consistent when using LUTs. In my case, I selected the sRGB color space, but if you work in Adobe RGB or ProPhoto RGB make sure you select the appropriate color space, as the .CUBE file that is created retains the specific color space for editing.

Quality
The paid version of Export LUT will allow you to make a LUT with a maximum of 256 color grid points or over 16 million colors (256x256x256) (the free version is limited to four color grid points), but important to note that Affinity Photo and Photoshop will hang and crash if trying to load anything higher than 128 color grid points. For purposes of photo editing, I’ve found 100 color grid points (or 1 Million colors) is a good mix of quality and speed.

You can download the free trial of the plugin here. The trial is limited to a 4x4x4 color grid, which is not ideal for color grading at only 64 colors. A full license can be obtained for a steal at $10 to unlock higher outputs. The Export LUT Lightroom plugin allows you to apply your favorite film emulations to your videos or use them in a non Adobe-branded product.


Get Connected!