An environmental portrait is a photograph featuring a portrait subject that showcases a large portion of the surroundings. The term ‘environmental portrait photography’ can be confusing and almost seem like an oxymoron. Is the term referring to a “portrait” camera orientation, or an “environmental” landscape? In actuality, it’s one of the most popular and awe-striking techniques of portrait photography. In this article, we’re going to do a deep dive into capturing environmental portraits, with examples and tips for achieving impactful imagery.
What is Environmental Portrait Photography?
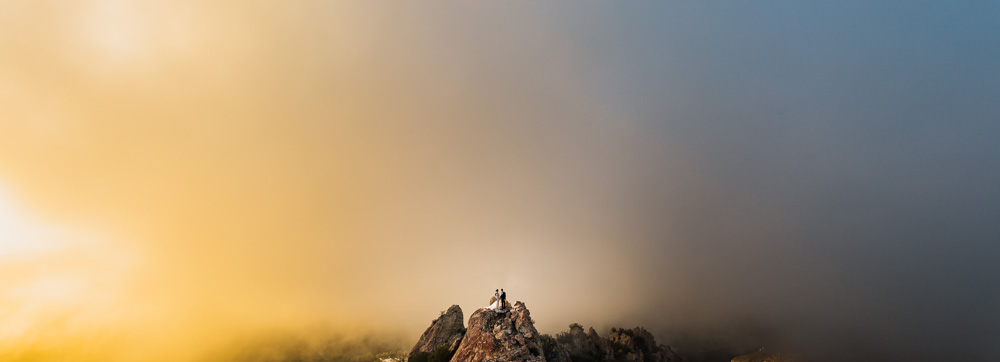
Often times we’ve seen that in our communities there are some skeptical photographers that don’t quite see the purpose of creating images like this when the subject(s) is such a small feature of the photograph, however, they obviously chose this location for their shoot for a reason, right? It would only be apt to feature it for a couple of shots to really develop the story/scene. Although there are some that classify themselves as environmental portrait photographers, many use the technique as one part of their storytelling method – pulling out wide to see the entire scene and then slowly working their way closer and closer to the subject.
How to Create an Environmental Portrait
Now that we’ve got a basic definition, let’s go over how exactly you can create your own environmental portraits. The first requirement is to grab a wide-angle lens, and there is no correct answer as to which lens is best for this, however, you’ll want a lens that doesn’t have crazy edge distortion in case you have your subjects close to the edge of the frame.
Step 1: Scout Your Location to Find the Best Angle
The toughest part of an environmental portrait is your composition. Since environmental portraits feature both your subject and the surroundings, it can be hard to determine what the right ratio or proportion of your image seems right. You’ll see in our examples that there are a plethora of ways to compose your subject(s) in your frame that still distinguish who they are while a large portion of the image features the surroundings. The fun part about environmental portraits is being able to squat down low or climb higher to find an interesting vantage point that isn’t immediately apparent to the naked eye.
Put your camera down and take a glance around the scene. Often you’ll find that just a quick location scouting session prior to shooting will give you the most unique perspectives. Planning for a shot like this requires a deep understanding of the landscape which takes time, and sometimes even incorporating spontaneous elements like these kayakers in the distance. Keep an eye out for the following things when location scouting:
- Leading lines
- Foreground objects
- Interesting shapes
- Unique angles
Step 2: Dial-In Your Ambient Light Exposure
Next, determine your Camera Settings For Environmental Portraits.
Decide whether or not you want to create a dramatic image or a natural image but brightening or darkening or your ambient light exposure. Since our goal here is to showcase the environment you’ll want to watch your shadows on your Histogram to ensure you aren’t clipping them so that you have as much potential in post-production to play with the image.
When photographing in a large landscape you need to make the decision of whether or not you will be using off-camera lighting to assist in bringing out the subject in the frame. Then dial in the appropriate camera settings depending on the look you are trying to achieve.
Step 3: Add in Off-Camera Lighting (Optional)

Once you’ve dialed in your camera settings you’ll need to decide whether or not your subject(s) needs more highlighting within the frame. Adding in off-camera lighting help distinguish the subject(s) in frame, especially if there is a ton going on in the actual environment. Some photographers have such a trained eye that they can spot natural highlights or rays of sunlight within their frame and place their subject(s) there to start with.
Rewind: Advanced Flash Photography Technique – Environmental Backlight
Step 4: Cue the Action & Photograph!
Once you’ve locked down your position and framing, all that’s left to do is pose your subject(s) and shoot! Be cautious of having your subject(s) look towards your camera if you are photographing them from a far distance – this can have a sort of ‘peeping tom’ like effect that doesn’t translate well into an image and you’re better off having them look at each other or at their surroundings.
Post-Production For Environmental Portraits
Environmental portraits require a compositing technique due to the fact that you are shooting in a wide landscape with an off-camera light. Using a Layer Mask in Photoshop will allow you to mask out your assistant or off-camera light in the frame.
Environmental Portrait Photography Examples
When we asked our Facebook Group to share their favorite environmental portraits we were overwhelmed with the response we got. Hopefully these images inspire you to think outside the box the next time you start photographing a scene because these photographers used a variety of techniques to showcase their environment and subjects. The infinite talent within our Facebook Communities is truly a reason why we love our industry – it reinstates that we can all learn and grow so much just be helping one another. Here is a selection of environmental portrait photography from our community:
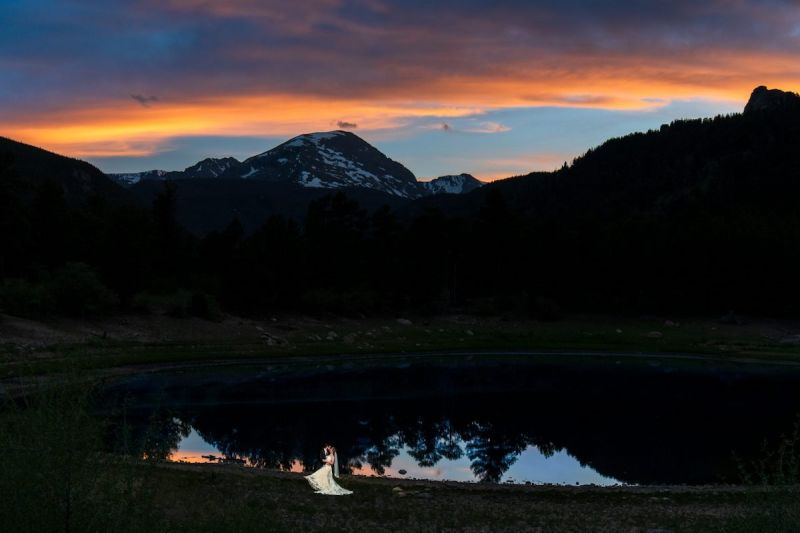

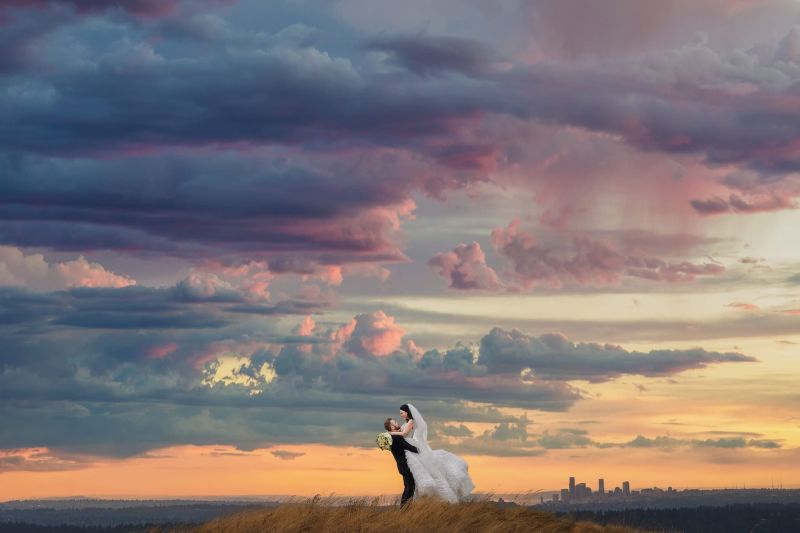


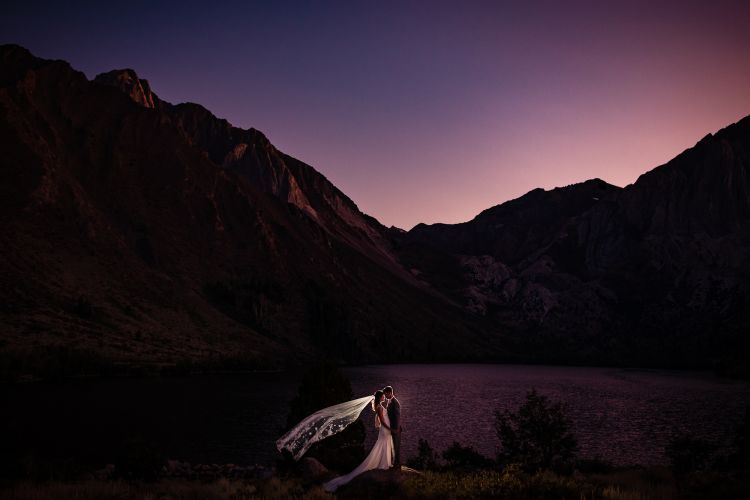
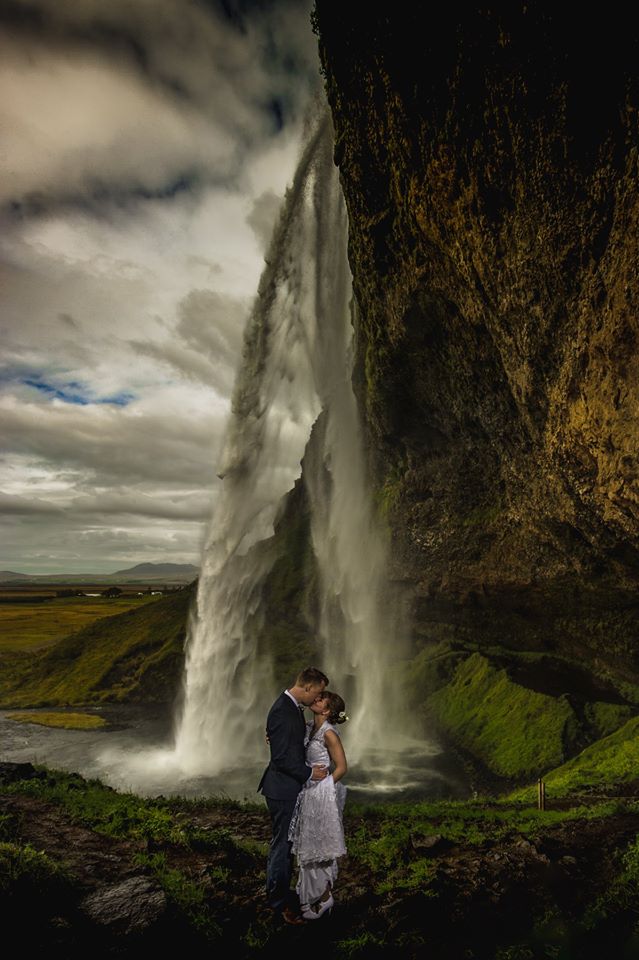
“I had a Profoto B10 with a 1/2 CTO and a 20-degree grid about 15 feet behind the couple and just below shoulder height. They are up on a rock so I had the light up at about ten feet high. These were my settings: 1/125, f/2, ISO 800. The bride’s sister came along with us for the sunset photos and she helped finesse the flash and she tossed the veil for me until we got it in the right spot.”
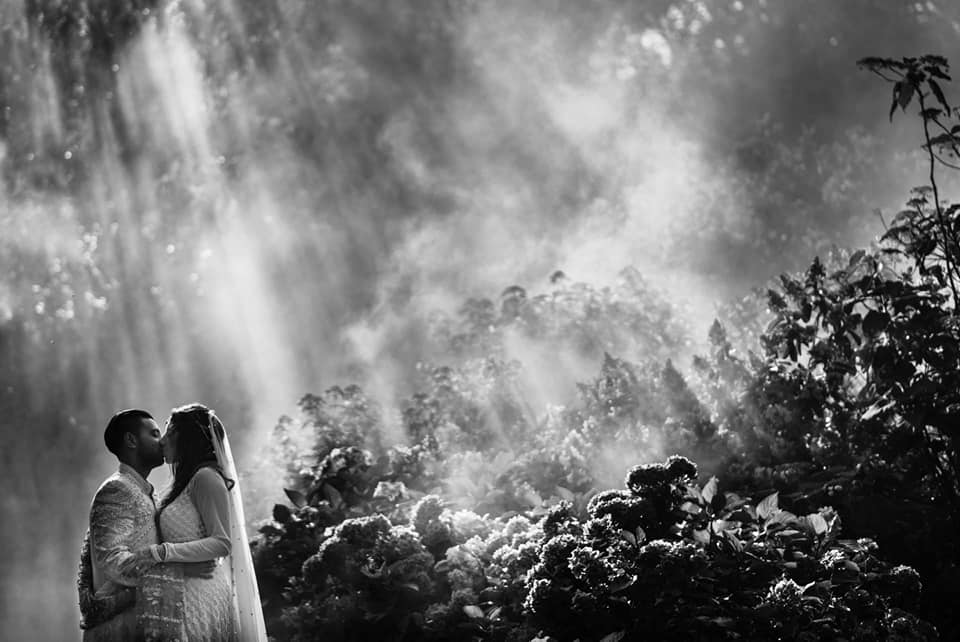

“This couple’s wedding was at a ranch and the longhorns are one of the signature features of the property. Most photographers avoid using flash as they’re worried about being speared (a valid concern at that) but I knew that I had to use flash to get the sky to look the way I wanted it to. We pulled this off in about 30 seconds as the longhorn wasn’t too crazy about me being so close to him (shot at 16mm). All of the stress was worth it though as I feel like we created a photo that perfectly captures the couple’s day.” This image was taken with a Sony A9 w/ Sony 16-35 f/4 @ 1/200, f/5.6, ISO 50 Light (camera left): MagBox w/ FocusDiffuser + 1/4 CTO w/ 2x Godox AD200.


“Environmental Portraits are my fav! Embracing the elements, location and light to show off the subject! My husband always laughs at me every time we’re in a beautiful scenic location and I say- “you know what this needs?” and he replies “a couple?” He knows me so well! Ha ha!”
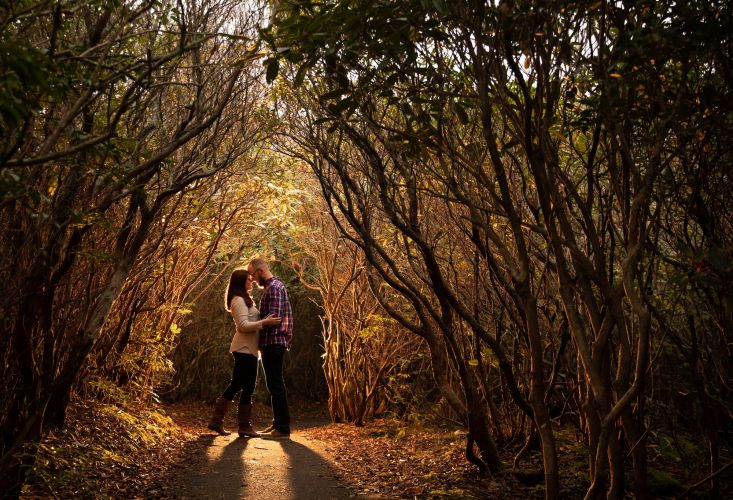
“We had already shot so cool natural light shots in the tree tunnel giving it that cool leading line effect and as we approached this spot, we saw that the sun was shining through subtly. We wanted to enhance the light that was already there so we decided to add a half CTO gel and backlight the couple for a warm highlight to make them pop. We actually look for this lighting situation any time we’re in an area with a natural tunnel. In addition to the half CTO gel, we also utilized a MagSphere and these were placed on a Godox AD200 at 1/8 power about 4-5ft behind the couple, waist level, with a slight tilt up.”

“Erika and I love pulling back to reveal the scale & enormity of the bigger scene, to remind our human audience about their fundamental connection to nature, and to place the viewer’s mind on the surface of our awesome planet. Mother Earth is extraordinary – let’s treat her that way.”


“Hawaii is basically Neverland. From the moment I set foot on this island, I knew I was bearing witness to real-life magic. I still get goosebumps when there’s a good sunset. I still cheer when a whale jumps. And my absolute favorite thing in the whole world is sharing this place with my friends, family, and clients.”


It can be easy to fall into the trap of getting ultra-wide images where your subject is so small in the frame you can’t even see them. This portrait by Matt is a great balance of the scene and the couple. He adds: “I believe you can still show off the environment and tell the story, even if the couple is closer and larger in the frame. This image was taken before sunset on a cloudy day. I killed most of the ambient light and used a MagBox to make the couple stand out.”


“She grew up at the vineyard we were shooting in and this was the windmill she used to climb as a child. She always got in trouble for being up there, so it was the number one shot on my list for the day.”
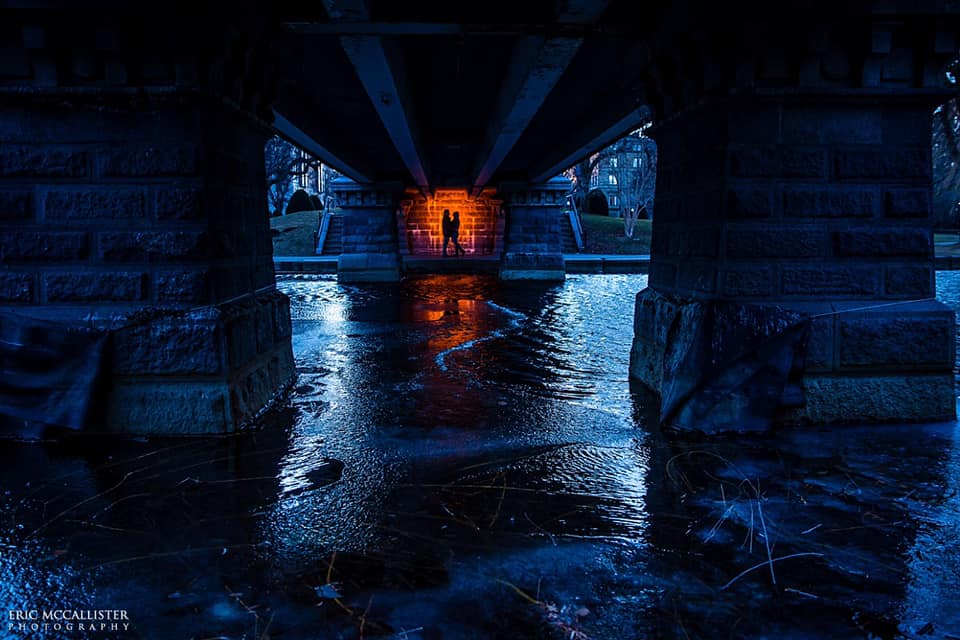
Learn More About Creating an Environmental Portrait
We went on Facebook Live to discuss how we create some of our extraordinary portraits featuring subjects within a wide environmental landscape. We covered how to light, compose, shoot and edit these images to make the subject stand out amongst a busy and vast scene, watch it here:
With portraits such as these, our main goal is to ensure that the subjects stand out amongst the large landscape they’re in, and to do that requires a greater understanding of off-camera lighting and knowing just how far you can push your camera. You can see more in-depth tutorials and techniques on how to achieve this look in SLR Lounge Premium!
Join Premium


