Headshot photography is a specialized genre that requires a specific set of skills, techniques, and equipment to produce stunning results. If you’re looking to start your own headshot photography studio, having the right gear is essential to ensure that you’re able to capture the perfect shot every time. In this article, we’ll take a look at the essential headshot photography gear that you’ll need to start your studio.
Headshot Photography Gear Video
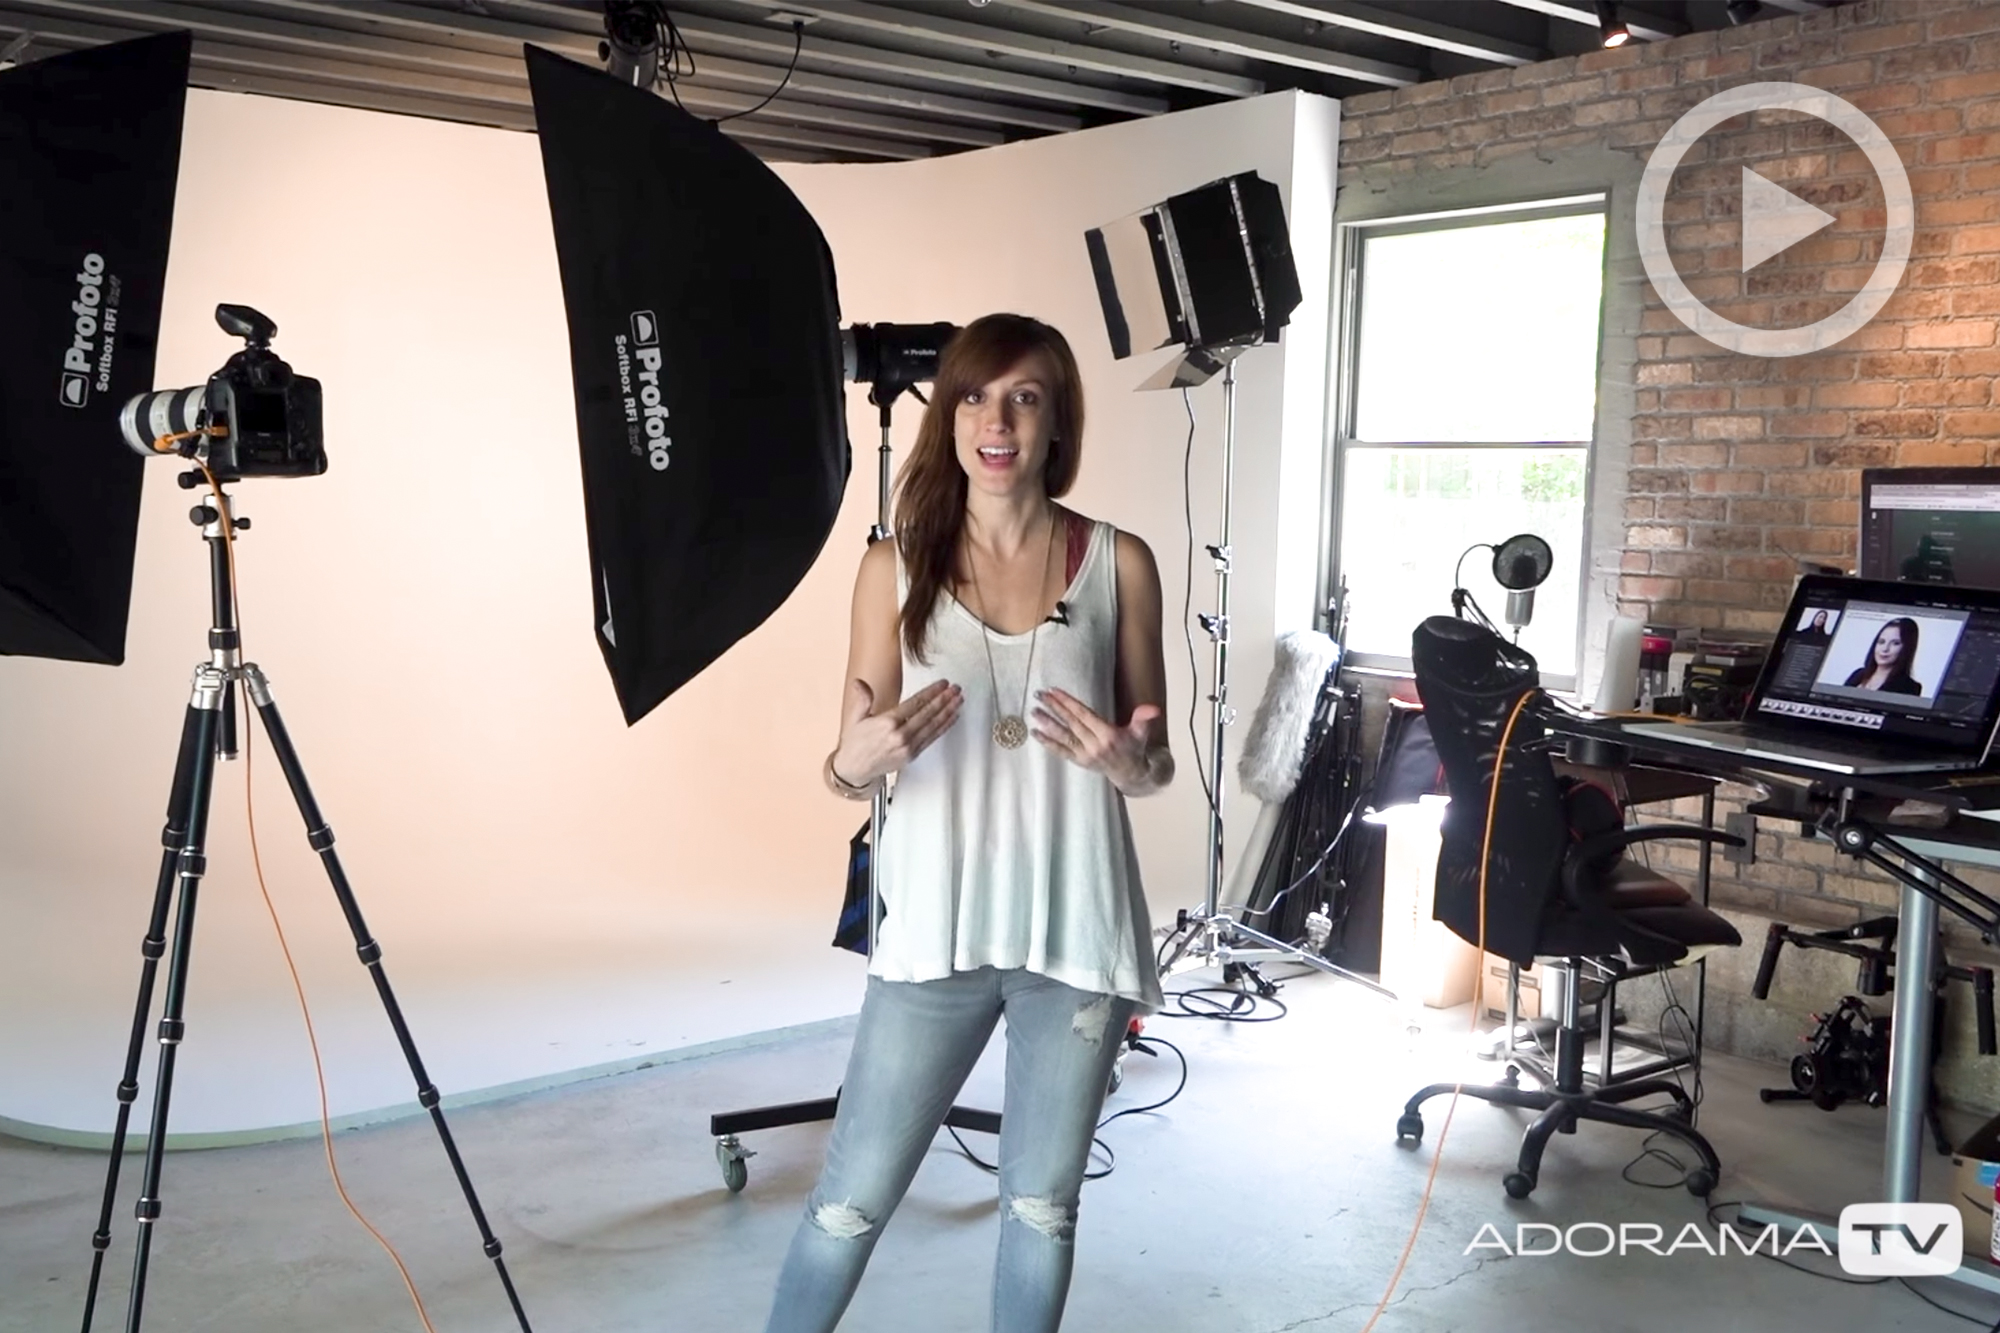
If you’ve been watching our Headshot Photography 101 workshop and are itching to jump in and get going in your own headshot photography studio, this video by Vanessa Joy for Adorama TV offers some great tips on what gear to acquire. Of course, you can make do with less and we’ll show you how in our workshop, but if you want to go all-in, these are the basics to get started.
Headshot Photography Cameras and Lenses
Of course you’ll need the basics, a camera and a lens or two. For the camera, we recommend a solid, full frame camera. Any new model will do. For lenses, we’ve created a full list of headshot photography lenses.
Headshot Photography Backdrop
A white background is a great choice for a headshot studio because it’s neutral and versatile. The versatility lies in the fact that it can be more than just a white background depending on how you light it. When fully lit, it is of course white. But, you can light it at a lower power or move lights further from it to use it as a gray background, or don’t light it at all and block any spill from the lights you’re using to make it a black background. Less useful for headshot photography but still good for your bag of tricks: you can use colored gels on a background light and you’ve got a whole world of colored backgrounds from a single white background.
Vanessa is using a white cyc wall in her studio, which is great but not practical for every space. Additionally, a cyc wall isn’t portable, so if you’ll be shooting headshots on-location you’ll want to opt for something like a roll of seamless paper or a collapsible backdrop. For more information, see this article on headshot photography background ideas.
Lights and Flashes for Headshots

While you can certainly get away with using fewer lights, having at least three lights in your studio will give you versatility in how you choose to light your subject and many classic portrait set-ups use three lights. Commonly these are used as a key, fill, and hair or background light.
Vanessa is using Profoto D1 (D2 pictured) studio mono lights. These are not a budget option, but their recycle speed, consistency, and reliability make them a great choice. If three Profoto lights would break the bank, any studio strobes of repute will do.
[REWIND:] HEADSHOT PHOTOGRAPHY TIPS | SQUARE LIGHTING WITH ONE ON-CAMERA FLASH
Lighting Modifiers
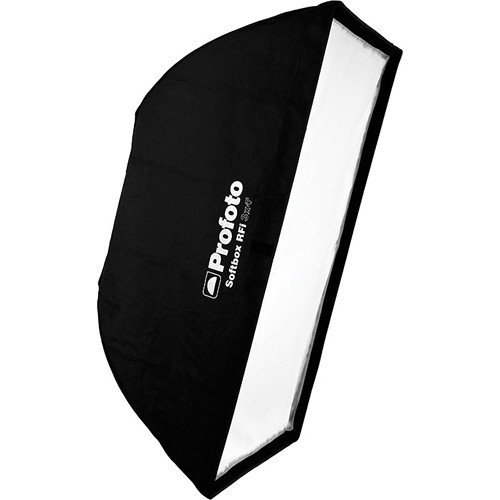
Vanessa’s recommendation for a first softbox is a 3×4 foot variation. These make a great soft light when brought in close for a headshot but are large enough to create a spread when pulled back that will light a full body. As with most of the options for a home studio, it comes down to preference but if you like the look of a rectangle softbox and want to start your studio with some, two of this size for your key and fill is a nice beginning.
In Vanessa’s setup, she’s got a standard reflector on a light for the background. We would also add spot grids to go with this type of reflector. They are used to narrow the strobe’s beam and can be used to throw a circular gradient onto your backdrop as well as provide a lovely look when aimed at a subject’s hair for a hair light.
Grip and Sandbags

In your studio, it’s nice to have grip equipment that’s a bit more heavy-duty than what you’d want to take on location. There is a peace of mind in knowing that your lights are sturdy as you’ve got clients walking around your studio. This goes double if you photograph unpredictable subjects like animals or kids.
Along with those heavy stands go sandbags. Sandbags are a vital piece of studio safety equipment, plus they’re needed outdoors if you want to use modifiers that will catch a breeze and go sailing, so they are an essential to have on hand.
Tethering

The back of the camera is no substitute for viewing images at full size and with more accurate color and contrast. One benefit to working in a studio is the ease of tethering compared to on-location. Set up a laptop with Capture One Pro preferably or Lightroom in a pinch. TetherTools makes a great laptop table for tethering, but any surface will do. You will need a tethering cable to connect the camera to the computer. We recommend TetherTools for this. Tethering is their specialty and their cables are reliable and well made. The orange ones are common to see in use because their visibility makes them less of a tripping hazard, but if you can’t deal with the color they are available in black as well.
Flags
Adding light is good and all, but flagging that light, using a scrim or adding negative fill, is where it’s really at. The Westcott Fast Flag is an empty metal frame. Exciting I know. But, before you dismiss this addition, let me tell you that I use this on almost every single product photo I create. It is an indispensable tool.
Using the correct boom, the metal frame is sturdy enough to be positioned anywhere and at any angle. I can’t tell you how valuable that flexibility is. And, to cap it all off, it’s cheap. If you get the accompanying scrims, it’s not, but you can always create your own.
Find the Westcott Fast Flag here.

Boom / Extension Arm
I’m about to take delivery on my 4th one of these, and I foresee myself wanting more in the future. A Boom or Extension arm will allow you to do many things; the most common of which is to place your light at the end of the Extension arm. By doing so, you can light things from the top and place your light directly in front of someone (think clamshell lighting). For portraits, this ability opens up many possibilities.
Other than placing your light on the extension arm, you could use it in conjunction with the Westcott Fast Flag, as I do, and then be able to place it wherever you want. You could use them to make a quick and easy backdrop stand or a portable clamshell lighting kit; see this article. If you do a lot of lighting, these babies are wonderful. Although they are a little heavy and, depending on what you intend to place on them, you will need a suitable light stand.
Light Stands
If light stands were gangsters, the C-stand would be Michael Corleone, or Vito (whoever floats your boat). Throw those cheap stands you get bundled with strobes out the window and buy some of these now.
In all seriousness, every stand has its place. Yes, even those cheap ones; they belong in the bin. C-stands are the Godfather of light stands because of their strength, reliability and versatility. It’s not all roses, though. C-stands are expensive and heavy. As such, they’re not the most portable of stands. However, as studio stands go, the C-stand can’t be beaten. There’s a reason that in every professional studio and film set across the world, you will find C-stands.
You can purchase your own here.

The X-Rite ColorChecker Passport
Calibrating your monitors and maintaining an accurate color workflow is an essential skill that every photographer MUST learn. The ColorChecker Passport is the perfect tool to assist you in this. I use it constantly in my product photography to assure that I am reproducing accurate colors. I also use it for portraits to quickly gain white balance.
Color accuracy might not be the most interesting of topics, but please don’t let its dull demeanor fool you. It is such an important thing to learn. You can purchase your very own ColorChecker Passport here.
And of course, if you want to get started with headshots, check out our Headshot Photography 101 workshop!


Get Connected!