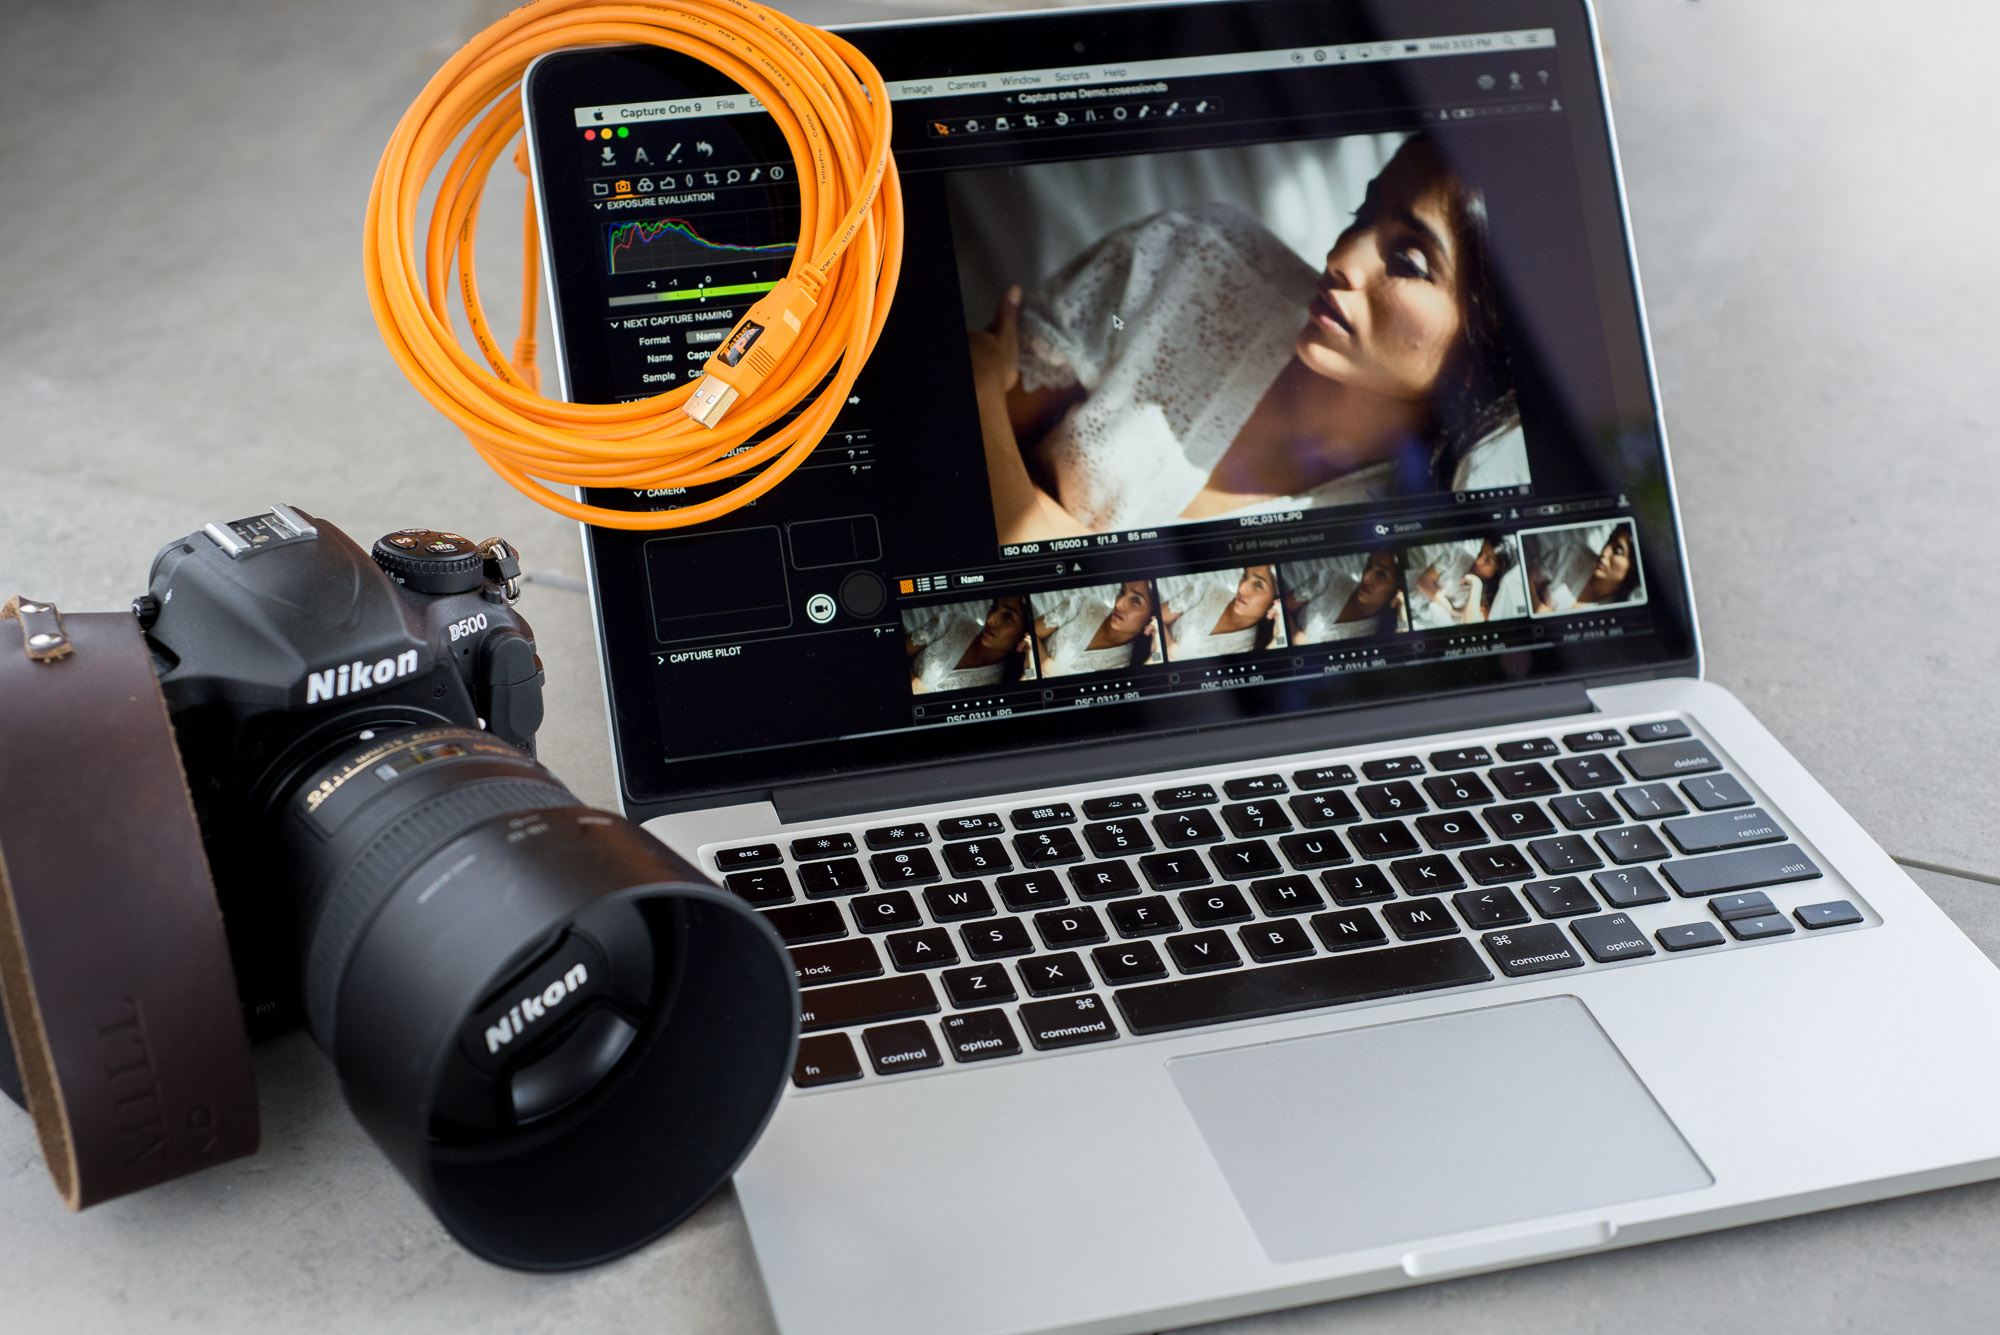
Tethered shooting allows you to connect your camera to your computer, the benefits of which are not to be underestimated. Professional photographers of all genres rely on tethered shooting to assist in delivering images of the utmost quality, with consistency and predictability. Whether it be an on location fashion shoot, multi-million-pound/dollar commercial, or basic white background product photography, tethered shooting brings a level of control which is an absolute necessity for many of us. The benefits of camera tethering include, but are not limited to:
- Being able to review the image on a larger screen to check ALL fine details in a way the cameras LCD couldn’t dream of
- Applying quick edits or presets as you shoot, giving you an excellent idea of how the finished product will appear
- Allows others to also view the images as the shoot is in progress – absolutely key when working with a crew
- Overlaying text and graphics if shooting for magazines etc.
- Live view and all the benefits that brings
- Having full / or partial remote control of your camera
What Do I Need For Tethered Shooting?
If you already have Lightroom or Capture One Pro, then you probably have all, if not most of the items you need. Most modern cameras will support tethered shooting but you need to check as it isn’t a guarantee. With Capture One, they (and I imagine Lightroom) require the camera manufacturer to provide them with what’s called an SDK (Software Development Kit); In simple terms (the only terms I understand) once they have the SDK and manipulate as required the two programs will then be able to communicate. As you may have assumed, the issue here can be that with new cameras, the SDK may not be immediately available.
As well as a program and supported camera, you will also need a good quality tether cable of an appropriate length. Length of cable is a tricky one but generally speaking for USB 2.0 the max will be 18ft, with USB 3.0 the max is 9ft, although those lengths can be extended with powered adapters, one of which our Editor-In-Chief, Kish, will be reviewing shortly (TetherBoost Pro). In terms of the cable themselves, I would recommend Tether Tools; you can find them here.

Shooting Tethered With Capture One Pro
There’s lots to cover here so I’ll try to keep explanations brief where possible.
Capture One Pro is my go to program for tethered capture. I’ve also tried Lightroom but found Capture One Pro to be far superior. I know that many of you use Lightroom, a program which I too love, and if you’d like to learn about tethered capture with Lightroom check out Pye explaining tethering in Lightroom here.
*Note: this isn’t a comprehensive tutorial on all the operations and ins and outs of Capture One, but their YouTube channel is a great resource for webinars and the likes to bring you up to speed.
Once in the Capture Menu, the first options concerning tethered capture involve the naming and saving of your files. The interesting parts to note are; applying custom naming using a drag and drop system, and choosing the destination of your files. I tend to work in ‘sessions’ and use the standard file architecture automatically created, meaning that captured images go to the Capture folder.
[REWIND: SIMPLE PHOTOGRAPHY TIPS | THE FORMULA TO BECOMING A PROFESSIONAL]

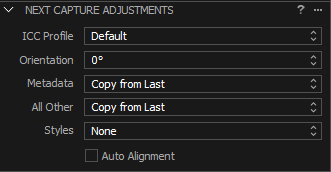
The Next Capture Adjustments will primarily be used for applying your edits while shooting. For instance, you could start the day by applying some rough adjustments once your lighting is set. By choosing “copy from last”, each proceeding image will retain those settings. Other settings include:
Copy from primary = copy adjustments from a selected image
Copy specific from last = copy specific adjustments only from last image
Copy specific from primary = copy specific adjustments only from selected image
The last setting in that drop down is Copy From Clipboard. By default, certain settings like rotation are not copied using the other methods, “Copy from clipboard” allows you to specify exactly which settings are copied over as well as including the other settings, like rotation.

This next image shows you the “Camera” and “Camera Settings” menus. From here, you’ll be able to have remote control over many of your cameras settings. It’s worth noting that this will differ depending on the camera you are using and I would advise you to check should this be a must-have feature for you, but, as I mentioned earlier, most modern camera’s will be fine.
As well as the obvious camera settings, with a supported camera you can go in and adjust pretty much anything you could from within the camera’s menu. I’ve never had use for this feature myself but I’m sure there are many of you who would.
[REWIND: NEW SIGMA LENS SALE WITH CODE & MANY WITH FREE DOCKING BAY & SHIPPING]

The next tethered shooting item I would like to draw your attention to is the “Camera” Menu at the top. In this section, we can enter into Composition Mode, where Capture One overwrites images as they are taken rather than saving each file. This is useful when you’re setting up and don’t want to clutter your HDD.
Capture One Pro also gives us additional options here for what happens when a new photo is taken and displayed. We can either view the photo:
Immediately – prior to any adjustments being applied
When Ready – once adjustments have been applied (slight time delay)
Never – Capture One will not display an image until it is selected
Auto Pause – a feature which will allow you to pause the displaying of images while others are being captured.
Live View, The Holy Grail Of Tethered Capture
Well, it may not be for everyone, but it certainly is for many. Having the ability to display your cameras live view on a larger computer screen brings many benefits which I, as a product photographer, find indispensable.
- Composing the shot
- Having precise control over focus
- See the effect of lights and modifiers as you adjust them
- Adding guides to help position objects
- Placing an overlay if adding graphics to the final image

The controls available within Live View are all pretty self-explanatory. Focus controls are separated into three adjustments of varying strengths for both near and far. Other than that the only settings which require explanation are for Lightness, Quality, and the “Live View Focus Meter”. Sadly, each of those are only available with supported cameras like Hasselblad and Phase One.
Lightness – Brightens the Live View
Quality – Increase Live View quality while sacrificing refresh rate
Live View Focus Meter – A tool for helping one check and achieve accurate focus

Going Mobile With Tethered shooting
Capture Pilot is a feature which I must admit I am yet to use. The additions this app brings differ depending on whether your device is IOS or Android.
IOS – Take full control of camera, view and rate photos as they are captured
Android – Using Web App you can view, rate and color tag photos
I’m sure this feature would be fantastic for shooting tethered with many people observing the images simultaneously. An art director could be tagging images to review later in the day for example, a stylist could be noting what to adjust, and even the model should you be using one.

Summary
Capture One Pro is the ultimate in tethering software but quite expensive if you already own Lightroom and don’t need all the features on offer. For me and my photography, it’s essential, and pretty much any professional fashion and studio photographers will say the same. Ultimately, you must make the decision for yourself and what’s right for you. If you don’t need the features, then save the money and buy something else which will improve your photography. There is, however, far more to Capture One Pro than simply dominating at tethered shooting, I’ve not regretted my purchase for one second. If you’d like to purcahse Capture One Pro, you can find it here. We’ll be sure to bring more information on the Capture Pilot App in the weeks coming.
[Recommended reading: IS IT TIME TO SWITCH FROM LIGHTROOM TO CAPTURE ONE PRO? HERE’S WHY IT MIGHT BE]
Have you seen SLR Lounge Premium yet? It’s our premium service which includes all of our best tutorials as well as tons of other educational content. There’s something for amateurs and pro’s alike and I would definitely advise you to check it out, click here.


Get Connected!