White Balance Technical Explanation
After the exposure triangle, (shutter speed, aperture, and ISO) a photographer’s choice of white balance is the fourth most important camera setting that must be decided. White balance significantly influences the look of any image, by designating, “what color should appear white” in a photograph. That is, for example, if a photo is captured outdoors in broad daylight, and the white balance is set to daylight, a picture of a grey or white subject would be “correctly” rendered grey or white.
See also, Color Temperature.

White balance is composed of one primary parameter, on a scale from “warm” to “cool”. However this scale, which could approximately includes red, orange, yellow, and blue, does not take into account other common colors that occur in ambient conditions, especially man-made lighting, such as yellow-green, magenta, and others.
Thankfully, on most cameras (and in all raw editing software) white balance also offers a secondary parameter which can correct for any color hues of green or magenta. This secondary tint (compared to temp) setting is surprisingly useful in everyday photography; for example sunlight that is filtered through the green leaves of a tree would cause the light itself to turn yellow-green, and to correct this a camera’s WB tint would be dialed in the magenta direction.
White Balance and RAW Editing
If a camera is set to record JPG or TIF images, then the white balance value is fixed or “cooked into” the image, at whatever value the photographer sets at the time of capture. However, unlike the settings of the exposure triangle, if a camera is set to record RAW image files, the white balance can be re-set in post-production without any negative or destructive effect whatsoever on the image quality. This is because a raw file retains the full range of color data captured.

Creative White Balance Color Settings
One of the first keys to understanding balance, however, is that it is not merely a correction, but also a creative tool. Similar to overexposure and under-exposure, which create high key and low key images, respectively, white balance can be adjusted in a creative direction to intentionally cause either a warm or cool effect.


6 Tips To Understanding White Balance and Color Temperature
WB & Color Temp Tip 1: Color Temperature is the color of the light source
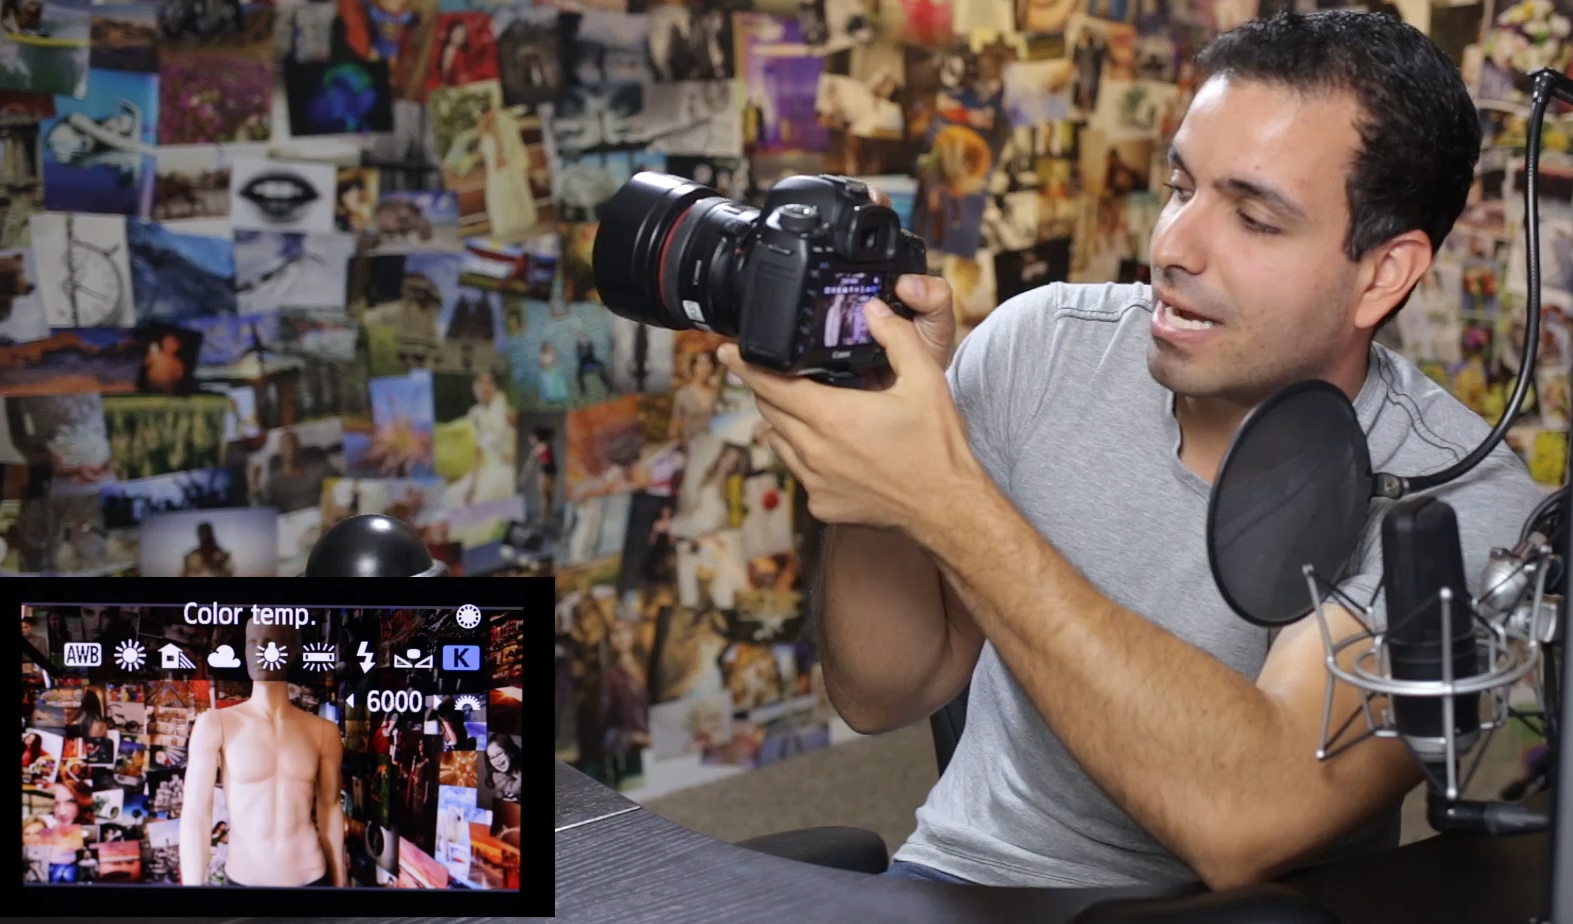
Color Temperature is simply the color of the light source, and it is measured in Kelvin. In most cameras you are able to adjust Color Temperature manually in Kelvin, and in this handy diagram we give you the approximate Kelvin you want to use when dealing with these different light sources.
WB & Color Temp Tip 2: Different Types of lights may give off different tints
Color Temperature deals with oranges and blues, but your light source may also exude different tints of color such as green or magenta. So when you’re shooting you may have to either change your camera’s setting to compensate, or if you’re shooting in RAW you can correct the tint in your photo editor.
WB & Color Temp Tip 3: Set your camera’s White Balance
When you set your camera’s White Balance you can choose one of the pre-sets (Sunny, Cloudy, Tungsten, etc…), or if you’re using a more advanced camera you can dial in your White Balance manually using Color Temperature. You can also choose AWB, or Auto White Balance. In AWB the camera will choose a White Balance setting for you. It’s worth noting that AWB works great outdoors, but not so well indoors.

WB & Color Temp Tip 4: Use Live View to dial in your White Balance
If you’re using a DSLR then using Live View to dial in your White Balance is great because you can see the adjustments in real time. If you’re using a Mirrorless Camera or a camera with an Electronic Viewfinder then you can do this in the viewfinder. By using Live View you’re able to set your White Balance accurately without having to do the “shoot and check” method.

WB & Color Temp Tip 5: Shoot in RAW for more latitude when adjusting Color Temperature and Tint during post-production
When you shoot in RAW your images will retain the most color information, giving you more flexibility when you want to adjust Color Temperature and Tint later. In the video above you can see how I adjusted the Color Temperature to color correct this image.

Before Color Correction Left | After Color Correction Right
WB & Color Temp Tip 6: Calibrate your display or monitor
When coloring your images or videos you need to make sure your display is properly calibrated, otherwise you’re going to deliver a product with less than accurate colors. At SLRLounge we use both the i1 Display Pro and the Spyder Elite 4, both are fantastic at keeping our monitors color accurate.

Related Articles to White Balance Definition

How to Create a Home Portrait Studio

Understanding White Balance & Color Temperatures in 8 Steps

5 Milk Bath Boudoir Photography Tips

How to Become a Sports Photographer

Lightroom Editing for Mood and Cinematic Warmth

How to Swap Faces and Expressions in a Few Simple Steps

Five Cloudy and Rainy Day Photography Techniques

Color Accuracy On A Budget – Get The Right Colors Every Time

Top 5 Buildings in the World to Photograph


