We all run out of imagination, and it isn’t something to be ashamed of. Whether you gather inspiration from social media, peers in the industry, or walking on the street, there is always something new to learn and attempt. With wedding season in full swing, we wanted to round up some of our favorite images and offer creative photography ideas and tips to spark some inspiration for your next wedding! We’ll cover the following categories:
Creative Wedding Photography Tips for Portraits
Below are ideas, inspiration and tips for the couples session, i.e. portraits, from the wedding day.
Don’t be afraid of hard light
Don’t be afraid of hard light. With the right posing and positioning, you can make hard, afternoon light work in your favor. Like all scenes, first, start by analyzing your direction of light. Then place your subjects in an area where the shadows aren’t too harsh. Focus on finding a background that helps chisel out your subject.
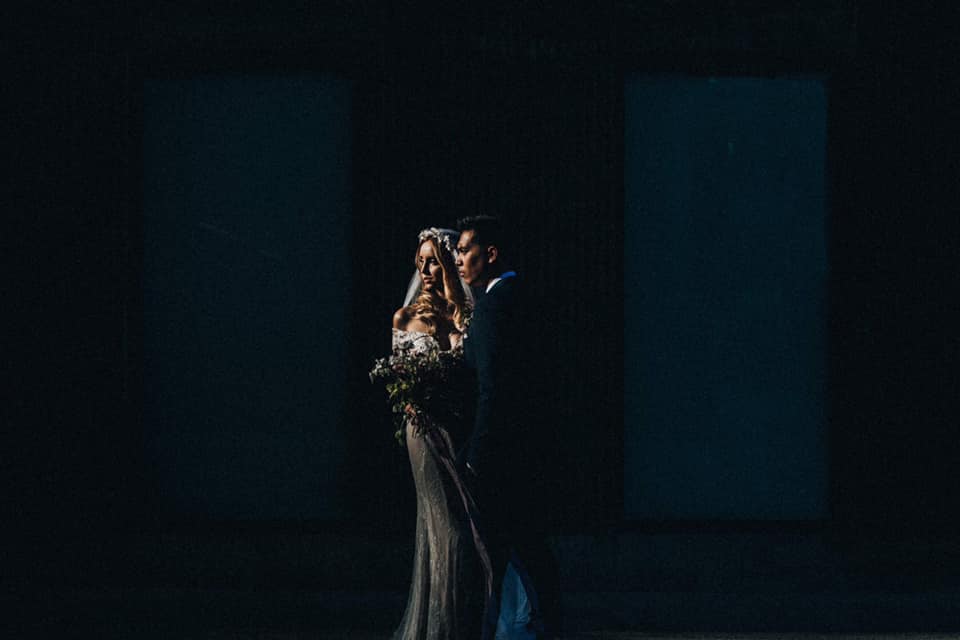 Image by Timothy Eyrich – Website | Instagram
No additional light modification is necessary when you find the right kind of light and positioning for your scene. Be careful of how you place your subjects on the same focal plane, watching for how they cast shadows on each other.
Use Objects to Frame Your Subjects
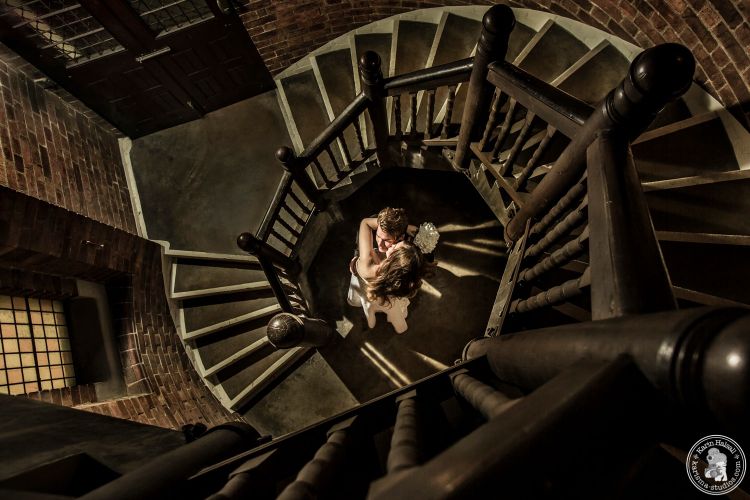
Utilize your surroundings to draw attention to your couple via leading lines, geometric shapes, or interesting foreground objects. Before even picking up your camera, scan the scene and find shapes within your image that can be used to frame your couple.

Nik came across a park in Europe with people playing chess and the wheels started to turn as to how to incorporate them in the shot. He placed a light to camera left to illuminate the chess pieces and players, and another light to camera left to bring out the couple in the frame. He then “waited for that perfect moment to get all three hands moving simultaneously” to a dynamic feel to the scene.
Create a Spotlight Effect

This technique is derived from stage performances that utilize spotlights to help draw attention to certain actors on stage. Using a grid or a snoot, you can create the same type of effect with a simple pocket flash.

This is a great lighting technique for wedding reception photos when you get to sneak the couple in before guests get seated. Make sure to watch where the light spills because the goal is light up just the couple and darken everything else around them.
Create an In-camera Double Exposure

Double exposures are simply layering images on top of each other, and while this technique can be done in Photoshop, most cameras have the ability to accomplish this within the menu system. Learn more about double exposures here.
Add a Backlight for Interest

Backlighting is one of the simplest techniques with one of the highest rewards. Although photographers may shrug off the idea of silhouettes for being “too basic”, they are always a major hit with clients. Adding a strong light behind your subjects turns a scene that looks completely ordinary into something absolutely extraordinary.
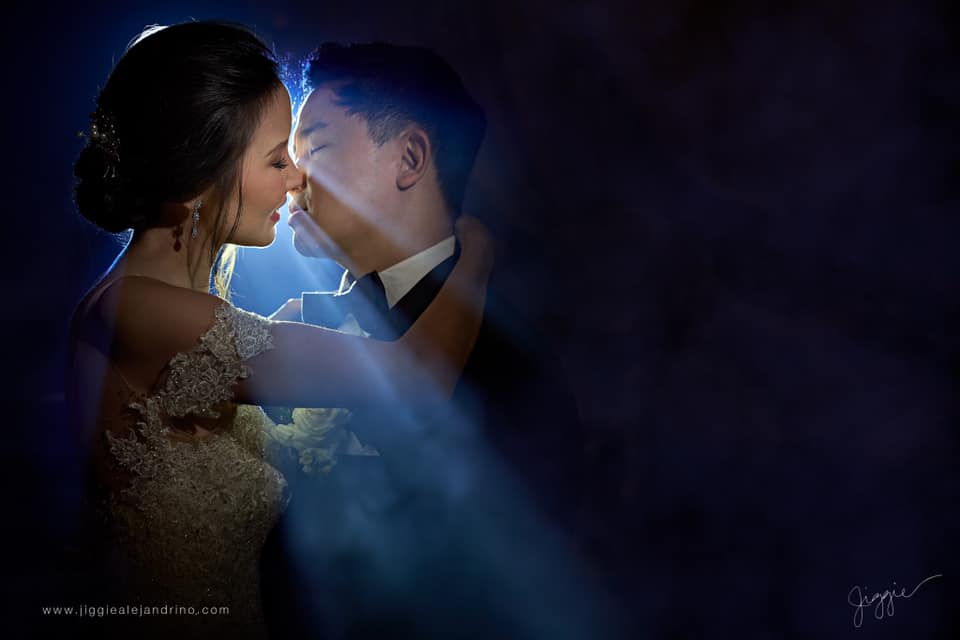
You can even add some Atmosphere Aerosol to the image to create an added depth to the scene. Adding colored gels to your backlight can help draw the viewer into the image and can also complement colors found in the wedding venue or decor.
Add Color To Your Scene
Often times wedding photographers are faced with venues that may not have aesthetically pleasing backdrops or many options for couples portraits. This is a great opportunity to kill your ambient light and create something out of nothing.
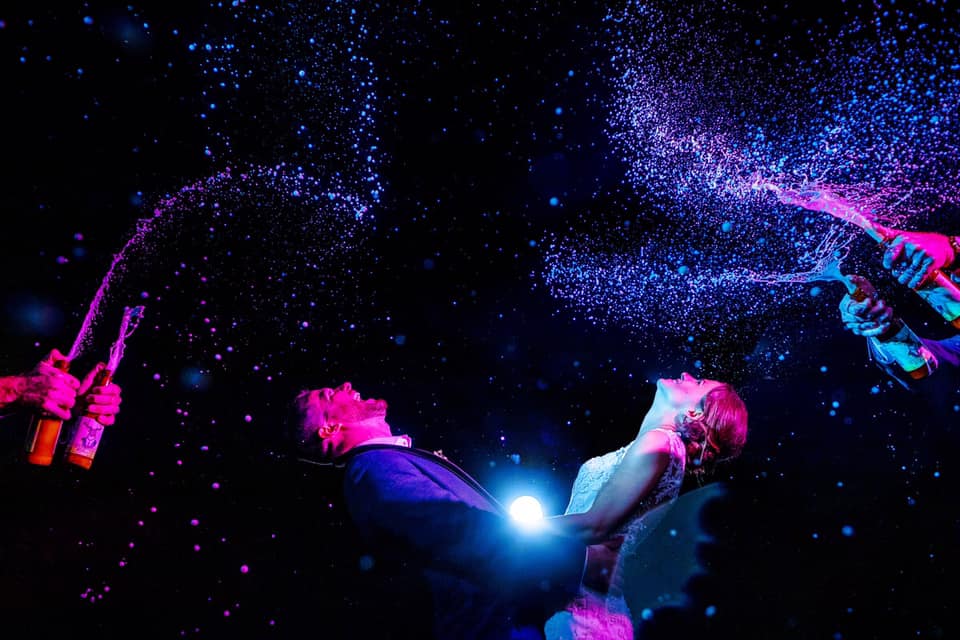
We mentioned colored gels in our previous tip as a way to add interest to the scene. For this shot, David “placed a groomsman on each side and gave them two champagne bottles” to add some action into the scene and to compliment the pouring rain. By cross lighting with a blue gel and a rose-colored gel, he was able to come out with a dynamic image.
There you have it, 6 different ways to shake things up and get creative in time for your next wedding! What are some other types of tools or techniques you like to utilize on wedding days when the odds are stacked against you? Let us know in the comments below!
Creative Wedding Photography Ideas for the Ceremony
Wedding ceremonies often take place during a 20-30 minute window of time leaving you with a limited time to capture moments as they unfold.
Find Reflections
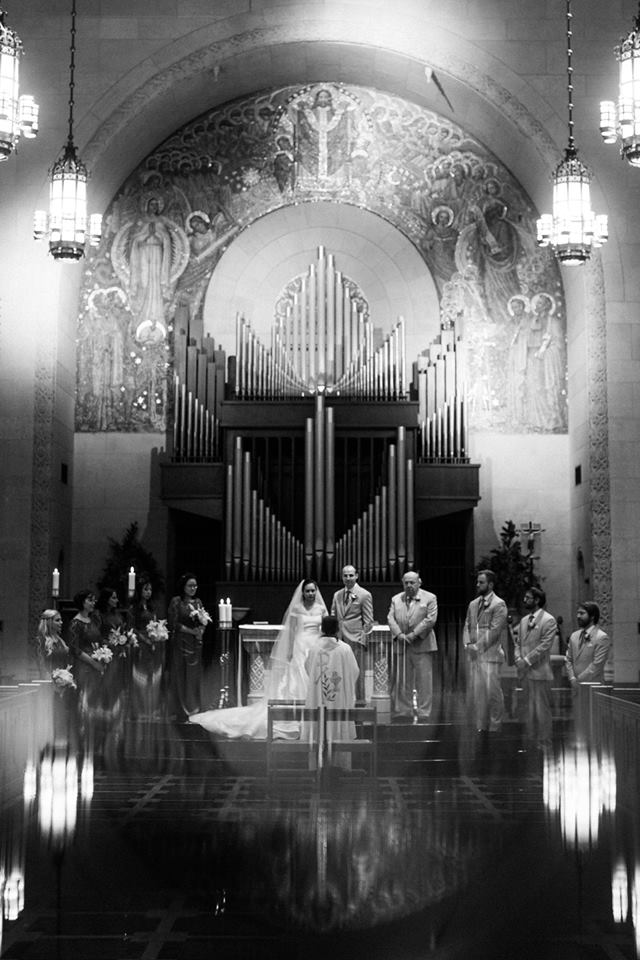
Creative wedding photography can sometimes be right in your pocket! “Use your phone screen to create some cool reflections and patterns! If you’re tired of the same shot from the back of the church, try taking your phone out and holding it right below your lens. Angle your phone screen up and down to get the right reflection. Make sure you wipe your screen beforehand, so you can get a clean reflection.”
Find a Low Angle
“We like to change our perspective and use a variety of “tools” to put an artistic touch to our photographs, which our clients love (and love to print). Our advice? Get low … or even get underneath. We also love to get creative with a prism.”

Integrate the Details
Try and integrate details that help tell the story of the wedding day.

Get Close (If Allowed)
Photographers often default to capturing wedding ceremonies from the back of the church with a telephoto lens due to perceived or actual restrictions, resulting in similar-looking images. However, it is crucial to challenge this norm by actively seeking permission from church officials to get closer to the action. While it may feel uncomfortable and intrusive, doing so can significantly enhance the quality and intimacy of the photos, which are not just for the couple but for their future generations as well. By getting close and being intentional with their movements, photographers can create more meaningful and engaging images without being a distraction, thus better serving their clients.

Use the Couple as a Foreground
“I particularly like to line up the bride and her mom right after the couple get to the altar. It often is a nice composition and an opportunity to get powerful shots like that one where the bride’s mother was wiping off her tears. Those are the shots I am running after.”

Shoot and Edit a Panorama
“I try to remember to do a panorama at every wedding ceremony. I love the look of a large scene captured by a telephoto lens. You get this wide angle view but with the compression of a telephoto. It’s very easy to do a handheld panorama by shooting vertically and moving your camera incrementally from left to right. I start by locking focus on the bride and groom and then I disengage autofocus and shoot in manual mode to keep the focus and exposure settings consistent frame to frame. Panoramas make for great wide canvases and are so easy to stitch together in Lightroom.”

Use a Tilt Shift Lens
“Give your second shooter the safe shot, you take the artistic risks. For example, I love using tilt-shift lenses to create a soft, dream-like look that works especially well with bright and airy images. It is a good idea to have a back-up shooter covering the action whenever you switch to a tilt-shift lens to ensure that you don’t miss any important moments.”


