Shooting swimwear almost every day for the last three months in different light and weather conditions has certainly thought me a thing or two about retouching it. With Miami #SwimWeek2018 officially kicking off today, I thought it would be appropriate to give you some of my favourite full-body retouching tips to achieve that beautiful natural glow, whilst still preserving the detail and texture in the skin – perfect for swimwear.
So my newest video is dedicated to just that: all about my swimwear full-body retouching workflow.
Gear & Camera Settings of key shot
- Canon 5D Mark IV
- Canon 24-70mm 2.8 L II
- Shot at 44mm, f4.0, 1/1600 sec and ISO 100
- All natural light with no modifiers.
Method
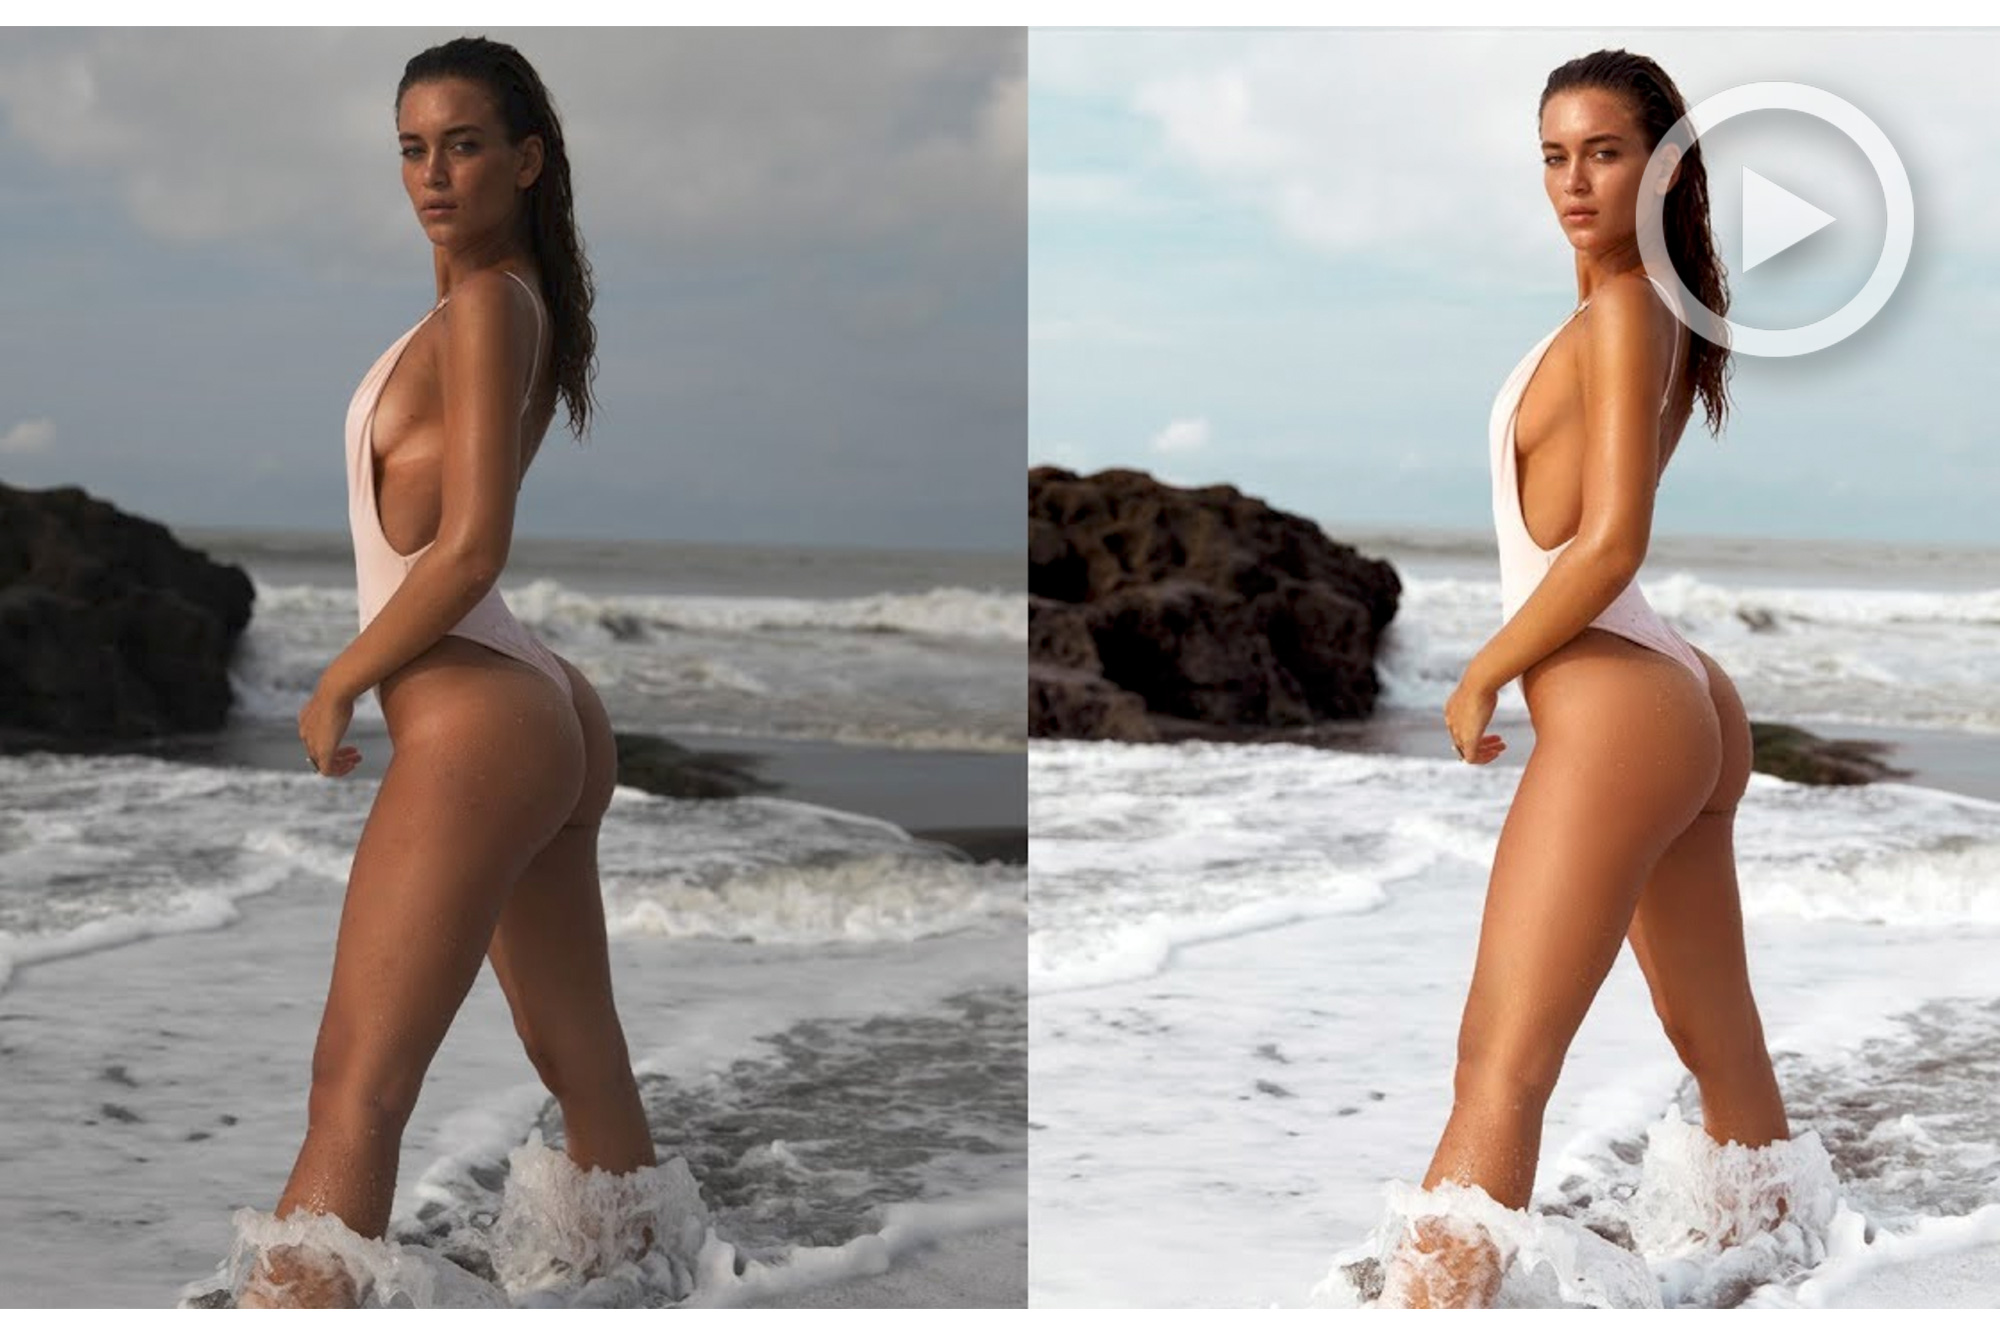
I always start with Importing and selecting my images in Lightroom, then move on to colour grading with my colour presets. I created them specifically to give skin tones that beautiful golden tan that I find is so essential in any swimwear editorial.
Once I pick my favourite look and make a few adjustments as demonstrated, it’s time to edit the file in Photoshop.
My first step is always to remove any obvious imperfections, and typically this is done by using either the Patch Tool or the Healing Brush.
Next, I move onto evening out skin texture. My go-to technique is always dodging & burning on a 50% grey layer. Whether it is retouching the face or body or getting rid of bold tan lines, I almost always to go for D&B over any other skin retouching method or tool.
That said, if the skin is quite dark to start with I find dodging and burning on an adjusted curve layer tends to blend better with the skin tone. With darker skin tones my typical 50% grey D&B sometimes comes across too strong, and leaves white streaks.
After I’m done with dodging and burning (which can sometimes take quite a while) I move on to the final stage of evening out the skin even further with a low flow skin-toned brush.
I always make sure to put the smoothing on ‘0’ as this is just to slightly balance the skin and not kill the texture.
In this process, I sample colours depending on the area of skin I’m working on and go over it ever so slightly with a 3% flow brush. It’s subtle, evens out the skin tonality nicely while preserving texture, and saves me a lot of time when editing full body, so it’s a win-win for me.
Finally, the highlight! Personally, I find nice glowing skin to be the most important part of a swimwear image. To make sure I accentuate the highlight in the most natural way I create a separate curve layer, bring up the highlight by creating and dragging a point in the upper right corner to the left, and then use a mask to go over the area I would like to have more shine. I usually start with a bigger brush around an area and then use smaller, more defined brushstrokes in the centre of the highlight for a more natural, spread out effect.
Once that’s done I add any final touches, sharpen, and that’s it! The image is ready to be published. For a full in depth tutorial please check out my video below, and check out my channels: YouTube. Instagram. Twitter
[REWIND: 5 Tips To Take Better Swimwear Photos | Anita Sadowska]


Get Connected!