
I know the struggle right now is very real to try and find anything or anyone to photograph. We all have a creative itch we need to scratch, and there are so many photographers out there innovating and fighting to stay creative during this challenging time. I had booked an engagement session in snowy Lake Tahoe at the beginning of March… and then COVID-19 was officially announced as a global pandemic.
While FaceTime photoshoots are all the rage right now, I struggled with the idea that I would have to edit a JPEG/PNG screenshot and deliver that as a final image with my stamp of approval. I wanted to make it up to my clients by trying out an idea that I often use for my personal shoots: Bluetooth control of your smartphone with a remote trigger or smartwatch.
Virtual FaceTime Photoshoot: What You’ll Need
- Smartphone: While this doesn’t have to be an Apple product, it’s what I used for this shoot and what worked for me. It works seamlessly if your client also has an Apple Watch.
- Phone Tripod/selfie stick: You can make use of everyday items if this isn’t an option: I used an ironing board and coasters to help stabilize the phone for most of the shots. if your client doesn’t have one of these lying around, you can ship it to them as a gift or encourage them to buy one for future use. Everyone needs a self-portrait at some point in their life.
- Bluetooth trigger: this can be an Apple Watch, a cheap $8 remote trigger on Amazon, Bluetooth remote selfie stick (this is what I used) or the lowest budget option: 10-second timer. Obviously, the latter will make the shoot a bit more stressful for both you and your client so I would look into the other options.
- Laptop: You’ll either need to Zoom or FaceTime your client(s) in order to see the scene, give them posing guidance, and see the placement/angle of the phone before taking the shot.
How to Direct a Virtual FaceTime Photoshoot
While every photographer has a different method in how they elicit genuine emotion from their clients, directing from behind a screen when you can’t physically be there to change an awkward pose or make a sudden joke can really throw you off your game. I opted to do a stay-at-home session to give my clients photo documentation of what it was like during this time in our lives. To better illustrate my point, watch a quick snippet from my session below. And see this article for more Photoshoot at Home Ideas.
View this post on Instagram
Here are my 4 steps to getting authentic photos by being a couch director through FaceTime:
1. Scan the Scene: Find Every Possible Angle
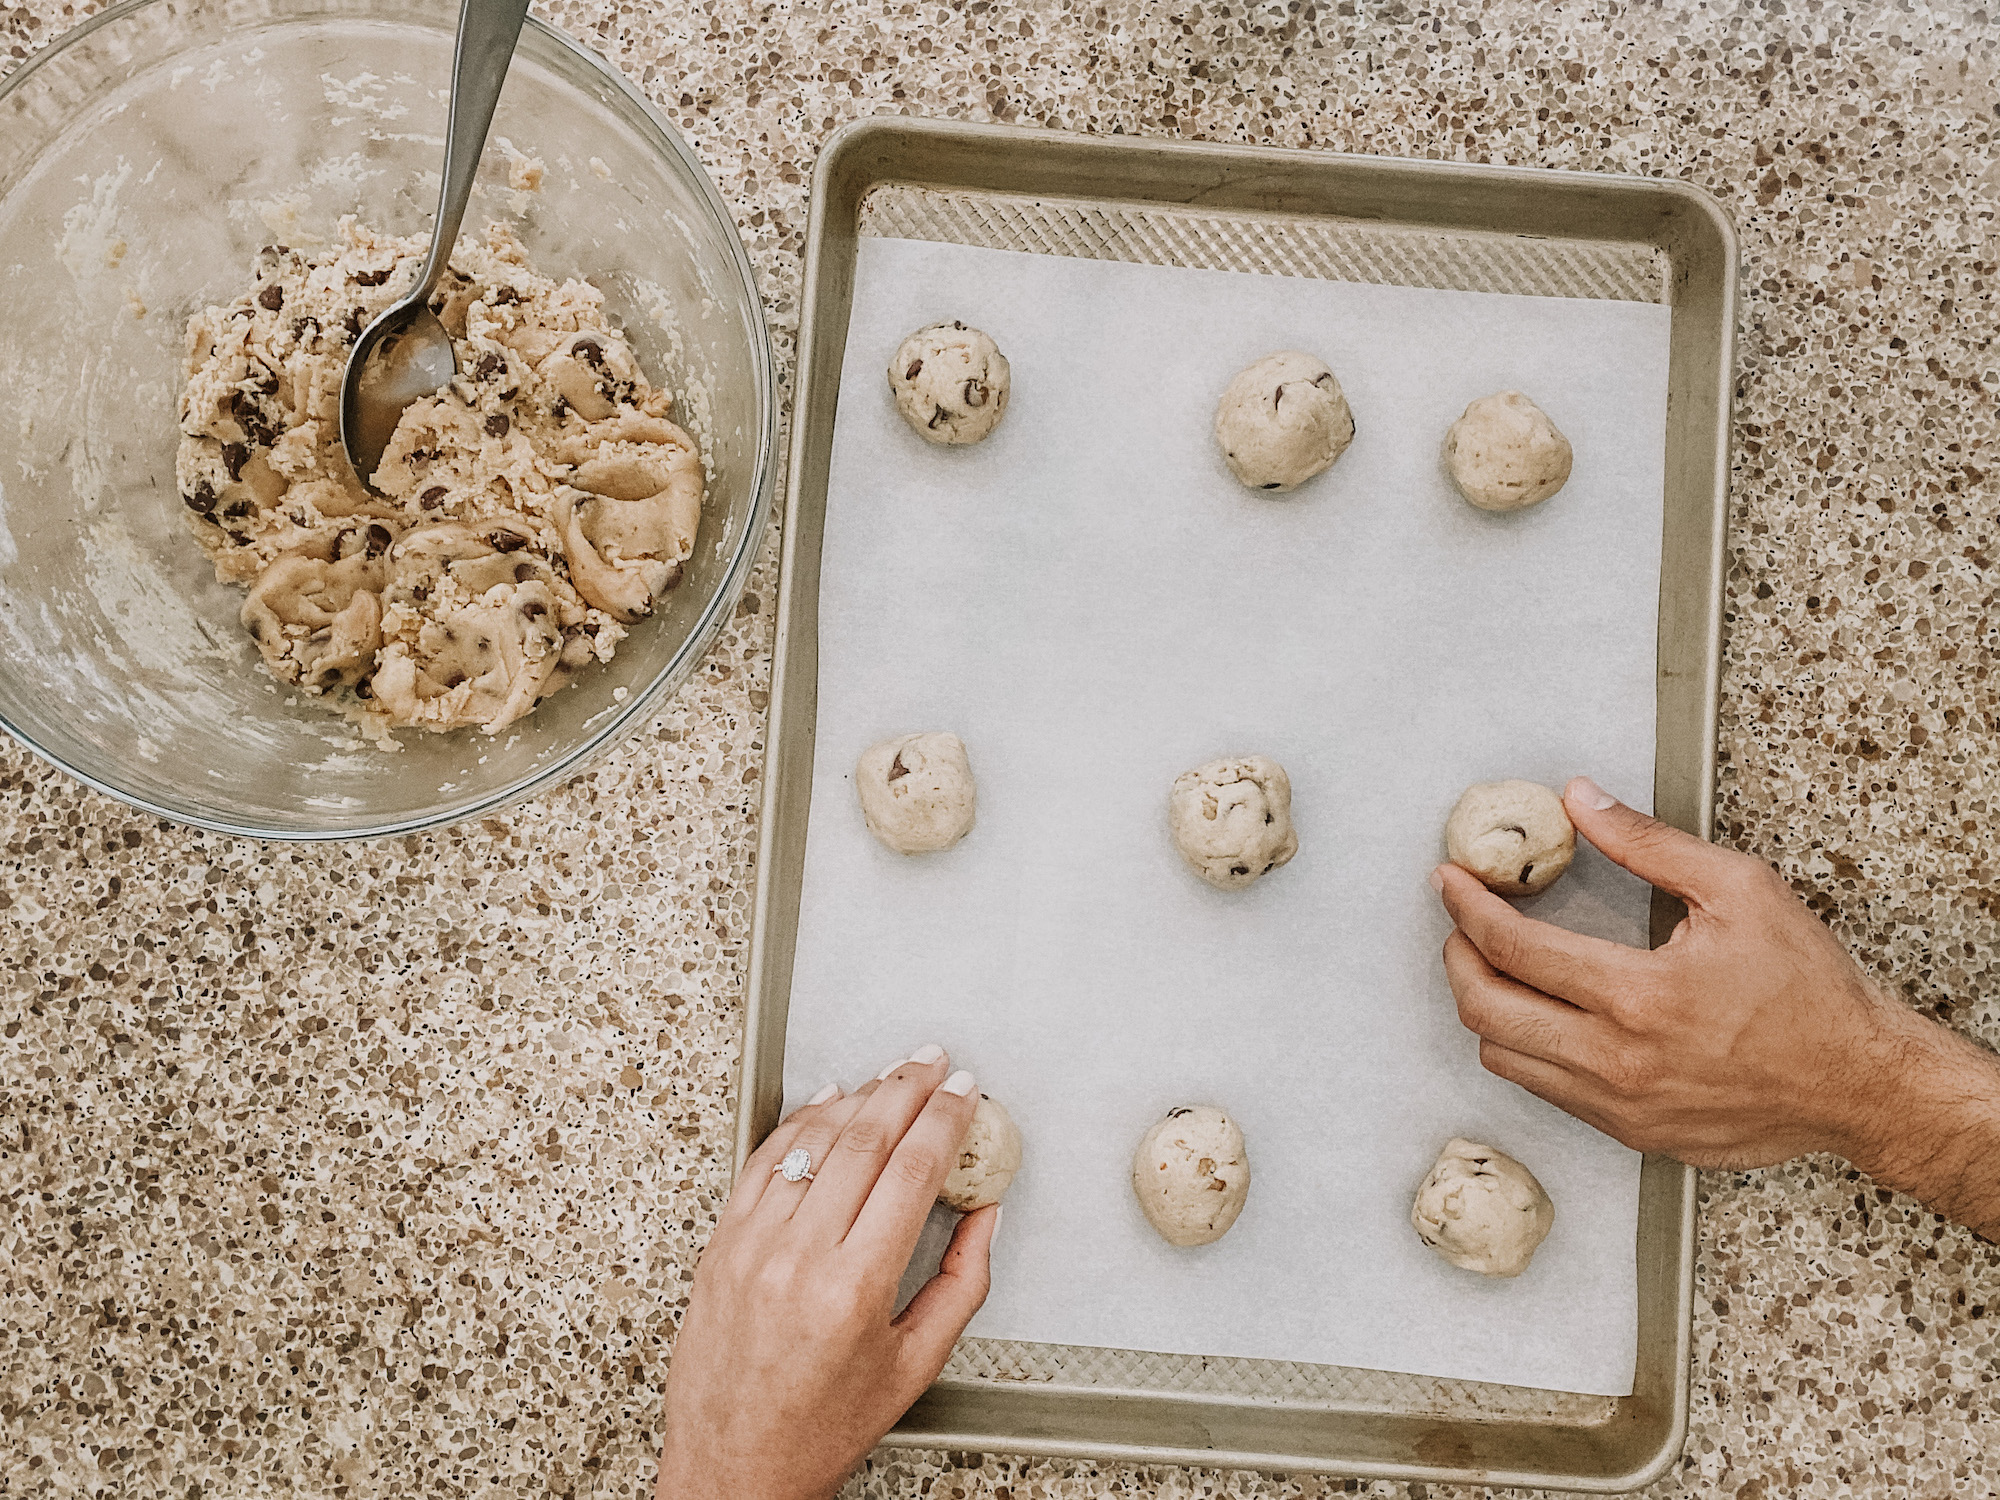
As soon as you hop on FaceTime/Zoom with your client, have them give you an apartment/house tour to get the lay of the land. Just like you would do on an in-person session, start planning out scenes in your mind that will make a cohesive story. There is a whole world of options that open up to you since a smartphone is so small and can be crammed pretty much anywhere. Figure out what your primary light sources are and start shaping your scenes around that. Start thinking about what you could use as foreground objects, clean up your backgrounds – get creative!

Since I was working with a smaller layout in a studio apartment, I had to think outside (or technically inside for this shot) the box to figure out angles that would get me wide enough without having to crop too much. I recently shot an image by putting my phone in my fridge to get a different perspective of the scene and wanted to try that out here to try and incorporate depth, foreground elements, and storytelling.
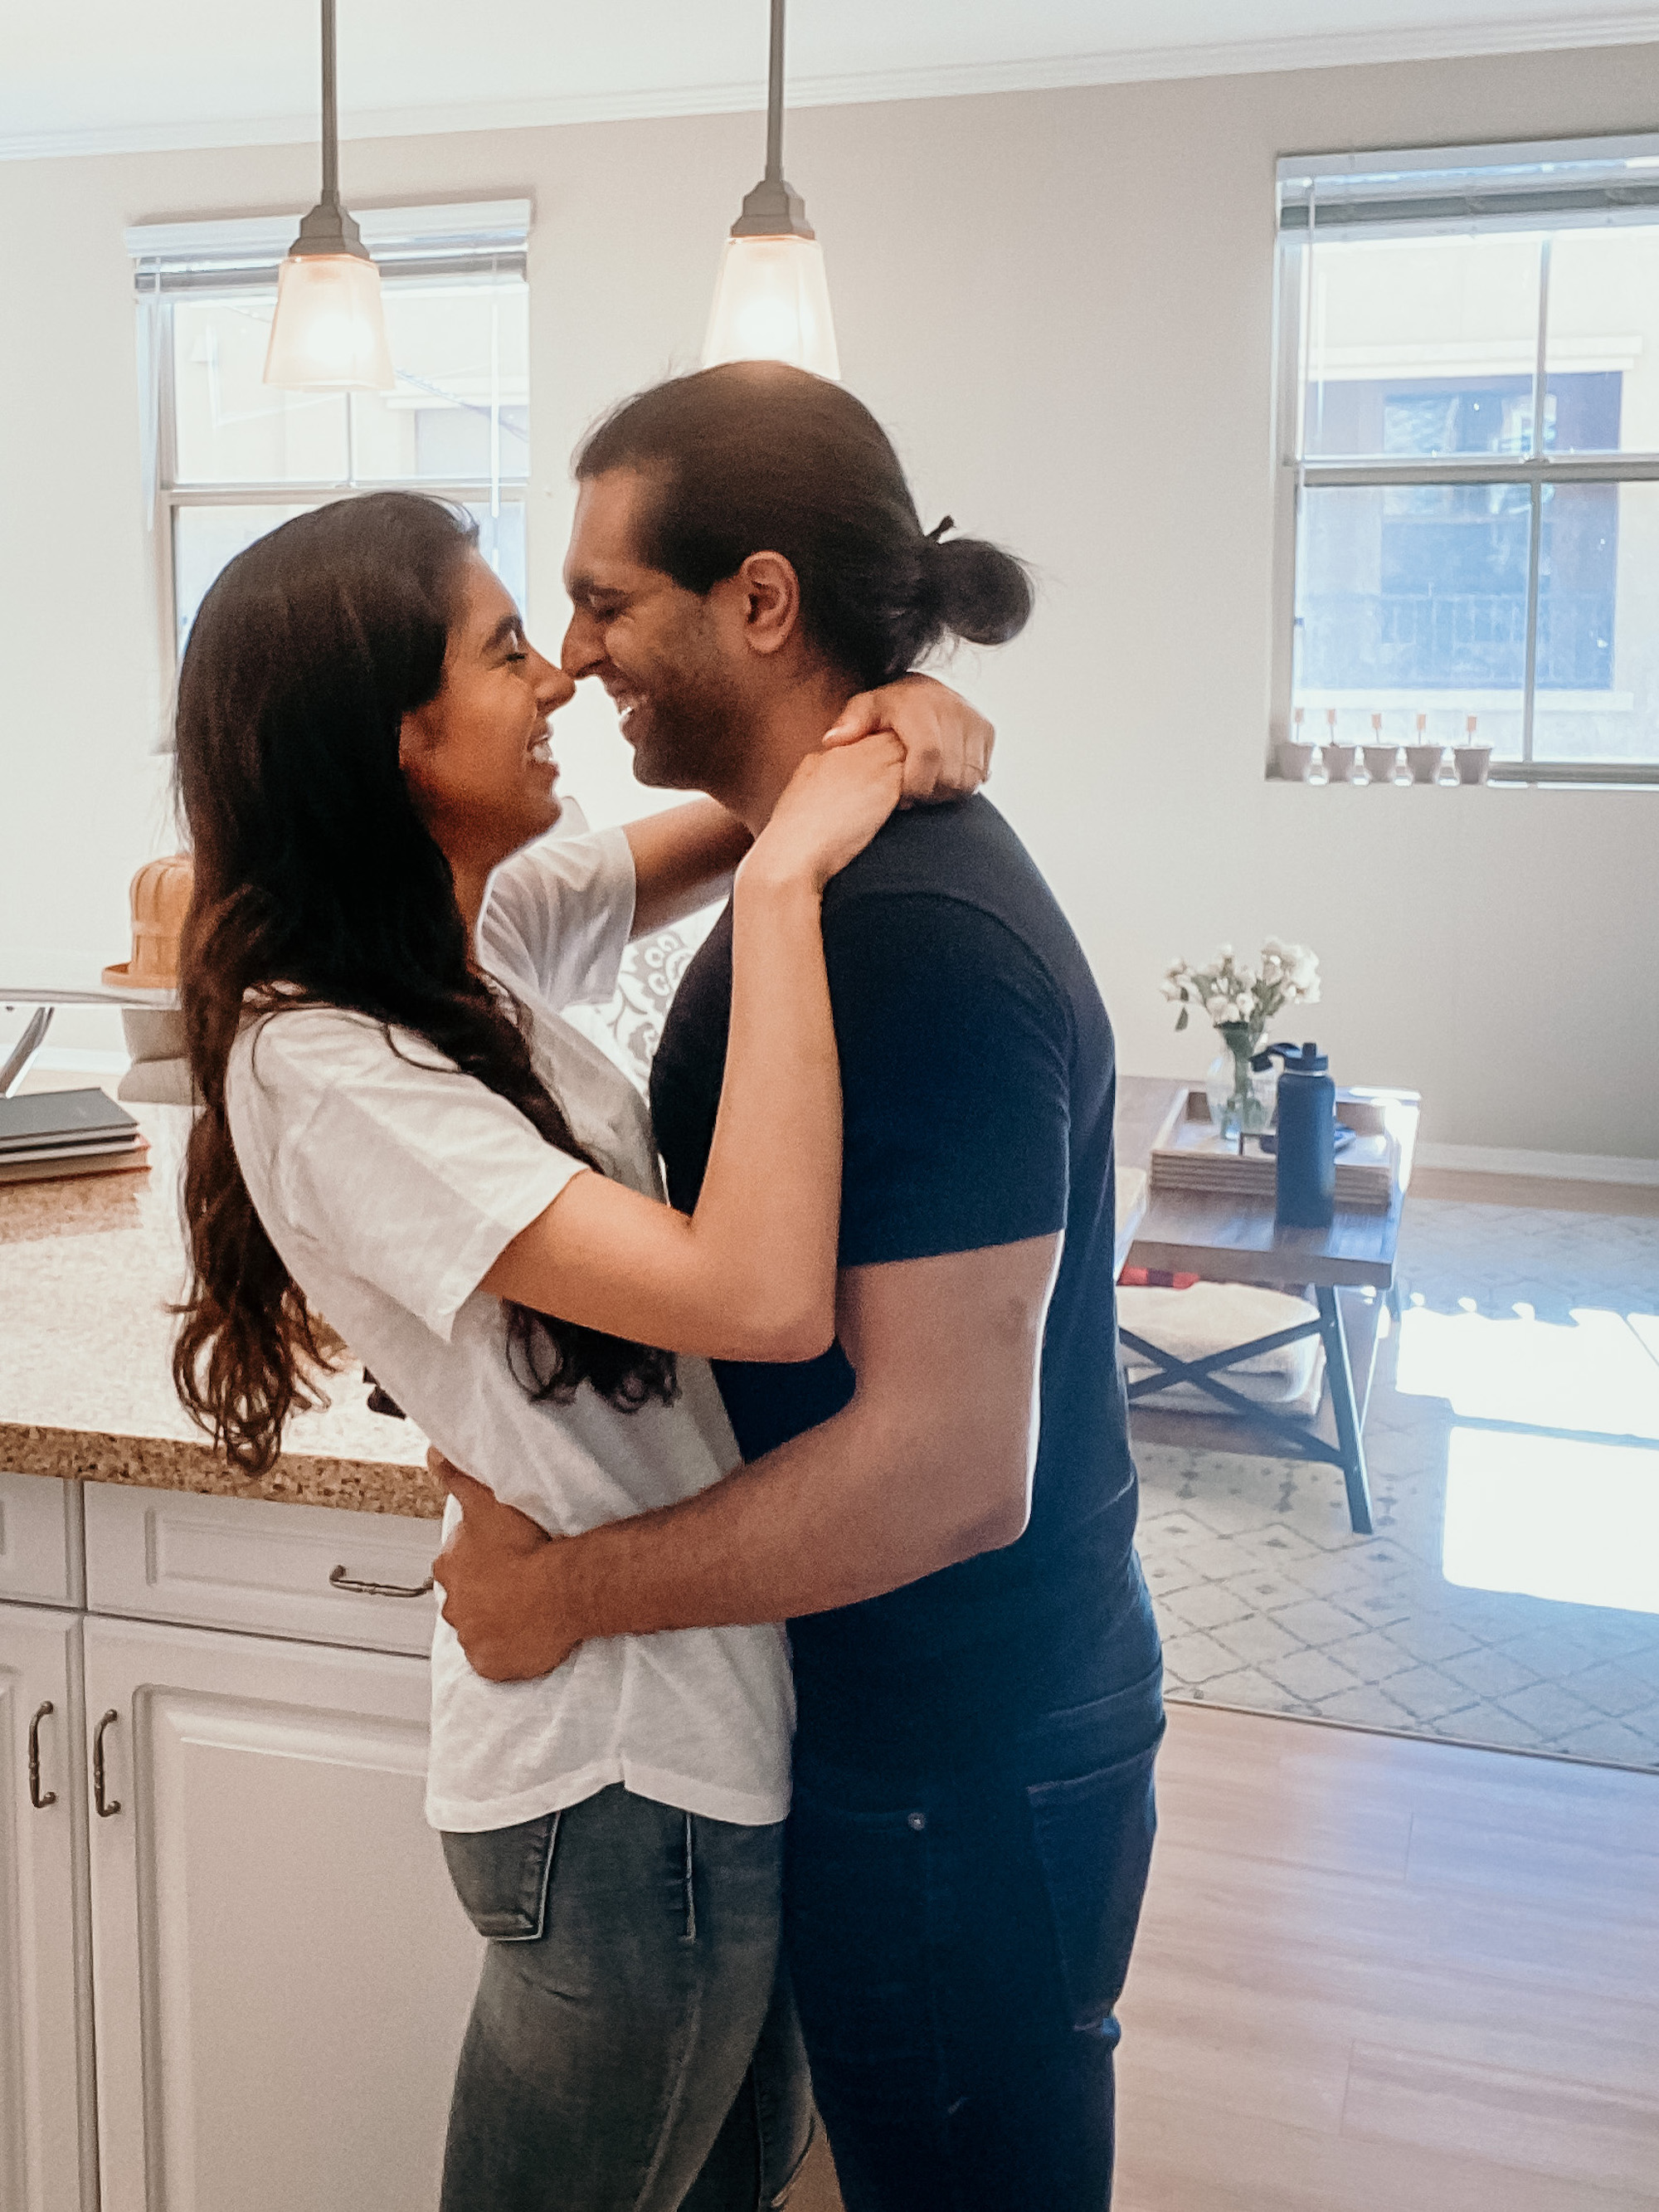
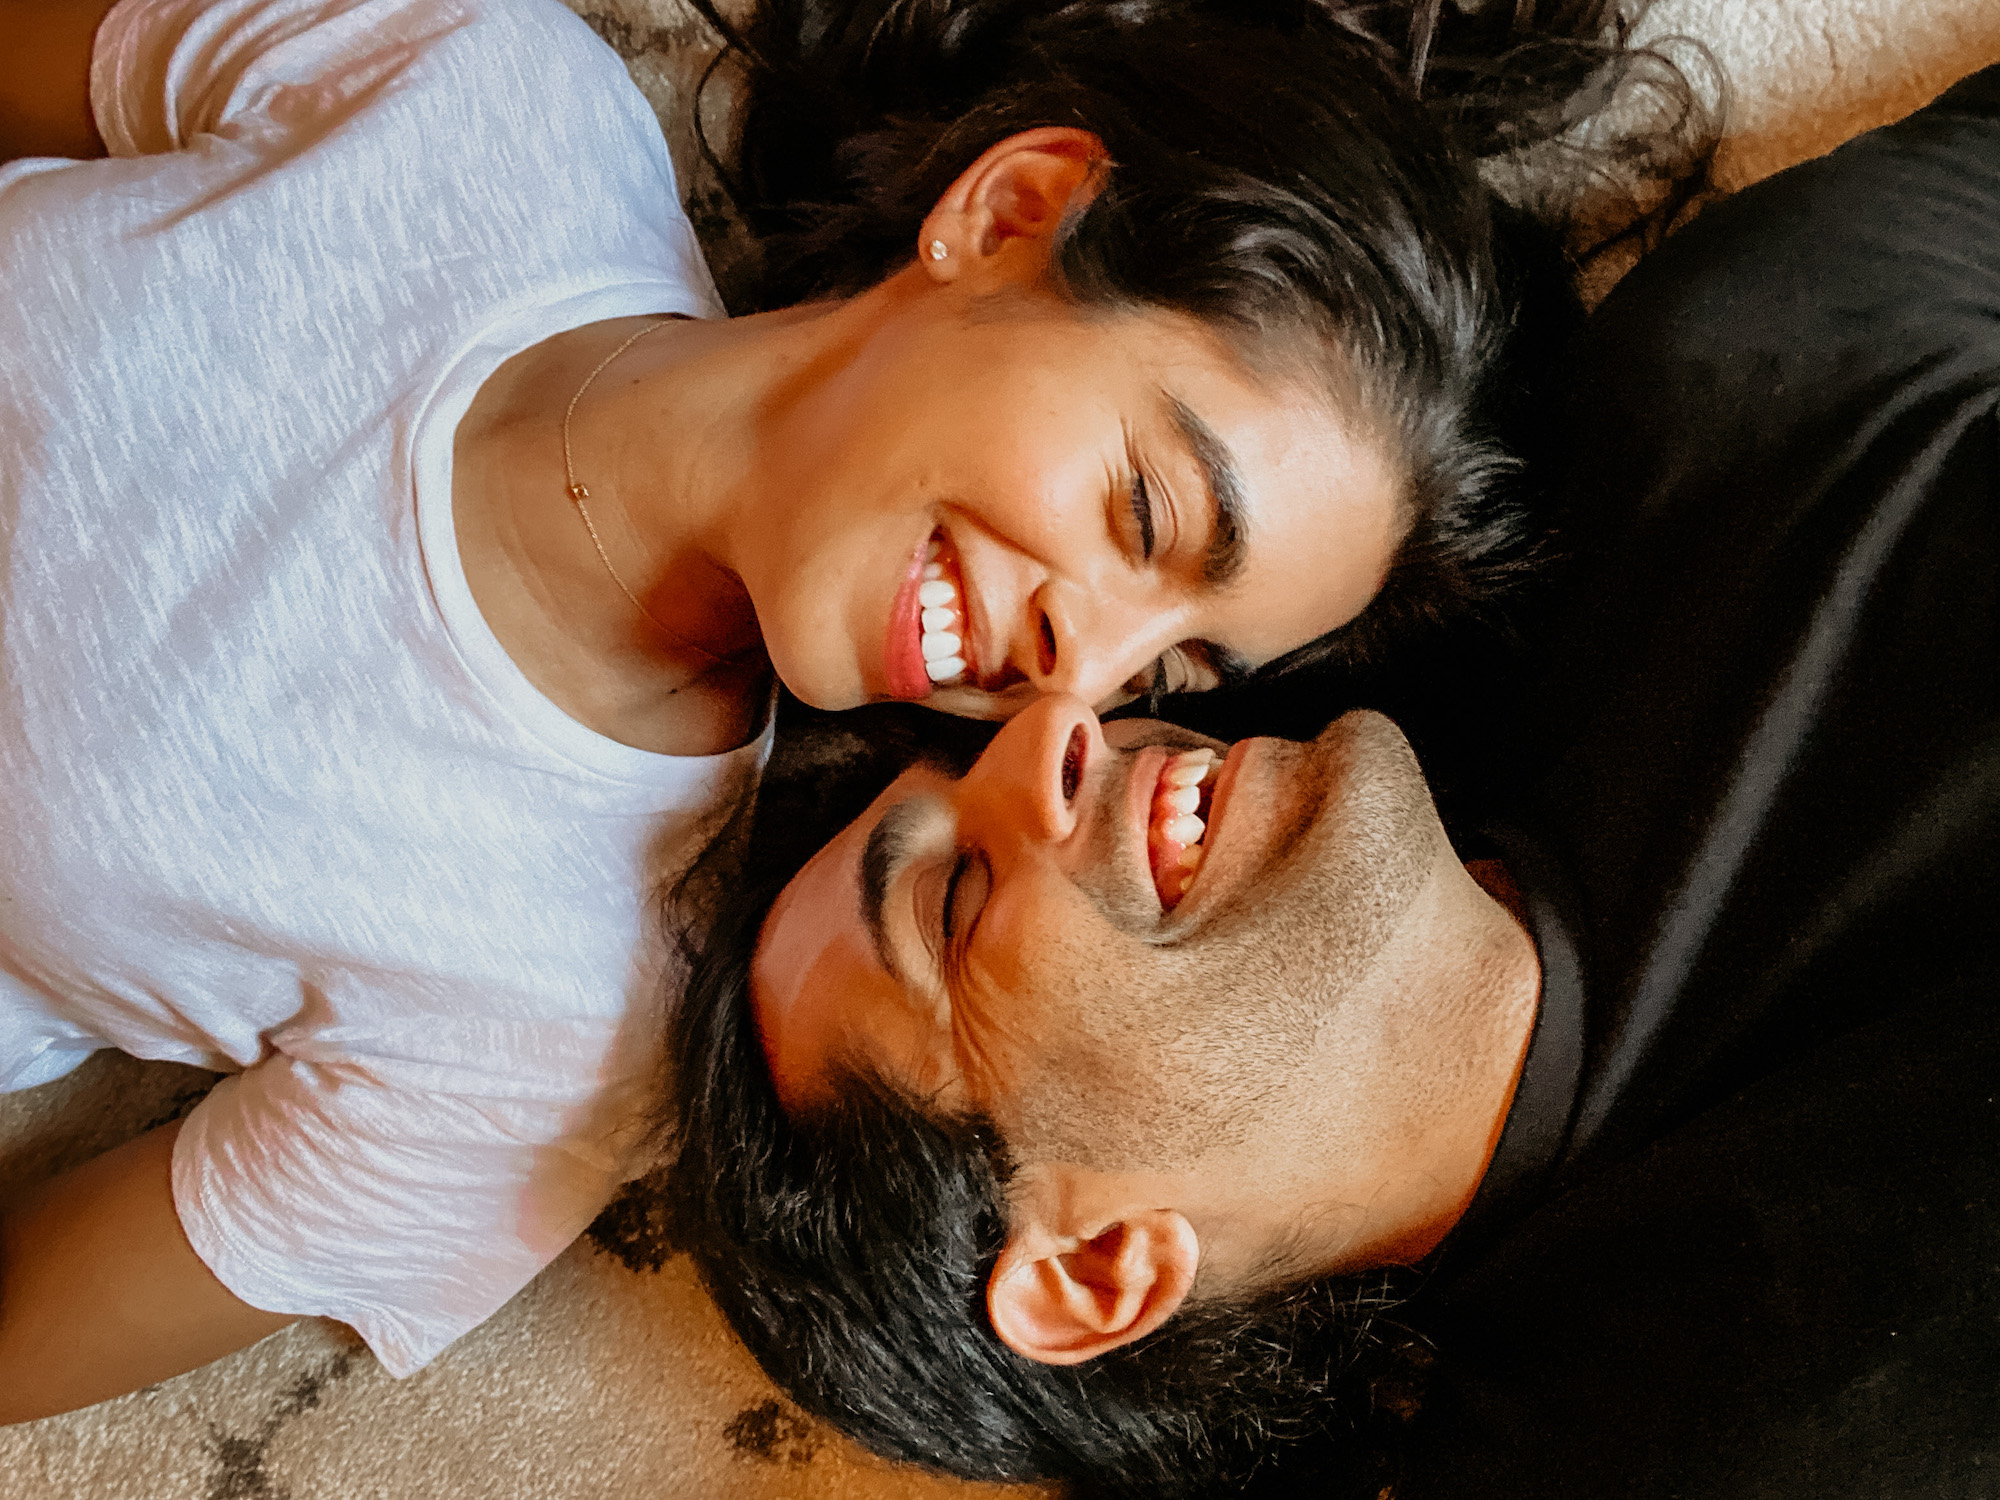
2. Think in Multiple Angles: Wide, Medium, Tight
 Something I learned from Pye was that most shows/movies operate under the storytelling framework of shooting a wide angle to set the context before moving in closer to see the characters and then getting in tight to focus on emotion. This is something that has forever changed the way that I photograph in any location, giving me a simple way to set up a series for documentation. Think about keeping the story going, constantly, in order for the images to speak without captions. With newer smartphones, you even have the ability to shoot wide-angle and portrait.
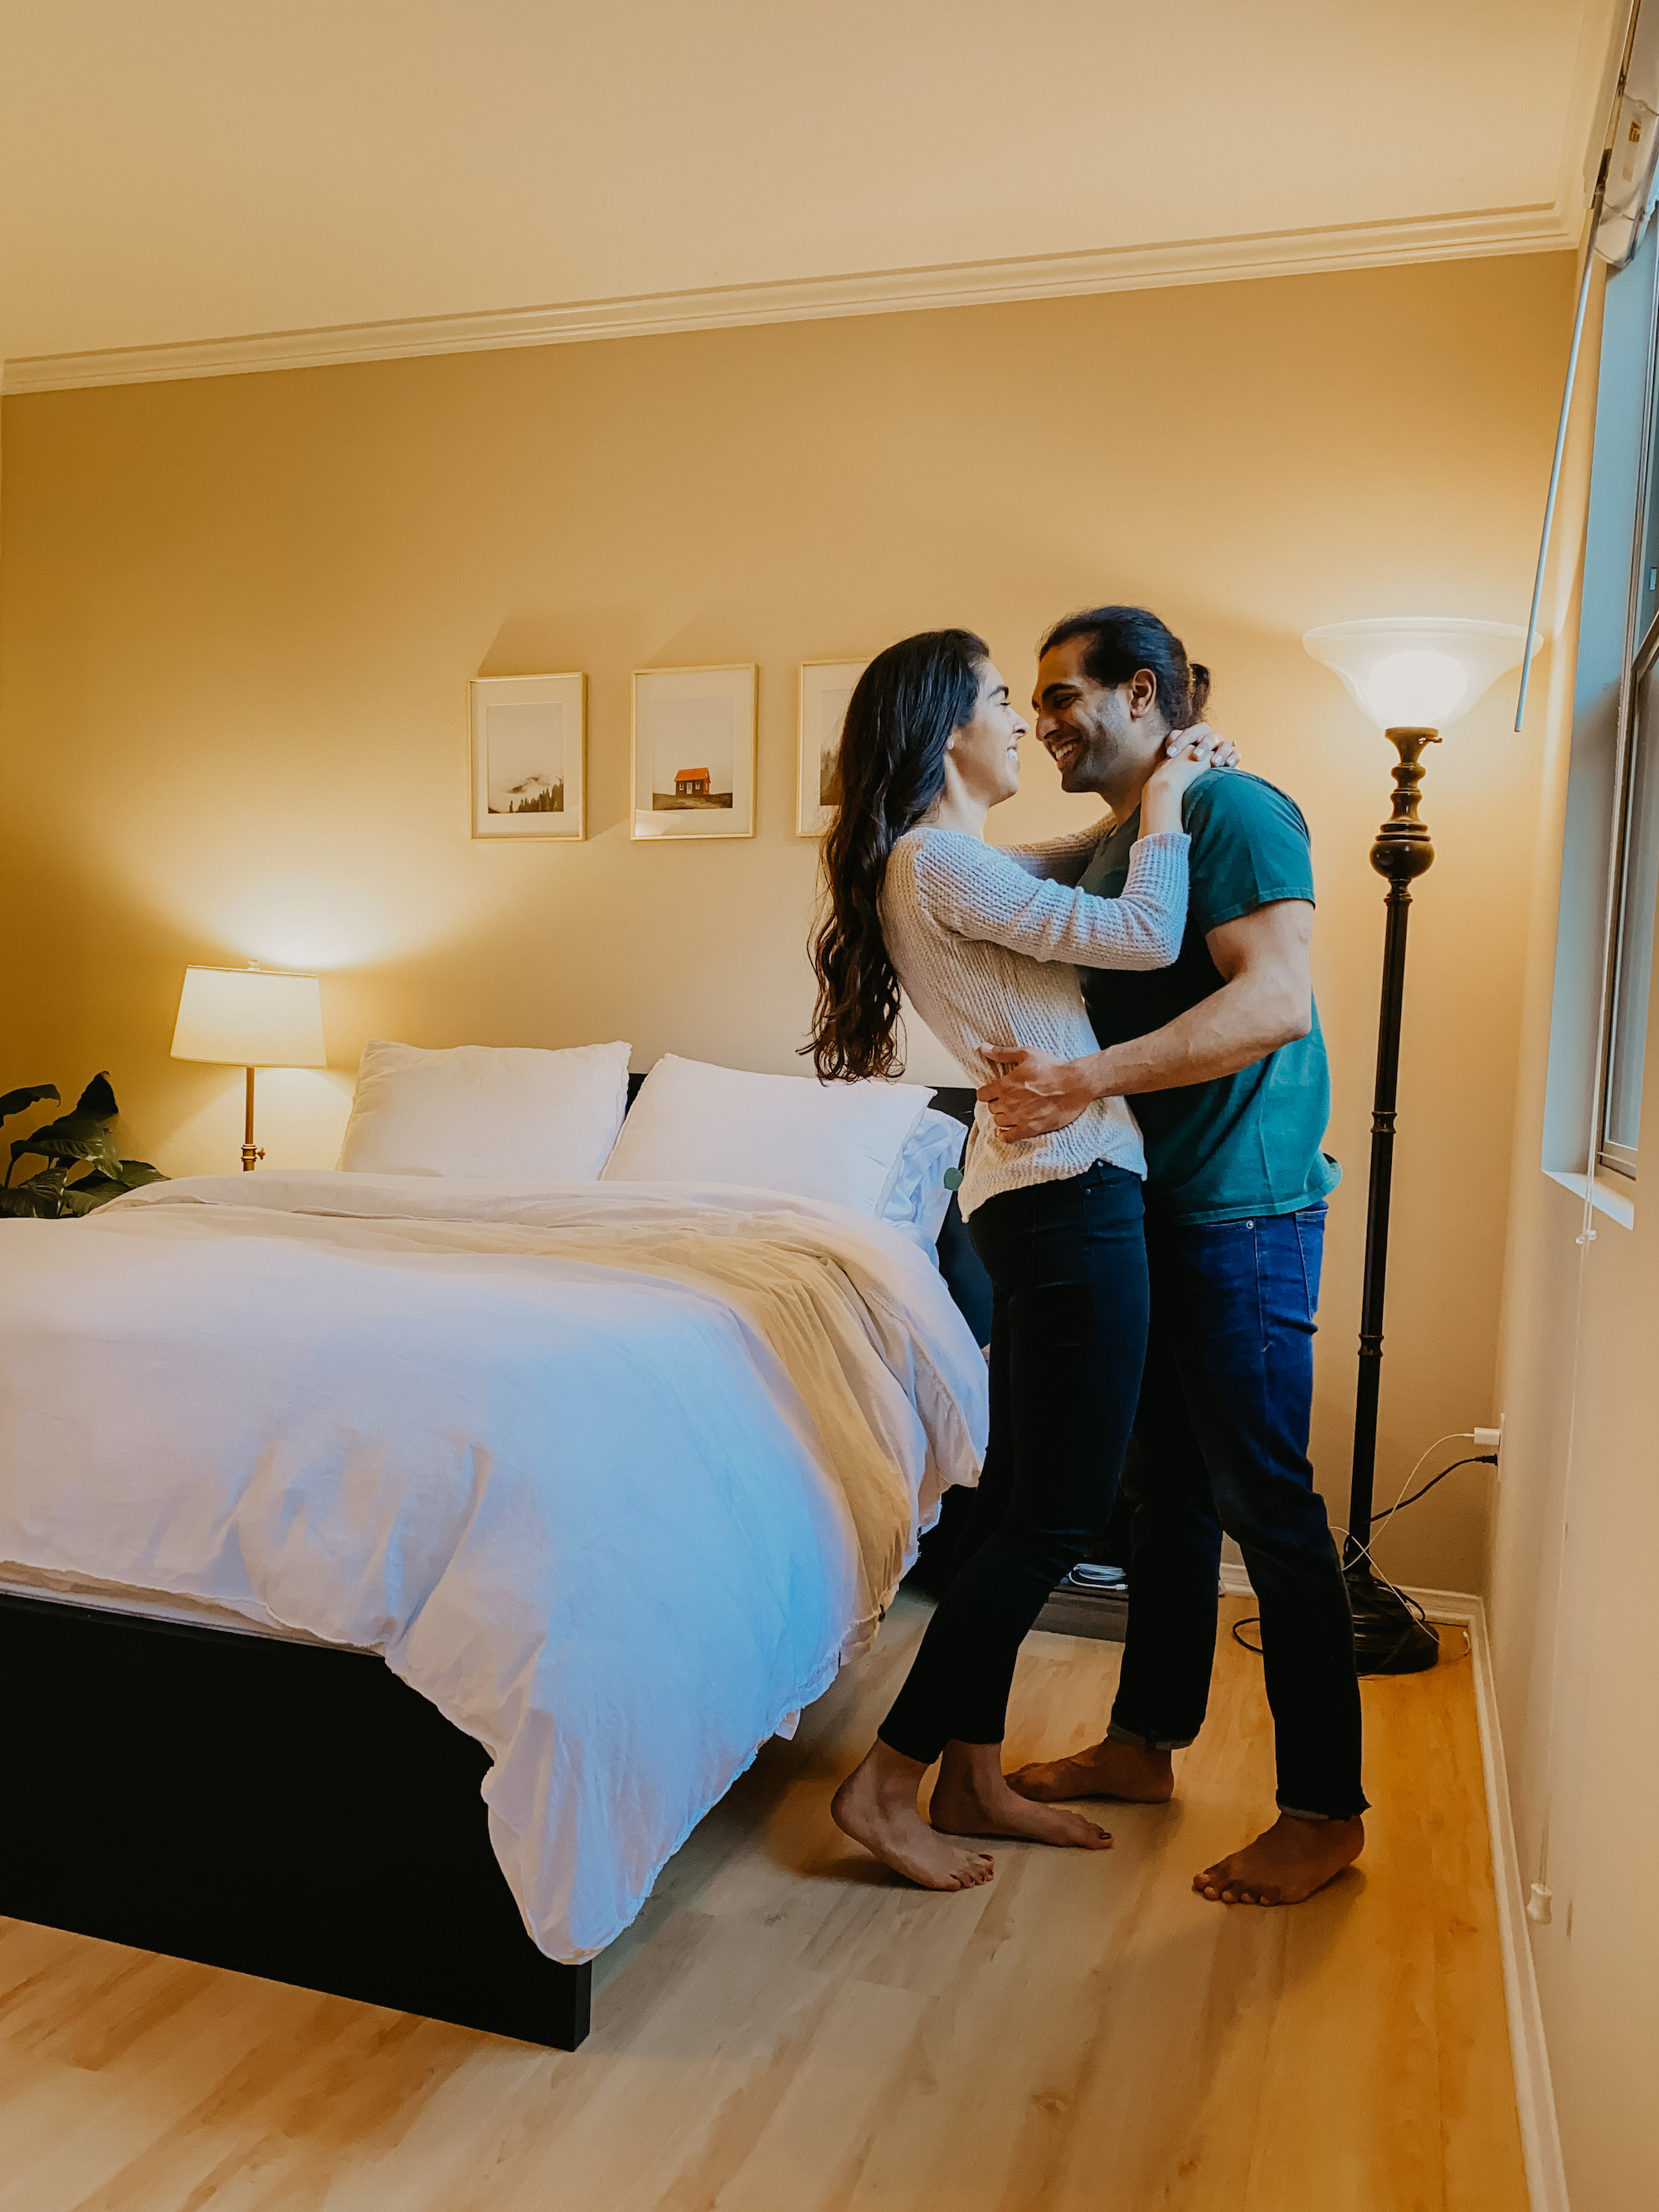
3. Choose Simple Poses
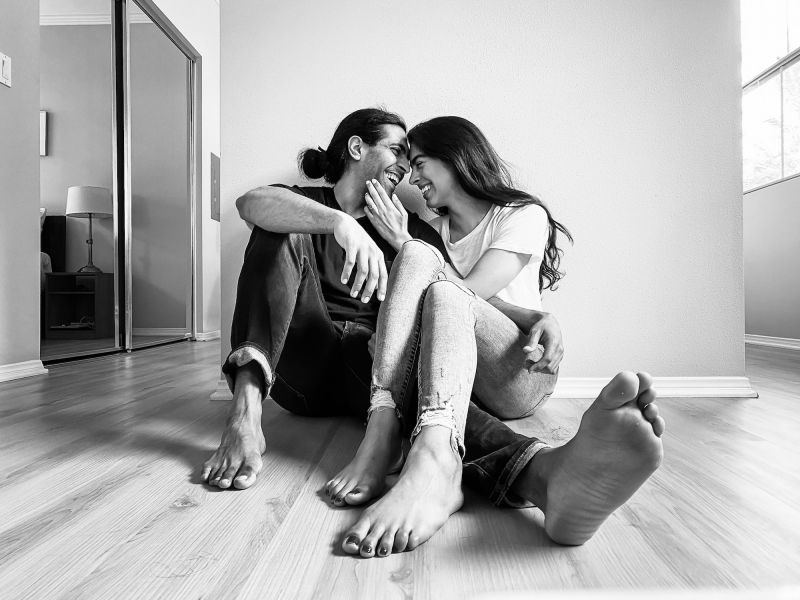 The focus in virtual photoshoots should shift from creating dynamic show-stopping imagery to photojournalism. The more action-related poses you choose, the blurrier your images may be depending on how much light you have available. Decide on an angle first and then pick an action that best suits that scene. For most of this shoot, the subjects were either sitting or standing. There is often beauty in simplicity. My favorite shot from the entire shoot ended up being the one above because of how ordinary of a moment it was. Make sure you keep in mind that if you are using a remote, try to hide it from the camera’s perspective so you don’t have to clone it out later.
4. Get Both Portrait & Landscape Shots


The session will have more of a variety if you switch the orientation of the phone to get both portrait and landscape shots. Use this to drive your compositions and think about using a vertical orientation to show the full body and horizontal orientation to more of the surroundings. It also helps to use portrait orientation to cut off a wall or an object you don’t want to include in the frame.
Virtual Photoshoot: Full Gallery
Check out some of my favorite shots from the shoot! Although these were still JPEG, certain smartphones let you capture RAW which would definitely help in the post-production phase of this shoot.


Get Connected!