The method of dodging and burning has been a staple among photographers since the inception of it. In the dark room, it meant dodging areas of light that needed to be a little brighter or burning areas of light that needed to be darker when processing an image in the enlarger. The same ideology applies in the digital era we know today. As with the convenience of everything digital, there are a number of ways that it can be utilized to achieve the specific desired results.
Prior to beginning the process, it is essential to first have a well exposed image. Secondly, make sure global adjustments have already been made to the raw image in regard to color tone. Global adjustments refer to the entire image as a whole. Two very common ways of doing this are with a 50% gray layer and curves adjustment layers. Below are a few examples of dodging and burning within the same image.
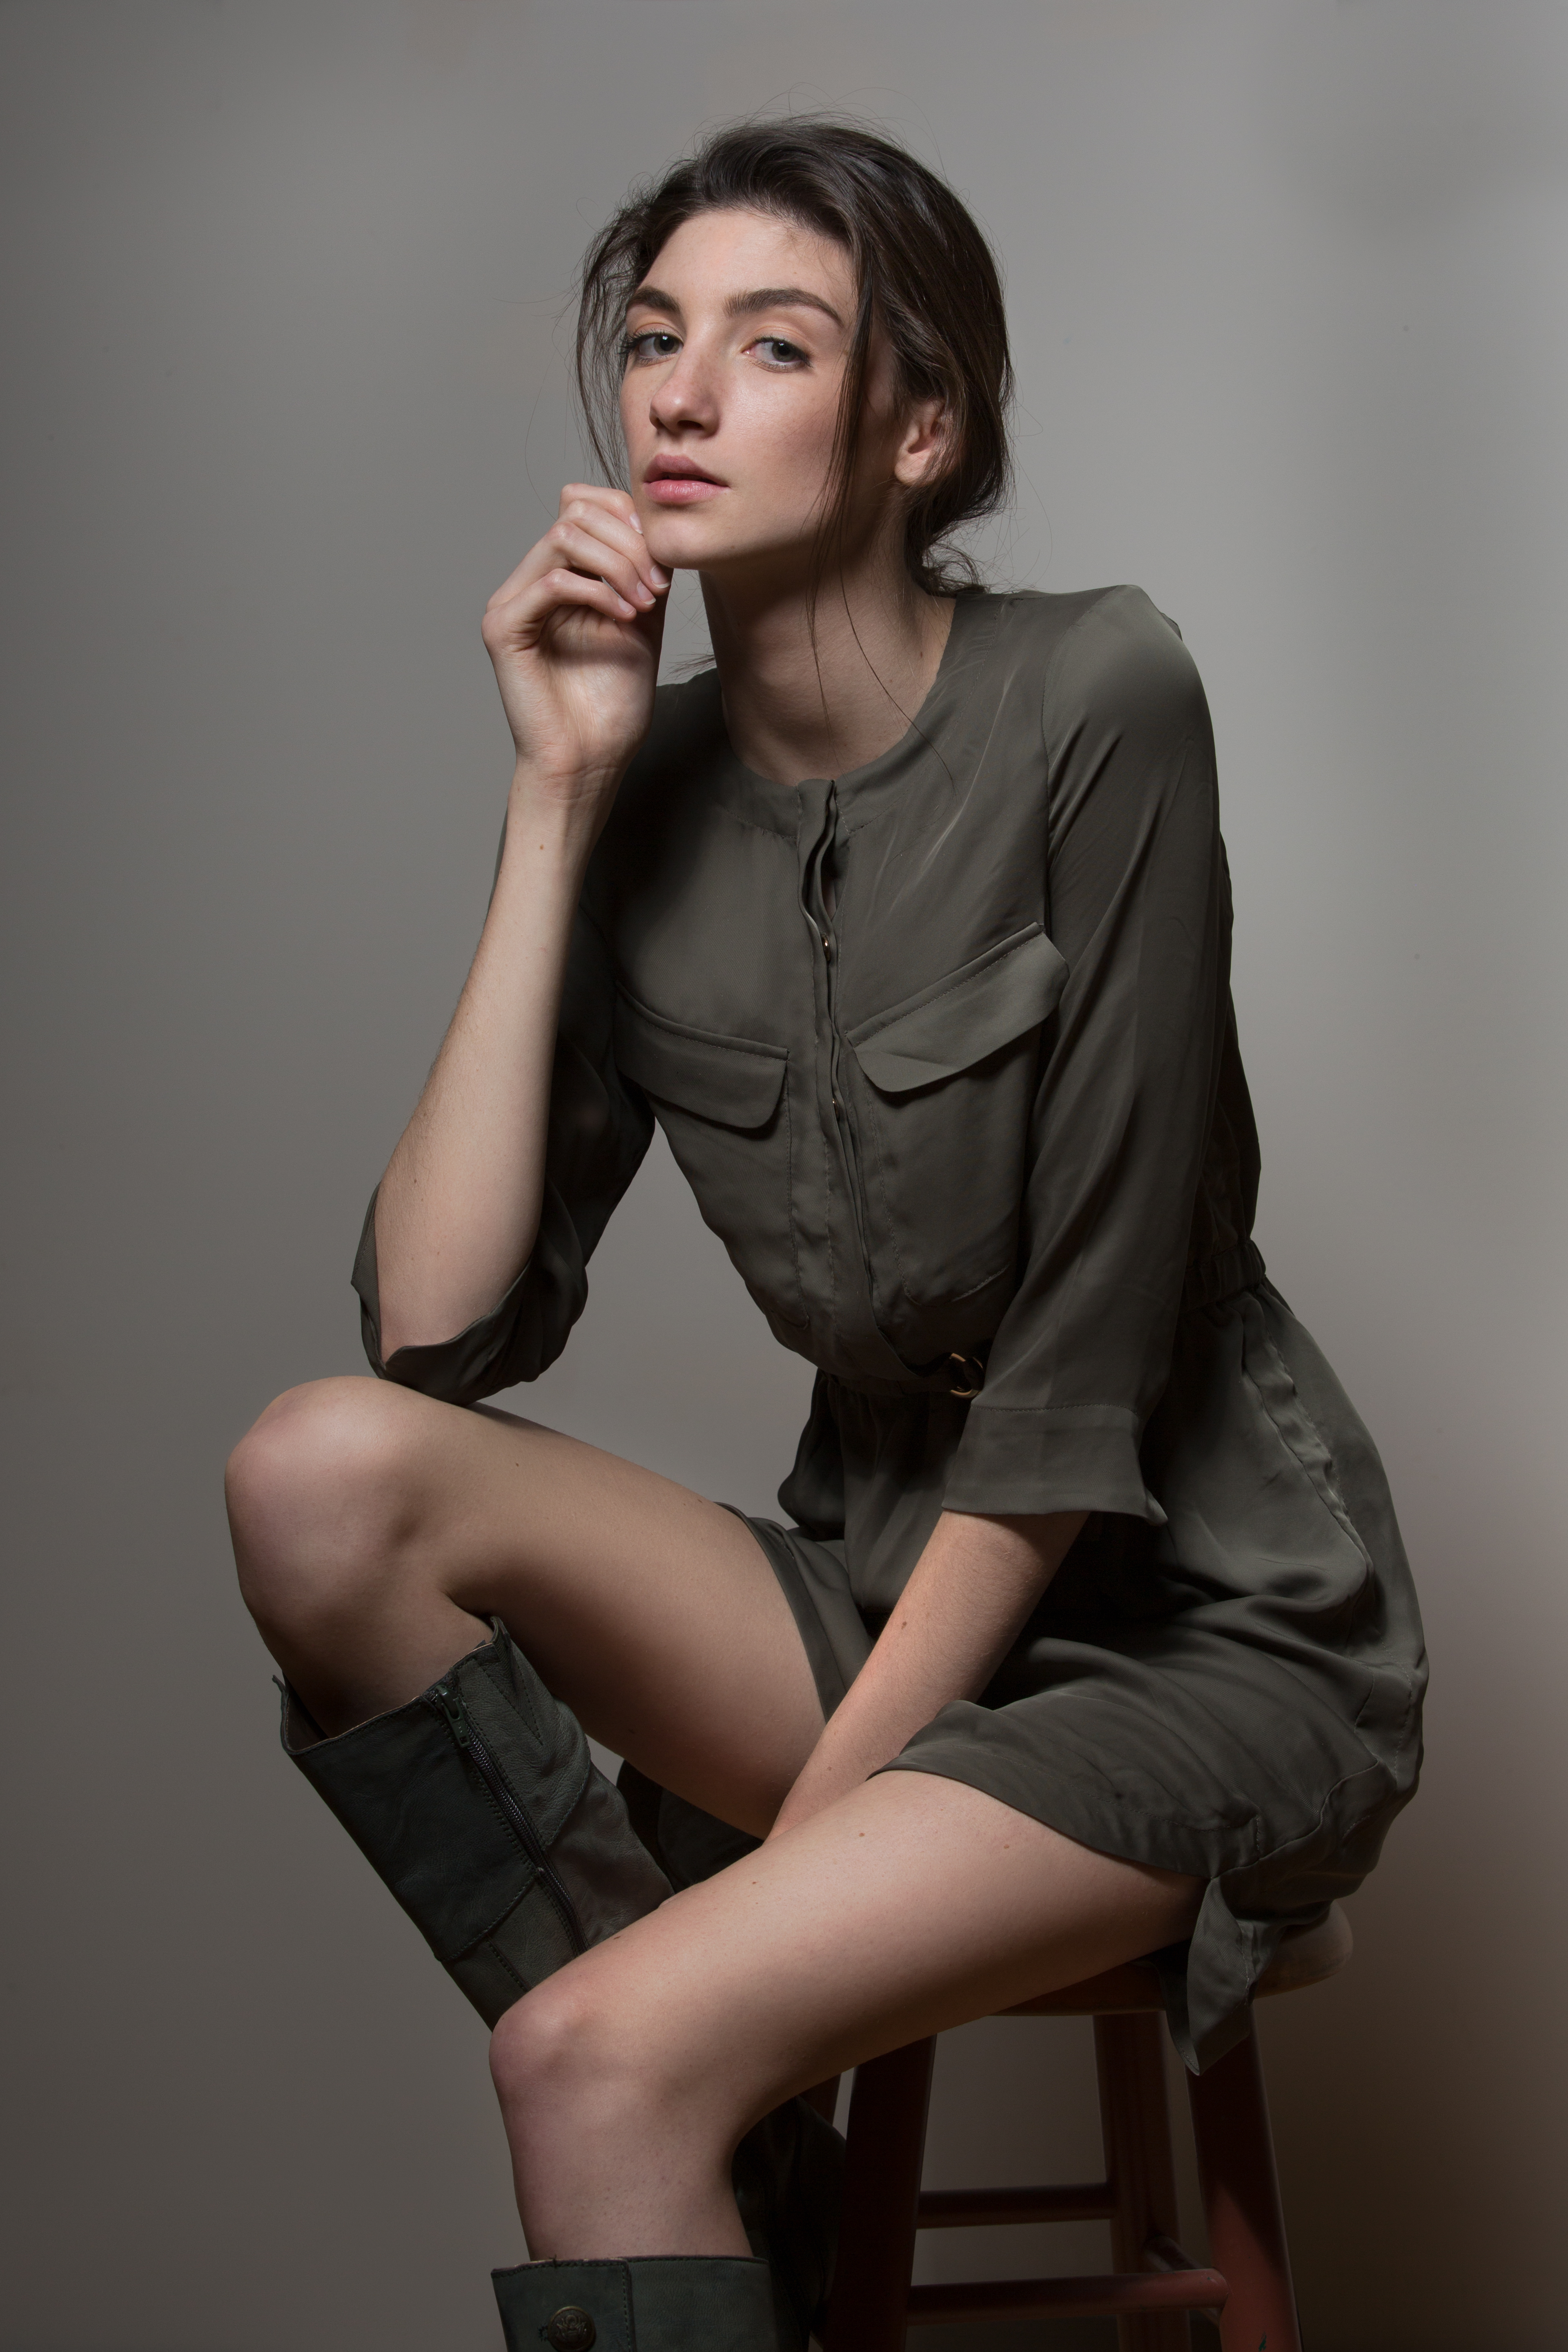
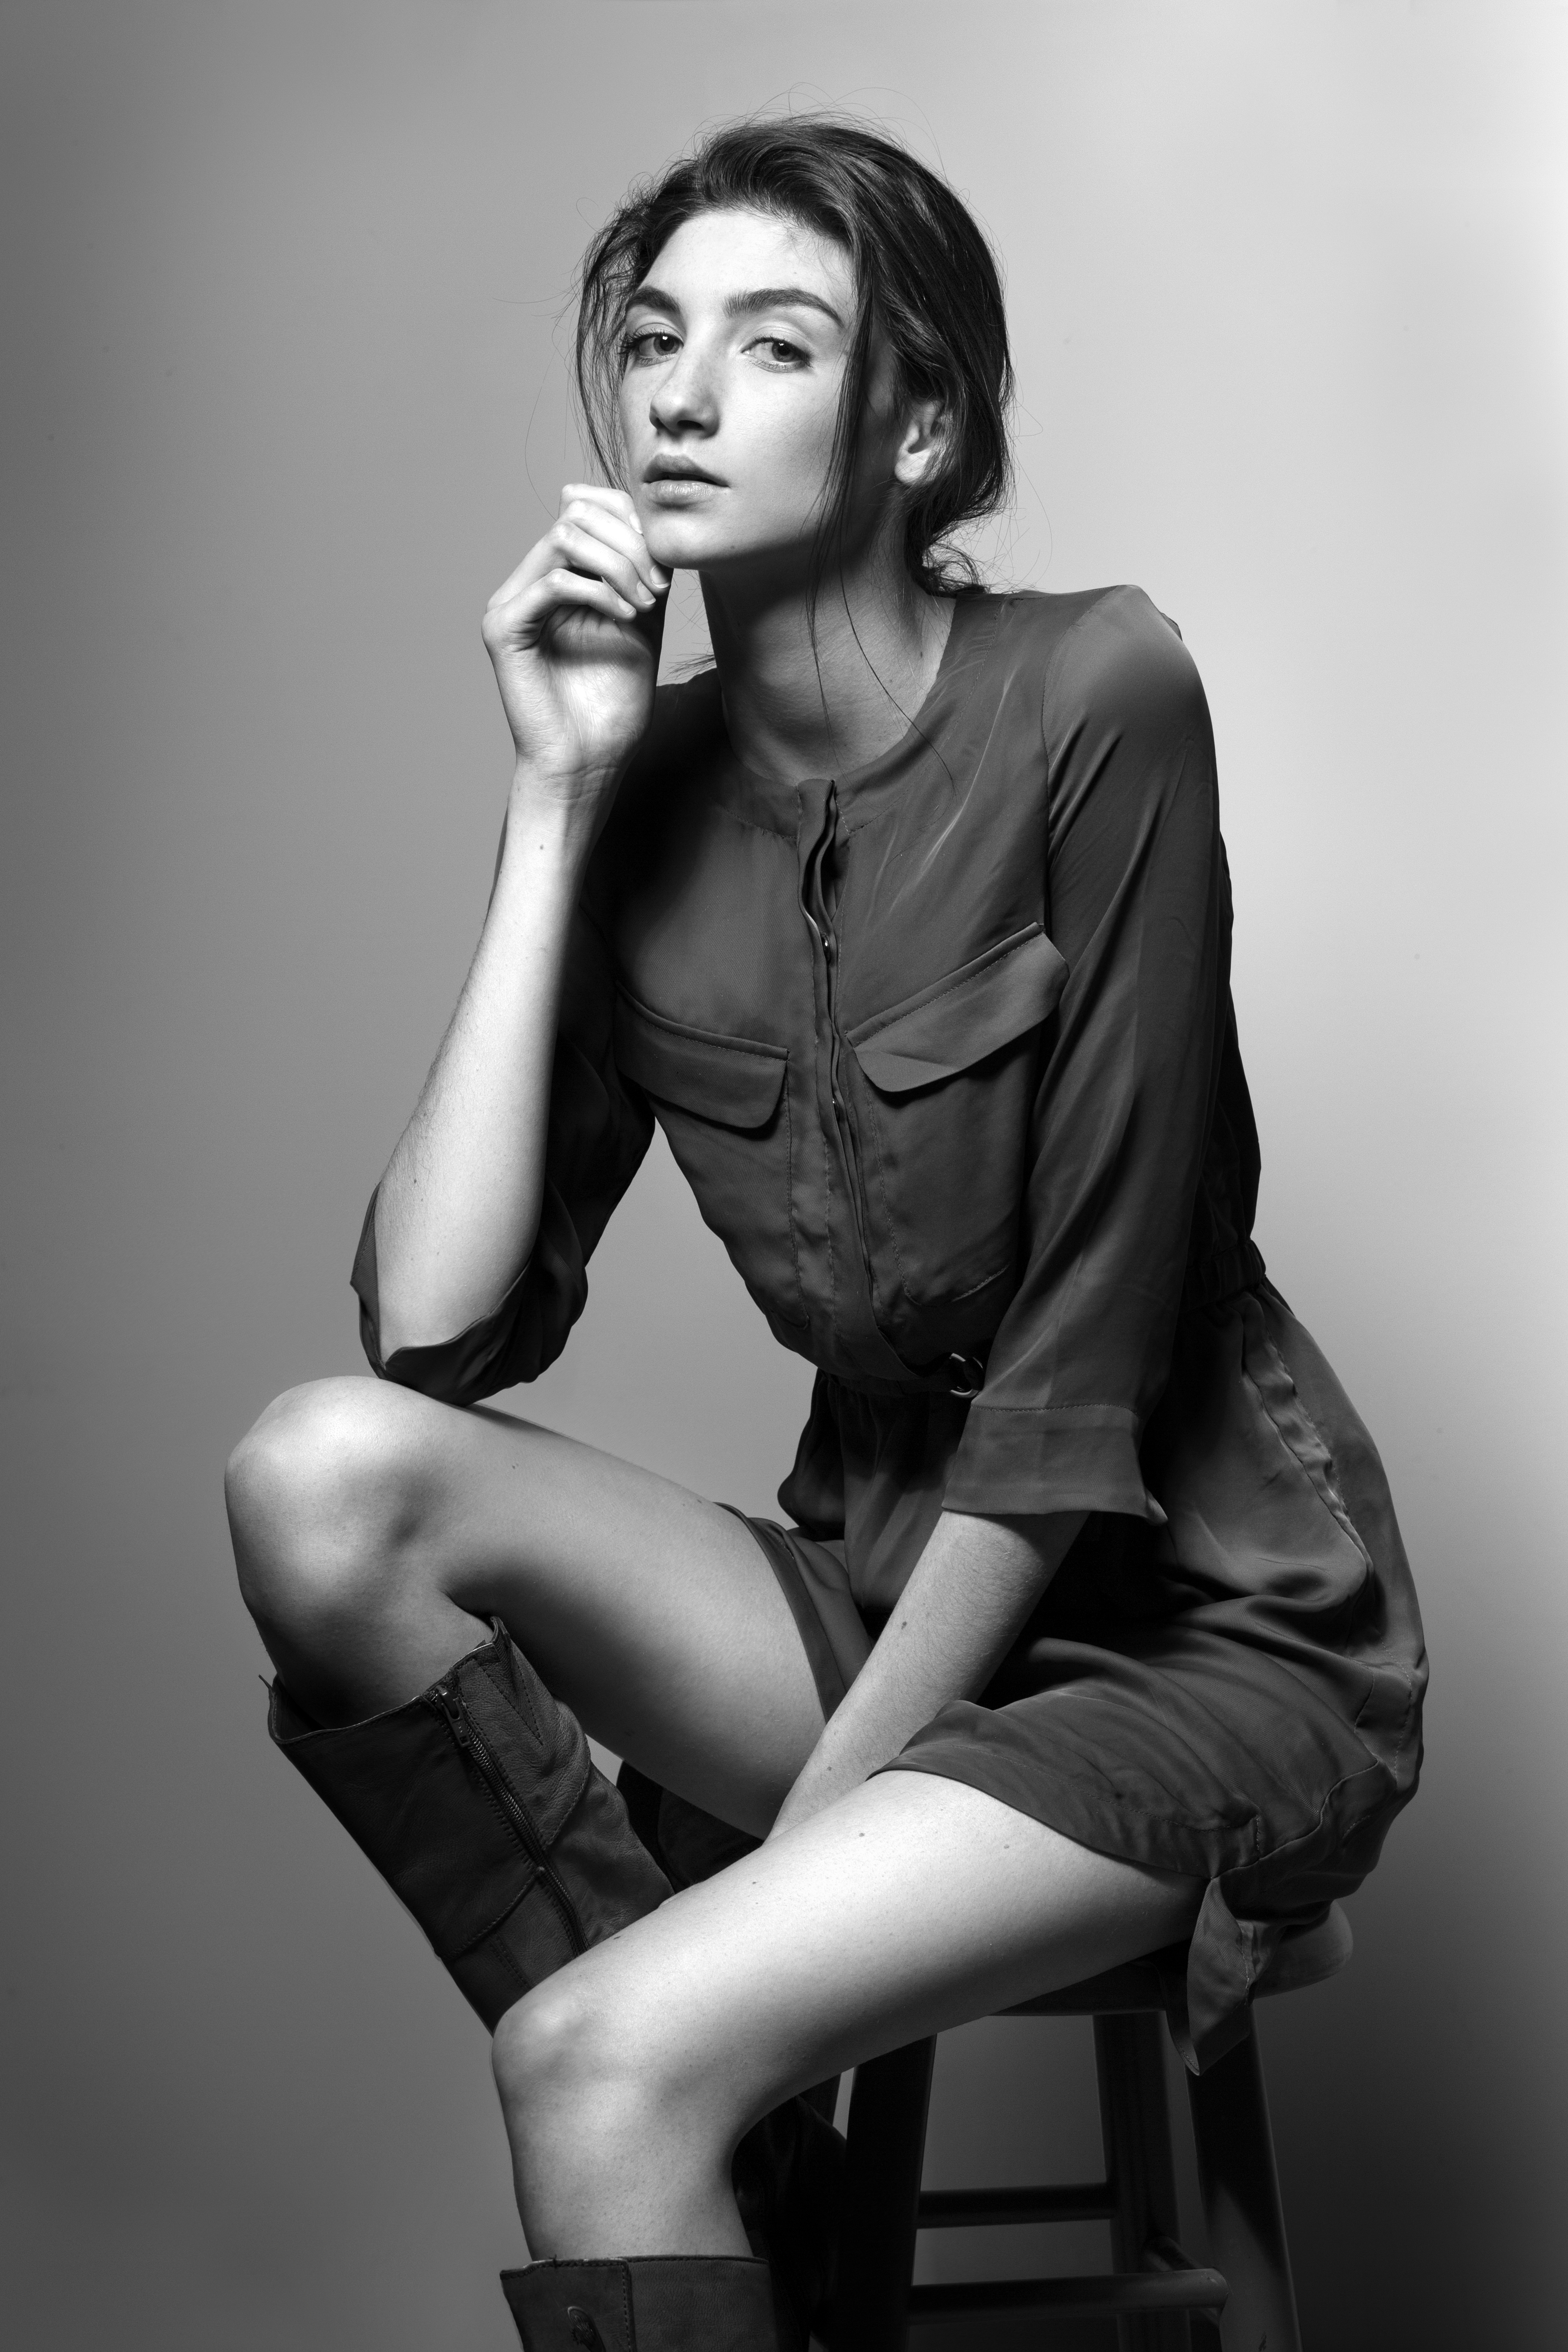
Gear: Canon 5D Mark III, Canon EF 70-200mm f/2.8L II USM, Broncolor Siros L 800Ws, Broncolor Beautybox 65 Softbox
Tech Specs: ISO 200, f/8, 1/400 of a second.
Micro Dodging & Burning with Curves
This is a method that beauty photographers and retouchers rely on because it is non destructive while retaining details. Working on local areas of an image, it is used primarily on the face and neck. Sometimes it is required for certain areas of the legs, arms and/or hands when attempting to even out the skin tone.
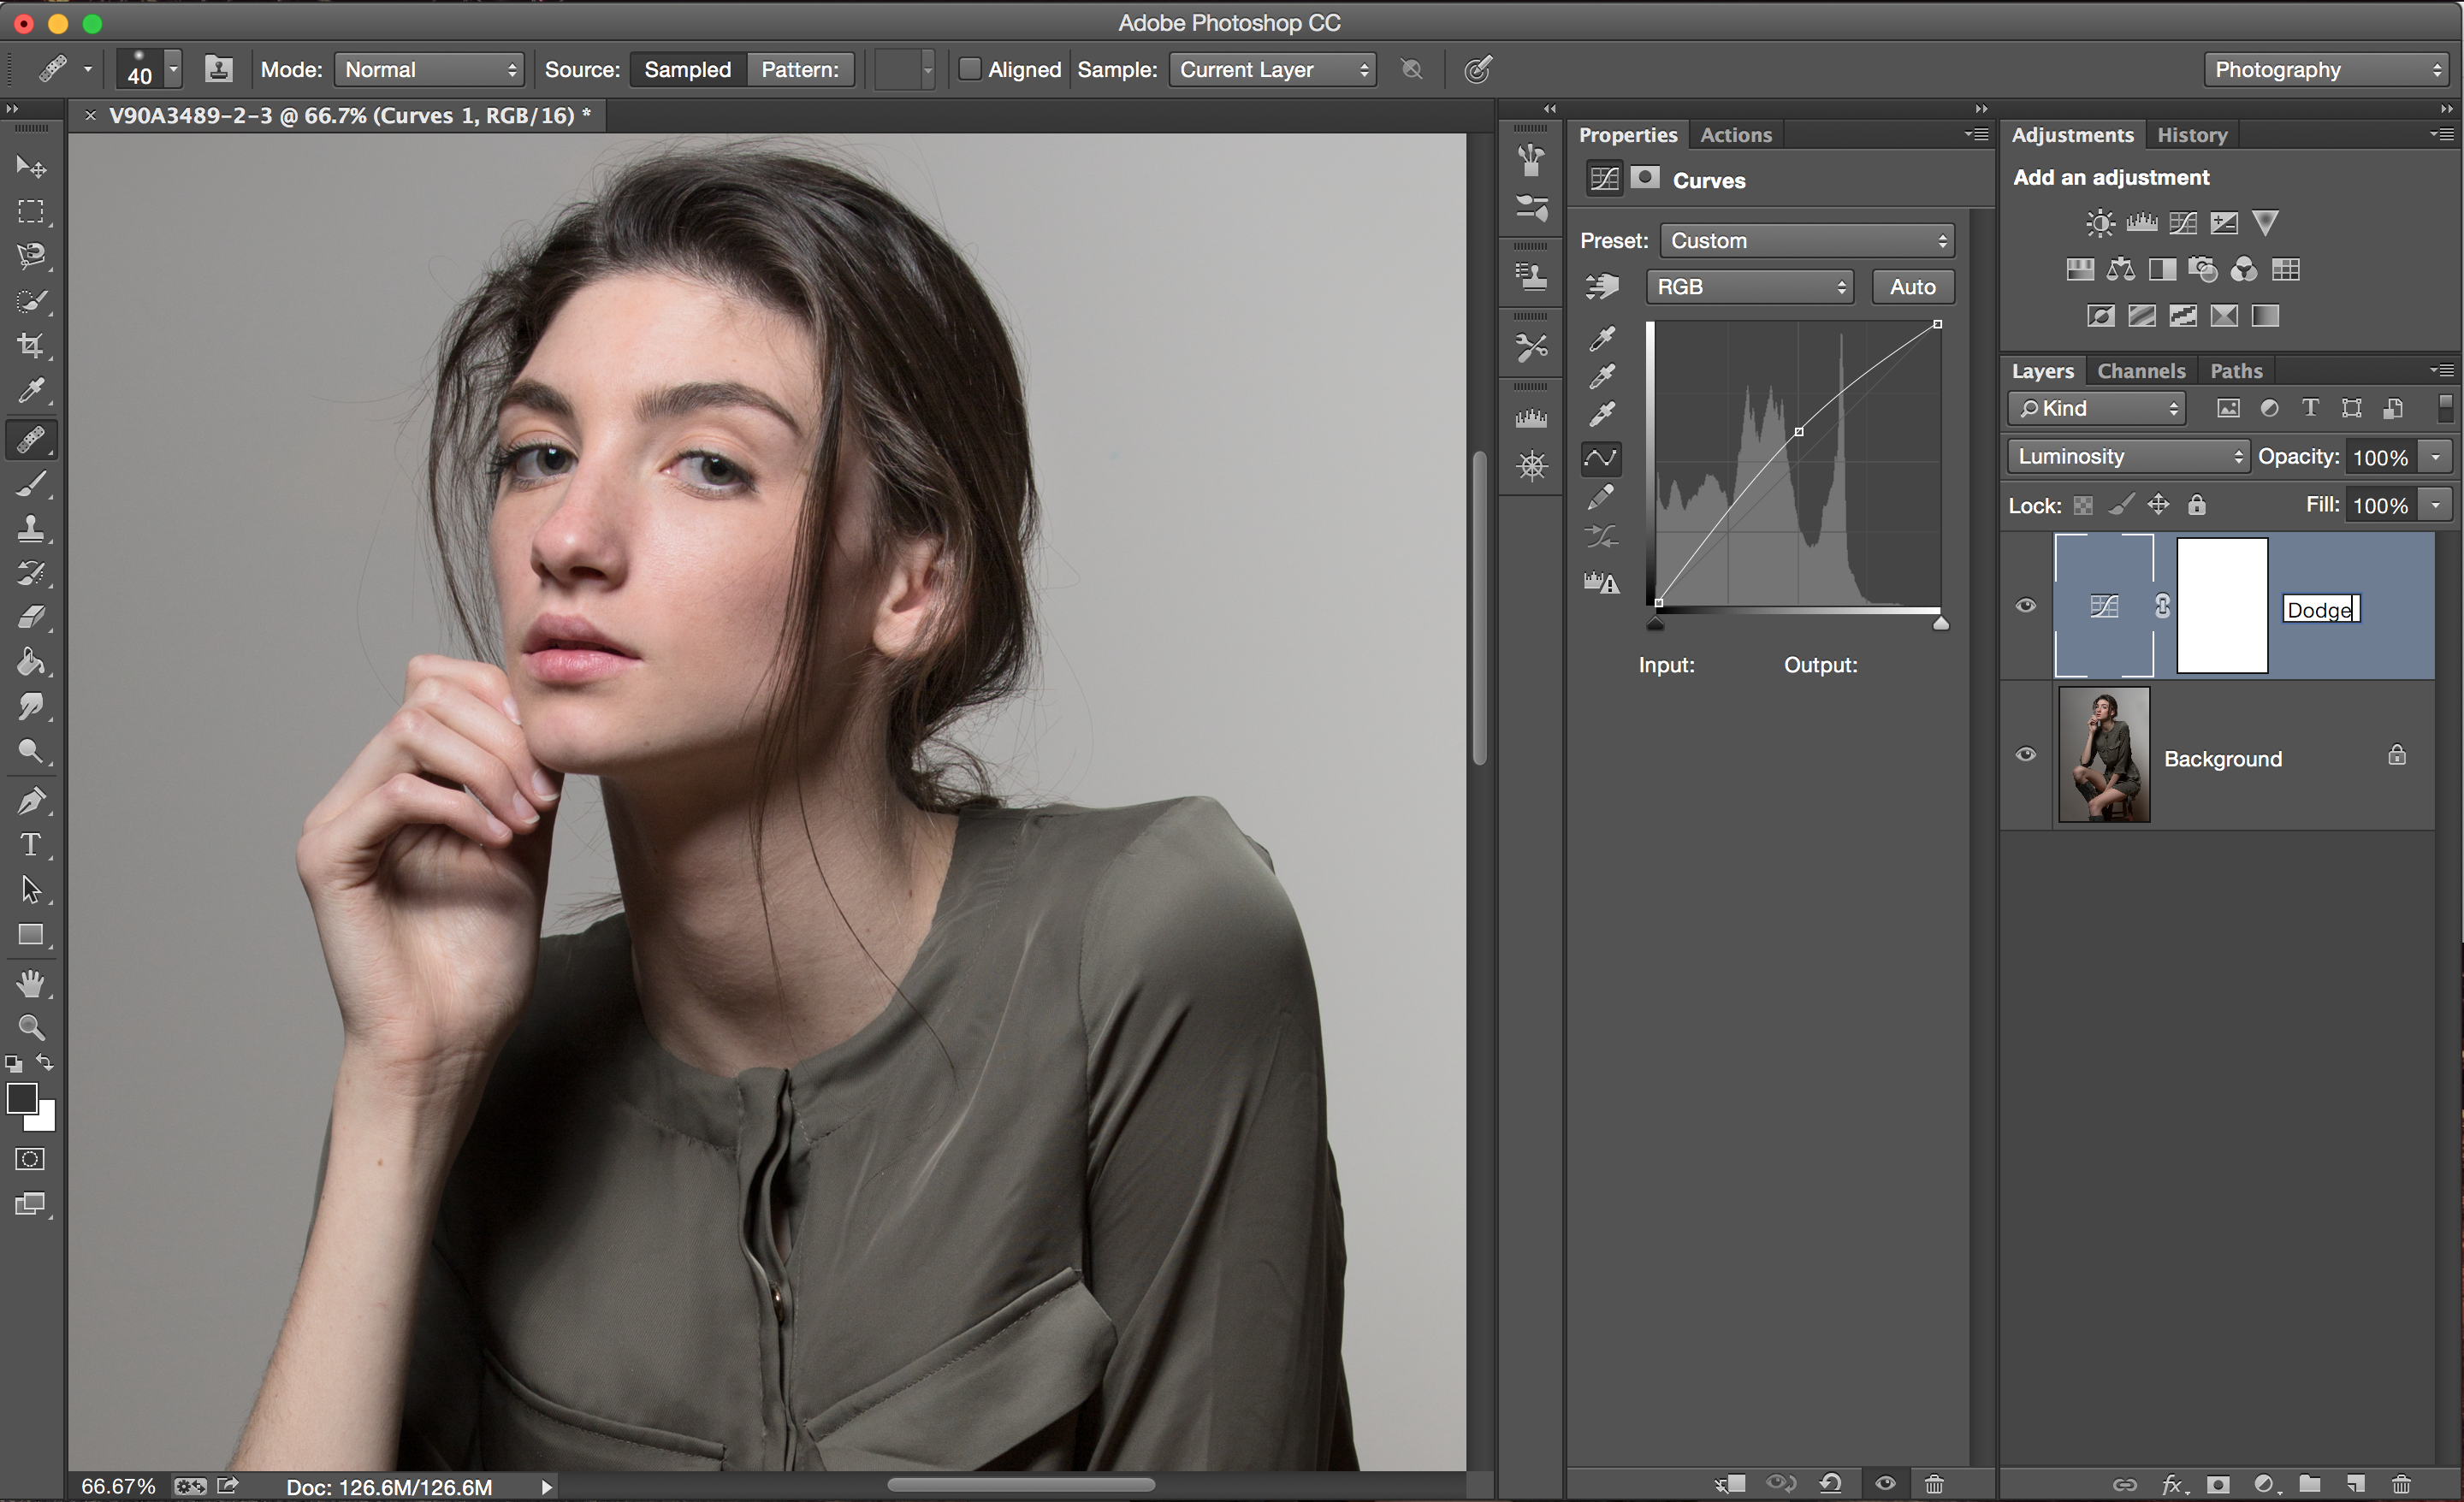


First, create two new curves adjustment layers. Pull the midtones up on one of them and title it “Dodge”. Pull the midtones down on the other and title it “Burn”. Set the blending mode to “Luminosity” and invert both layers by clicking command + I (ctrl + I on a PC).
Zoom in on the area to be worked. Some people choose to place a black and white layer over the top to easier identify the differences in tonality that need to be evened out. With a light opacity white brush, begin evening out the skin by dodging and burning the problem areas on their respective layers. Work out the shifts between the highlights and shadows until the desired result is achieved.

Global Dodging & Burning with Curves
The same principles are used as up above. The main difference is, these adjustments are made over the entire image as opposed to very specific areas. Create two new dodge and burn curve layers with the blend mode set to “Luminosity.” The reason for choosing this blend mode is it helps to retain a little more of the original skin tone when working with color images in comparison to “Overlay” or other modes. It wouldn’t really matter, however, if it were going to be a black and white image.

Using a low opacity white brush, paint on the areas you wish to brighten in the Dodge layer and the areas to be darkened in the Burn layer. Work the image until the overall desired result is achieved.

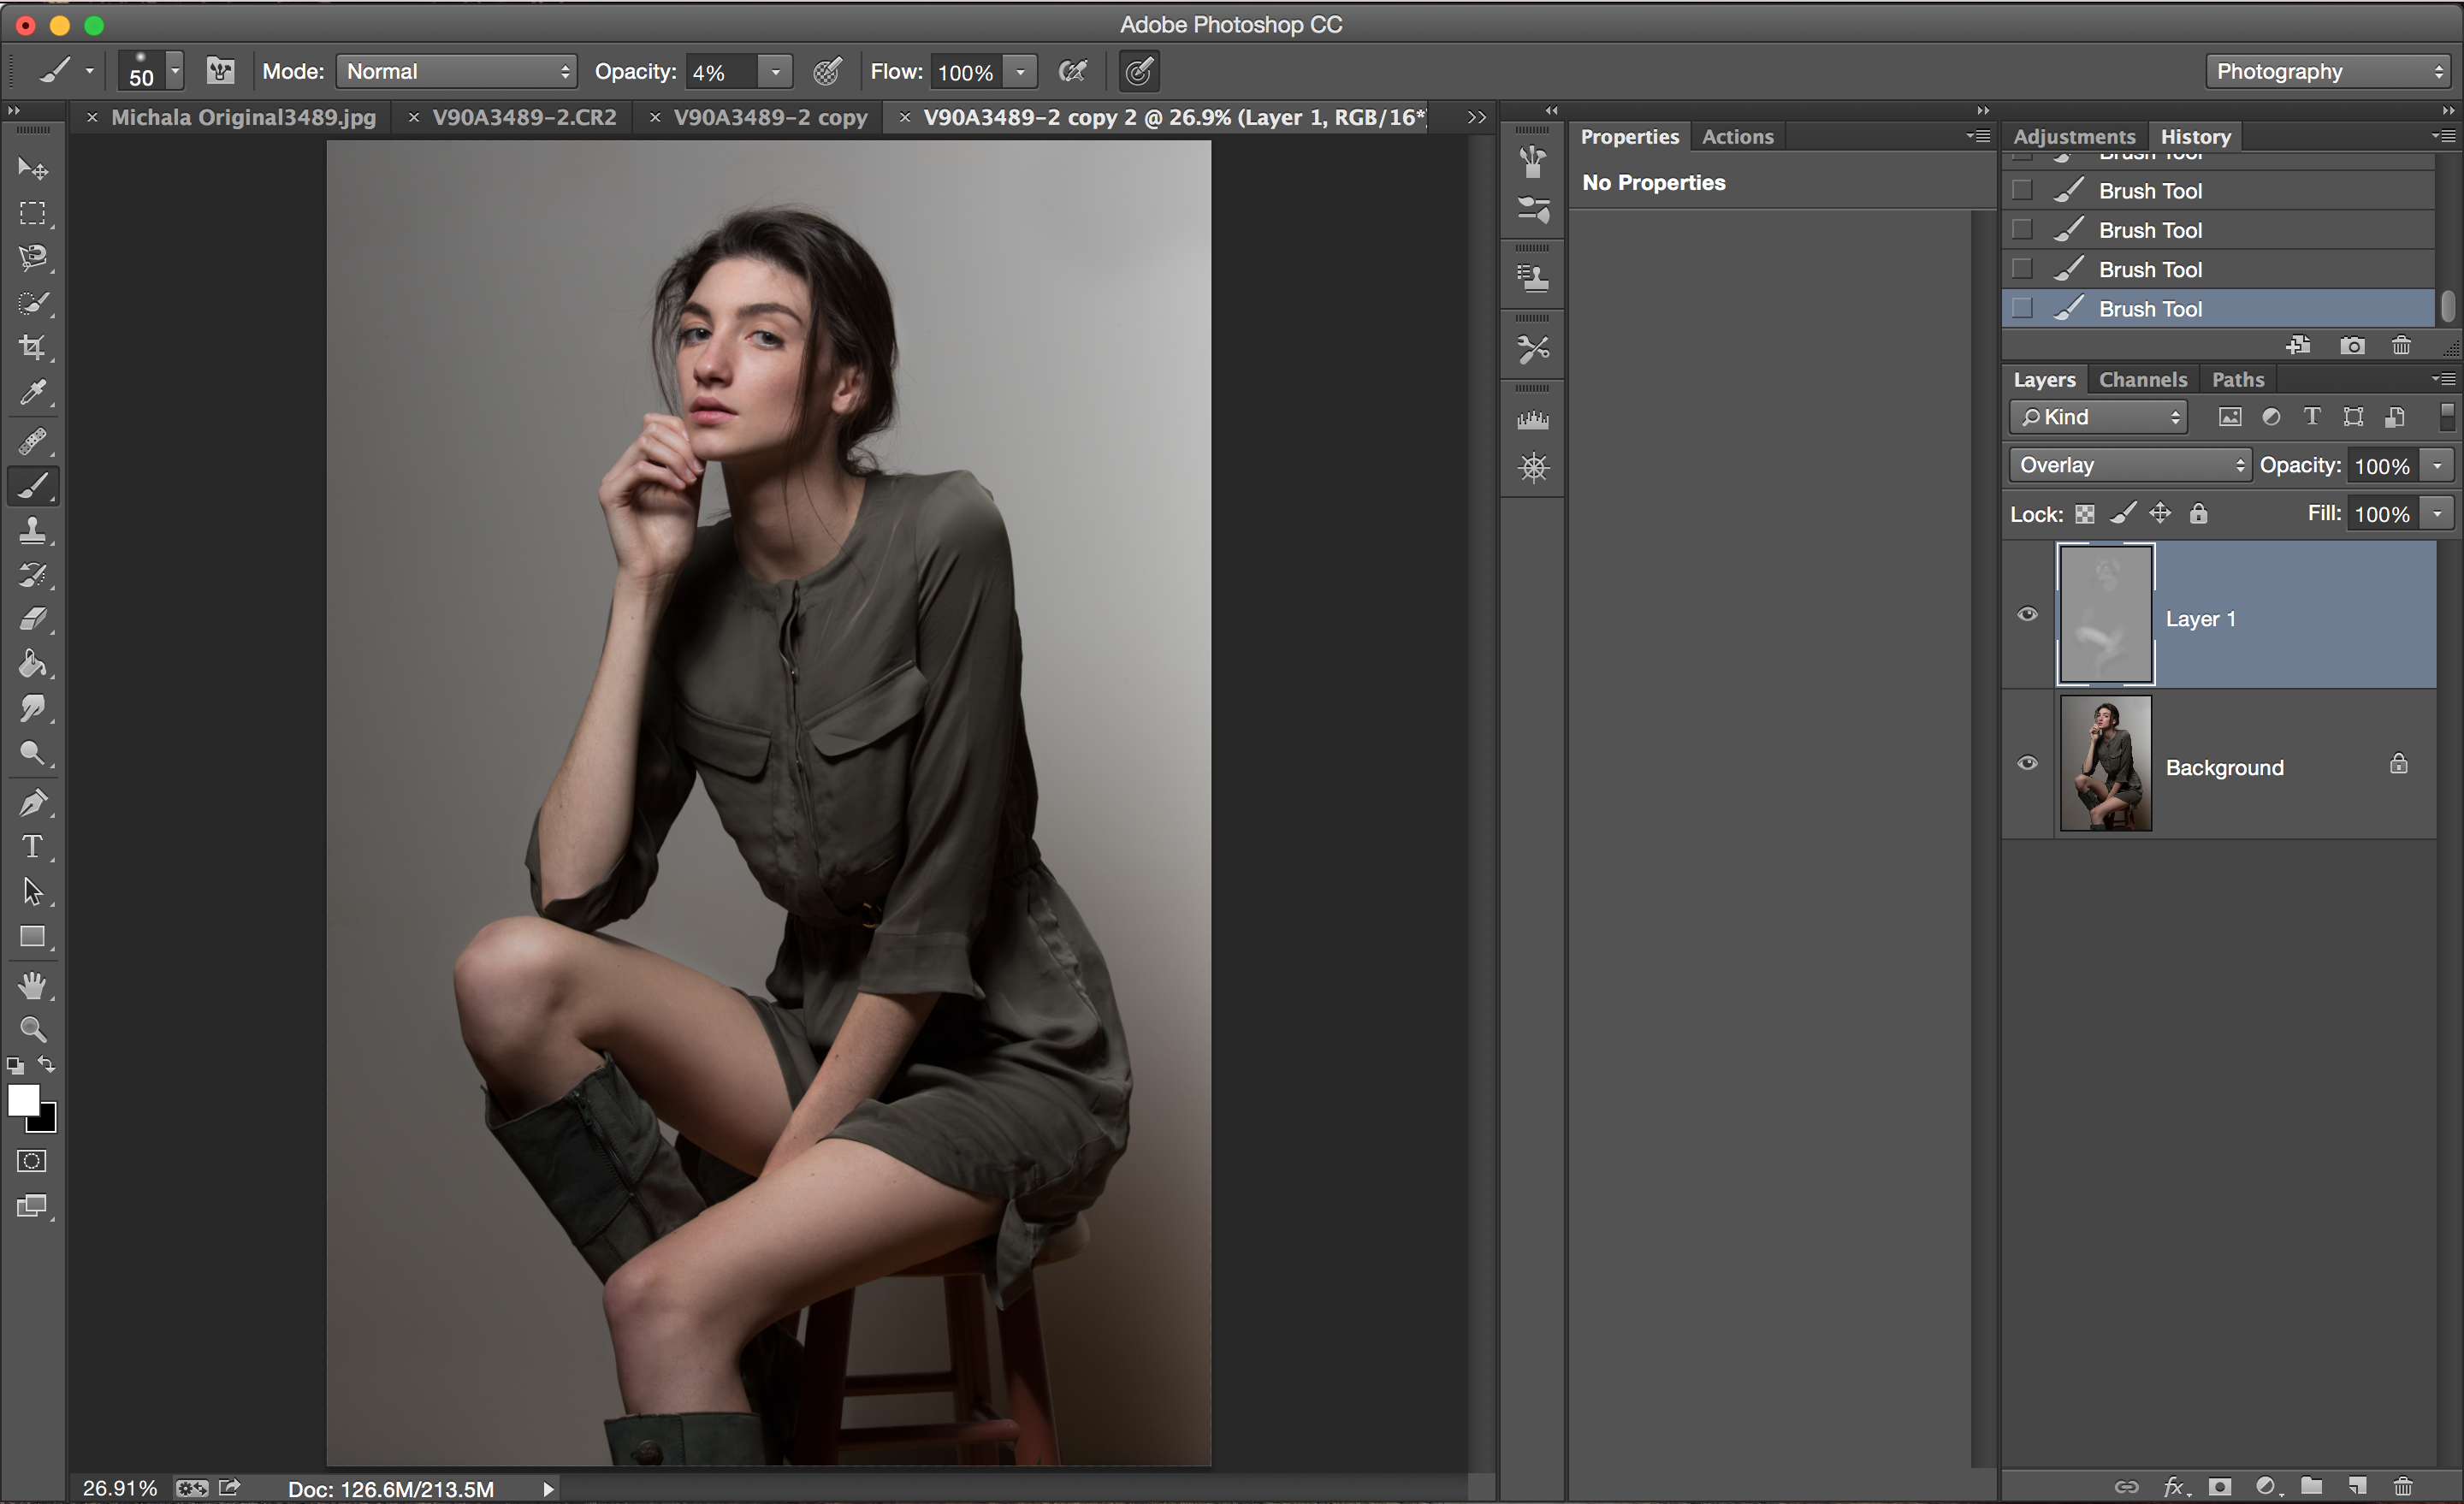
Dodging & Burning with a 50% Gray Layer
There are two different ways to create and work within the 50% gray layer. They are both quick, efficient, and seemingly user-friendly, so it really depends on personal preference.

The first method is to hold down the Option key (Alt key on a PC) and click the New Layer icon on the bottom right corner in photoshop. It is right next to the trash icon. Change the blend mode to “Overlay” and check the box that says “Fill with Overlay-neutral color (50% gray)’. Then hit ‘OK’.

With a low opacity brush, simply paint white on areas that you wish to dodge and paint black on areas that you wish to burn. Keep in mind it applies to the highlights, midtones and shadows as one entity. For those that may want a little more control, there is another way.
The second method is to hold down the Shift key and click the New Layer icon on the bottom right. Click Edit – Fill – 50% Gray. Set the blend mode to “Overlay.” Using the Dodge and Burn tools, it is possible to work specifically within the highlights, midtones and shadows of the image. Choose which tonal range you want to begin dodging/burning with and set the exposure to a low percentage. I typically work at less than 5% exposure. Go in and work the image until it is to your liking.
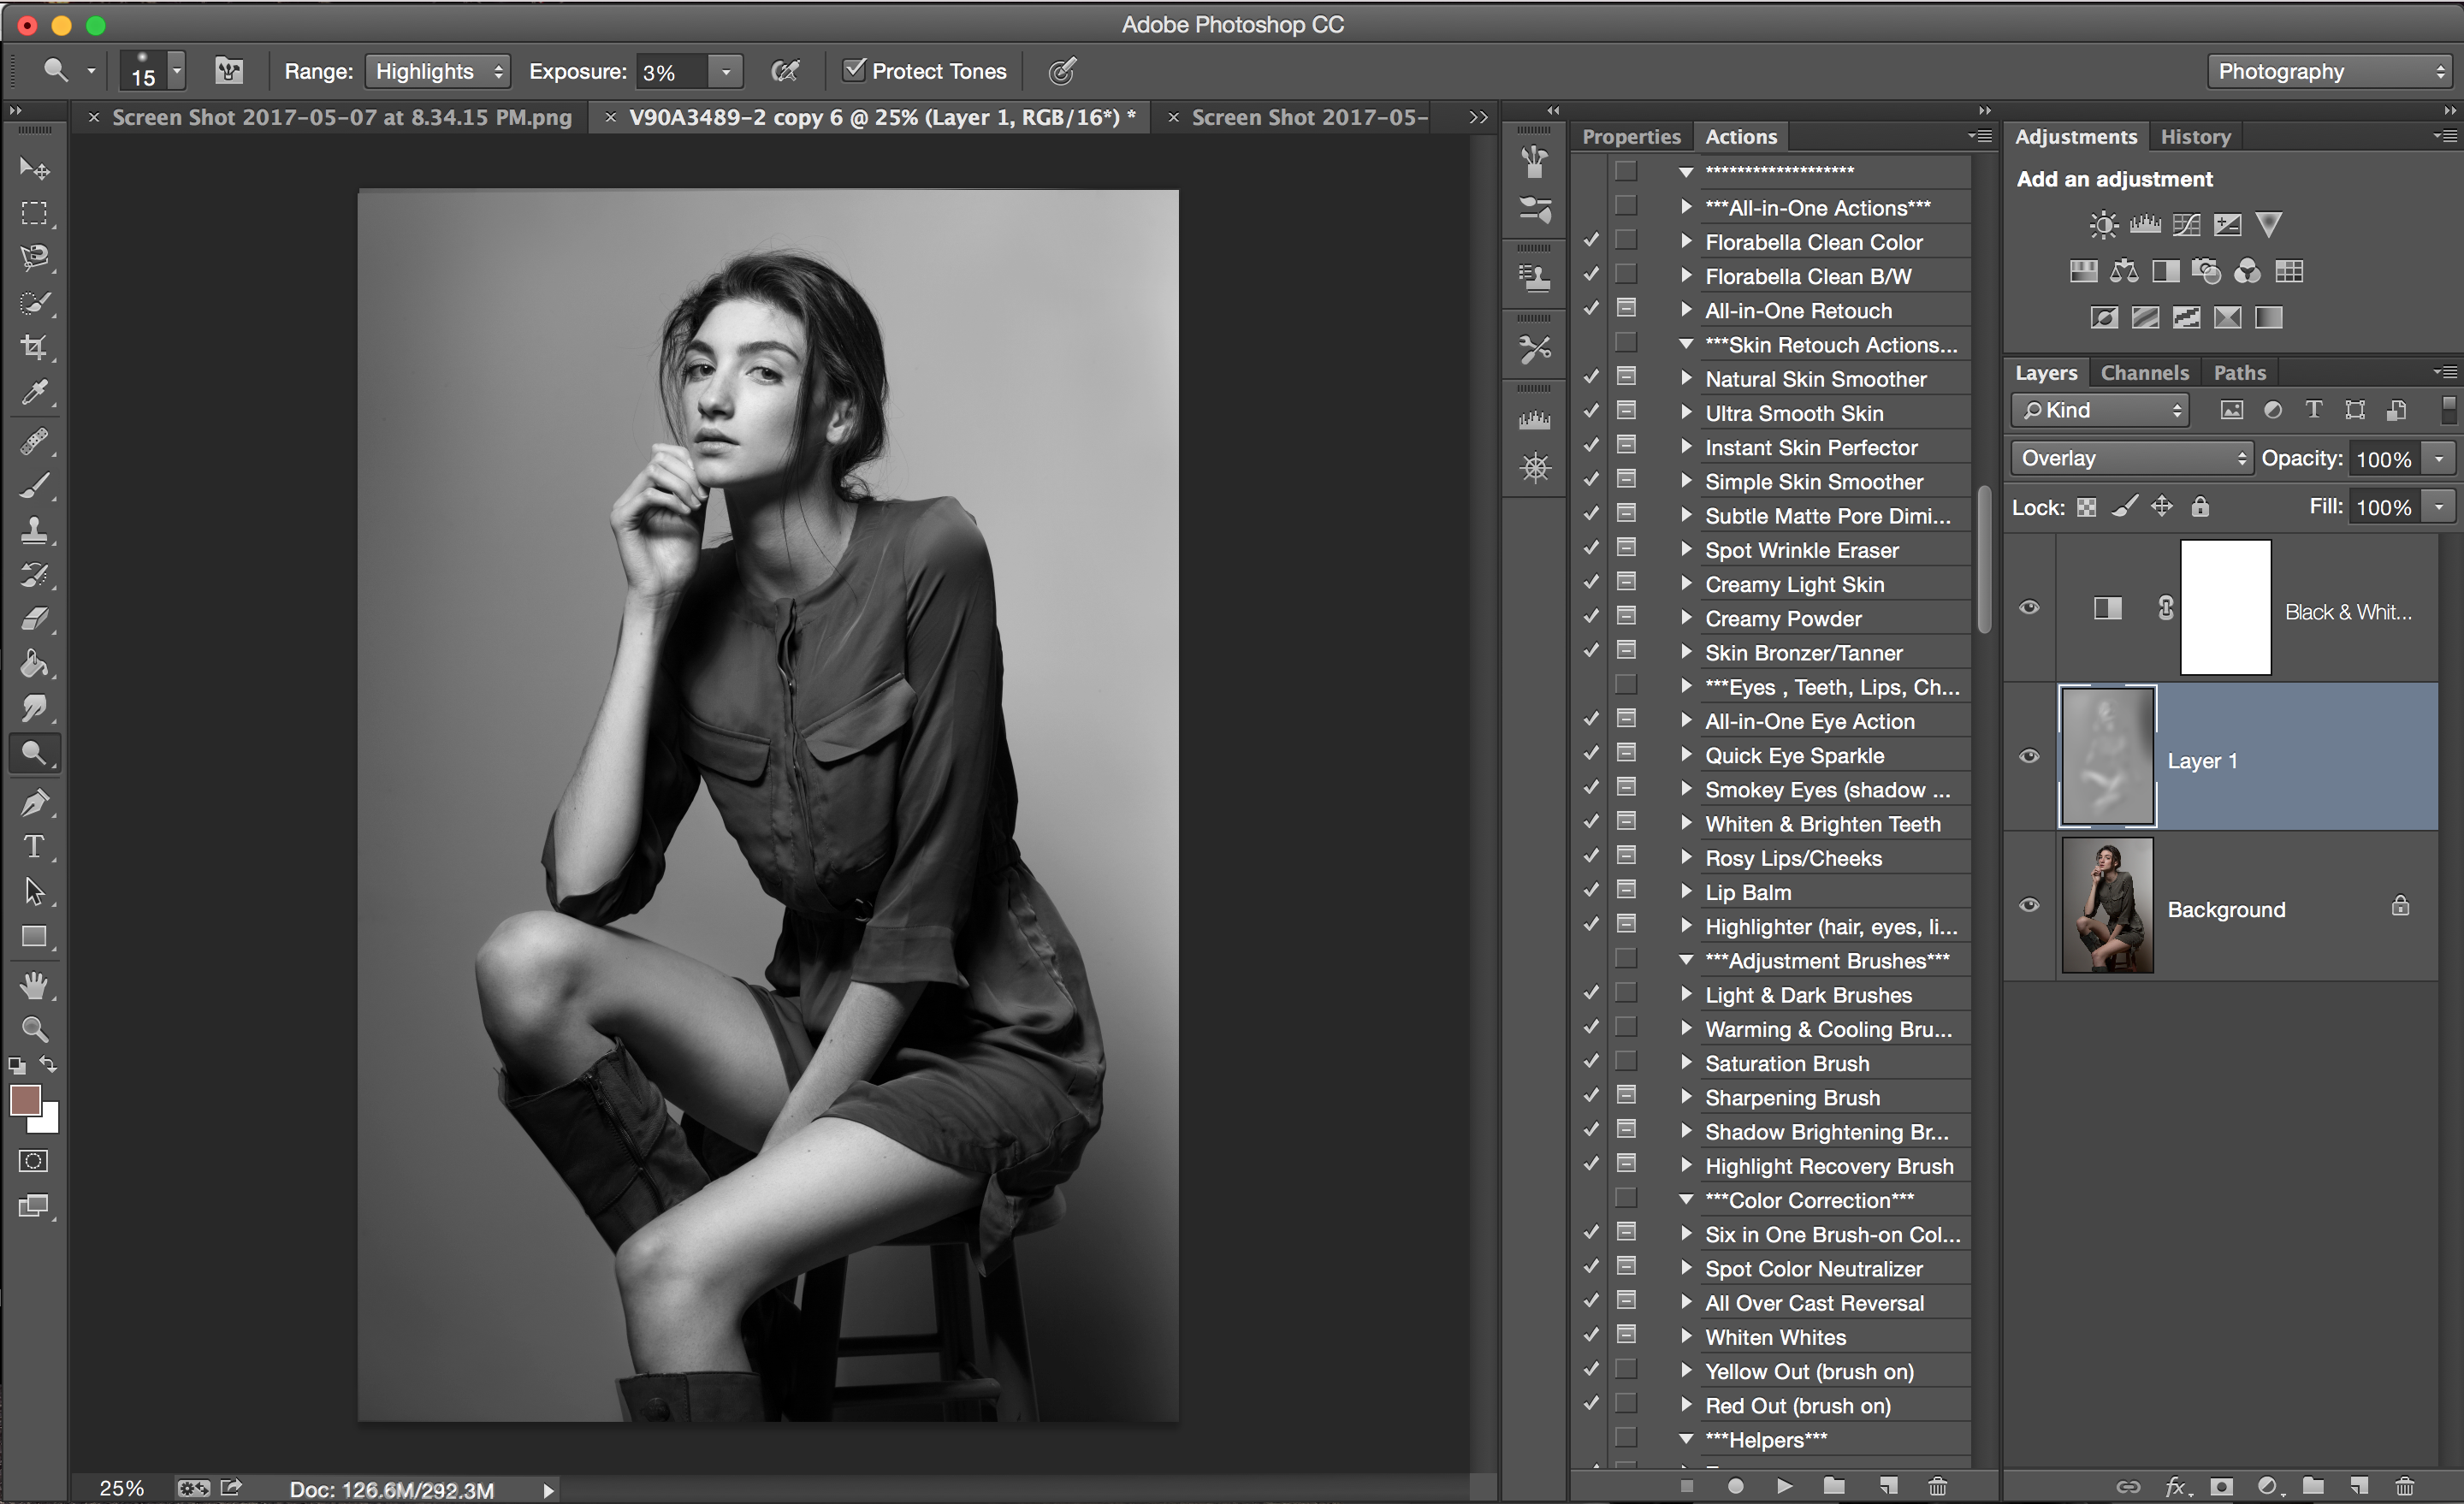
A trick for any methodology of dodging and burning is to add a black and white adjustment layer on top. This makes it a little easier on the eye to quickly identify problem areas of transition that need attention.
Gear: Canon 5D Mark III, Canon EF 70-200mm f/2.8L II USM, Broncolor Siros L 800Ws, Broncolor Beautybox 65 Softbox
Tech Specs: ISO 200, f/8, 1/400 of a second.
Keep in mind that these are only a few ways to dodge and burn. There are many others out there, each with their own blend mode and reason behind it. There really is no right or wrong way to do this. It is all personal preference.
I tend to really like to use curves for micro adjustments as well as global adjustments on color images. I do enjoy using the dodge and burn tools on a 50% gray layer when converting images to black and white, and it might have something to do with the nostalgia factor.
The other take-away is that the final image does not have to be perfect. It should look like an honest effort was made and resemble the quality of a professional. As with most things, the less is more approach is the best approach. It is the slight imperfections that make an image more believable to the viewer.


Get Connected!