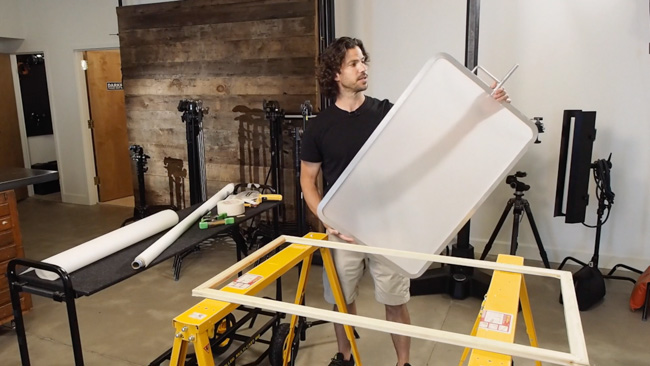
To anyone who knows me, it’ll be no secret that I like shooting natural light. With the aid of reflectors and diffusers, I am generally able to achieve the type of results I tend to go in for. Sometimes, even the pavement, or boat deck, or a nice bright wall can act as reflector enough, and perhaps, if need be, I can pull out more detail from the shadows in post.
Dealing with harsh shadows and hotspots on the other hand, is much more difficult to deal with in post. I would never suggest it unless you are going for a very strong, contrasty look. This is where diffusion panels come in (like you didn’t know this). Anyway, whether using them in studio or out on location, a diffusion panel is one of those key pieces than can immediately take your shots from looking pre-pubescent to prime-of-your-life, and if you don’t have one, you should. The thing is, good ones, can be costly. But here’s some help.
[REWIND: DIY Ringlight (Cheap) & How to Win at 500px w/ Tony Northrup]

Product photographer Tony Roslund has generously created a video showing anyone who cares to pay attention, how to make a good diffusion panel with little time, and little money. You can buy diffusion blades from many photo shops such as these on B&H, which come in at around $100 with fabric, or you can go with fully pre-made, high quality products like those from California Sunbounce, which can run you hundreds, but are pretty spectacular. What Roslund shows you should run you no more than about $30, and a trip to the hardware store.
Thoughts
This is the first time I’ve seen a DIY diffuser and considered actually making it. At that price, I can just make about 6 of them at different sizes for very little money. I will say this, though, that if you’re using a diffusion panel in the field, you need something hardy. You want something that has structural rigidity, won’t bend much, and you want that diffusion fabric to be totally fitted.

Any breeze is magnified in severity when holding what is essentially a 4’ x 6’ kite, so you need it to be sound, and also it helps to have a handle to hold onto. This is just one area where Sunbounce succeeds, but I look at Roslund’s diffuser and see how just with a slight modification of a crossbar would make it easier to hold, and more sturdy.
Source: DIYPhotography, Images are screen captures from featured video


