Many photographers swear by the beautiful quality of light provided by large, unobstructed windows. For portraiture work, the characteristically soft window light look is consistently flattering and highly sought-after. Soft window light is ideal for bridal portraits in wedding and family photography, and it can also be the lighting source of choice for many fashion and editorial photographers. In this article, we’ll give you 3 incredible tutorials on using natural window light for portraits.
Tutorial 1 | Simple Portraits Using Window Light by Irene Rudnyk
Irene Rudnyk has created a stunning portfolio and amassed a substantial social media following by taking vivid and beautifully composed portraits. The natural light photographer can be found on her Youtube page offering quick and easy insights into her process that consists of minimal gear, makeup, and everyone’s old friend, Sol.
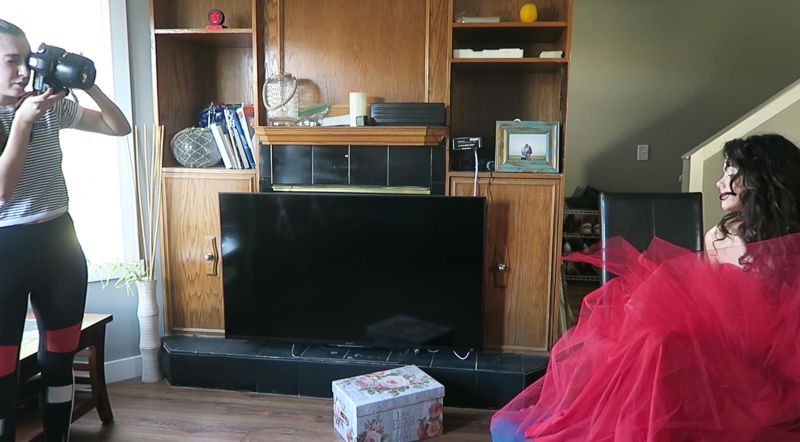
In one of her latest BTS videos, she gives us another look at how to effectively use window light to capture ethereal portraits. If you don’t want or need a shoot complicated by power settings, ratios, and light metering, this is a video for you.
Gear Used
- Canon 5D Mark 3
- Canon 85mm 1.2L II USM Lens
Newer Alternatives
- Canon 5D Mark 4
- Canon 6D Mark 2
- Canon 85mm 1.4L IS USM
Third Party Glass
- Sigma 85mm 1.4
- Tamron 85mm 1.8
Tip#1 – Shooting Angle
Shoot standing off to the side to avoid blocking the light coming in from your window. Since you are totally dependent on the light coming through the window, you’ll have to be more aware. Also, as you stand off to the side, use a step ladder to obtain a more flattering angle of your model.
Tip#2 – Subject Distance
Bring your subject as close as possible to the window. Keep in mind the minimum focusing distance of your lens. If your subject gets too close to you, your lens won’t be able to focus. This varies from lens to lens so you’ll have to figure out what this is for your particular lens.
Tip#3 – Shutter Speed & Aperture Settings
If you’re working in small space, such as a living room studio, using a wide aperture helps for two reasons.
- It lets in more light.
- It creates a shallow depth of field and isolates your subject from the background. If you don’t have a backdrop like the one featured in the video, this can save your picture from distracting and unpleasant elements.
Also, Be sure to shoot at a higher shutter speed to ensure that you get sharper images.
Tutorial 2 | Shaping Images: Blending Natural and Artificial Light by Olga Tenyanin
“I have always been a huge supporter of using everything possible to get the shot you want. If that means fashioning some tin foil on a wall with duct tape to bounce light with your cell phone flashlight, then so be it! If you could use all the tools available to you, why wouldn’t you?”

Living in the Pacific Northwest, sunny days are but a dream 9 months out of the year. It has taught me to be creative and do what I can to shape the light on my subjects. This meant using natural light and artificial light together in harmony.
Shadow Play
Recently, I have been using light and shadows to create interesting texture in my images. In my studio we have west facing windows with some really hideous and out of date window blinds, that I usually like to hide. I found that a few hours before the sun starts to set, the light hits the blinds just right. Now I have a playground of light and shadow on the studio floor.
If you have ever tried to photograph a bright object encased in shadow, you know that it’s really tough to find a good middle ground, where you can bring up the shadows and diffuse the highlights.

That is where I found myself, when attempting to use the light seeping through the blinds on my subject. The highlights were blown out and shadows too dark. I lost all the details. Since this shoot, we’ve recently upgraded our blinds, which has given me a lot more lighting options to play around with.
The Set Up
I added a 60” Photo Softlighter umbrella with a Yongnuo YN585EX speedlite at ¼ power, camera right and pointed towards the model. I needed to expose for the highlights and bring up the shadows.

I was finally able to save all the detail and achieve the look and feel I was going for.
Equipment:
Settings:
1/1250 F/2.2 ISO 50
Model: Effkate
Tutorial 3 | A Creative, DIY Solution for Modifying Window Light For Gorgeous Portraits
For some fabulous examples of the possibilities of window light, check out the work of Sean Archer, or this recent post by our own Britney Smith. However, photographers who rely solely on window light can encounter the problem of its lack of versatility. It can be difficult to modify window light to control its size and spread. The Koldunov brothers have come up with a clever DIY solution for this problem.
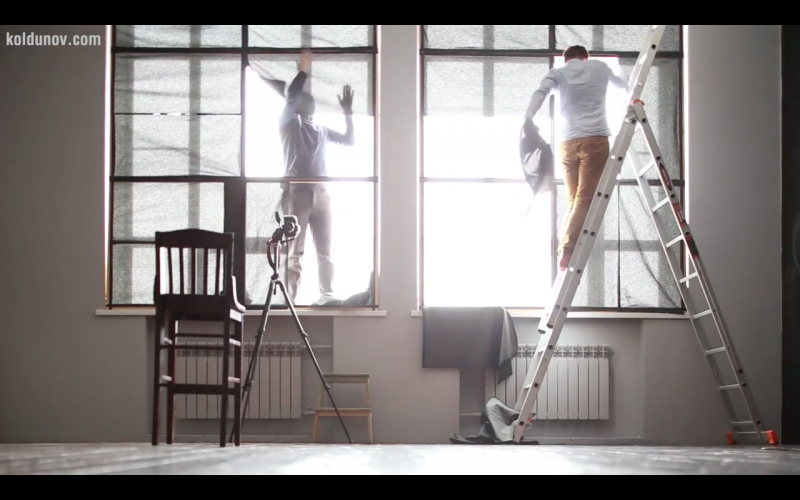
Using a system involving a wooden grid, velcro, and black fabric, they have devised a system whereby they can open and close individual sections of their massive studio window to achieve various lighting effects.
While a more basic implementation of curtains, blinds or shutters may be capable of achieving some of these effects, the Koldunov brothers’ solution allows an additional level of control, particularly in its ability to affect catchlights. By uncovering the window in various configurations, the reflections in the subject’s eyes are completely customizable, and can offer a slew of subtle, creative possibilities.
Their system, while seeming fairly labor intensive to build, is actually rather simple. They have created a wooden grid, covering the full area of their studio window, and covered the inside of that grid in strips of velcro. Then, by cutting pieces of black, semi-opaque fabric, and edging them with corresponding velcro strips on three sides, they can quickly cover and uncover whichever sections of the grid they please. For a softer light they can remove more of the fabric pieces, and for harder, more directional look, they can selectively uncover smaller portions.
Established studio photographers with an assortment of strobes and modifiers might scoff at this unwieldy apparatus, but the creativity at work is hard to deny. Perhaps this particular solution is not practical for the majority of portrait photographers, but the inventive approach to solving a problem is commendable, and makes their video worth a watch.


Get Connected!