Burning to Retouch and Enhance Features in Lightroom
In this tutorial, we’re going to use burning to enhance the features and muscles on our model all inside of Lightroom! Check out the video and article below to see exactly how it was done!
Watch the Dodging and Burning in Lightroom to Enhance Features Video
Our Mixology Recipe
For this photo, we’re using the Lightroom Preset System v6 to edit. We want to go for a vivid and desaturated look for this image, and here’s the mixology recipe I used. I think I’m going to call this recipe, “I Should Go On A Diet.” If you don’t have the preset system, I’ve included a screen shot of the Develop Settings so you can see exactly what changes were applied.
- 01-30 VIVID – FOUNDATION (IMPORT): 31b. Desate + Grunge
- 02-00 ADJUST – EXPOSURE: 07. Brighten +1.0
- 01-50 VIVID – BASE TONES: 52a. Dynamic Range (VIVID STANDARD)
After our mixology is applied, we can see just how far our image is coming along. Now our image is ready for additional retouching with burning.

Local Area Adjustment Burning
Radial Filter
The first thing we’re going to do is add a radial filter with a -1.00 Exposure and set the Feather to 100.
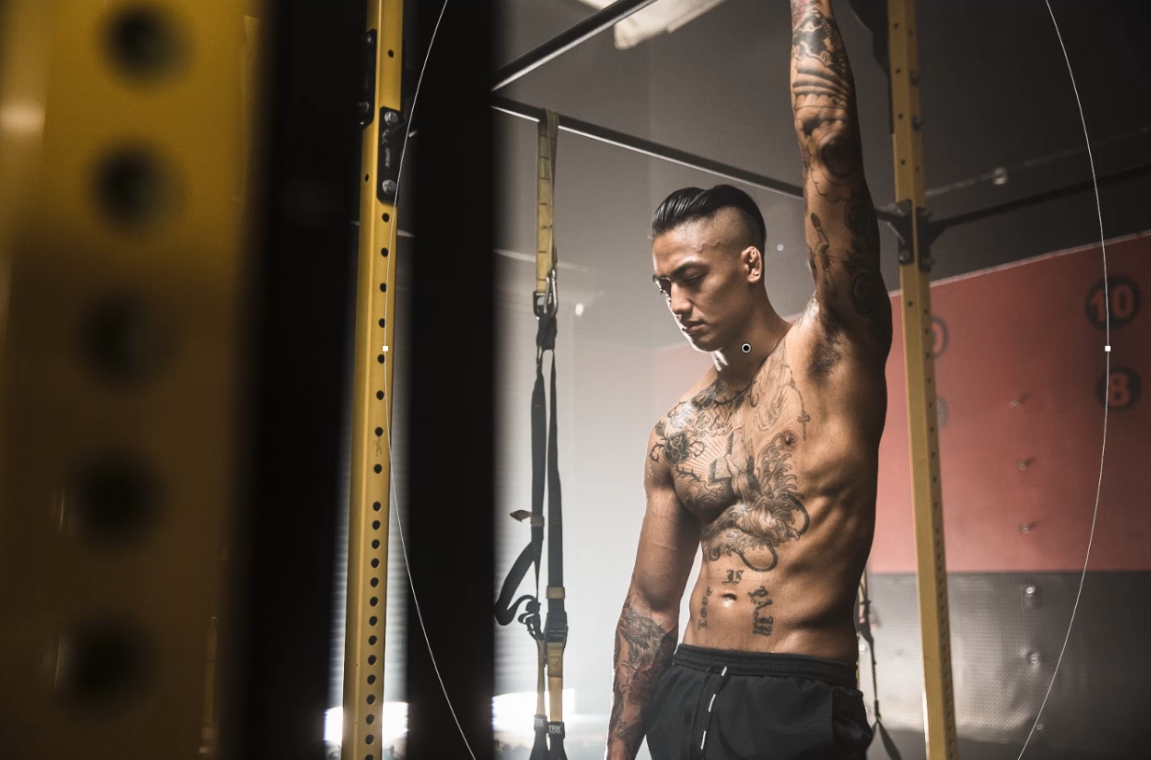
Graduated Filter
After our Radial Filter is set, we’re going to pull in some Graduated Filters from left to right with a -0.60 Exposure

Brush
There are some distracting elements in the yellow bars, so we’re going to fix that with a Brush. To see exactly how the Brush was applied and at which exposure settings, be sure to watch the video above.

Enhancing Our Model’s Muscles with a Burn Brush
Before we start making our model look fantastic, we need to make sure all our settings are correct. For this burn, I’m going to have the Exposure at -1.00, Feather is at 100, Flow is at 30, Density is at 100 and Auto Mask is off. All we’re going to do now is paint over areas of shadow to further enhance his muscles.
Now, we’re done with our image. Check out our before and after to see how far we’ve come!
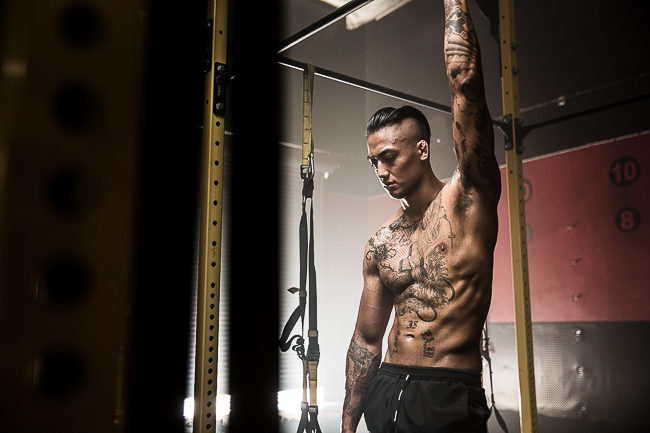
Before
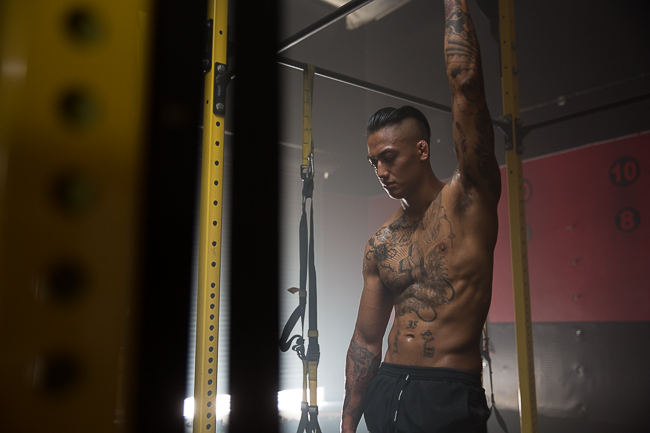
After
Conclusion
There you have it! A sweet and simple trick to enhance the muscles of your model using Burn tools. If you enjoyed this tutorial, be sure to subscribe to the SLRLounge Youtube Channel for more videos!


Get Connected!