I want to tell you something personal, and maybe you can relate: As an outdoor & landscape/nightscape photographer, I’ve always tended towards “social distancing” as a natural habit.
I’m the guy who needs a whole lot of caffeine just to be able to think quickly enough to say “hi” when crossing paths with neighbors or strangers out in public. So now, in the midst of the Coronavirus pandemic, April 2020 is feeling closer normal for me. (Aside from having to wait in a line to buy toilet paper, of course. And, yes, I am extremely grateful that I have a job where I can work from home!)
But, nearly 20 years ago, it was actually backyard macro photography that gave me a passion for photography itself, which became the overall subject that I was able to open up to other people and talk about. You might say that photography itself brought me out of my shell. (To this day, one of my all-time favorite songs is Dream Theater’s “Solitary Shell“.)

Of course, I have always had a few close friends, and plenty of close family. But, generally speaking, the “stay home” mandate was/is often my daily life. (Although, yes, I do miss the outdoors, and my friends/family. But, at home I still have a wife and two dogs, and a chinchilla.)
[Related Reading: 5 Things I Learned From The Fstoppers Mastering Macro Photography Tutorial by Andres Moline]
Do any other photographers feel this way about social interaction? I’d love to hear from you. I suspect that among artists there might be a few, but the catch-22 is that we’re all too anti-social to ever talk about it, or even ask the question. So, I’m asking now. (Now that we’re all sitting around at home with little to do except talk about our feelings, and re-edit old pictures!)
Why am I this way? I can’t tell if it’s because I’m just a slow thinker, or if I’m one of the innumerable people who has an invisible “emotional wall” up. Probably a bit of both. Needless to say, when I was a kid, I wasn’t into team sports. I had a few friends that I rode BMX with, and I went on hikes with the Boy Scouts, but that was it. I avoided large crowds and most types of social interaction. Boring? I guess, but I felt pretty happy, “in my own little world”…

Now, here’s another confession: before I picked up a camera, I thought all art was boring, too. It was a high school (film) photography class that helped me discover I even had a creative side at all! I was forced to take at least one art class in order to graduate, and I chose photography because it sounded the coolest. At first, I just took a few photos in order to pass the class. Then, I started taking a few more random photos.
Eventually, the tech geek in me began to surface, and when digital cameras started becoming popular I bought a fancy little digital camera with 3 megapixels (JPG only!) and a 10X zoom lens.

Then, one day, I took that digital compact “point-and-shoot” digital camera out in my parents’ backyard, and just started taking pictures of everything. The lens could focus very close, and I was fascinated. (Also, I didn’t have to pay for every shot I clicked, like with film!)
I had loved nature and the outdoors as a kid; in fact, some of my earliest childhood memories were of laying in the dirt watching bugs. Having a camera with a macro capability somehow brought it all back to me.
So, for more than a year before I moved out of my parents’ house, I spent one morning every single weekend out in my backyard, doing macro photography. That time was what gave me a creative passion.

Almost immediately after that, I bought my first DSLR (a Nikon D70 with 6 megapixels) and a cheap Sigma 70-300mm lens that had “macro mode”, (just 1:2 reproduction, or 0.5x magnification) Finally, I truly satisfied my addiction to macro photography with a dedicated 1:1 macro lens, a Sigma EX (this was pre-Art) 150mm f/2.8 DG HSM Macro. After that, I got asked to photograph some friends’ weddings, and the rest is history; my backyard hobby turned into a career! I would have never guessed.

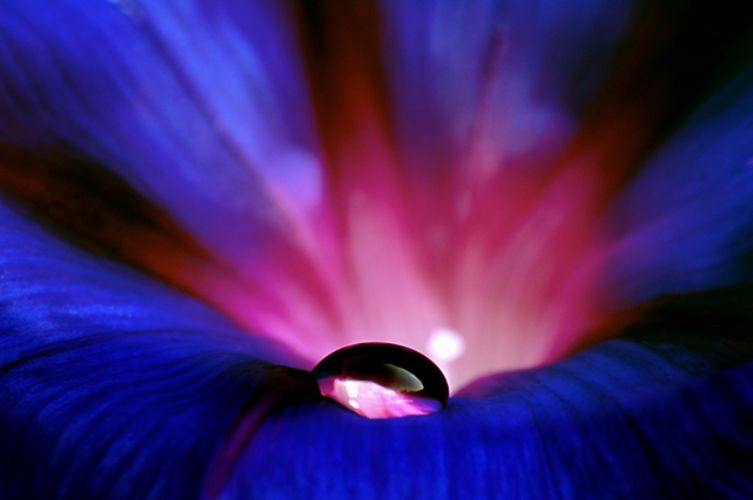
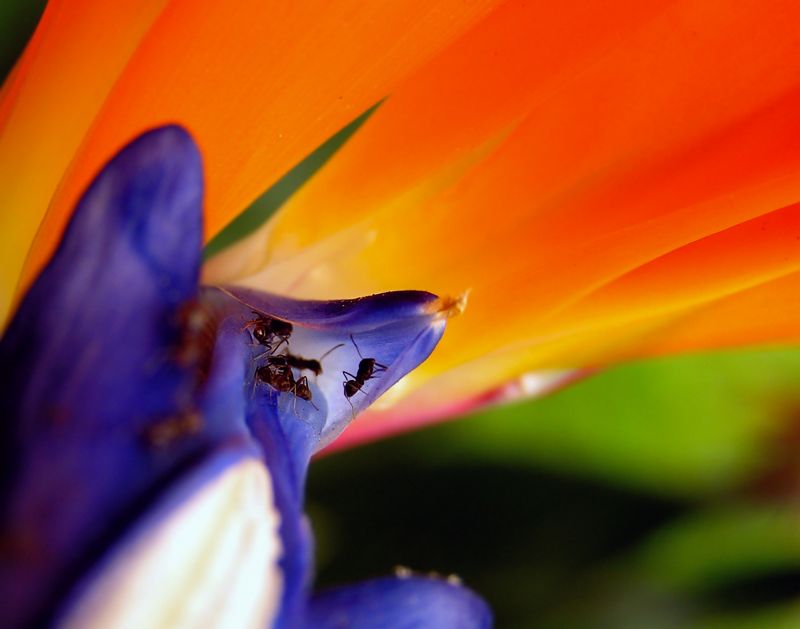
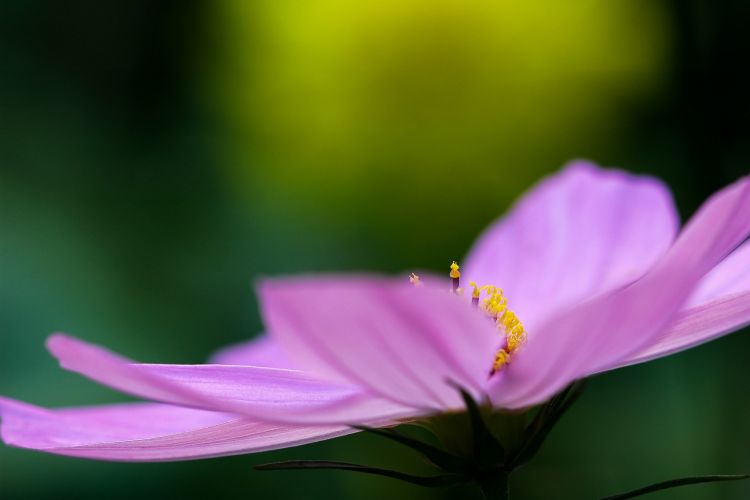
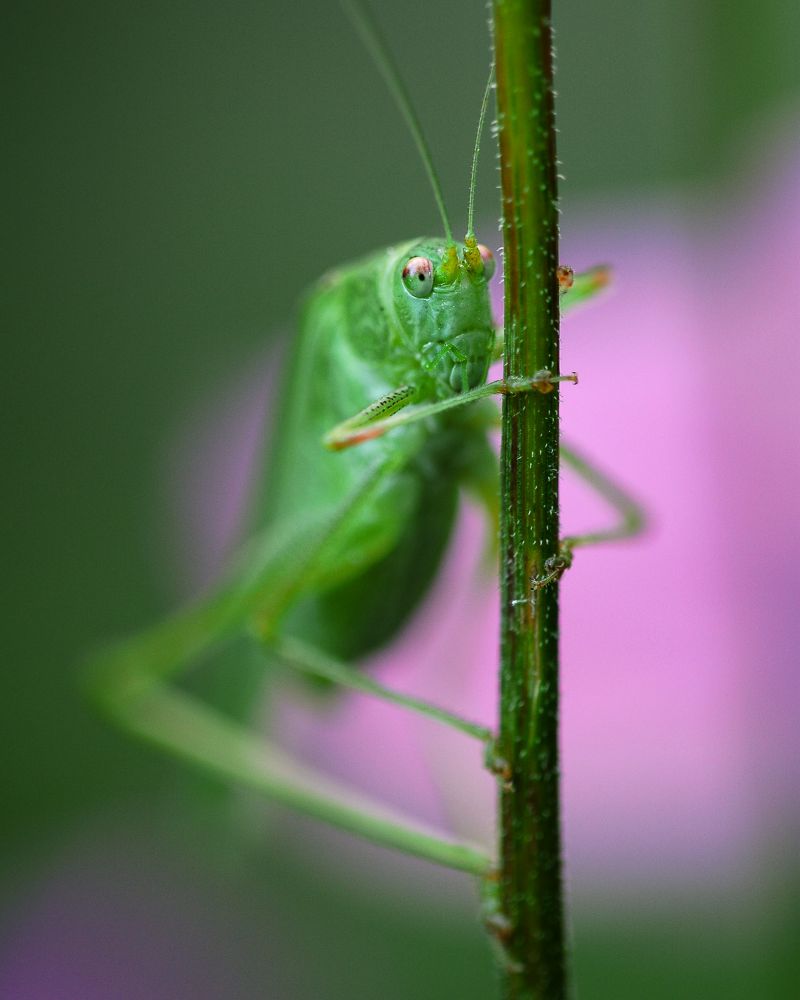
These photos, in case you haven’t guessed yet, are from that time. They are all pictures captured in my home backyard, with pretty cheap camera gear too, especially by today’s standards. And so, speaking of today, I found myself revisiting these old photos and wondering if I could possibly encourage and inspire anyone out there to get creative and start a little photography project, without even leaving your home…
Macro Photography Tips & Inspiration

Out of everything I’ve learned over the years, I believe that rule number one is to try seeing subjects from eye level. It’s a great way to truly immerse your viewer in the realm of tiny subjects. A view from directly overhead can work too sometimes, but as a general rule, always ask yourself, “what would this subject look like at eye level?”
Rule number two is, steady your camera & lens. Even if you have autofocus, and a fast enough shutter speed to hand-hold your shots, you’ll still be better off with some kind of help in steadying your shots. Honestly? I didn’t even own a tripod for the first year or two that I did macro photography. However, I used anything I could to steady my camera. A beanbag, or a bag of gardening soil, or even your own hands or knees, depending on how low or high your subject is. You don’t necessarily need a tripod, (although one is highly recommended!) but you do need stability.

While stability can of course help make your pictures sharper, the biggest advantage is actually that it makes your photos much easier to compose and set focus, compared to hand-holding. We’ll talk more about this later.
Rule number three is, have fun! Think as creatively as you can. The world of macro photography opens up an incredible new realm of artistic possibilities, for subjects, angles, backgrounds, juxtaposition, scale, and many other things. You can step into your backyard and photograph nature, or you can create your own miniature scenes from scratch! The possibilities are endless, and let’s be honest, it’s a great way to occupy your mind for a few hours, “get in the zone”, and shut out whatever chaos is taking place in the world around you…
You Don’t Need The Best Macro Photography Lens

Every photographer will inevitably ask next, what is the best lens for macro photography? The truth is, it doesn’t matter. Here’s the secret that no lens company will tell you: literally every “dedicated” macro lens ever made is extremely sharp, especially when the aperture is stopped down a stop or two. (And, when you’re focusing extremely close, don’t worry, you’ll always want to stop down for depth of field, anyways!)
[Related Reading: Macro Lenses | Why Everyone Needs One In Their Collection]
If you’re hesitant to buy something “cheap”, or if you’re just feeling indecisive overall, think of it this way: What if you’re not sure you love macro photography yet? Why spend a ton of money, if it might turn out that you are going to barely ever use the lens? Just buy the affordable lens, and see if you actually like doing this type of photography. Then, let’s say it turns out you really love macro photography, and you decide later that you want to buy a really expensive macro lens. Did you just waste your money on the affordable lens? Not at all! Because, if you truly love a photography subject enough to spend a lot of money on a lens, then you should probably have a backup! Plus, the best “starter” lenses are going to be found used on eBay anyways, so if you ever upgrade and only need one lens, you can probably sell it again on eBay for about the same as you bought it.

Although you don’t need to spend a fortune, There are a few extremely cheap options that I would recommend avoiding. Basically, avoid any brand that isn’t a decently well known photography lens brand. If it’s a new, generic name you’ve never heard of before, either don’t buy it, or ask someone who is into macro photography. (Or leave a comment below and we’ll be happy to give an opinion!)
So, go on eBay and find that random old Tamron, Tokina, Pentax, Olympus, or whatever brand macro lens is available for $75, or one or two hundred dollars. Get the one that looks beat up, but still has no glass defects, and a working aperture & focus ring.
Or, of course, you can also try extension tubes or close-up filters, for your existing lenses, however, you should first test your existing lens at its standard closest focusing distance to see if it is extremely sharp at that range, because when pushing the optics to focus even closer with a tube or filter, things may get either a little soft, or extremely soft. This isn’t the end of the world if you’re just learning, of course.
Anyways, that’s all you need! You don’t really need autofocus or stabilization. Just don’t forget to buy whatever adapter you need to be able to mount that old lens on your fancy new digital camera, of course.
Why You Do Need A Tripod For Macro Photography

Another reason that I like to discourage newcomers from making their first macro lens a fancy, cutting-edge lens with stabilization and autofocus is this: it’s much easier to frame your shots and set focus from a tripod.
You don’t need a fancy, expensive tripod, but again, avoid the cheap junk that is just going to wobble and droop; macro photography is a craft that involves extreme precision. You could try to hand-hold your shots and use autofocus & stabilization, but you might spend forever capturing 100 images, only to get one perfectly framed, sharp image.
Also, you know what? For me, it’s actually therapeutic to force myself to slow down and take my time in framing a shot. With this slow, methodical process, I get in the zone, focus (no pun intended) on the harmony of one’s creative eye and technical mastery. In other words, not only does a solid platform yield sharp images, it actually aides creativity.
So, get back on eBay, and spend another few dollars on a rock-solid, but not necessarily enormous, tripod. If it’s a larger model, make sure that you can reverse the center column and get your camera mounted up-side down, so that you can get low to the ground again. Or, just invest in something like a Platypod, or a beanbag.
More Macro Photography Tips

Even if your macro setup doesn’t get to “true macro” of 1:1; even if your tripod is actually a bag of dirt, you can still get outside and spend hours having fun, creating beautiful images. All of the photos in this article were made with gear that you can buy used for less than $100, or just a couple/few hundred dollars.
Fill your background with a color!

One of the really cool things about macro photography is that you can fill your entire background with very small things. Especially if you’re achieving 1:1 reproduction, or close to it, you could be photographing one single flower and use just one other flower in the background to create an entire background of color!
Give shy subjects as much distance as possible (with a longer lens)

The problem with wide-angle and normal focal length macro lenses is, of course, that you have to get your lens extremely close to the subject in order to get towards 1:1 reproduction. In some cases, you might be putting the subject just inches or centimeters from the front of your lens!
For some subjects like bugs, you might really need to give them some space. To do this, and still achieve good macro, you’ll need a longer focal length lens. A 90mm, 100mm, or 105mm lens is a great starting point, and an extremely common focal length for both name-brand and third-party lens makers. Especially when used on an APS-C or Micro Four Thirds camera, these lenses will give you plenty of “working distance”, as it’s called.
Also, there are 150mm, 180mm, and 200mm macro lenses available for those who would like to achieve the greatest working distance possible.
You don’t need to photograph every subject at 1:1

Remember that just because your lens is capable of 1:1 reproduction, doesn’t mean you must photograph every single subject so close-up. A lot of subjects only need 1:2 or 1:3 magnification in order to fill the frame, and leave room for context/environment!
Macro photography lighting is easier than you think!
With such small subjects, adding light can be a lot easier than you think. An on-camera flash can be “bounced” to the left or right, onto a white diffuser to add soft, directional light to your subject. You might need to set the flash to a pretty bright setting if it isn’t shining directly n the subject.
Conclusion

Hopefully this article gives you something to do, if you’re feeling bored, or just need something to pour your mind into and focus on for a few hours a week. If you ‘re inspired and you capture something really interesting and creative, please share it in our Facebook group! Or, leave a comment below.
Matthew Saville
Follow his wilderness nightscape adventures on Instagram: instagram.com/astrolandscapes


Get Connected!