
Snapshots are absolutely one of the most underused and under appreciated features in Lightroom and Camera Raw, and the only reason I can imagine for many to treat Snapshots like a leper is that there’s a lack of understanding of how they can be used. So here’s the breakdown that’ll show you how to use it, and illuminate why it’s so essential to LR developing, and how to use them in Camera Raw.
[RELATED: Highlights vs. Whites | What’s The Difference & When To Use Which?]

Lightroom
Snapshots is a tab you’ll find within the Develop Module, and can be somewhat associated with the History tab, which is, no doubt, something you’re all aware of. Much like in Photoshop, the History in Lightroom is a trail of digital footprints of processes you’ve done to your image, and each of those steps can be retraced and reverted to.
Alone, it’s already a wonderful thing to have so, with but a click of the mouse, you can return to a preferred image some 10 processes ago. However, adjustments in Lightroom can be fast and frequent, and the history simply displays a change with rather banal notification that will say something like, “Update Highlights Adjustment,” or “Add Graduated Filter.” This doesn’t exactly tell you much when you’ve got a list of changes as long as The Orient Express. So what to do? Well, use Snapshots. Adobe describes Snapshots as the following:
Snapshots are stored renditions of an image that contain the complete set of edits made up until the time the snapshot is created. By creating snapshots of an image at various times during the editing process, you can easily compare the effects of the adjustments you make. You can also return to an earlier state if you want to use it at another time. Another benefit of snapshots is that you can work from multiple versions of an image without having to duplicate the original.
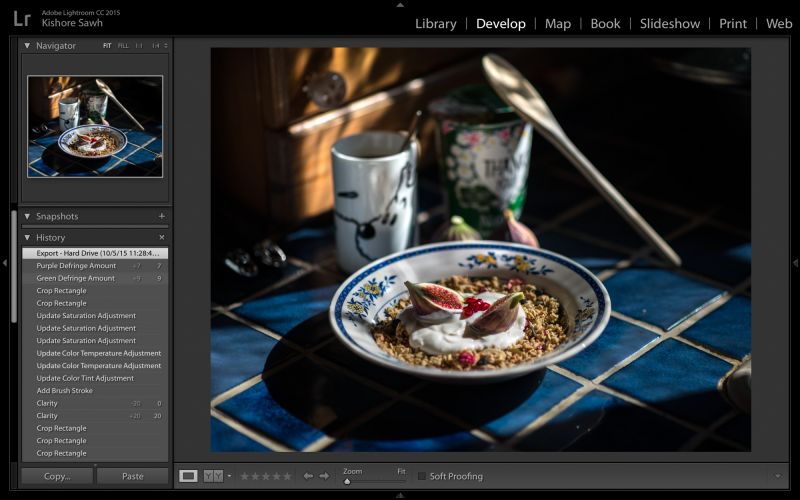
Simple photo of my breakfast, with minor adjustments
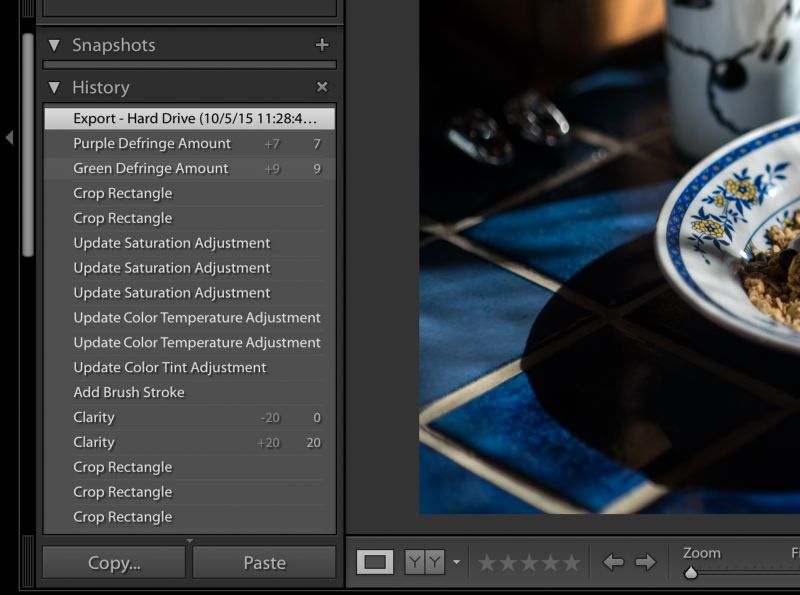
Just a sampling of the adjustments made to see how many there are and the banal naming
If that doesn’t sit well, think of a Snapshot as taking one of those digital footprints, digging it up and storing it in your closet for you to go back to easily. They allow you to quickly reference a version of your image with edits, that you store to go back to whenever. Simply, when you’ve come to a point in your developing where you feel you like the image, Snapshot it, then you can continue to work on it, and if 20 moves later you don’t like what you’ve done, you can revert to the point you liked and saved as a Snapshot. It also makes comparisons a breeze.
Before I learned to use Snapshot, I would often make Virtual Copies of the same file and edit it, but this means I don’t always have to, and it doesn’t duplicate any images either so there’s no computer power penalty. And it’s dead easy to make one, as you simply make the edits you like, click the little add sign on the Snapshots bar, and a dialogue box will come up for you to rename your Snapshot. It works alphabetically so you may want to keep that in mind, but LR as a default gives you the date and time the edit, and I tend to just use that.
In this example, I used this image of my little cousin in the living room, edited it, applied a b&w preset and liked it, made a snapshot of it, then made some other changes. To go back to it, all it takes is a single click within the Snapshot bar.

Image with edits made to where I like it but wanted to try B&W

Image with B&W and some other adjustments, saved as Snapshot
Adobe Camera Raw

It’s quite universally understood at this time that Adobe Camera Raw is essentially an engine that does the raw conversion within Lightroom – which in itself isn’t necessarily a raw processor. Suffice to say, the operations between Lightroom and ACR can be similar and the image rendering the same. I should come as no surprise then that Snapshots is a feature that they both utilize. They don’t, however, work precisely the same way, and given that ACR –unlike Lightroom– is not an asset manager the, handling Snapshots within it is a little less forgiving.
Once you begin making your adjustments and then ‘taking’ Snapshots of the various stages of your edit, you’ll notice them build up in list form that you can alter: swap, delete, rename, etc. And when you are ready to open the file in Photoshop I suggest opening your image as a Smart Object. When you do you you’ll be able to click the file and get back to your Snapshot options within ACR. This is not an option if you do not open as a Smart Object.


When using Snapshots within ACR, be aware that you must actually be using a raw file and not opening up a JPEG or any other filetype using the ACR filter from within Photoshop. The file must be opened with ACR first, and ideally you’ll want to make all the variant snapshots you like from that first opening. I say that because should you re-open the Smart Object (as suggested above) in ACR and see the Snapshot list, you actually won’t be able to save anymore snapshots that what you did originally. This is something to always be aware of, so you don’t spend a lot of time adjusting only to lose those changes when you switch back into Photoshop.
I’d be remiss not to mention, however, that this is the case if you’re storing your ACR settings data in an XMP sidecar file. You can choose to store your data in the Camera Raw Database, and it’s possible that this changes the dynamic. As per Adobe, “This database is indexed by file content, so the image retains camera raw settings even if the camera raw image file is moved or renamed.”
All that said, however, it should be quite obvious as to the benefits of using Snapshots whether in LR or ACR, and I hope this serves you well. If you made it this far and this is up your alley, check out the Lightroom Workshop if you want to make the most of your investment and time – there is simply nothing better, and of course SLR Lounge Premium members get that workshop and all the rest.


Get Connected!