Welcome to Time Out with Tanya, where I’ve put my fast paced graphic design career on hold in favor of adventures in motherhood. I’m capturing every moment on camera and you can come along, if you’d like. Sign up for my weekly email here so you’ll never miss a Time Out.

I’ve been using the latest version of the SLR Lounge Lightroom Preset System (v.6) and loving it! The recent updates make it easier than ever to add unique style to my images. I’m always surprised how quickly I’m able to edit photos with this system, while maintaining full control over the look and feel of the image.
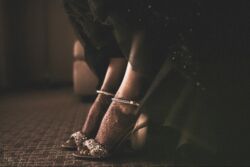
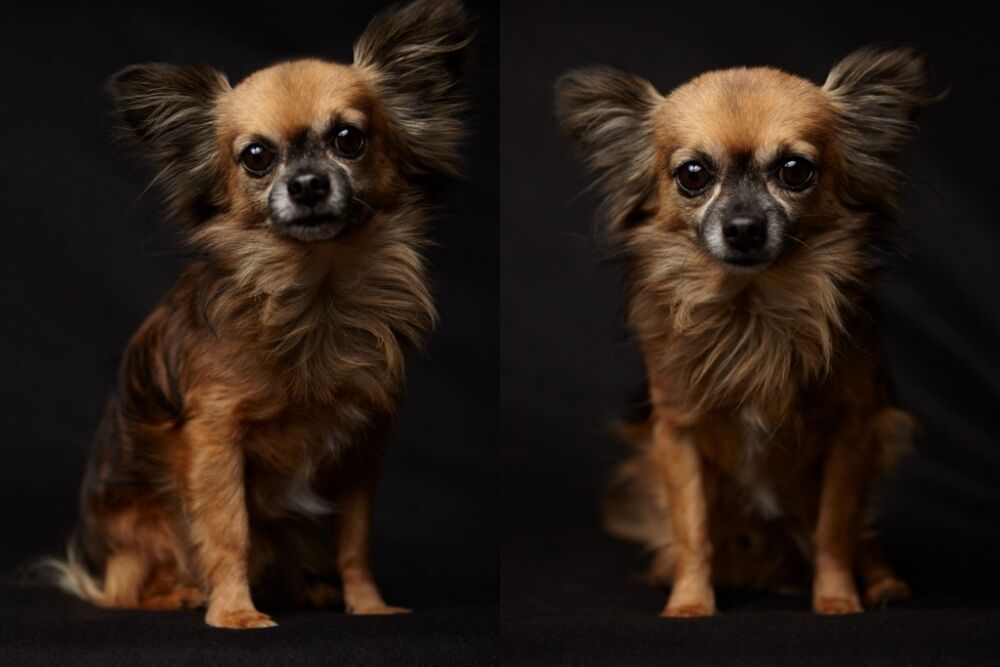
Here’s an example: I usually edit with a clean, modern and “punchy” style, which is what I achieved in the first image on the left. I was curious to see how easy it would be to take it to a more faded, vintage style, which is trendy right now. Guess what? I did it in four clicks and it took me less than one minute. Here’s how I did it. (If you don’t have the preset system, don’t worry, I show you at the end how to achieve this look using the sliders in Lightroom).
Click #1: Preset 10b Bright Wash + Filmic

This preset brightens up the image, giving it a washed out look. It also adds some film grain, which adds to the vintage feel. Here’s a close up of the filmic noise grain detail.

If you go with a different preset and want to add grain later, you can find a film grain preset in the 04-10 SFX FILM & LENS section at the bottom of the preset menu in your toolbar.
Click #2: Preset 62d. Radial++

This preset is simply adding a radial vignette to the image, which is super easy to do in the sliders in the develop module, but having preset vignette types makes it much faster and requires less thinking. I’m all for that, especially since I’m usually editing in the wee hours of the morning when my cognitive function is practically non existent.
Click #3: Preset 21b Bright Wash + Apricot

This preset adjusts the curves to add a warm tone. Curves always confuse me a little, so having presets named with specific color tones is a real time saver. Once again, it takes any math or logical thinking out of the equation and allows you to just add color tones intuitively. So awesome!
Click #4: Preset 12b Medium Edge Softening

The edge softening presets add graduated filters to the edge of your image and basically take the sharpness all the way down to zero. You can make adjustments to the filters by clicking on the graduated filter tool, but I find this preset to be great without any adjustments. Again, huge time saver when you want to add that vintage touch to an image.

That’s it! Just four quick steps to a vintage feel in your photo. If you don’t have the SLR Lounge Lightroom Preset System, you can take a look at my sliders here and set them to get a similar look. Keep in mind that depending on your specific image, some of these numbers might need to be adjusted. Exposure, white balance, etc.

For detailed tutorials on creating several different vintage looks, check out Pye’s videos on our YouTube channel. Here are a couple of my favorites…
CREDITS: Photographs by Tanya Smith are copyrighted and have been used with permission for SLR Lounge. Do not copy, modify or re-post this article or images without express permission from SLR Lounge and the artist.


