
Preamble: I edit emotionally not systematically, I’ve learned not to idolize scenes I’m not in, and the adjustment brush is your friend.
I had a much longer and more drawn out article prepared for this but instead, I’m going to bullet some of those other points and spend the bulk of this talking about steps I take, specific to the colors of my photos. There’s a lot more to be said about each point so if you have questions about them make sure to leave feedback below.
Learn good color theory by looking at painters, quality graphic design, and other talented photographers.
Shoot with a neutral color profile on your camera, aka ‘flat’.


Use your histogram to see if a file is losing color data in the highlights or shadows.
Be gentle with these sliders since they will affect your color: clarity, contrast, sharpening, chromatic aberration, noise reduction, and grain.
Your unique color ‘style’ will likely come from your tone curve, your camera calibration adjustments, and your split toning.
There are actually more than that, but for the sake of space, I’ll leave it at that. Also, if you have a color editing ‘Everest’ then share what it is with us and ask and you’re probably not the only one. I’ll do my best to respond to those as well.
So let’s get into it. I’ll dissect my editing preferences and flow, breaking up into the different areas of the Develop Module panels in Lightroom. There is a somewhat detailed video is attached for your reference as well.
White Balance
I shoot in auto WB on my camera with VERY few exceptions. What I’m looking for in adjusting this, is mood. Many of my scenes are beaches, so that warm sunlight feeling is one I often bump the temperature up for, but it’s not systematic for any image. Allow it to adjust the mood while still looking natural, and if you edit at all like me you’ll come back to this again in the midst of your edit.
[REWIND: HOW TO BE BETTER AT MOBILE PHOTOGRAPHY | A SAMPLE WORKFLOW & BREAKDOWN]
Tone Curve

If you’re strict about your tone curve shadow/highlight points in order to maintain a consistent black/white point (which I suggest) then do this next. The ‘regions’ section of the tone curve is a much nicer custom way to get contrast into your image which is why I’ll start here.
I try to land my image contrast before moving on to specific color pieces because changing contrast at the end will affect the saturation and quality of your colors and you may have to go back and do it again. Get the contrast as close to correct as possible in the regions section and then you can move on. This is also where you can mess with the Dehaze slider for some even more nuanced contrast in your image. Be gentle with contrast because after a certain point your image takes a time machine back into myspace if you use too much of it.
Camera Calibration
This is where a lot of the ‘secret’ work in presets like VSCO actually take place. If you don’t have presets (well, then bless you child) you can still click through and your camera has preset calibration settings you can look through like adobe standard, camera neutral, camera landscape, etc… I leave this on Adobe Standard but I’ve had success in the past scrolling through.
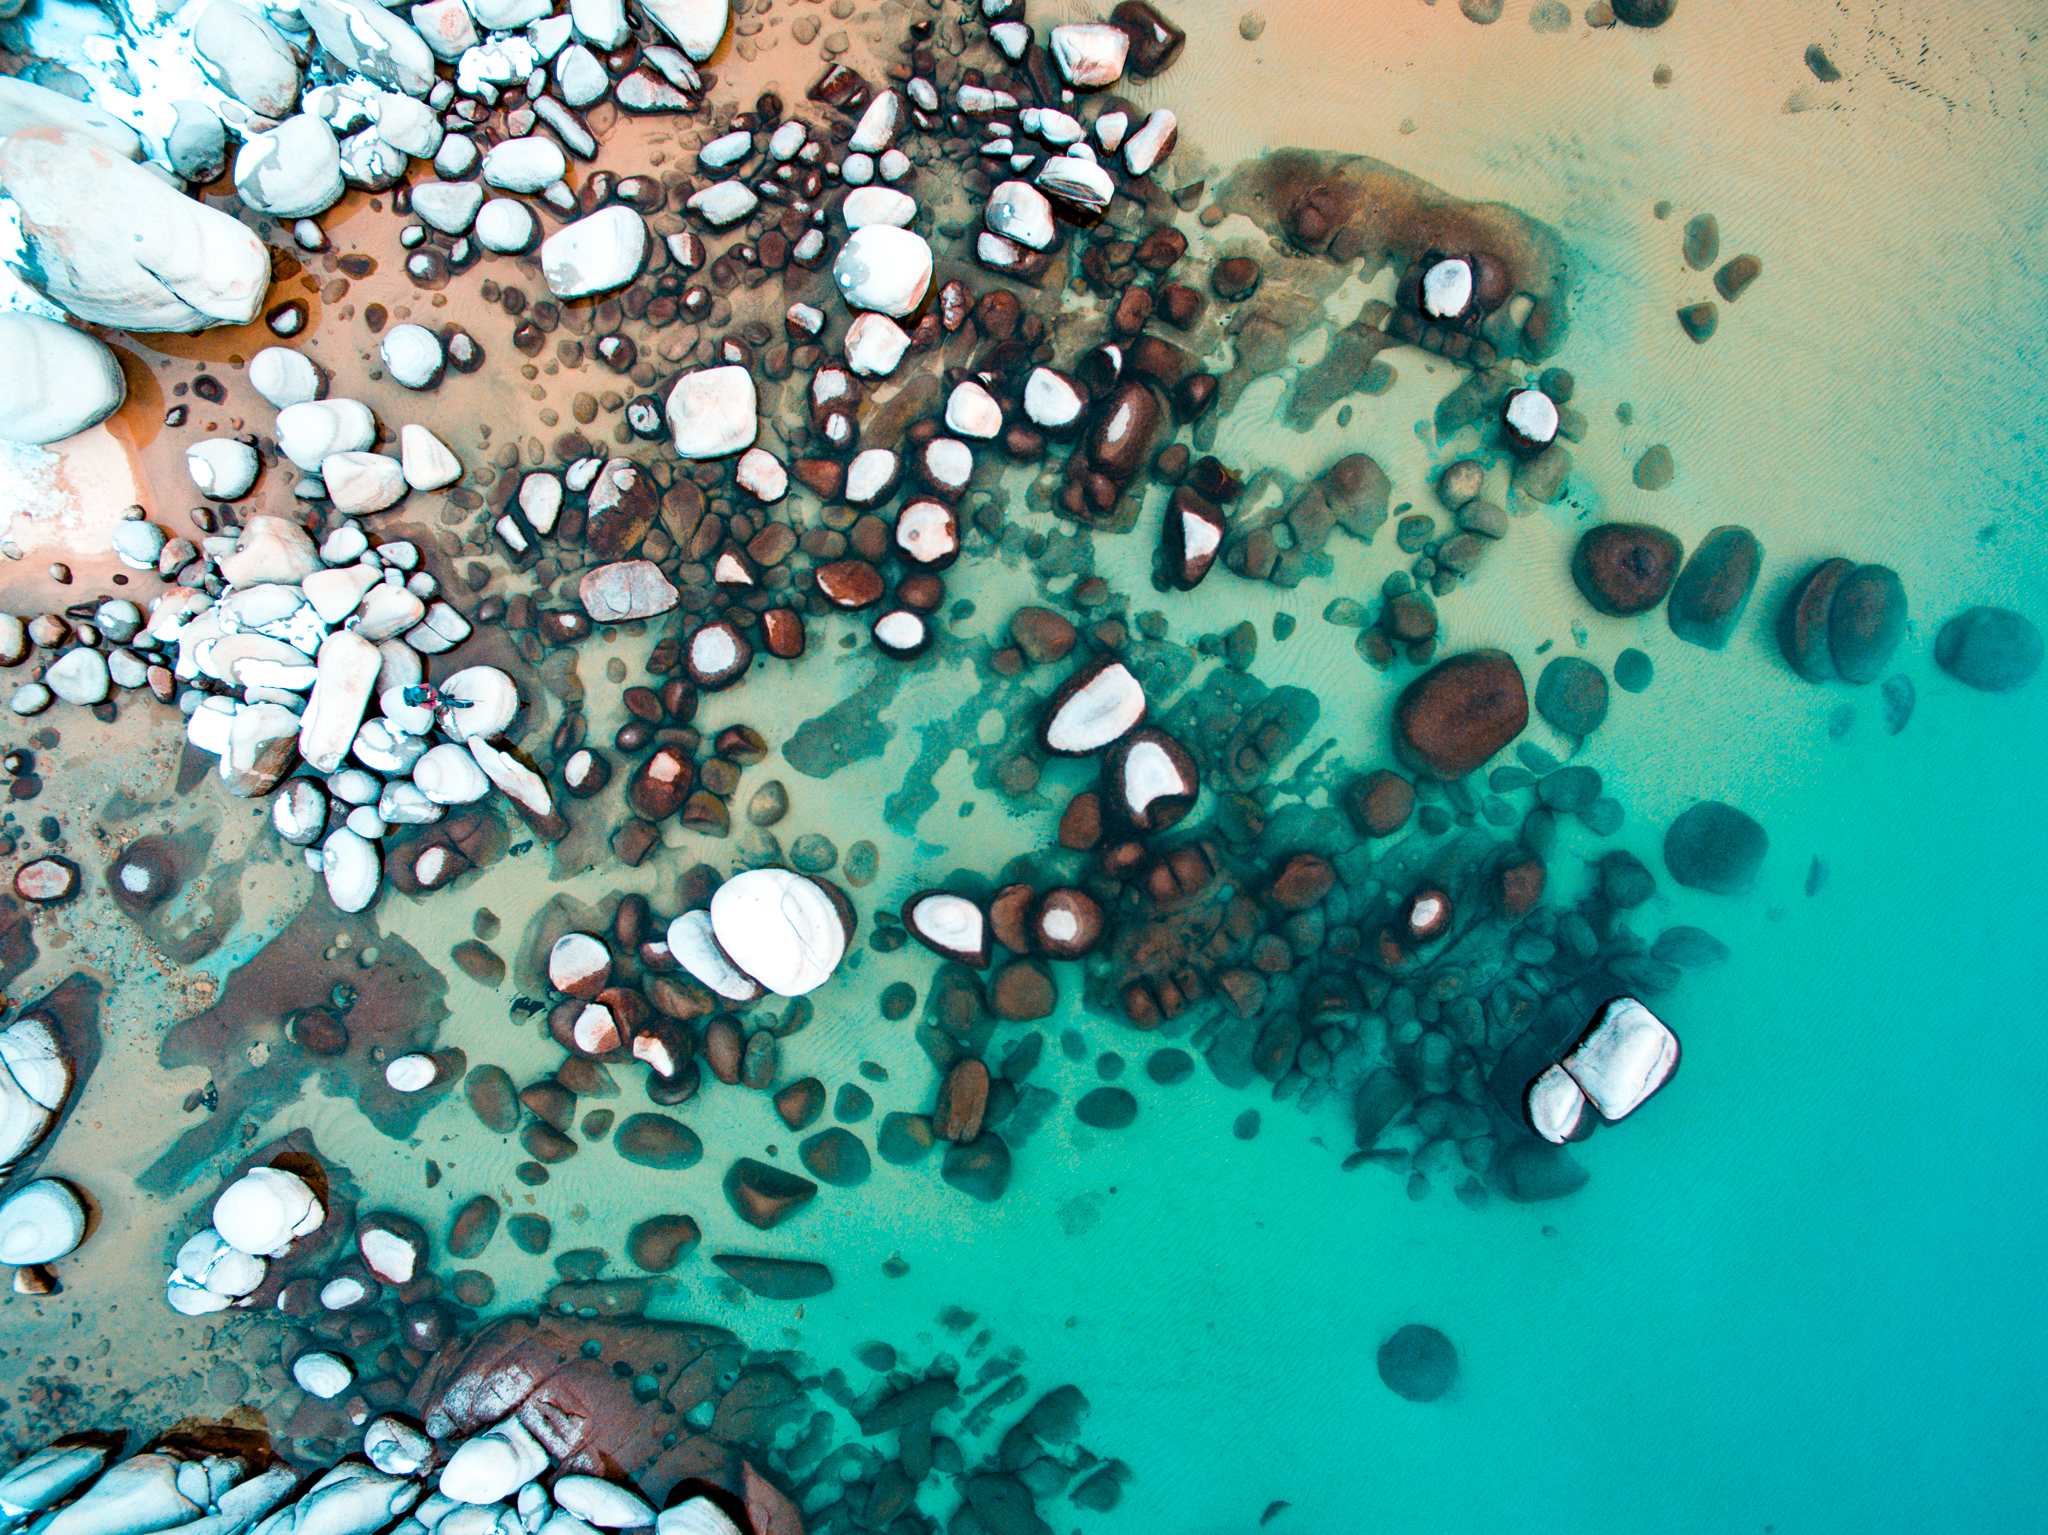
This is also where the first step of my color style happens. It’s with the blue slider all the way at the bottom. This editing panel adjusts the red, green, and blue values of your image. In the same way, if you’ve ever stood up really close to a tv and seen the red, green, and blue squares that make up the pixels, if you adjusted the blue across all of those pixels it would change every color with even the slightest bit of blue value in it. It’s a little complicated but just go to this panel and drag each slider left and right and you’ll see that the whole tone of the image shifts. I take my blue value left and will occasionally desaturate that value too. This is where I get my signature teal/orange combo without having to touch anything in the HSL panel at all.
Split Toning
I’ll keep this part short because I’m not consistent with it but this will be the next place you can further solidify your color signature on images. You can add in a color tone to the highlights and shadows of your image. This is also capable in the tone curve but is a bit more complex to work out there. I tend to add 220° in the highlights (blue) slightly and a tad of amber/orange into the shadows. Again be gentle here, split toning also shouts of the 2000’s. If you’ve been on Instagram for any length of time you might have PTSD from the amount of bold and awful split toning disasters, or had some of your own… not like I did or anything – right.
HSL Panel
Are there blotchy areas of skin where the red is almost pink? Do the trees feel more lime than green? Is the water muted or looking purple? This is where you can make specific adjustments for correction or style. If I’m really trying to bring out some fall colors in trees I might bring the yellow close to orange or the green closer to yellow. If I want the sky saturation to be less dominant I can mute it specifically here. This is also where I can make final mood choices for things like light passing through grass or reflecting off water and be more meticulous. This is not, however, where I’d make overall image tone adjustments, those would already be nearly done.
Also a quick word about your Saturation/Vibrance sliders in the basic panel. Vibrance will adjust the more muted colors and not deal with the already saturated ones. Saturation will be more broad strokes of the saturation of the entire image. If you want to make an adjustment without damaging skin tones if you’re already happy with them I suggest the Vibrance adjustment. A lot of the more popular ‘film-esque’ looks right now or many of the presets going around are mostly about which colors are desaturated and which ones pop through. If you have seen a very common type of edit, and if it draws you and you want to learn how to edit that way look at which colors that would naturally occur in that scene and see if any are missing. That might be your clue to how to selectively adjust those colors in the HSL panel for your own preferred styling.
Go back through everything
Ok, maybe not everything but this is when you can go see if a slight change of WB would take this newly toned image into a new mood that you like. If not you can reset it and keep it how you had it. You can go back through your tone curve contrast and change it if you want. I often go back and forth through different adjustments so quickly, often because sometimes I’ll stumble upon a good look on accident that I love.
So if it’s so random, how do you replicate it?
That really just takes time to learn what you like and narrow your focus on that. You have some great tools that I wish I would have known earlier on. Like taking snapshots of your edit by right clicking your image and you can save it how it is and reference it in the left side of the develop panel, to the left of your images, below your collection of presets. You can also click through your edit history in case things went off the rails.

Adjustment Brushes/Gradients and Photoshop
As far as adjustment brushes/gradients go I use them on occasion to amplify the dramatic sky coming in through the clouds or to add a warm patch to balance an otherwise flat, boring, or bland image. I might use an adjustment bright with a tint on it to color up some water, or even to desaturate some other areas. I don’t shy away from them because that is all a part of the process. Just always be asking yourself “is this adding to or taking away from the image?”.

One final thing I’ve been enjoying a lot lately is this really powerful editing tool in Photoshop. If you click ‘edit in’ on an image in Lightroom and open it in Photoshop there’s an edit called selective color. Essentially, it acts like a much more fine-tuned version of the Camera Calibration panel; you can edit specific color values across the image without dealing with a lot of the weird anomalies that trying to make those adjustments with hue/saturation often results in. This was a game changer, especially for my astrophotography images.
Hopefully the video is helpful and this color tutorial is informative. I’m happy to keep up answering questions you may have below or in the SLRL Facebook post because even though this is a very trimmed down and readers digest version of my process it has taken me a lot of time and is so second nature to me that I may have left out something essential to the process that you want to know.


Get Connected!