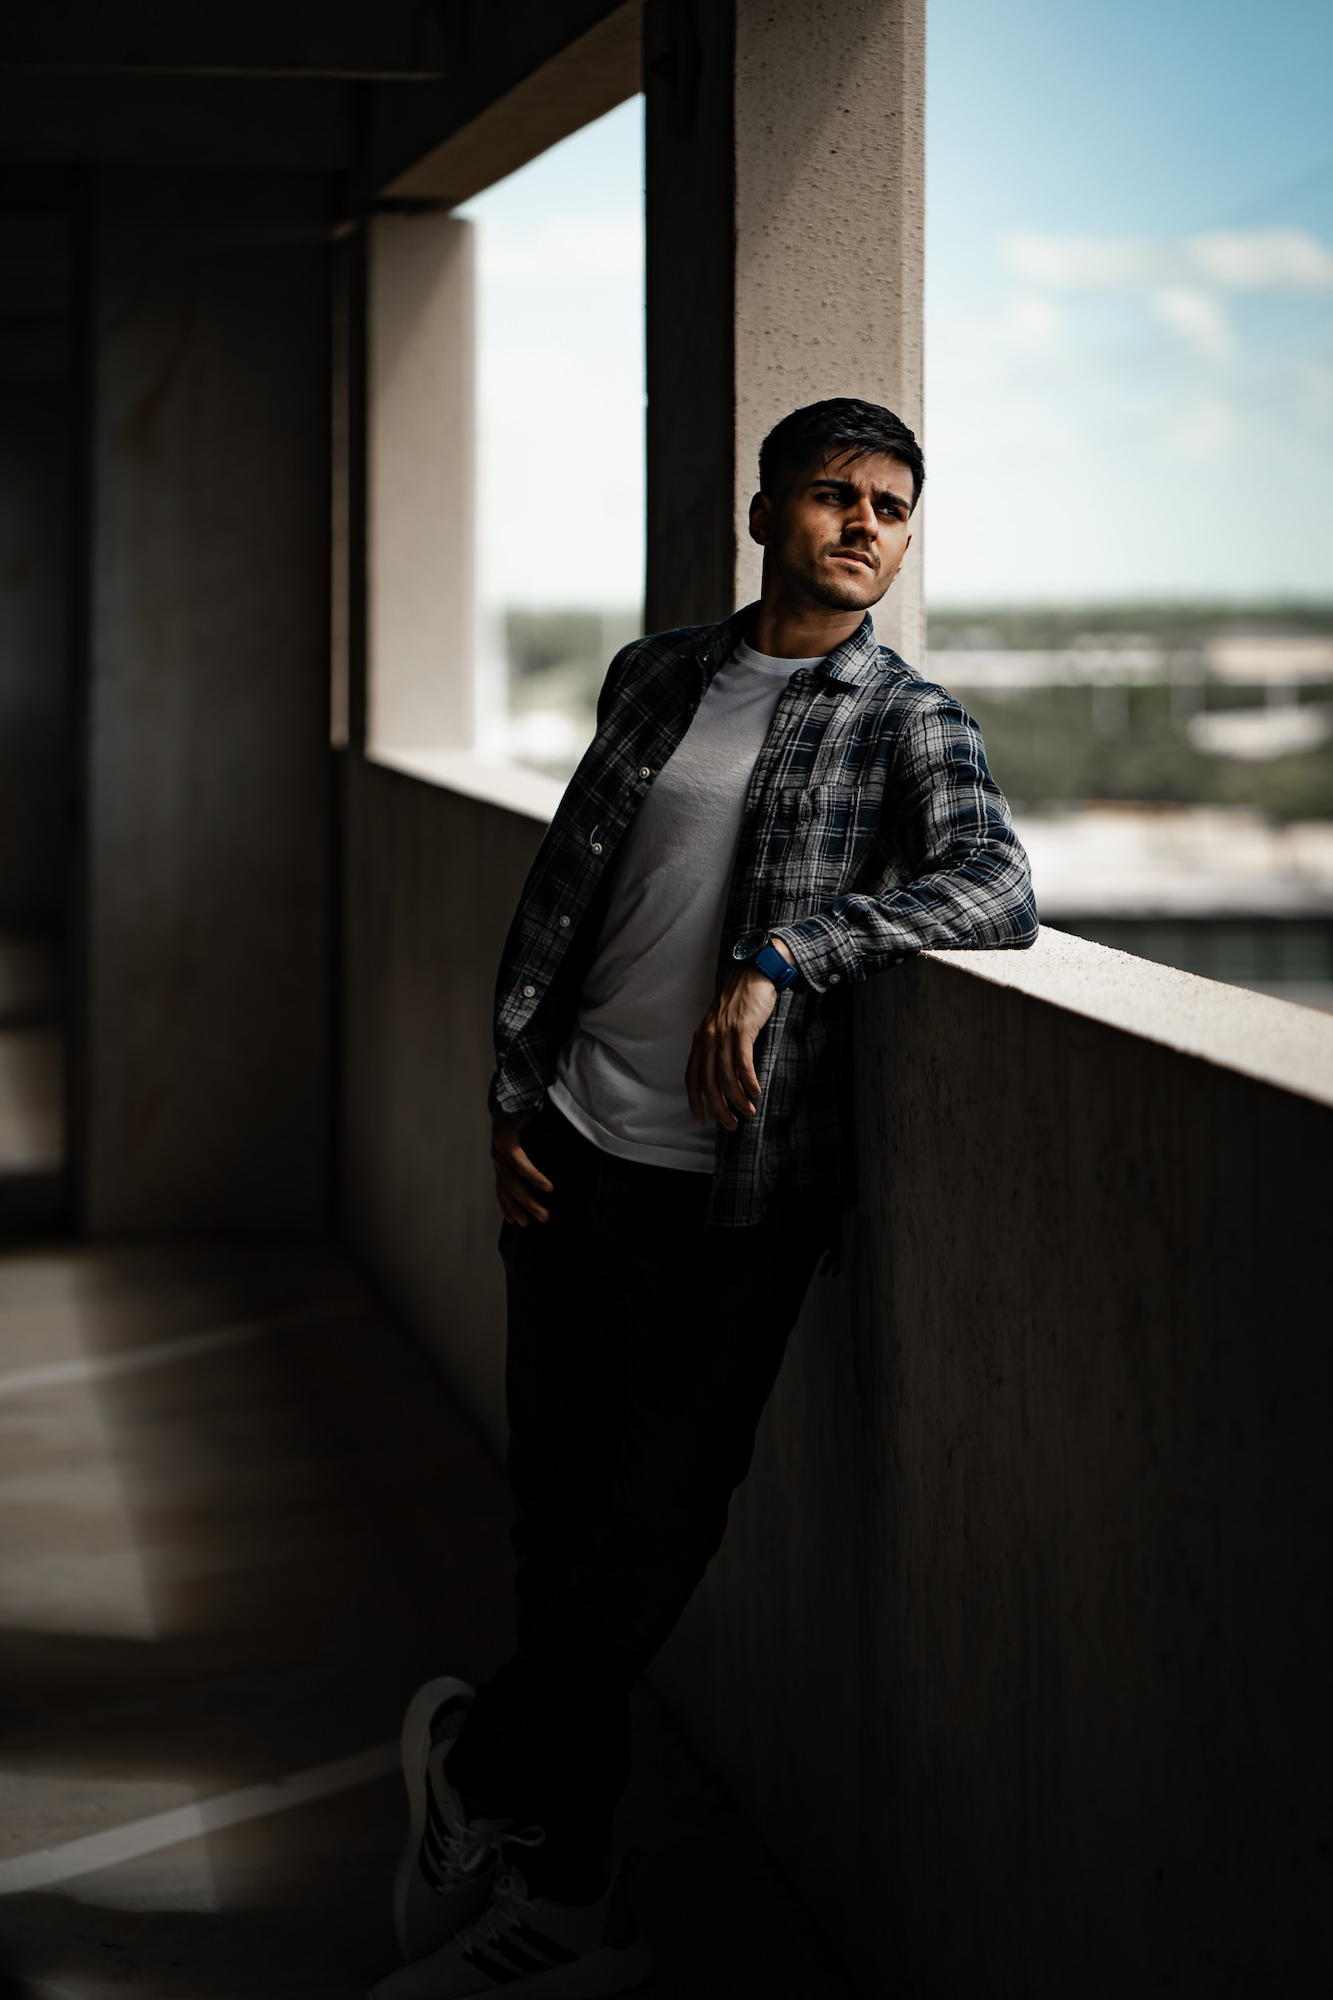
It is hard to overstate the importance of capturing photographs with intent and purpose. Because digital cameras and large capacity memory cards make it easy to do, many photographers fire away and take a thousand photographs in hopes of getting one good shot. Really, there are better ways to practice the art of photography. One of the essential elements that we must understand in order to become more effective (and efficient) photographers is lighting.
I invite you to follow me through a complete photo shoot where I will show you how to work with existing natural light; I’m not just talking about any natural light, I’m talking about extreme midday harsh sunlight!
Video: How to Take BETTER Photos in Harsh Sunlight (Get CREATIVE Outside)
Photography Lighting in Theory Vs. Practice
It’s one thing to learn the technicalities and laws of light (coefficient and fall of ratios, etc.) and another challenge to actually implement those concepts when you’re starting out as a photographer and shooting a client on location. So, I encourage you to watch the video (above) all the way to the end. I put in practice everything that I’ve learned about how to shoot in harsh sunlight, and I show you my creative process along the way so that you to put these ideas into practice on your own shoots.
Understand Light Direction

I want to stress the point that lighting is the number one, most important element of capturing a photograph. Light breathes life into the photograph. We must learn how to read the direction of existing light, know what it means to shoot in that particular direction of light, and know how to take advantage of different portrait lighting setups with that existing directional light.
For this shoot, I chose to shoot in a parking garage without using any reflector, diffuser, or additional artificial light. When I first walk a location, I look for the following three things:
- Where is the light is coming from?
- How does that light affect the subject?
- What is the quality of that light?
What do I mean by quality of light? Is it a small light source relative to the subject, which produces a harsh light, high contrast, and dark shadows, or is it a larger light source that produces a soft light, low contrast, and weak shadows?
Learn The Light Patterns
In the presence of full sunlight, which is a surprisingly small light source placed far away, we’re left with harsh light and dark shadows. When we walk around our subject, however, we can find different ways to photograph them and produce at least five to six different portrait lighting techniques and patterns using harsh sunlight.
- Broad light: the side of the face closest to the camera is mostly lit.
- Loop light: a directional light that causes a shadow under the nose at an angle.
- Rembrandt light causes a triangular shape of light on the shadow side of the face.
- Split light splits the face into two halves, half in light and half in shadow.
- Short light: the side of the face that is closest to the camera is in shadow.
- Backlight puts the entire face in shadow, great for creating silhouettes
Once you know which lighting pattern and technique works for you and on your subject, you can create stunning images anytime of the day with any light.
Find Light and Shadows (and Creativity)

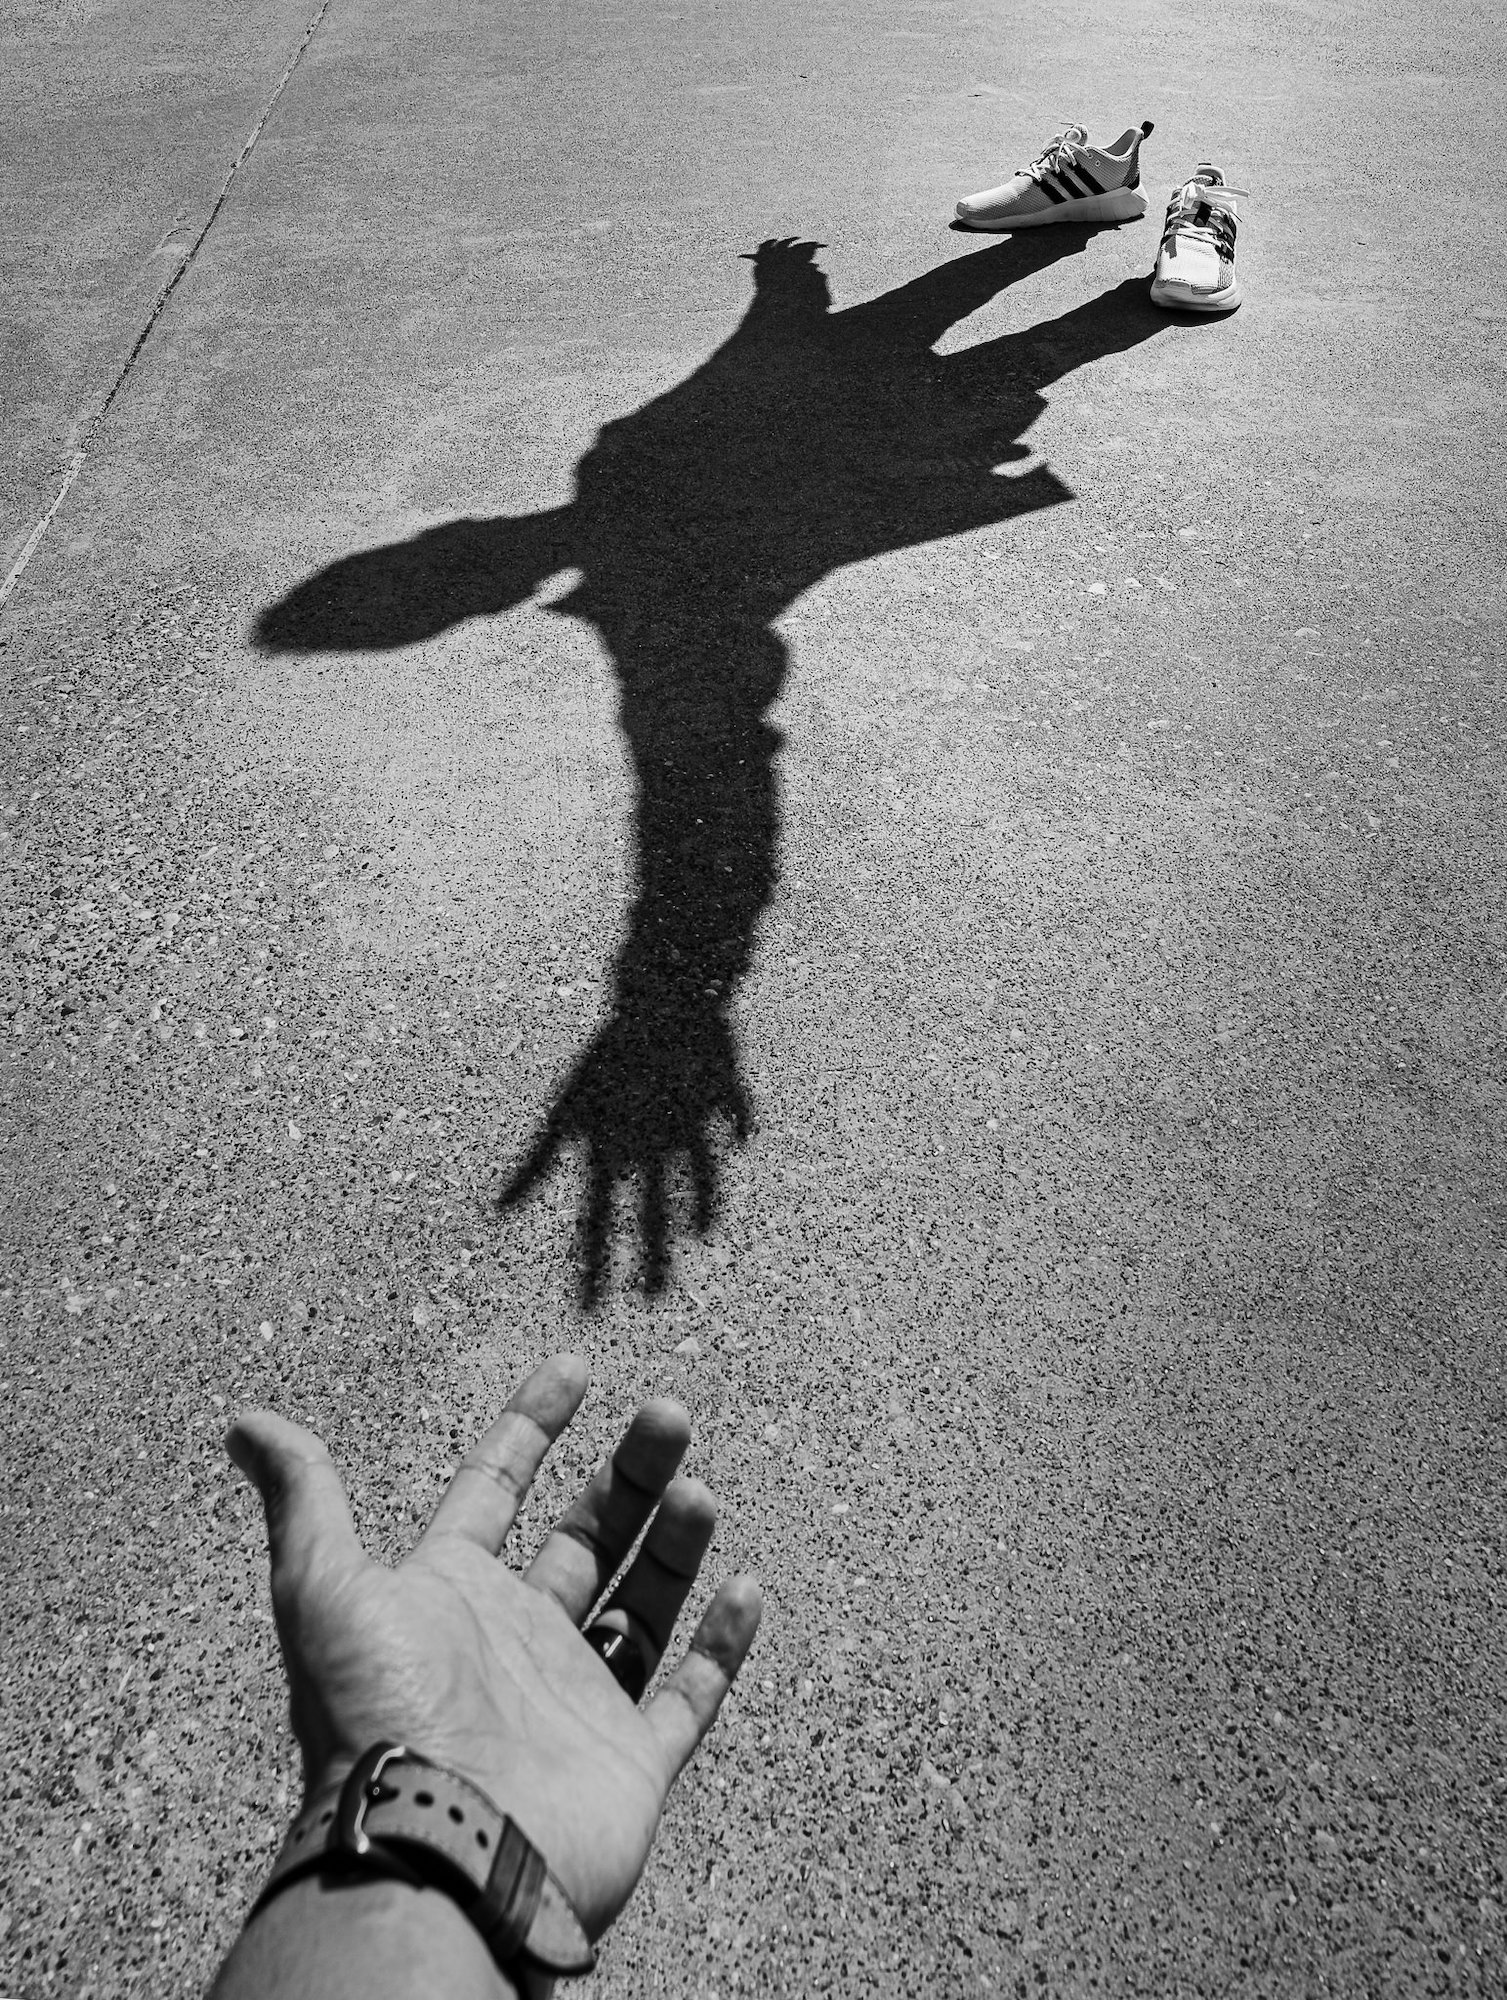
My next step is to find creative triggers in the environment, which I define by the presence or absence of light. This guides me when looking for what and where to shoot, and it’s that ideal mix of light and shadow that makes the subject pop. Light adds depth and dimension to your photographs, making it more dramatic.
Pro Tip: It’s always a good idea to share your photo with your subject so they can get comfortable with you.
More creative sunlight portrait Inspiration
Here’s a preview of some of the images we captured during the session.


All images by Murtaza Siraj (MnM Photography & Films)
Conclusion
I hope you enjoyed these tips for shooting in harsh midday sunlight. Be sure to check out the video to follow along on my real life shoot and see how I get creative to make harsh light work in my favor. If you have any questions or feedback, please let us know in the comments below, and we’ll do our best to answer them all. I hope this video helps you out on your next shoot. Until next time, I’ll see ya!


