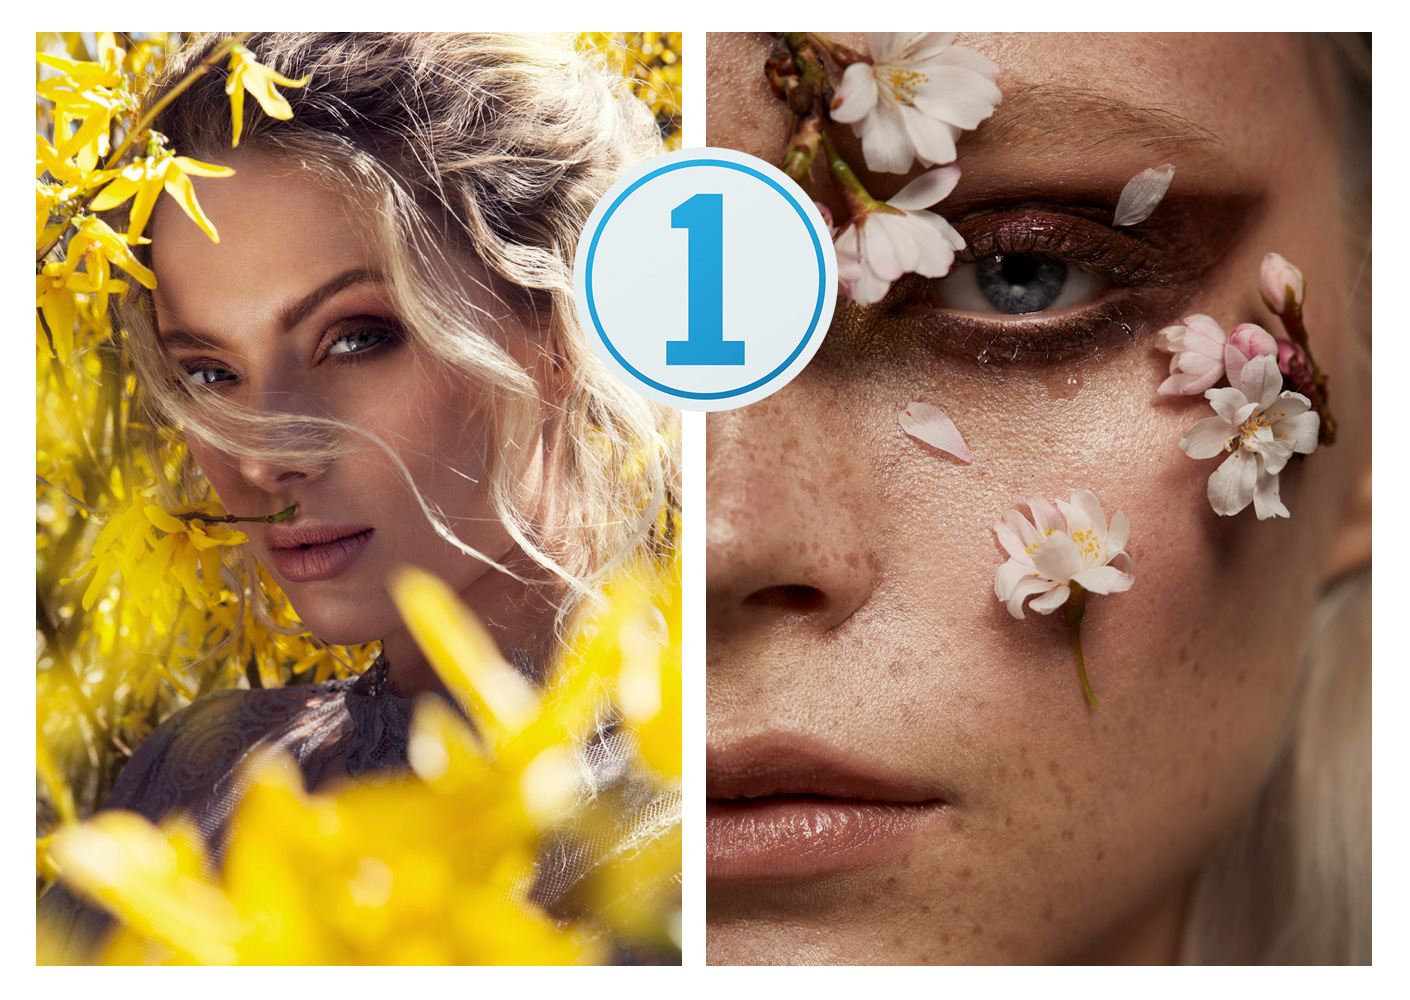
There is no better way to learn how to use a piece of editing software than to have a one-on-one with a power user who, with acuity and fluidity, will demonstrate the ins and outs. Not only can you see the approaches and the steps needed to do something, but all the in-between cursor movements and where to find things are highlighted along the way. And it’s particularly good when that someone is a working photographer with skill and patience like our own Tina Eisen, and that’s what she’s done here with Capture One.
If you shoot portraits, weddings, or people in any fashion, this is a Capture One webinar for you, because it hopefully shows that Capture One is both easy to use, and worth it.
Is It Time To Switch From Lightroom to Capture One Pro? Here’s Why It Might Be

One of the best moves Phase One has made for it’s much-loved Capture One in recent times is be particular about whom they work with, and choose working photographers with strong communication who integrate the platform into their daily workflows. Artists like Tina are able to speak to the benefits of Capture One through demonstration rather than in theory.
https://www.instagram.com/p/BhZoF84g40f/?taken-by=tina_eisen
Tina’s work is exceedingly good and in high demand, and in the webinar she goes through how she uses C1 to achieve the looks she’s known for, highlighting key facets of the software that help a working pro get the right looks with consistency, and speed.
Within the webinar Tina goes through various genres of images from fashion to beauty to portraits, and you’ll learn the practical benefits of tethering, see the toolset Capture One has that no one else does, get an idea of how to colour grade with speed and ease with C1’s famous Colour Editor tool, and more. It’s s useful watch, and if you’re learning C1, it’s one I recommend.
With more people looking to jump ship from that ’other’ editing software company, Capture One is finally getting the wide breadth of attention it deserves. Phase One has sensed the blood in the water and are gunning for new converts. This is good for everyone because what they’ve done is made Capture One 11 its best iteration yet for both legacy users and new.
You can see a review of the current Capture One here, and check out more from Tina on her site and Instagram, and on SLRL.
Download a free trial of Capture One here.
Complete Portrait Retouching With Only Capture One Pro 8
So much attention goes to Lightroom and Photoshop. The majority of tutorials, tips and tricks and workflow info are centered around the two most popular post production software choices. Rarely do we see quality content based around other options like Aperture or Capture One. Michael Woloszynowicz of Fstoppers goes against the grain and gives us a very in depth start-to-finish portrait retouching executed completely in Capture One Pro 8.
When I first started shooting fashion, I dabbled a little in Capture One Pro. At the time, it was an interesting choice because Joey L was climbing to fame, recently placing first in the Professional Portrait division of the International Photography Awards, he frequently mentioned his use of Capture One as he produced his early educational DVDs.
I was intrigued on how Capture One was attempting to combine the uses of Lightroom and Photoshop into one conclusive software choice. I started out using Capture One Pro 6 and since then they’ve released two versions and now the current release is Capture One Pro 8. After watching Michael’s video, I’ve realized the software has made improvements in interface usability and performance on memory handling.
REWIND: [ CATCH UP ON ALL YOUR EDITING! TIPS FOR FASTER POST-PROCESSING ]
One of the main things I take away from Michael’s video is a detailed explanation of his workflow in Capture One. Not only is his personal workflow aimed at efficiency, but also aims to take advantage of Capture One’s computing power by reducing the memory power needed to execute the program’s tasks. Below is a progression of steps he recommends:
- Perform basic exposure and high dynamic range adjustments
- Dodging and burning using local adjustments
- Additional local adjustments for detail recovery, eye brightening and sharpening, cloning or healing, color correction/matching, etc.
- Spot healing tool for any leftover blemishes
- White balance adjustments
- Color grading
- Vignetting, grain and other finishing tools
To hear Michael explain the steps in detail and watch the entire workflow unfold, check out his video below:
If you’ve given Capture One a try and still prefer the popular Adobe software choices, don’t forget to check out our newly revamped Lightroom Preset System. The new system is designed to help you achieve popular looks with just a few clicks. By utilizing our Lightroom recipe community, you’ll be able to see what others are brewing and share your own creations.


