Regardless of what you shoot, dodging and burning is a classic, and effective method for maximizing a photo’s visual impact. If you’re unfamiliar with the terminology “dodging” and “burning,” they essentially describe the process of brightening and darkening specific areas of an image. The terms themselves actually come from the days of film photography, when photographers and lab technicians would actually manipulate the light from enlargers to achieve the desired effect in the darkroom.
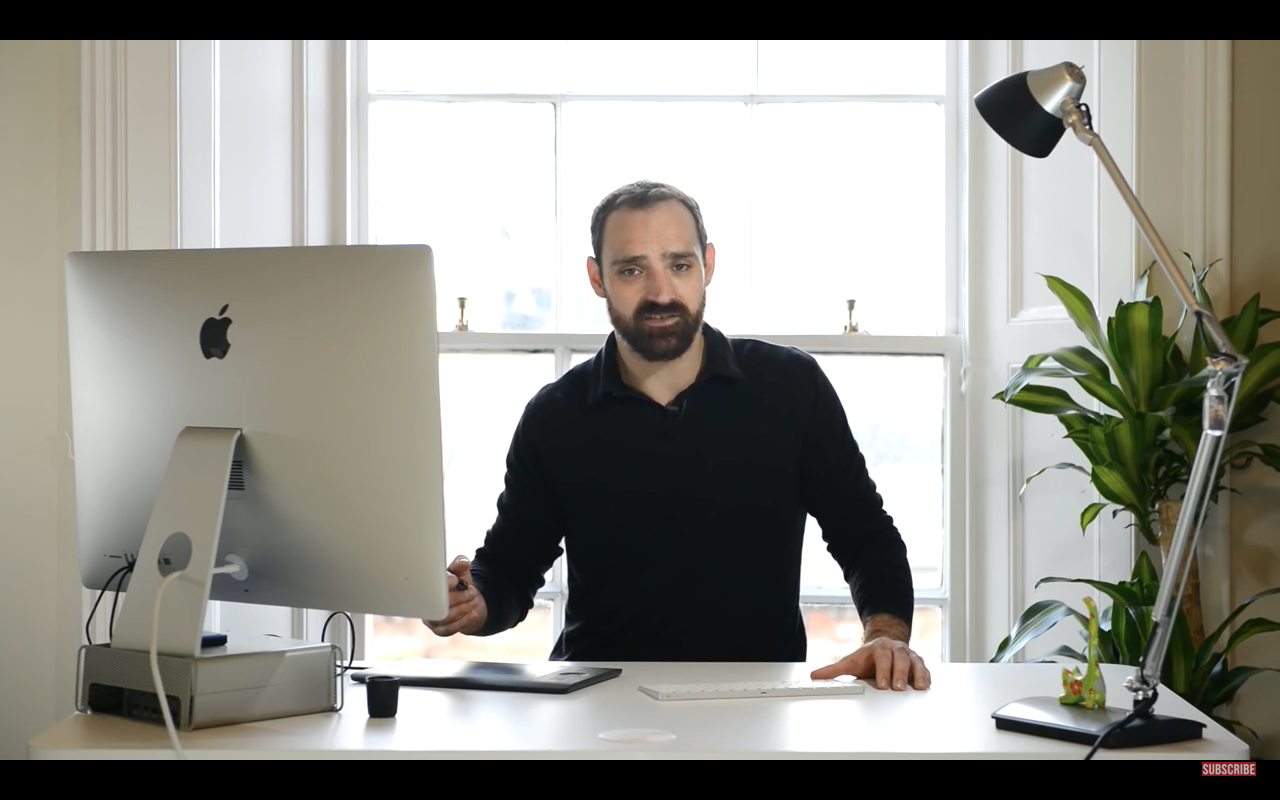
Today, of course, we have Photoshop, and the methods for creating these effects have evolved. There are many methods for dodging and burning in a digital workflow, ranging from the simple to the complex, and landscape photographer Jimmy McIntyre has created a video tutorial detailing two of his preferred methods.
The video begins with a demonstration of the simplest technique, using the aptly named “dodge” and “burn” tools included within photoshop, and why it isn’t necessarily ideal. The methods he prescribes involve creating blank layers and layer masks based on the existing luminosity of the image. These layer masks allow retouchers to work very selectively with photos, and limit a layer’s effects to specific areas of the frame, in this case, areas determined by the brightness of the image. McIntyre has created and made available a set of actions for photoshop through his Raya Pro Panel which you can see the review of here, and get it here)which will set up these layers for you, but also describes the process, so that you can do it yourself, and better understand the intricacies of his methods.
[REWIND: Lightroom Presets CC (For Lightroom 5, 6, &CC)]
Creating these layer masks may sound complex or intimidating, but it’s also an incredibly powerful function of Photoshop, and enables these methods of dodging and burning to be non-destructive, meaning that later in the retouching process, it’s much easier to refine their effects without affecting other layers or corrections you’ve made to an image.
Once the layers and their corresponding masks are built, the process of actually brightening the highlights, and/or darkening the shadows becomes as simple as painting white or black, respectively, onto your image. Additionally, (though not covered in the video) you could use these masked layers to creatively tint your highlights and shadows separately by painting these dodge and burn layers with the colors of your choice.
As a bonus, McIntyre also describes a process using the high pass filter for adding localized contrast to bright and dark areas of an image, using a similar technique involving luminosity-based layer masks. Have a look at the video, and check out the rest of Jimmy’s tutorials on his YouTube channel, and more on his site.


