
In this video, I’m going to give you 5 workflow tips to help you edit video quickly in Premiere. I’ll also be showing you the benefits of editing consoles like the Loupedeck+ for Premiere Pro, but don’t worry, these tips work regardless of whether you’re using a keyboard, or an editing console. Thanks to Loupedeck for sponsoring this video.
1. Map Shortcuts To the Left-Hand Side
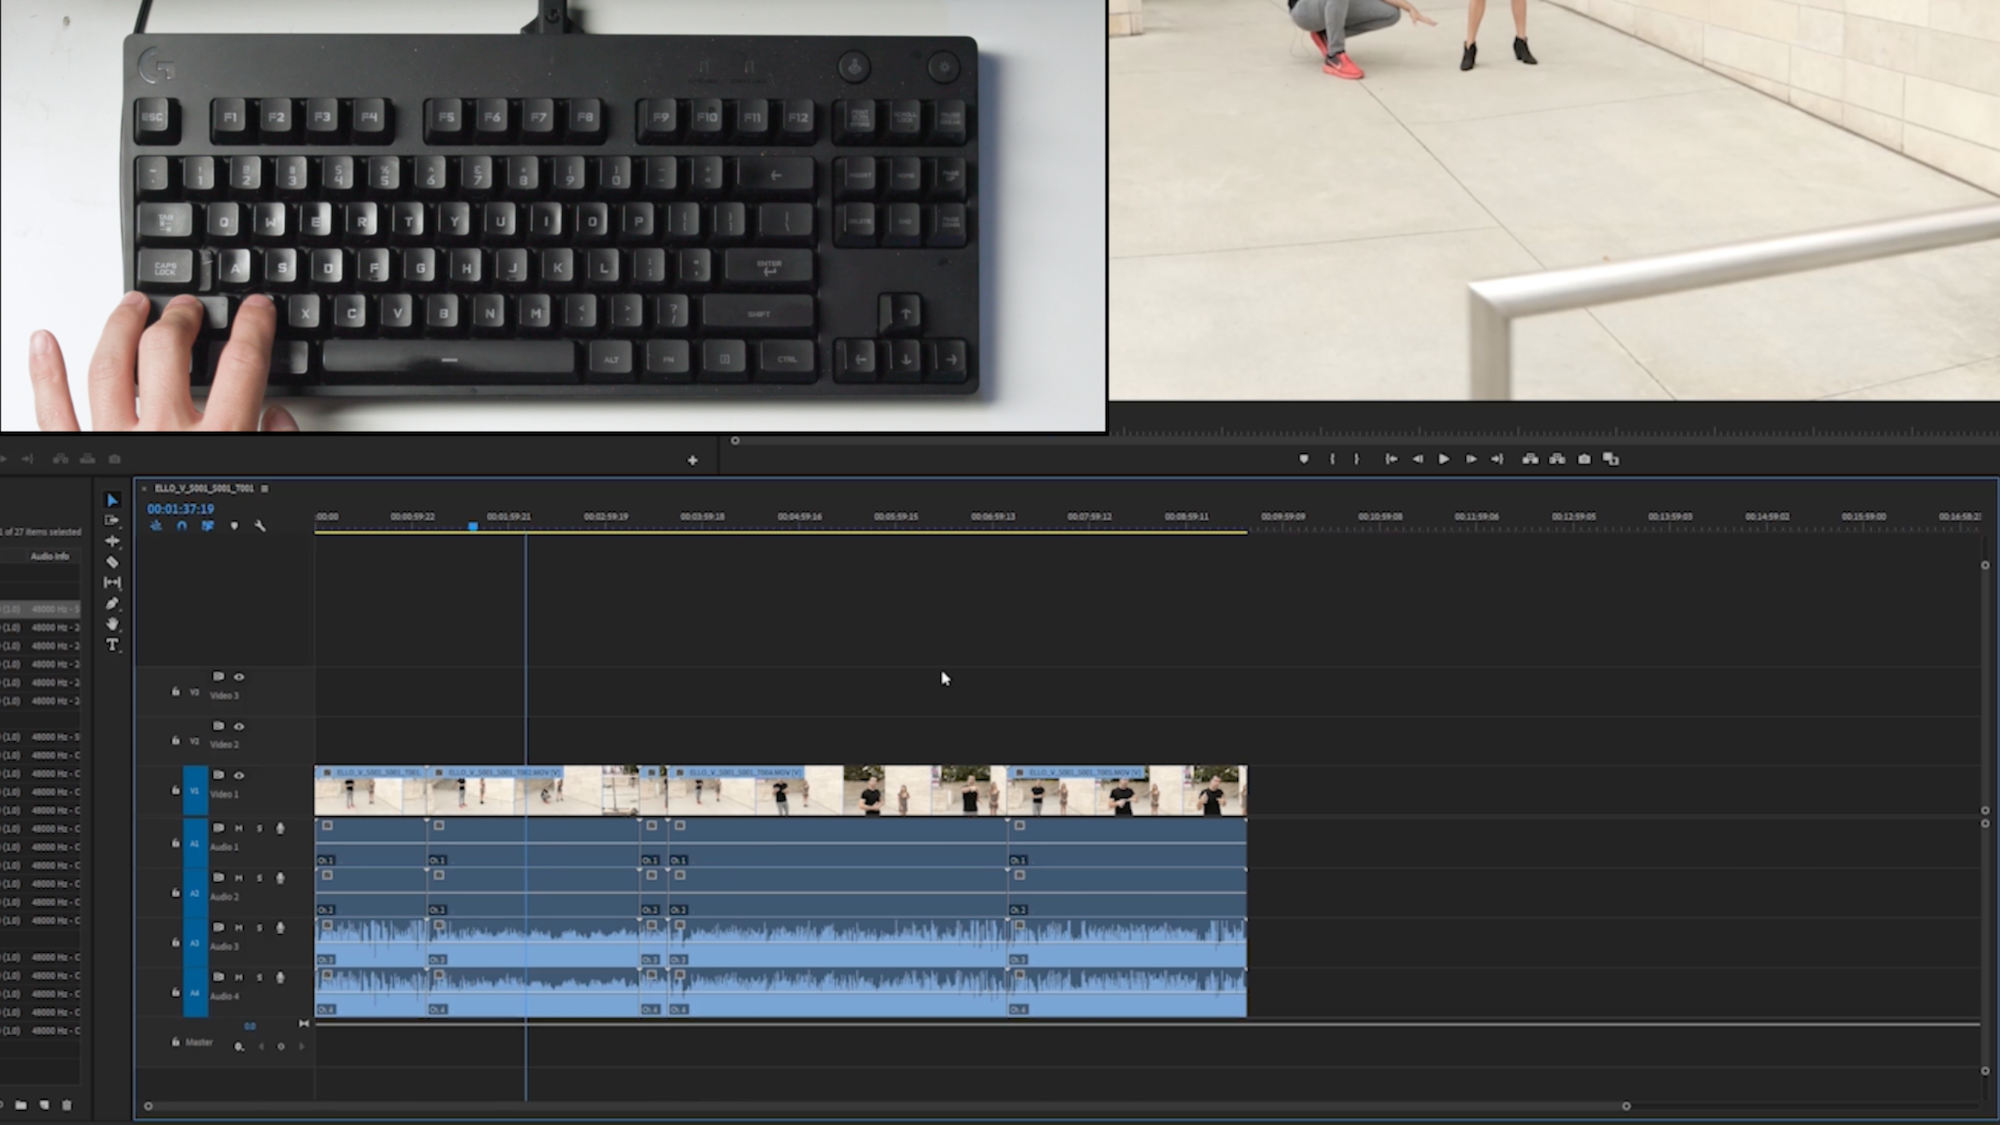
Utilizing shortcut keys is the best way to speed up your workflow in Premiere Pro. I like to map my most used shortcuts to my left hand so that I don’t have to take my right hand off of the mouse or relocate my left hand to another section of the keyboard. For example, my zoom in is set to “z”, while zoom out is set to “shift + z”. Now, I won’t have to move my hand to hit the default keys of “-/=”. Working with shortcut keys mapped to the left side of the keyboard greatly improves the time it takes for me to perform actions in Premiere.
Using an editing console like the Loupedeck Plus for Premiere Pro also gives you the ability to take advantage of shortcuts. The Loupedeck+ comes to default with navigation tools, editing tools, and other preprogrammed shortcut keys but is fully customizable to fit your needs. You can use dials to skip through the timeline as well as zoom in or out with a simple turn.
2. Add Most-Used Preset Effects To Your Favorites Folder

Using the Favorites folder inside the Effects Panel can quickly help you locate the effect you’re looking for. Simply drag your most used presets into the Favorites folder to get a consolidated list to quickly pull from. What’s even more useful is saving out presets where you edit the default values. For instance, if you find yourself using Warp Stabilize at 10% smoothness and Position, Scale, Rotation as Method, simply save out those values so you don’t have to adjust those settings every time you apply the effect.
To do this, simply dial in your preferred settings, right-click the effect in the Effect Controls, then Save Preset. Give it a distinct name, “Warp Stabilizer_10%_PSR” This will then appear in your Presets folder where you can drag and drop to your clip and all the settings would already be dialed in.
3. Stack Sequences For Selecting Video
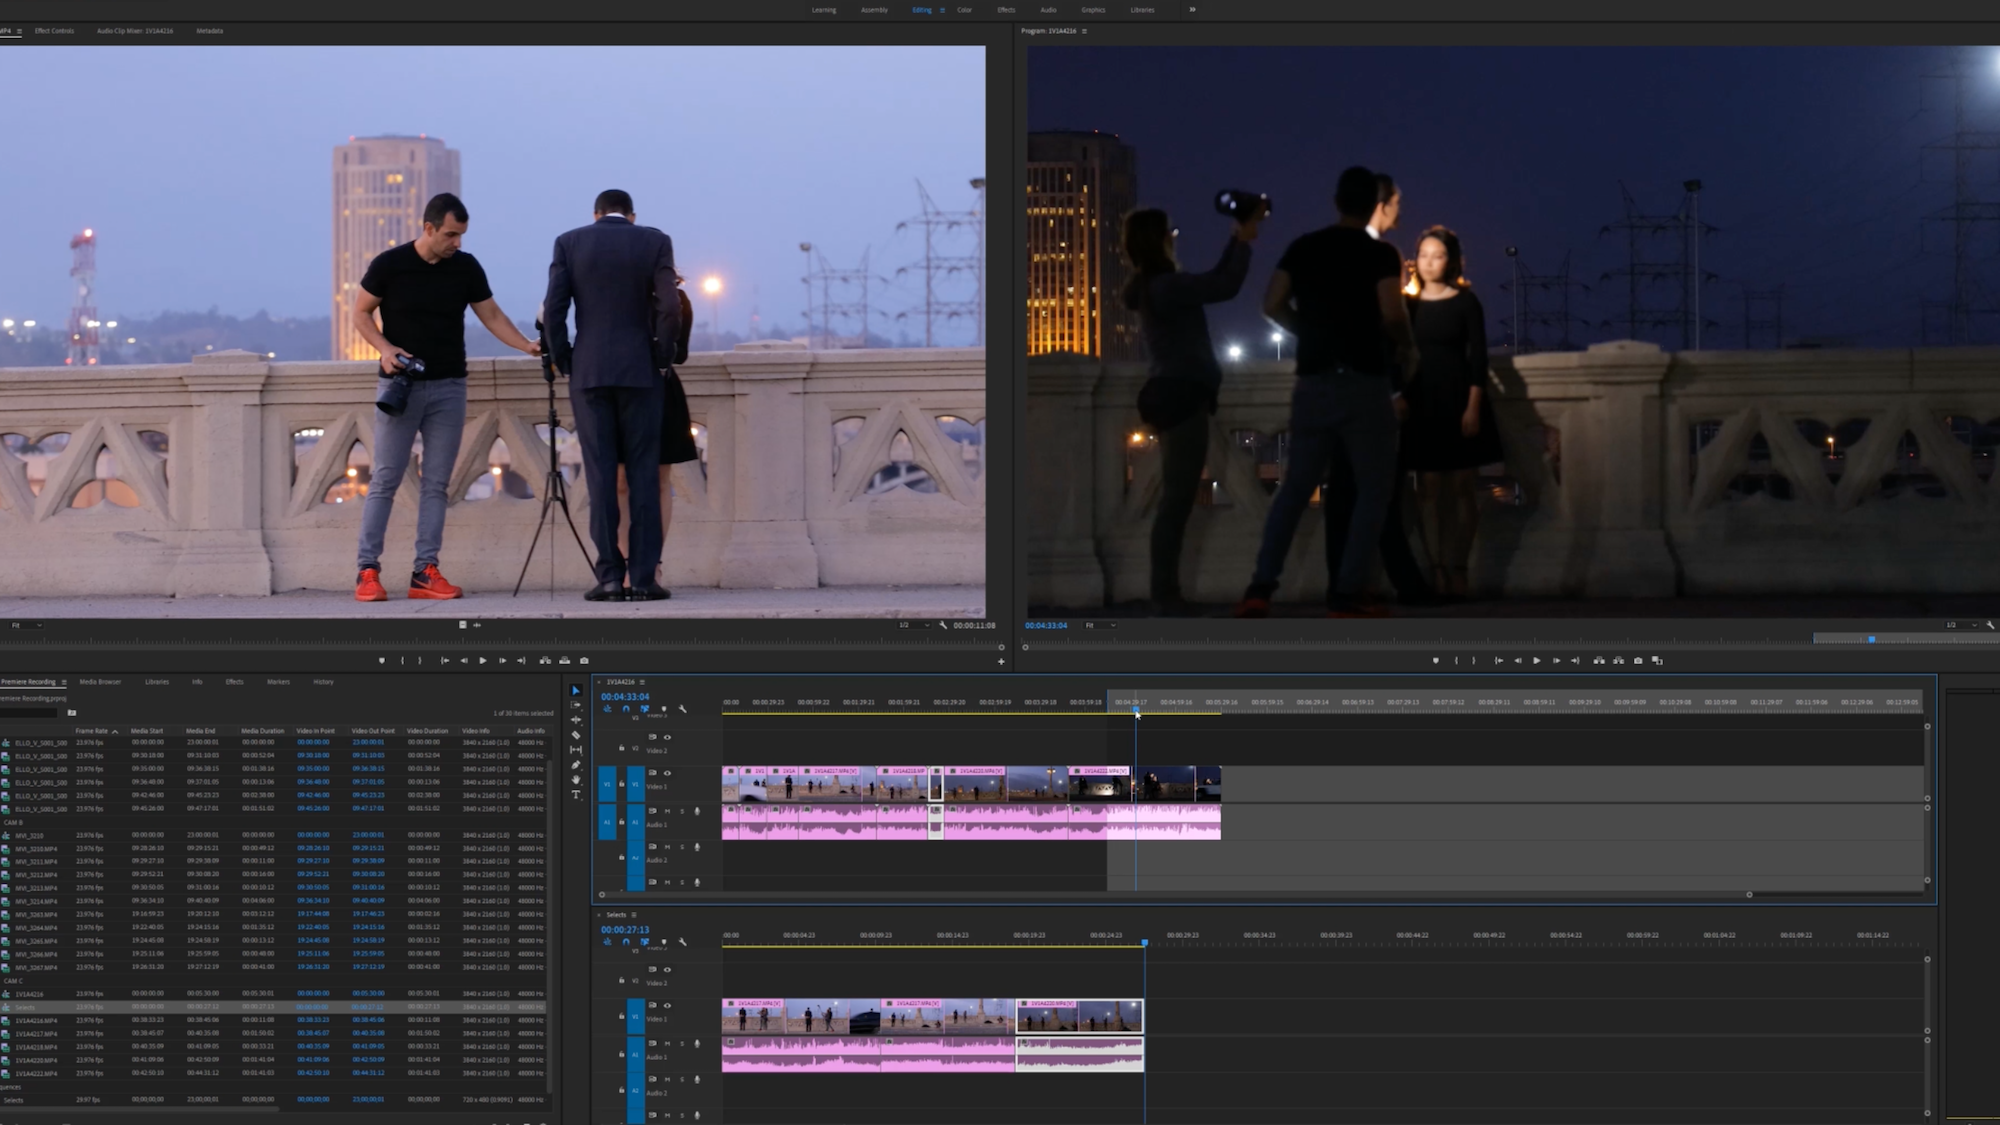
One of the most daunting tasks we encounter is pulling “selects” from a shoot. A common way that most people are familiar with is three-point editing where you load your clip into the Source Monitor, set your ins and outs and then insert them into a timeline. However, one of the things that has helped us, especially for our workshop and course editing, is being able to see everything we’ve shot in one sequence. If we need to go back and reference anything, we have everything laid out in front of us.
Before we start a project, we like to drop all our footage into one sequence. Note: if we were to do this after we used the three-point editing method, we would only get the bits that we sectioned out using the ins and outs, which means we would have to clear those before we proceed. After dragging all our clips into one sequence, we create another blank sequence that we call “Selects” and then we stack the two. We’ll set our ins and outs on our top sequence and then extract the clip. This will essentially “cut” out what we marked as well as ripple-delete so that there are no gaps. We then paste it into our other “selects” sequence. We can destructively edit our top timeline now, pulling clips from and discarding what we don’t want. Our bottom sequence is where we paste any selects that we’ve sectioned out.
You can set up your Loupedeck Plus for Premiere Pro to perform these actions easily. C3 and C4 are defaulted to in and out and we’ve set C2 to be our “extract” key. And then we can simply press “Paste” to paste our extracted clip to our second timeline.
4. Label Footage with Colors To Stay Organized

When you have footage or assets from multiple sources, it’s a good idea to stay organized. For each camera or source, we like to color label them a specific color. This will help us keep track of what clip comes from which camera so that it’ll make things like color grading easier (we can quickly identify which clips belong to which source). One setting to make sure you have enabled is that the label color applies to all instances.
To do this, go into your Projects Settings and then click on General. At the very bottom, make sure you check “Display the project item name and label color for all instances”. If you don’t have this enabled, any changes you make to the label color, won’t be updated in the sequence or vice versa.
With the Loupedeck Plus, you can assign color labels to a single button. We’ve assigned P6-P8 as our three most-used labels. Now you can simply select your footage you want to label and press the respective label button.
5. Use an Editing Console

One of the tools to greatly speed up your workflow is investing in an editing console like the Loupedeck+. Not only can you assign virtually any shortcut to the Loupedeck+, you get the bonus of physical knobs that also act as buttons. This gives you quick access to navigation tools such as jumping between cuts, as well as zooming in and out of a sequence.
The physical knobs come in most handy while you’re color grading. The color grading knobs on the Loupedeck Plus give you quick and precise adjustments, without having to go into your Lumetri panels. We can make super quick adjustments to temperature, tint, exposure, contrast, and many others.
I love this feature since it allows me to correct or grade a clip instantly, without having to open Panels and use my mouse. You can even adjust your color wheels by holding the Fn button and using the triangle set of knobs. Be warned that these knobs are very sensitive so if you have a clip selected and accidentally bump these knobs, adjustments will be made to that clip, sometimes without you even knowing.
The Loupedeck Plus software is equally as impressive. You can customize your Loupedeck+ to fit your workflow. This is just scratching the surface of the Loupedeck+ and its features. If you’d like to see an in-depth review, drop a comment below.
Everyone has their editing style and workflow but these are a couple of tips that have worked for us and have proved effective over the projects that we do here at SLRLounge. Take them, alter them, and make it your own and hopefully, you’ll see that this will dramatically speed up your video editing workflow.


Get Connected!