The first dance at a wedding holds a cherished place in the hearts of all in attendance. With undivided attention, the spotlight rests upon the bride and groom as they grace their wedding reception with their first dance as a married couple. In celebration of this profound occasion, we have curated a collection of our first dance photography tips and techniques – an artistry that immortalizes emotions and weaves a tapestry of enduring memories.
Bride and Groom First Dance | Our 5 Favorite Tips
There are any number of ways you can photograph a first dance, innumerable angles, lighting techniques, and of course the overall ambient conditions. In every case, your goal is usually the same: convey the love and romance of the wedding day.
- Anticipate the Emotional Moments
- Choose the Right Lens for the Scene
- Tell a Powerful Story of the Bride and Groom’s First Dance
- Move Around the Scene
- Prepare for Any Scenario
- Keep it Dark and Moody
- Consider Warm White Balance
- Add A Rim Light or Kicker
- Consider on Camera Flash
- Choose the Right Photo Editing
Anticipate the Emotional Moments
During the bride and groom’s first dance there can be a variety of emotions on display. It’s important to focus on capturing this emotion between the bride and groom but you can also take a quick scan around the room and find family members and friends wrapped up in the moment. Most importantly, never take your eye off of your viewfinder during this brief 2-3 minute dance performance because there is a photograph waiting to be taken at any moment. You can anticipate the emotion by being diligent and staying focused during this first dance.
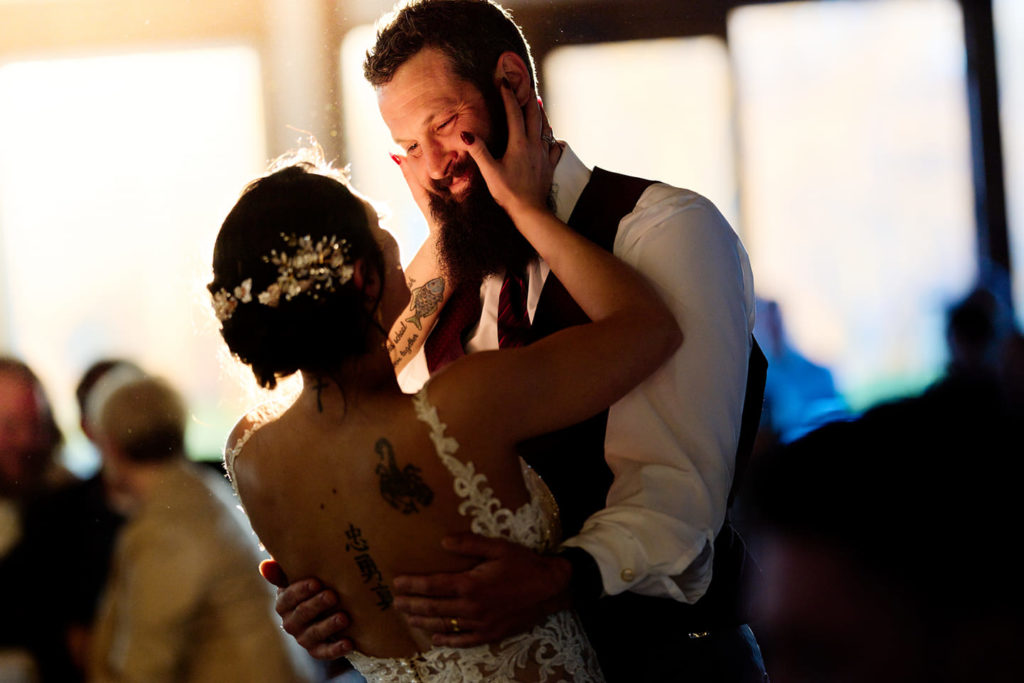
Image by Jason Vinson | Wedding Maps Profile
It never hurts to encourage the couple beforehand, and most wedding photographers don’t even think to do this. Be honest with your clients. If they want beautiful, romantic images, they will always play the most significant role in whether or not the image looks romantic. All of the dramatic lighting techniques and camera settings are just the tools we photographers use.
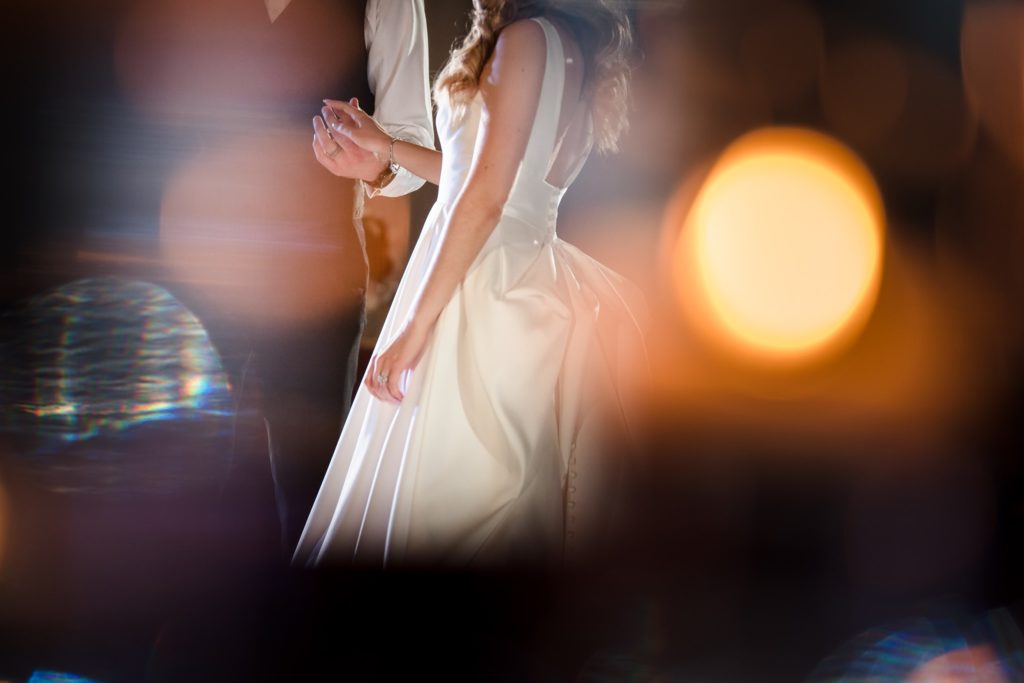
Image by Chad Winstead | Wedding Maps Profile
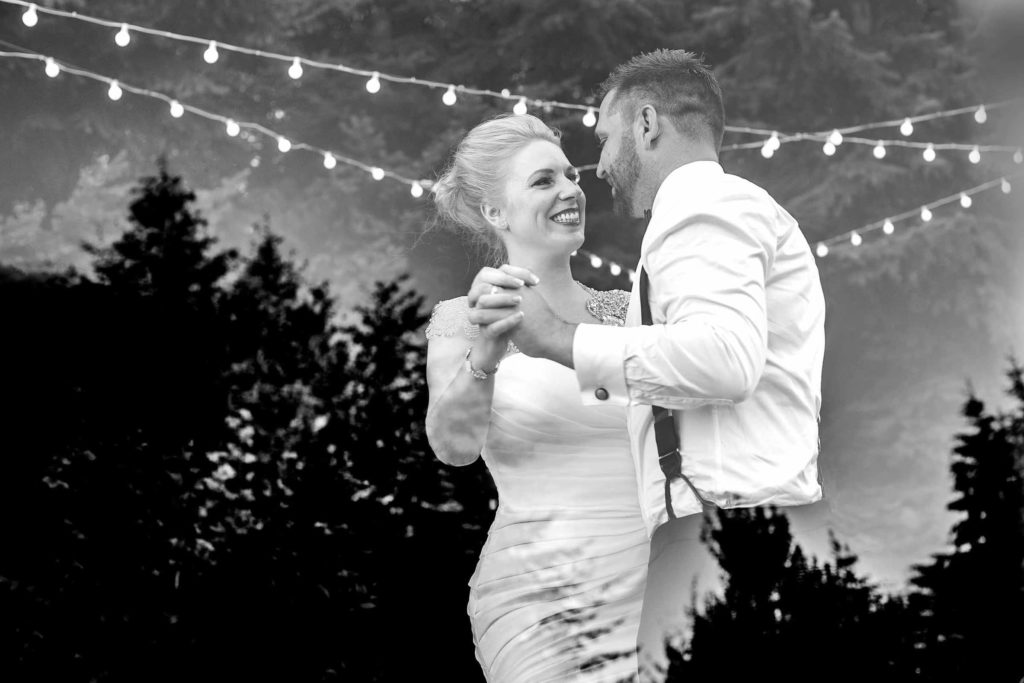
Image by Jos & Tree | Wedding Maps Profile
Choose the Right Lens for the Scene
This choice is likely what will make or break your success in truly capturing the bride and groom’s first dance. For shorter first dances we recommend choosing a wide zoom lens, this way you have all of your bases covered and you won’t be scrambling trying to switch lenses and accidentally miss the moment. Consequently, If you are shooting a wedding with a second shooter, make sure that you’re both on different focal lengths to get varied shots in the scene from different angles in the room. If you know that the first dance might last a little longer, try using a telephoto lens to compress the background or find foreground elements like candles or fairy lights to create bokeh effects.
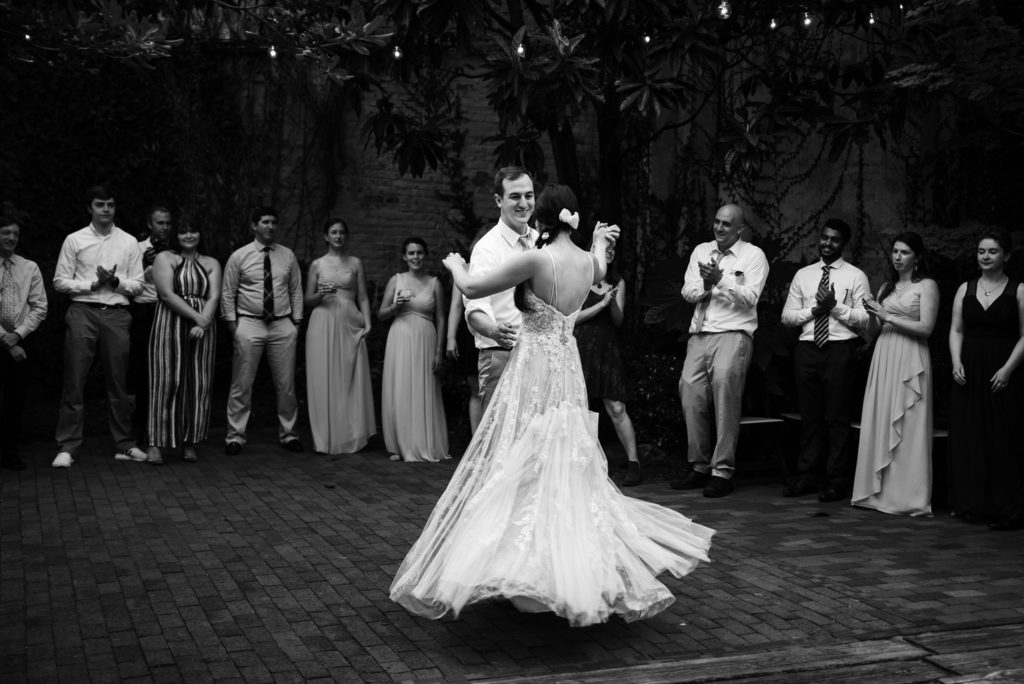
Image by Party of Two Photography | Wedding Maps Profile
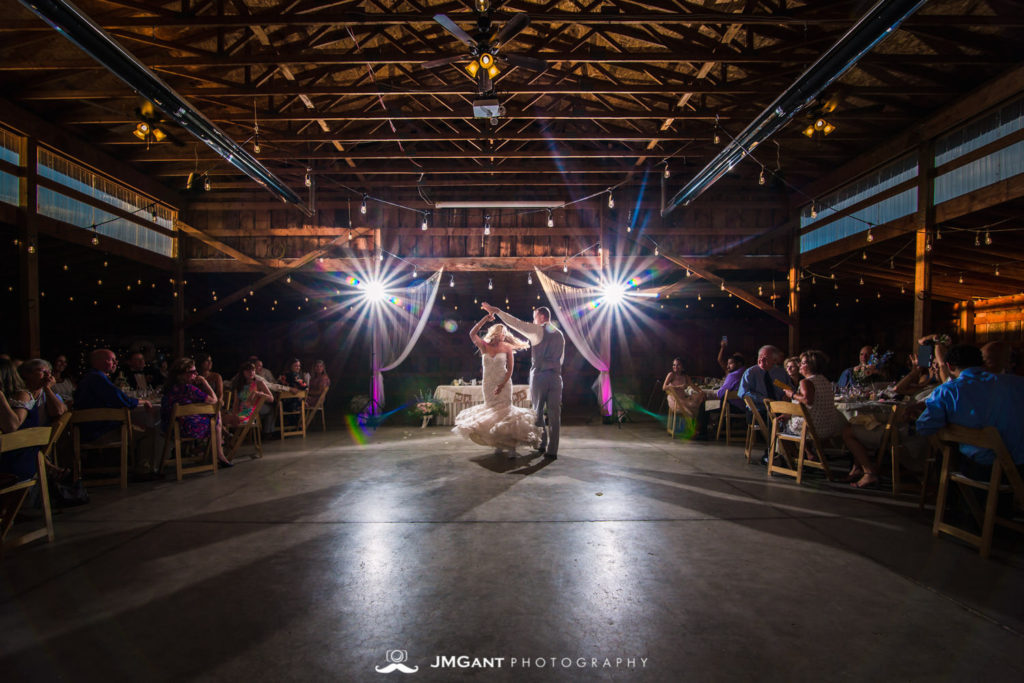
Image by Jared Gant | Website

Image by Scott Josuweit | Website
Tell a Powerful Story of the Bride and Groom’s First Dance
A photographer’s job is to tell a cohesive and beautiful story of a wedding day. One of our favorite techniques to use to ensure we’re telling a strong story is the use of wide, medium, and tight angles. This is a common Hollywood camera technique for movies and television that starts by setting the scene, moving in closer to provide the context of characters, and then punching in tight to show emotion. This translates perfectly when photographing the bride and groom’s first dance: start wide by showcasing the whole dance floor and scene, move in closer to block out the audience and showcase their full bodies, and then come in tight to zone in on their emotions.

Image by Chad Winstead | Website
Goals and must-haves will follow this formula because you want to take images that can be used to create albums and wall art that will sell. Therefore, the goals include showing the scene/environment and capturing emotions through close-up images of the subjects’ expressions. The great news is that you should be able to cover these angles and use our lighting tips by yourself in case your team is small.

Image by Jason Vinson | Website

Image by Elizabeth Lloyd | Website
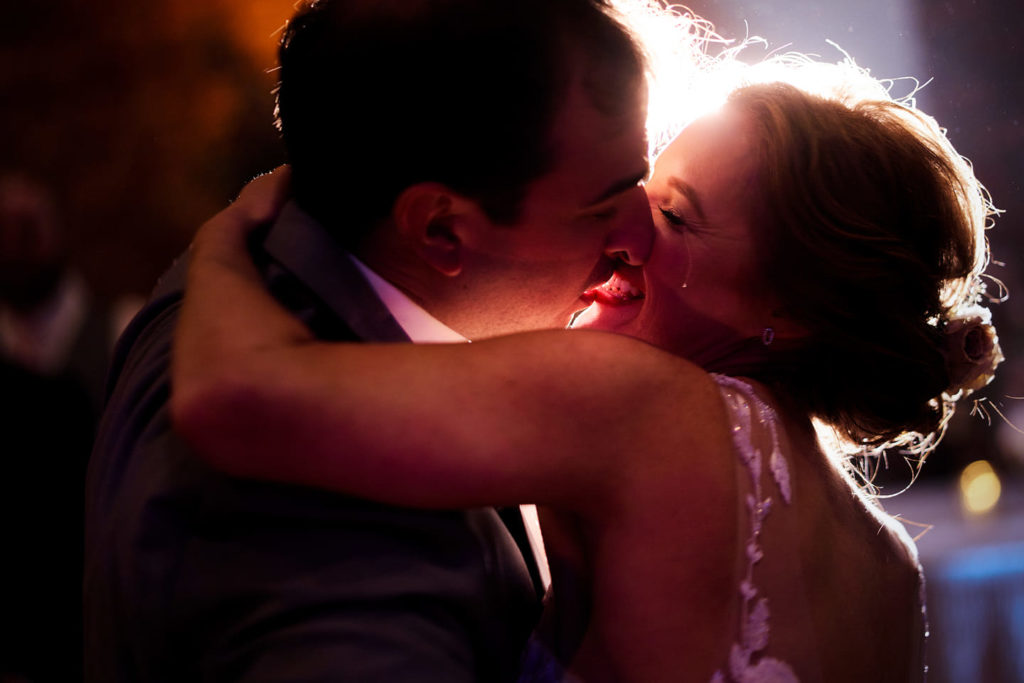
Image by Jason Vinson
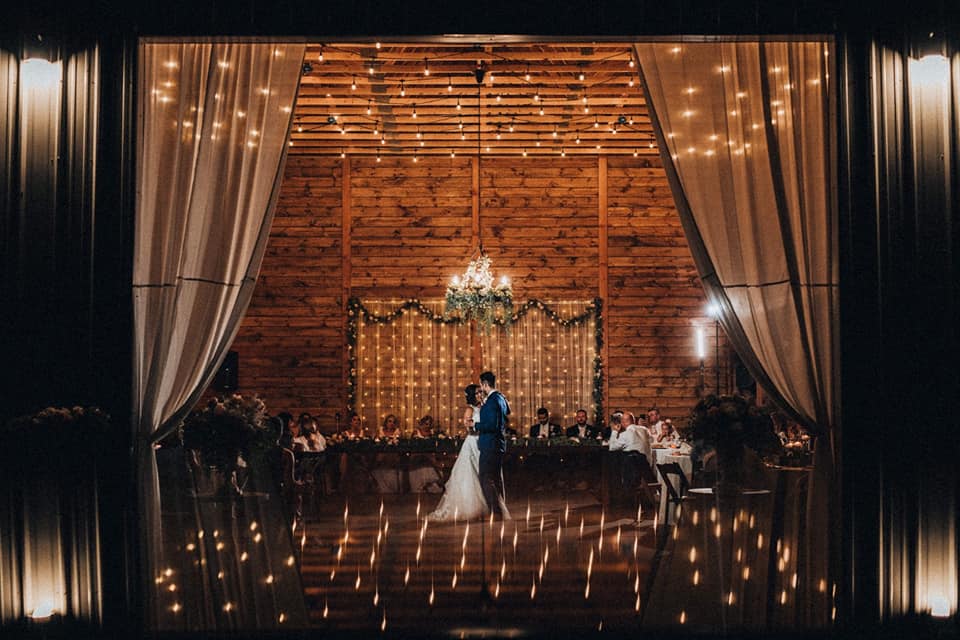
Image by Timothy Eyrich
Move Around the Scene During the First Dance
Above all, the biggest mistake photographers make while photographing the bride and groom’s first dance is standing still. The first dance isn’t like a wedding ceremony where the subjects stay stationary throughout, there are movements, actions, and reactions to capture. Find objects to shoot through for the bride and groom’s first dance. Pull all the way back to the corner of the room to capture the entire scene with the guests in attendance, or even try and get behind the couple to showcase the dance from their perspective.

Image by Scott Josuweit

Image by Jared Gant
Prepare for Any Scenario
Hop on a call with the bride and groom to discuss their first dance, this way you’ll know what exactly will be happening during their first dance. This gives you the necessary intel to capture the perfect moments as they unfold. Ask if the dance will be choreographed so you know exactly what to expect. For instance, cold sparks, fog machines, sparklers, spotlights can be incorporated into the bride and groom first dance.
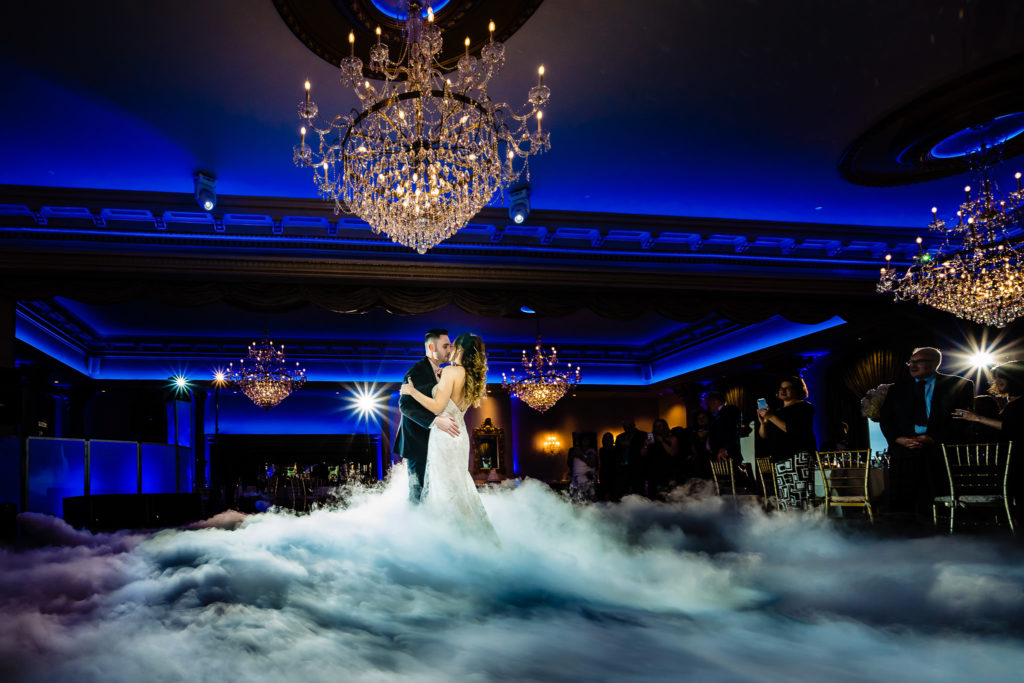
Image by Scott Josuweit | Website
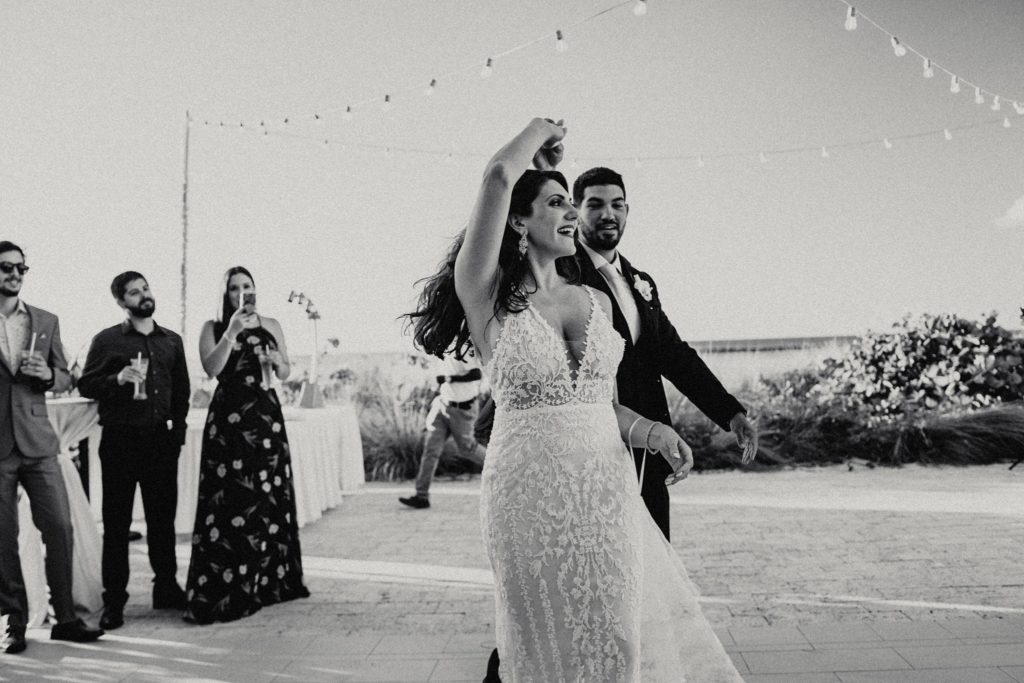
Image by Lyndah Wells | Website
Keep It Dark and Moody
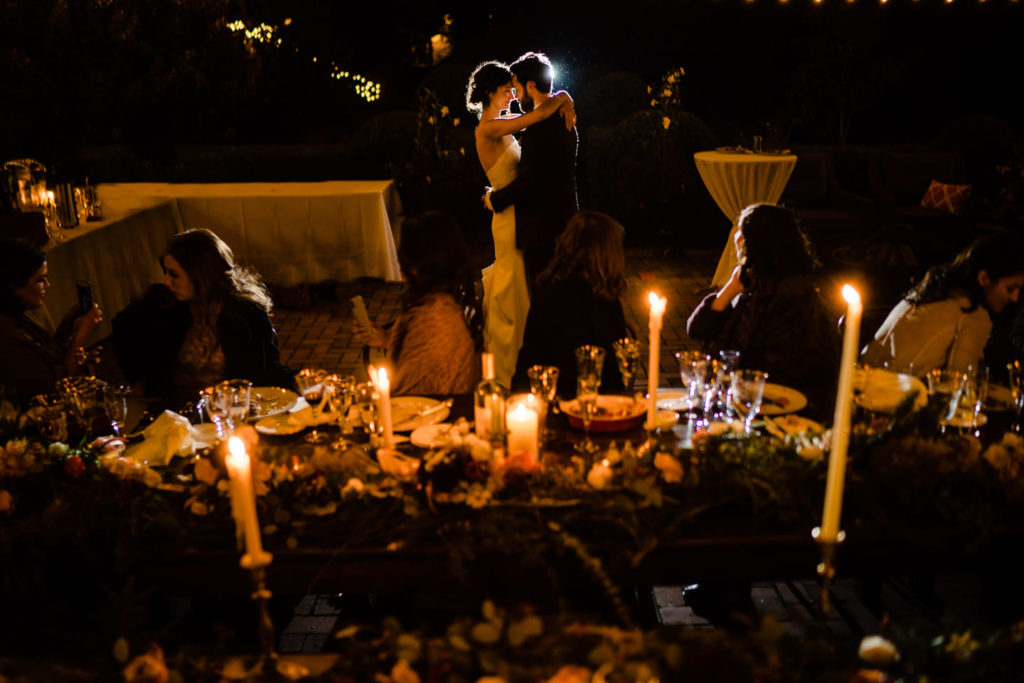
Image by Jason Vinson | Website
If your first dance is taking place in a dimly lit reception hall, you’re in luck! Just don’t blast the entire scene with flash, either on-camera or off-camera. Deep shadows, both on the couple and especially in the background, are your best friend when conveying romance in a wedding reception image.
Consider Warm White Balance
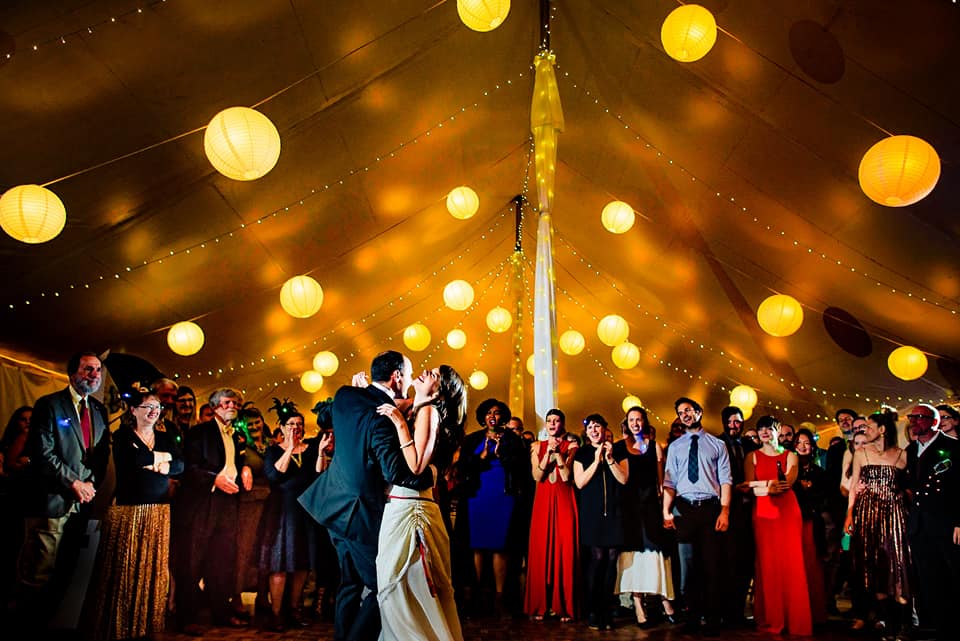
If you want the image to be warmer, simply dial up on the Kelvin WB scale. This is easier on Nikon cameras since they have direct access (not in a menu) to Kelvin temp, however it’s also still pretty effortless on most Canon DSLRs. If the ambient light is warm in color, which is usually the case, put warming gels on the flashes. This takes the flashes’ color down to about 3,000 Kelvin. To get the image to look this warm, simply dial the white balance up to about 4,000 Kelvin.
Add A Rim Light or Kicker
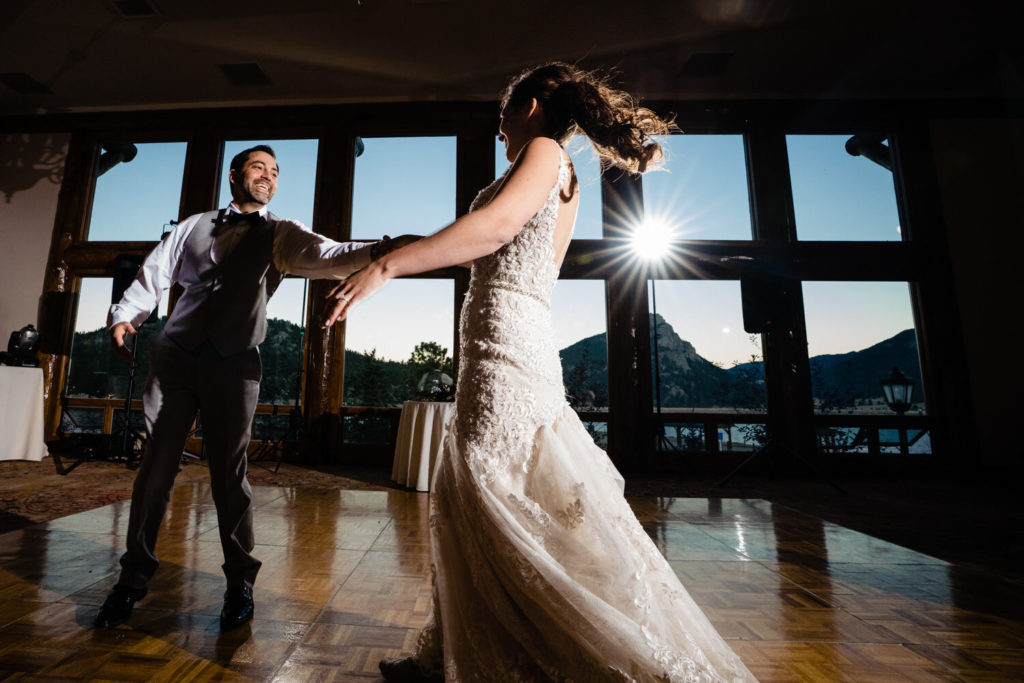
Image by Jared Gant
Consider adding a kicker light to create depth and separation from the background. In the image above, one flash is right there in the image behind them, about 10 feet away, and the other flash is behind the camera on the right, shining on the couple, again 10 feet away or so. The lighting setup is usually very straightforward and can be achieved with almost any triggering system. Given the camera settings of ISO 3200 and f/2.8, and a flash distance of ~20 feet, you’ll almost always find yourself around 1/64 power or 1/32 power, depending on how powerful your flashes actually are.
Consider on Camera Flash

Image by Lin and Jirsa | Website
One of the main things to try and avoid in a first-dance situation is “light spill”. We don’t want our flashes to be filling the entire room with light, but instead, we would prefer that they just spotlight the couple.
On-camera bounced flash will illuminate the subject but also spill into the entire room. If the walls and ceilings are a moderate distance away, the bounced flash isn’t going to create the desireable moody shadows. However, if a brighter look is what you’re going for, on-camera flash might be idea for your situation.
Choose the Right Photo Editing
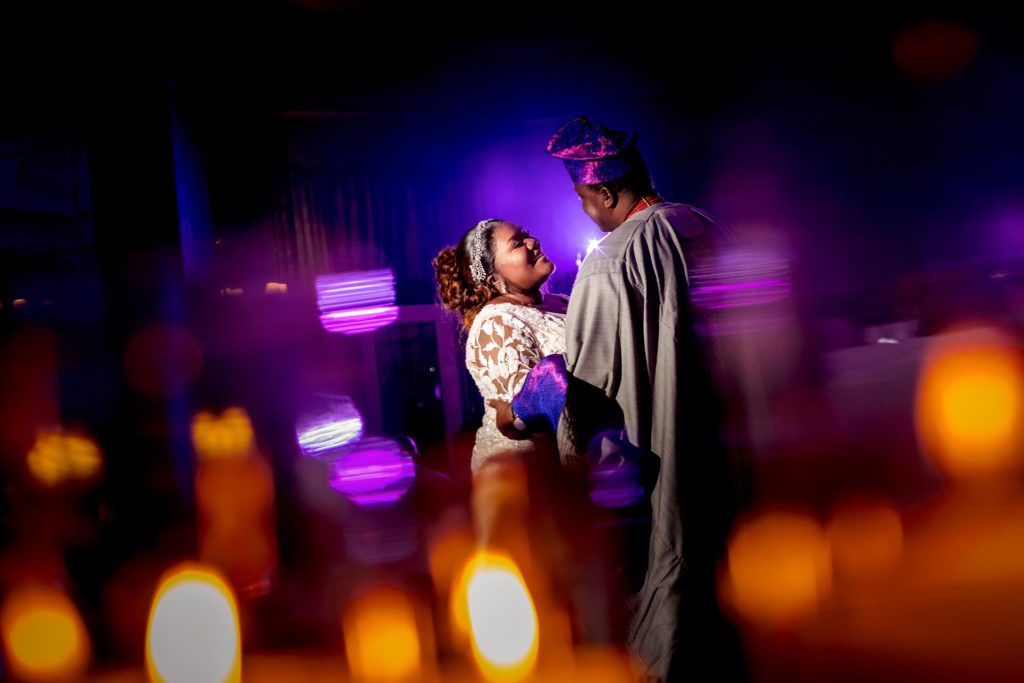
Image by Lyndah Wells | Website
For your photo editing, try to retain the colors of the uplights. If your client picked pink, purple, or blue as their up-lighting color, don’t be afraid to let it be present in your image. Consider adding a subtle punch of color without over saturating the skin tones. This can be done all in Lightroom.


