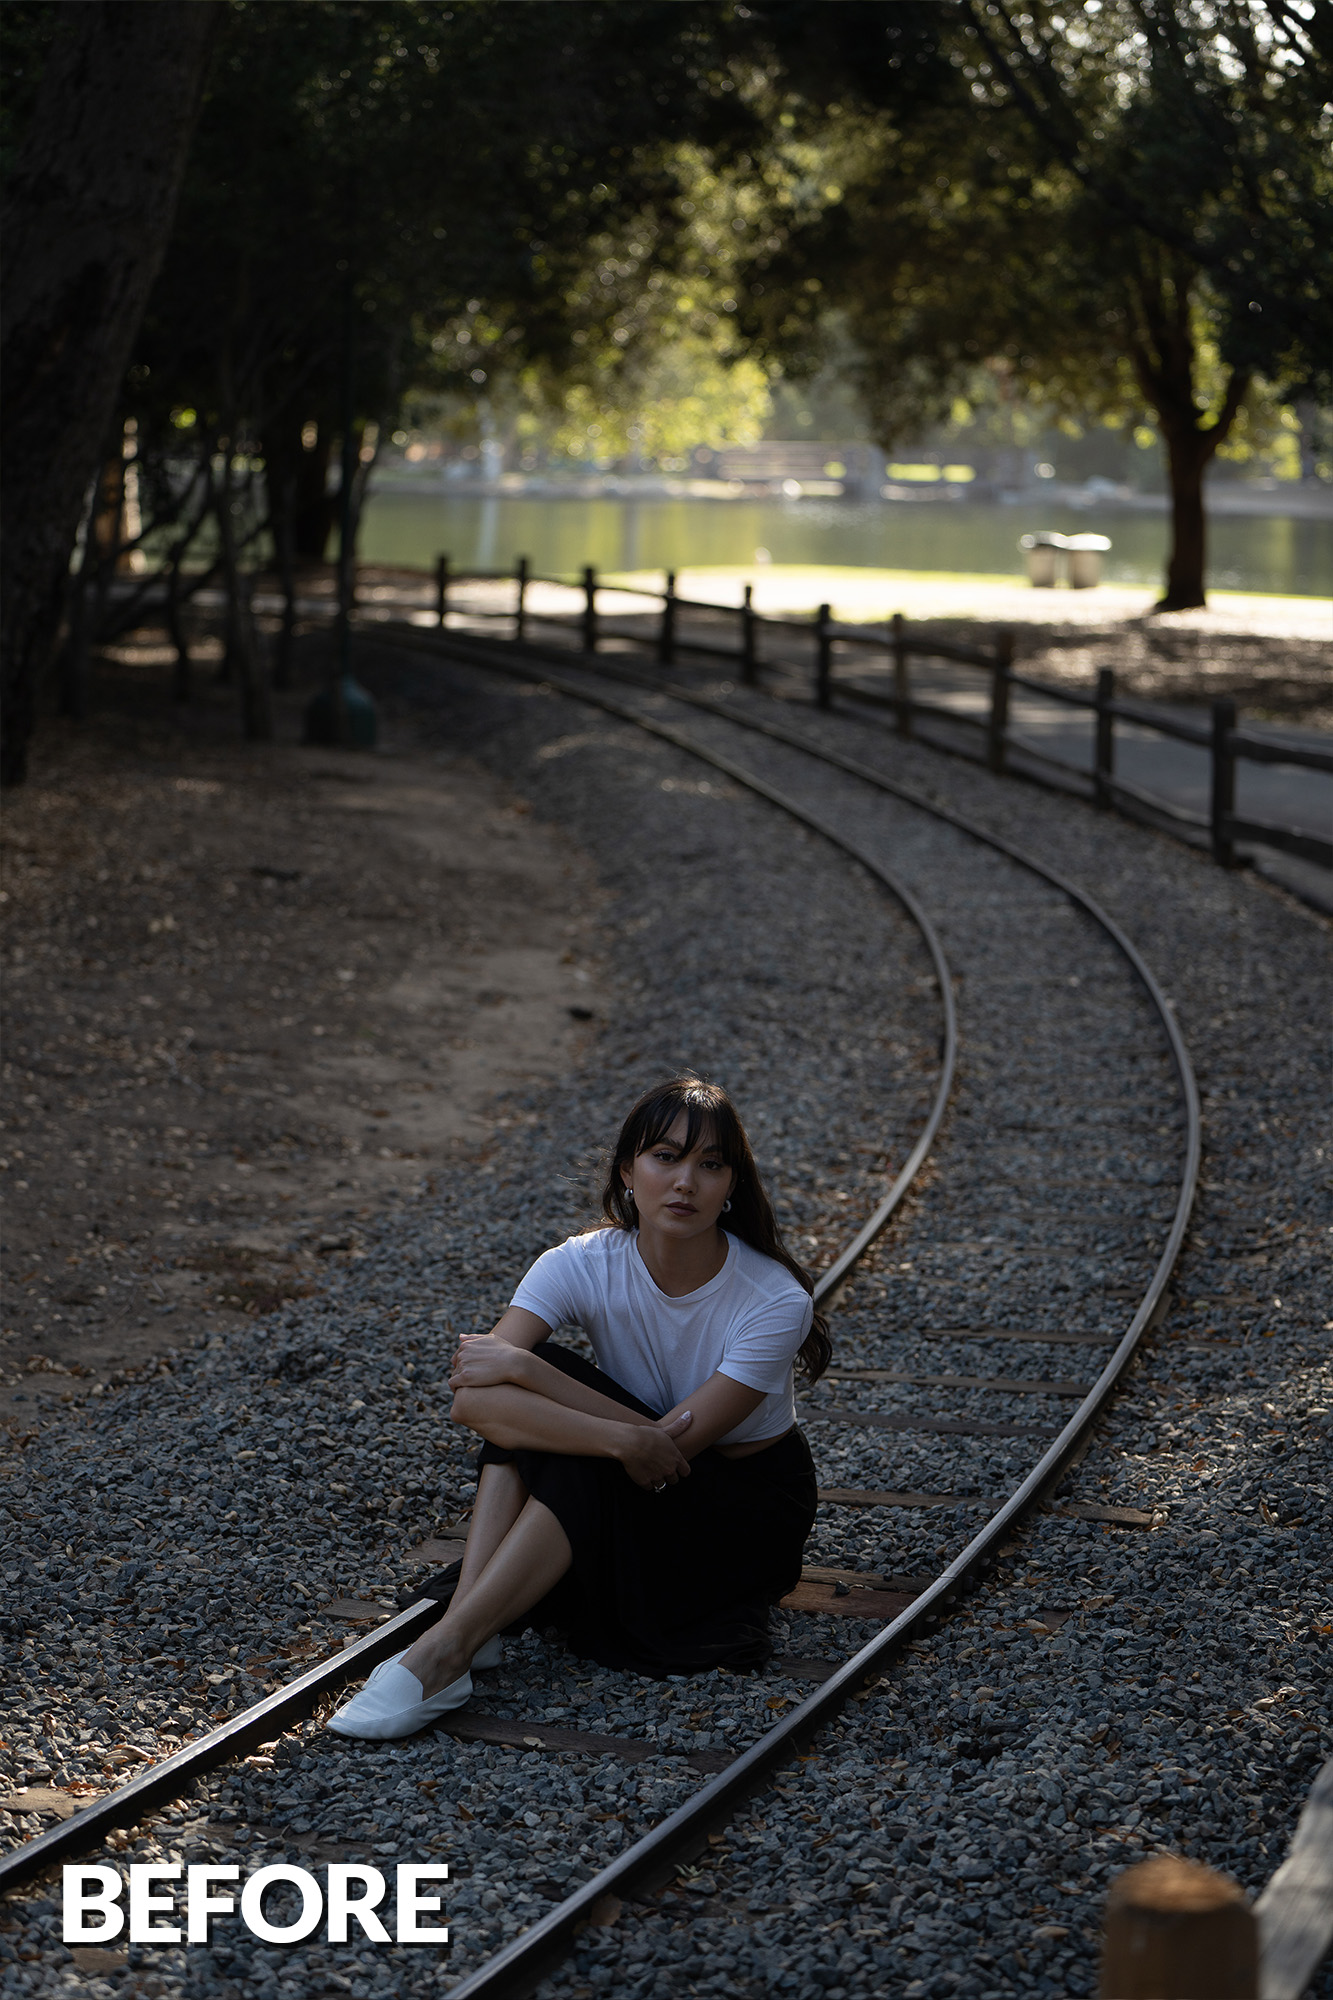
Parks are fantastic places to take portraits. They have tons of interesting and vibrant scenery. Not only that, but you can catch some great lighting regardless of the time of day. In this video, I’ll show you 5 simple portrait ideas that you can try in any park.
Video: 5 Simple Portrait Ideas & Tips for Any Outdoor Park
For our 5 portrait ideas, we’ll be using a pair of lenses sent to us by Tamron. We’ll be trying out the 28-75mm f/2.8 Di III VXD G2 and the 70-180mm f/2.8 Di III VXD lenses for Sony. The wide range of focal lengths as well as Tamron’s incredible lens build will help us get the perfect portrait series with our model, my friend, Sabrina. You can check her out on Instagram here.
#1: Backlight Your Portrait

Starting with the 28-75mm f/2.8, my first tip is to backlight your subject. I placed Sabrina underneath the dabbled sunlight created by the trees above.


Compare this with an image in direct sunlight.
#2: Reflector Bump

I had Sabrina pose beside the shaded side of a tree. The only problem is that the sunlight was bouncing off of the ground and creating a slight “underlight.”


To even this out, I used a white reflector and held it up to bounce the light back on her face. This created a very pleasant and even light, perfect for portraits.
#3: Shoot in Open Shade

Let’s switch to the 70-180mm f/2.8. I call this concept the “Open Shade.” You’ll notice that one side is shaded, in this case, by the tree, and the other side is open to the sky.

This essentially creates a giant soft directional light source. You can add an accent piece or shoot plainly. Either way, the light makes for great portraits.
#4: Compress the Scene

Take advantage of the zoom lens to squash the foreground and background together to really focus in on your subject. I combined this concept with tip #1 to create a backlight on Sabrina.

I then framed her in front of a dark area in the trees beside other backlit trees and captured these great images showcasing her dance skills.
#5: Find the Brightest Spot

This is one of my favorite framing elements because it places your subject where the most attention is drawn to in the image.


In this instance, the brightest spot in the frame was the opening in the trees in the background. Check out the difference.
Conclusion
I hope you enjoyed this article/video. Give these portrait ideas a try during your next park portrait session! Be sure to visit SLR Lounge Premium for complete courses on photography related subjects including Mastering Lightroom and Creating a Successful Photography Business. You can also visit Visual Flow for all of our intuitive Lightroom presets and retouching tools. Lastly, be sure to check out Tamron’s incredible 28-75mm f/2.8 as well as the 70-180mm f/2.8 lenses to cover your full range of focal lengths for all types of photography at a great price.
Thanks for watching and see you next time!


