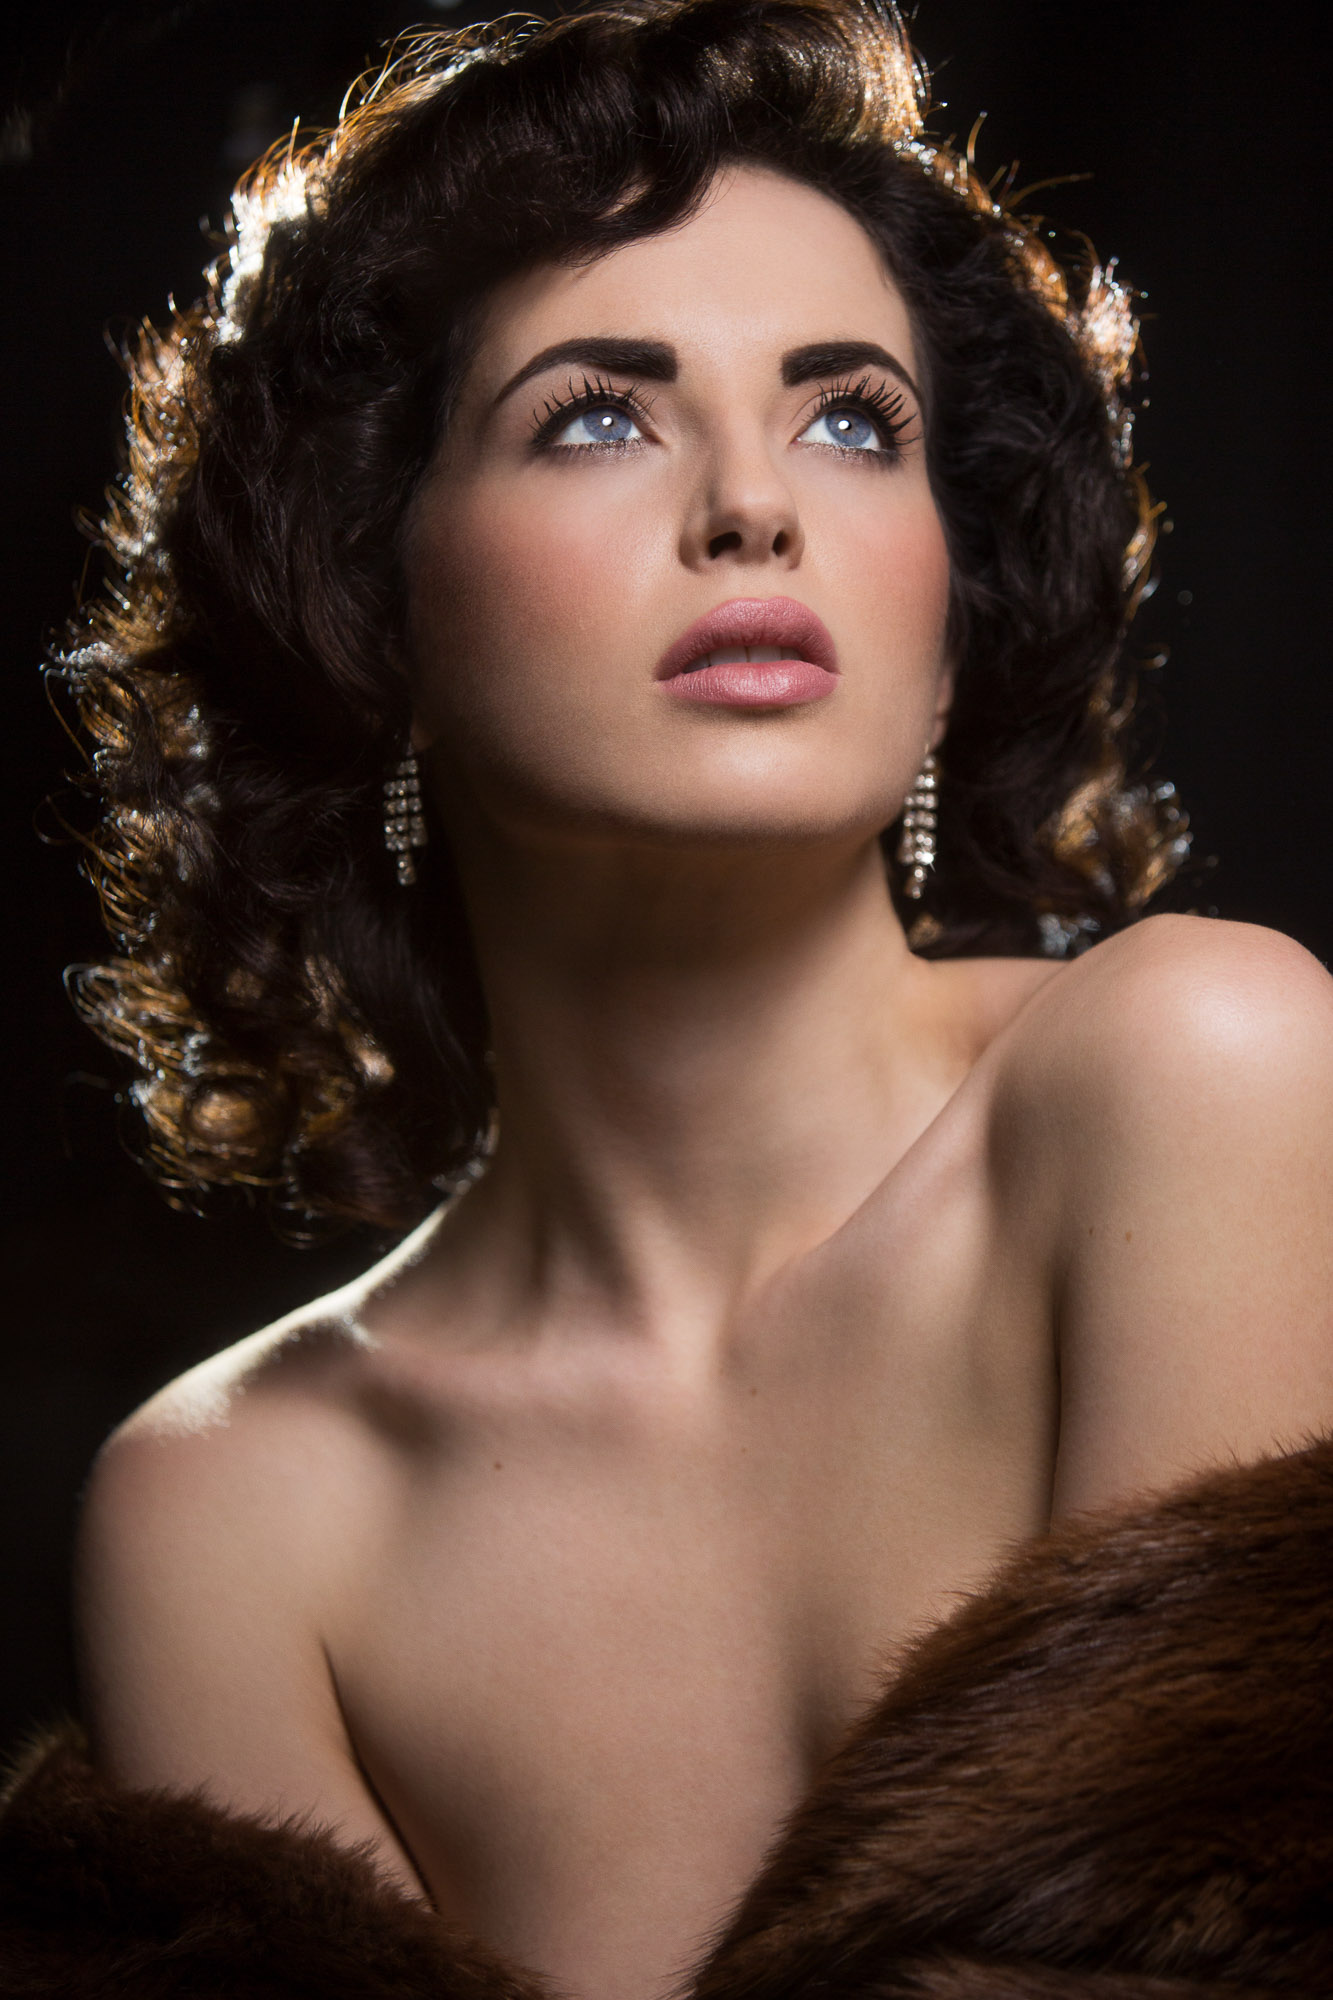
Beauty retouching is all about beautiful, flawless, perfect skin, and there are many, many retouching techniques shared on the web for achieving that beautiful skin. But after using your favorite technique to give the model’s skin that smooth, perfection there is one more step before you’re done: giving the skin a nice glow. Healthy, beautiful skin has a certain luminescent quality to it that looks very much like a subtle glow.
Here is a shot by noted photographer Scott Nathan of Courtlyn Cannan. With the retouching already done on this shot all it needs is the finishing touch of the glow.
©Scott Nathan
There are three commonly used techniques for adding this glow. The first two techniques are based on one of the channels from the image, differing mostly in how crisp of a glow you get while the third one is a variation on a common dodging technique.
Blue Channel Glow:
I call the first technique we’ll look at “Blue Channel Glow” because it’s usually based on a copy of the Blue Channel.
Step 1
Choose a Channel for the basis of the Glow: With your image open take a look at the individual channels and choose one that seems to really feature the areas where you want to add the Glow. Here are the individual R, G, B channels for the image above:
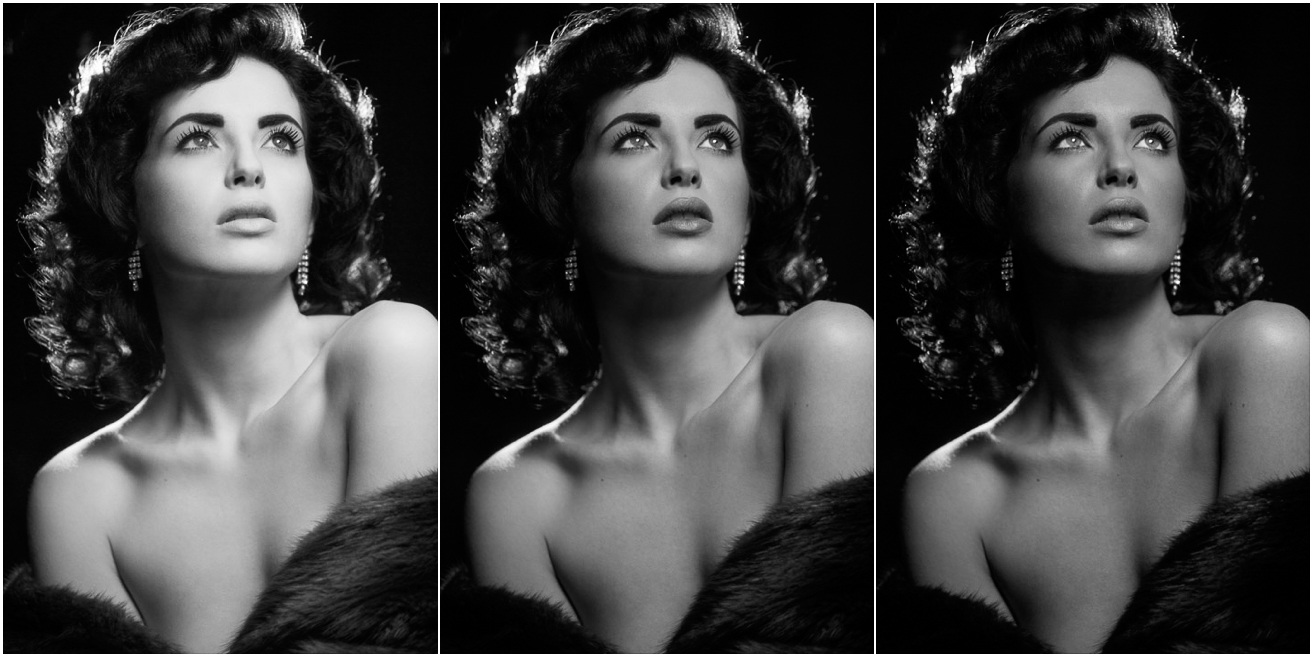
Since the idea with this technique is to boost the highlights on her face we’re looking for the channel that seems to do the best job of isolating the highlights. Since skin color has so much Red in it that channel tends to be the lightest. The Green channel often looks like a Black and White version of the image and has some nice shadows, but this Green channel looks like it would create a bit too much of a glow. The Blue channel, while a bit darker than the Green, gives us a better chance at isolating just the highlights on her face so we’ll use that as the basis for our glow.
Step 2
Copy the Chanel: Make a copy of the Blue Channel by going to the Channels palette and dragging the Blue Channel onto the New Channel icon:
This new Channel will be named ‘Blue Copy’ by default.
Step 3
Use Curves to darken the shadows of the Channel. The “Blue Copy” Channel looks like a good start, but we really want to keep the glow isolated to the lighter areas of her skin. To do this go to the Channels palette and select the new “Blue Copy” Channel, then from the main menu go to Image>Adjust>Curves.
Once the Curves Window is open pull the Black Point over about 1/3 of the way to the right. This darkens just the shadow areas of the Channel leaving the highlights pretty much the way they were.
Step 4
Make a selection from this channel. Turn this channel into a selection by Command-Clicking on the “Blue Copy” channel in the Channels palette.
Step 5
Create the Glow Layer. With the selection active go to the Layers palette and make a new Layer, naming it “Glow”, and choose “Soft Light” for the Blending Mode. Then fill this Layer with White by going to the Main Menu and choosing Edit>Fill. In the pop up dialogue where it says “Use” choose white. Be sure to use a layer mask to keep the glow out of the whites of her eyes and any other areas that might look too “hot”.
If the “Glow” looks too strong simply pull it back by lowering the opacity of the layer.
Blurred Blue Channel Glow:
The second technique for adding a glow gives a softer looking affect. This one uses the same steps as the Blue Channel Glow technique, but in this case, after creating the copy of the Blue Channel you would add a Gaussian Blur to this copy before making your selection and creating your Glow layer.
Step 1
After making the copy of your Blue Channel as described above select the Blue Copy Channel in your Channels palette and go to Filter>Blur>Gaussian Blur to add a nice blur to the channel. The amount of blur needed depends both on the resolution of the image as well as how soft you’d like the glow to be. In this case I added a 10 pixel blur to the channel.
Step 2
Make a Selection from this channel. As with the first technique Command/Control Click on the blurred Blue Copy channel in the Channels palette to load this as a selection.
Step 3
Create the Glow Layer. With the selection active go to the Layers palette and make a new Layer, naming it “Glow” choose “Soft Light” for the Blending Mode. Then fill this Layer with White by going to the Main Menu and choosing Edit>Fill. In the pop up dialogue where it says “Use” choose White. Again use a Layer Mask to mask the glow out of her eyes and any other area where the effect might make the image look too “hot”.
Painted Glow:
The third technique for adding a glow is the simplest one we’ll look at here. If you’re familiar with some of the more common dodging techniques this technique is basically a variation on of those techniques. This one also gives you the softest glow effect.
Step 1
Create a new Layer and name this one “Painted Glow”, set the Blending Mode of this layer to “Soft Light”.
Step 2
Choose the Brush tool then press D then X to set your foreground color to white. Now adjust the size of your brush as needed to fit the area where you want to add the Glow and paint White over those areas.
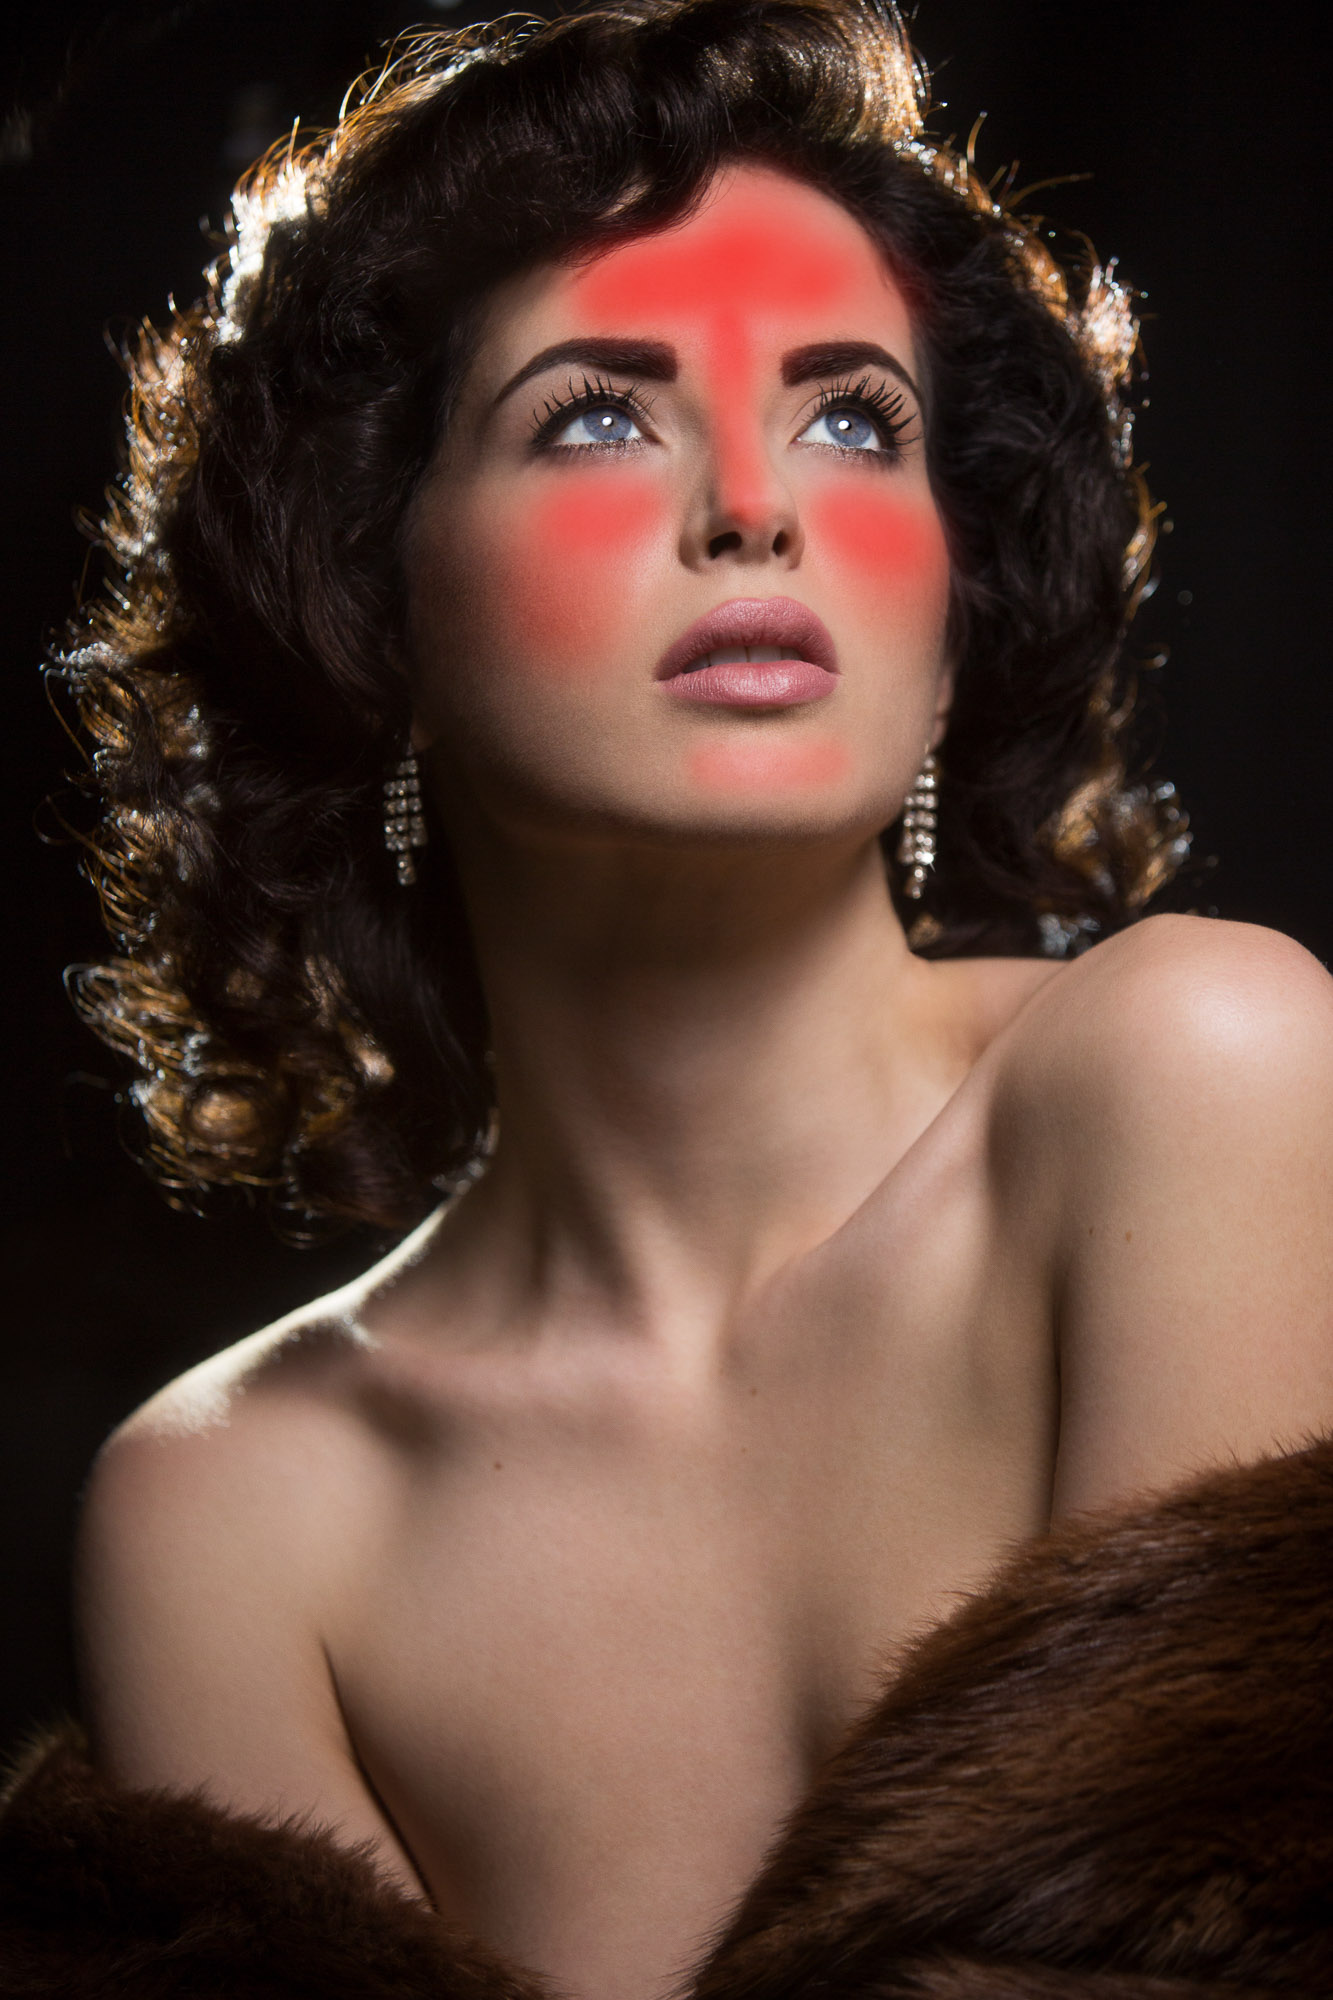
Since you’re simply painting your Glow the idea here is to think like a painter or photographer and envision where the light would strike the face. The Red in the image below shows the areas where I painted the Glow.
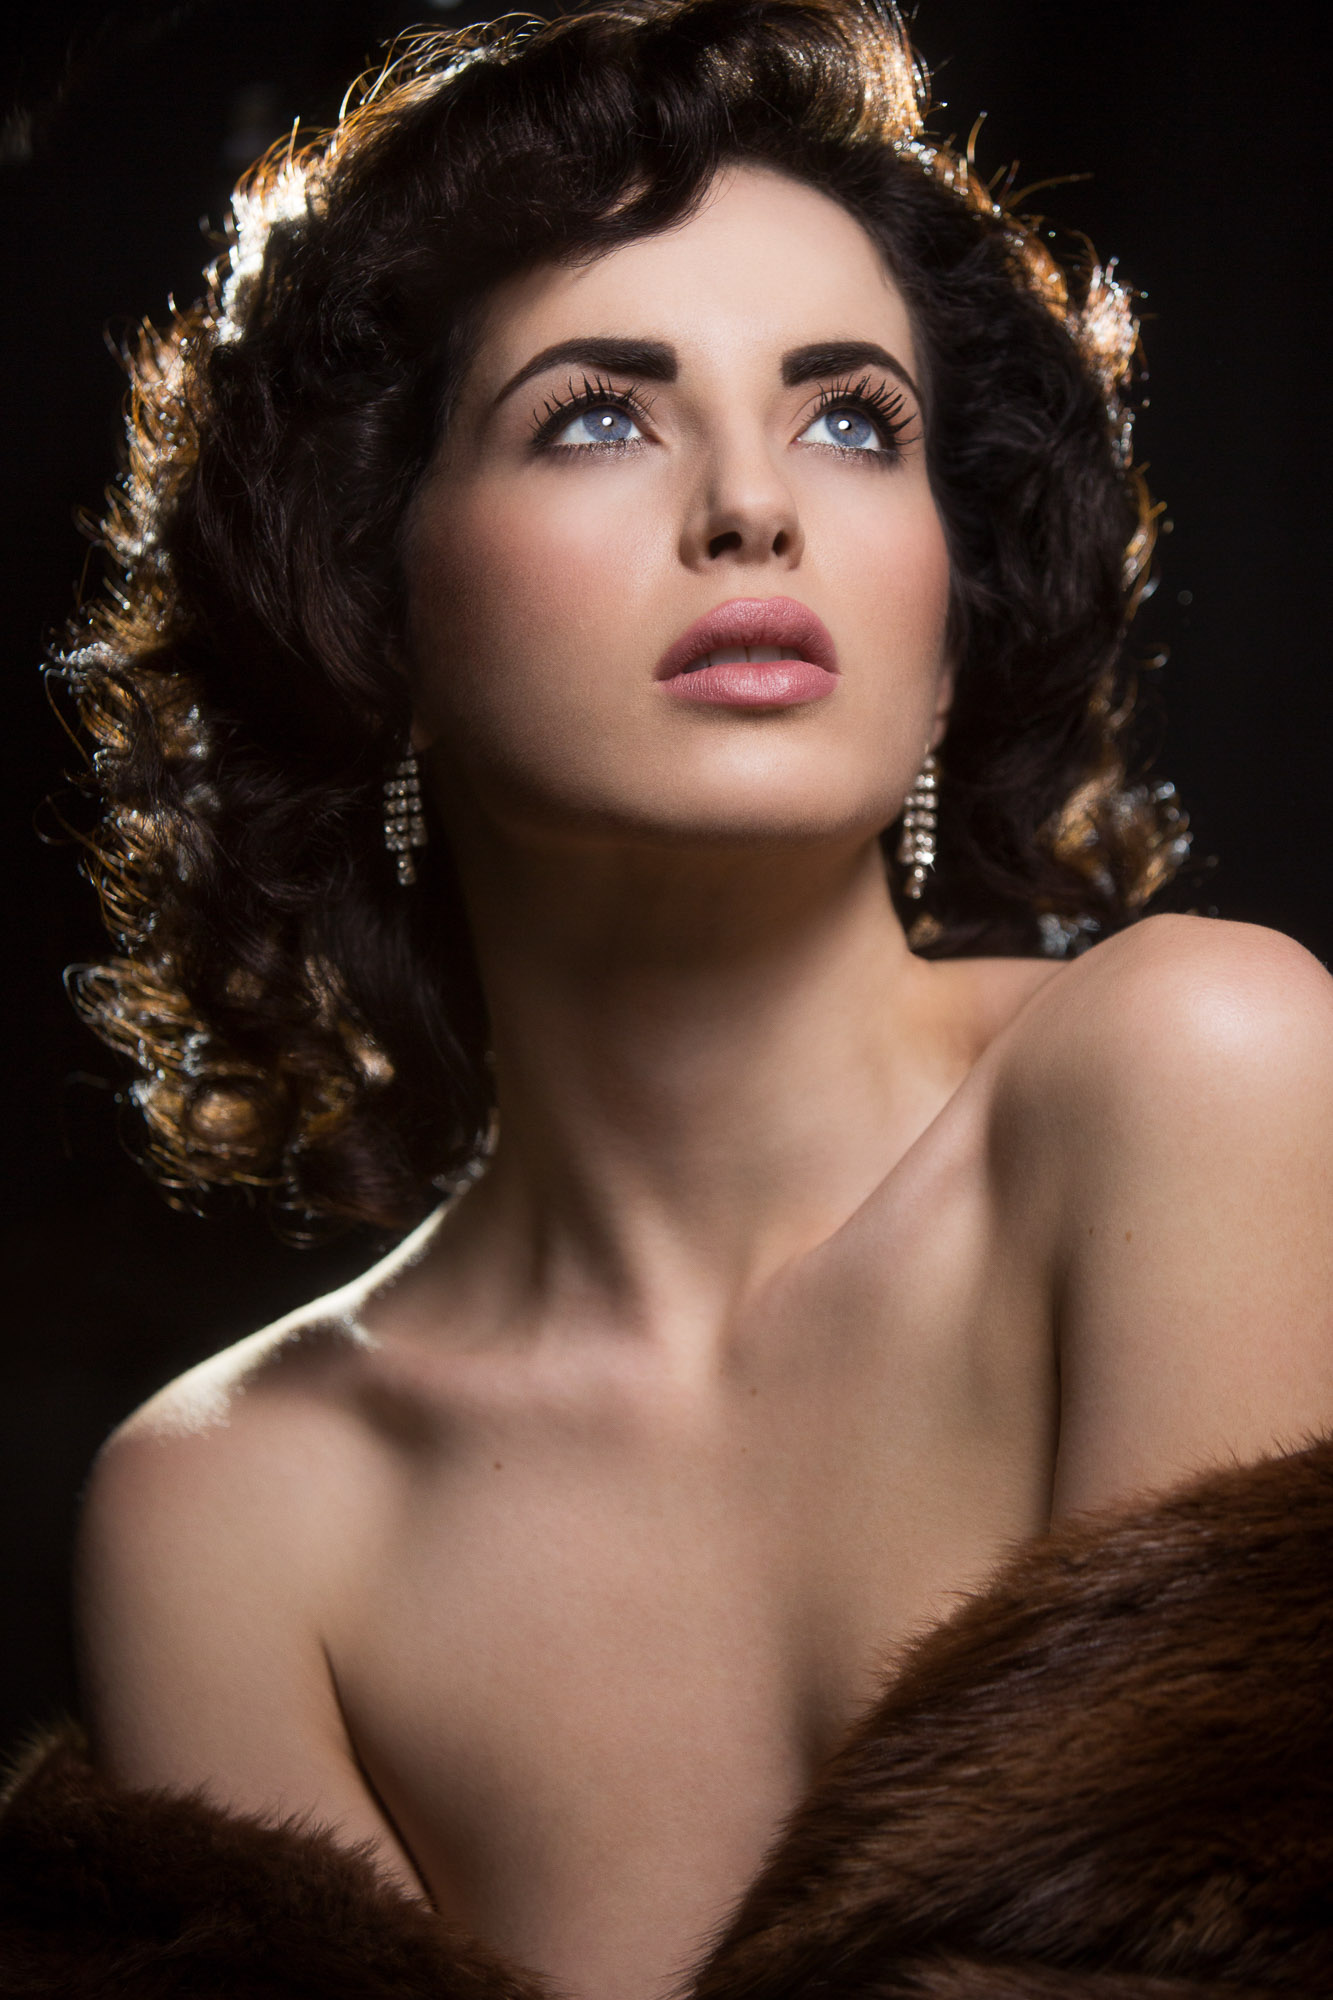
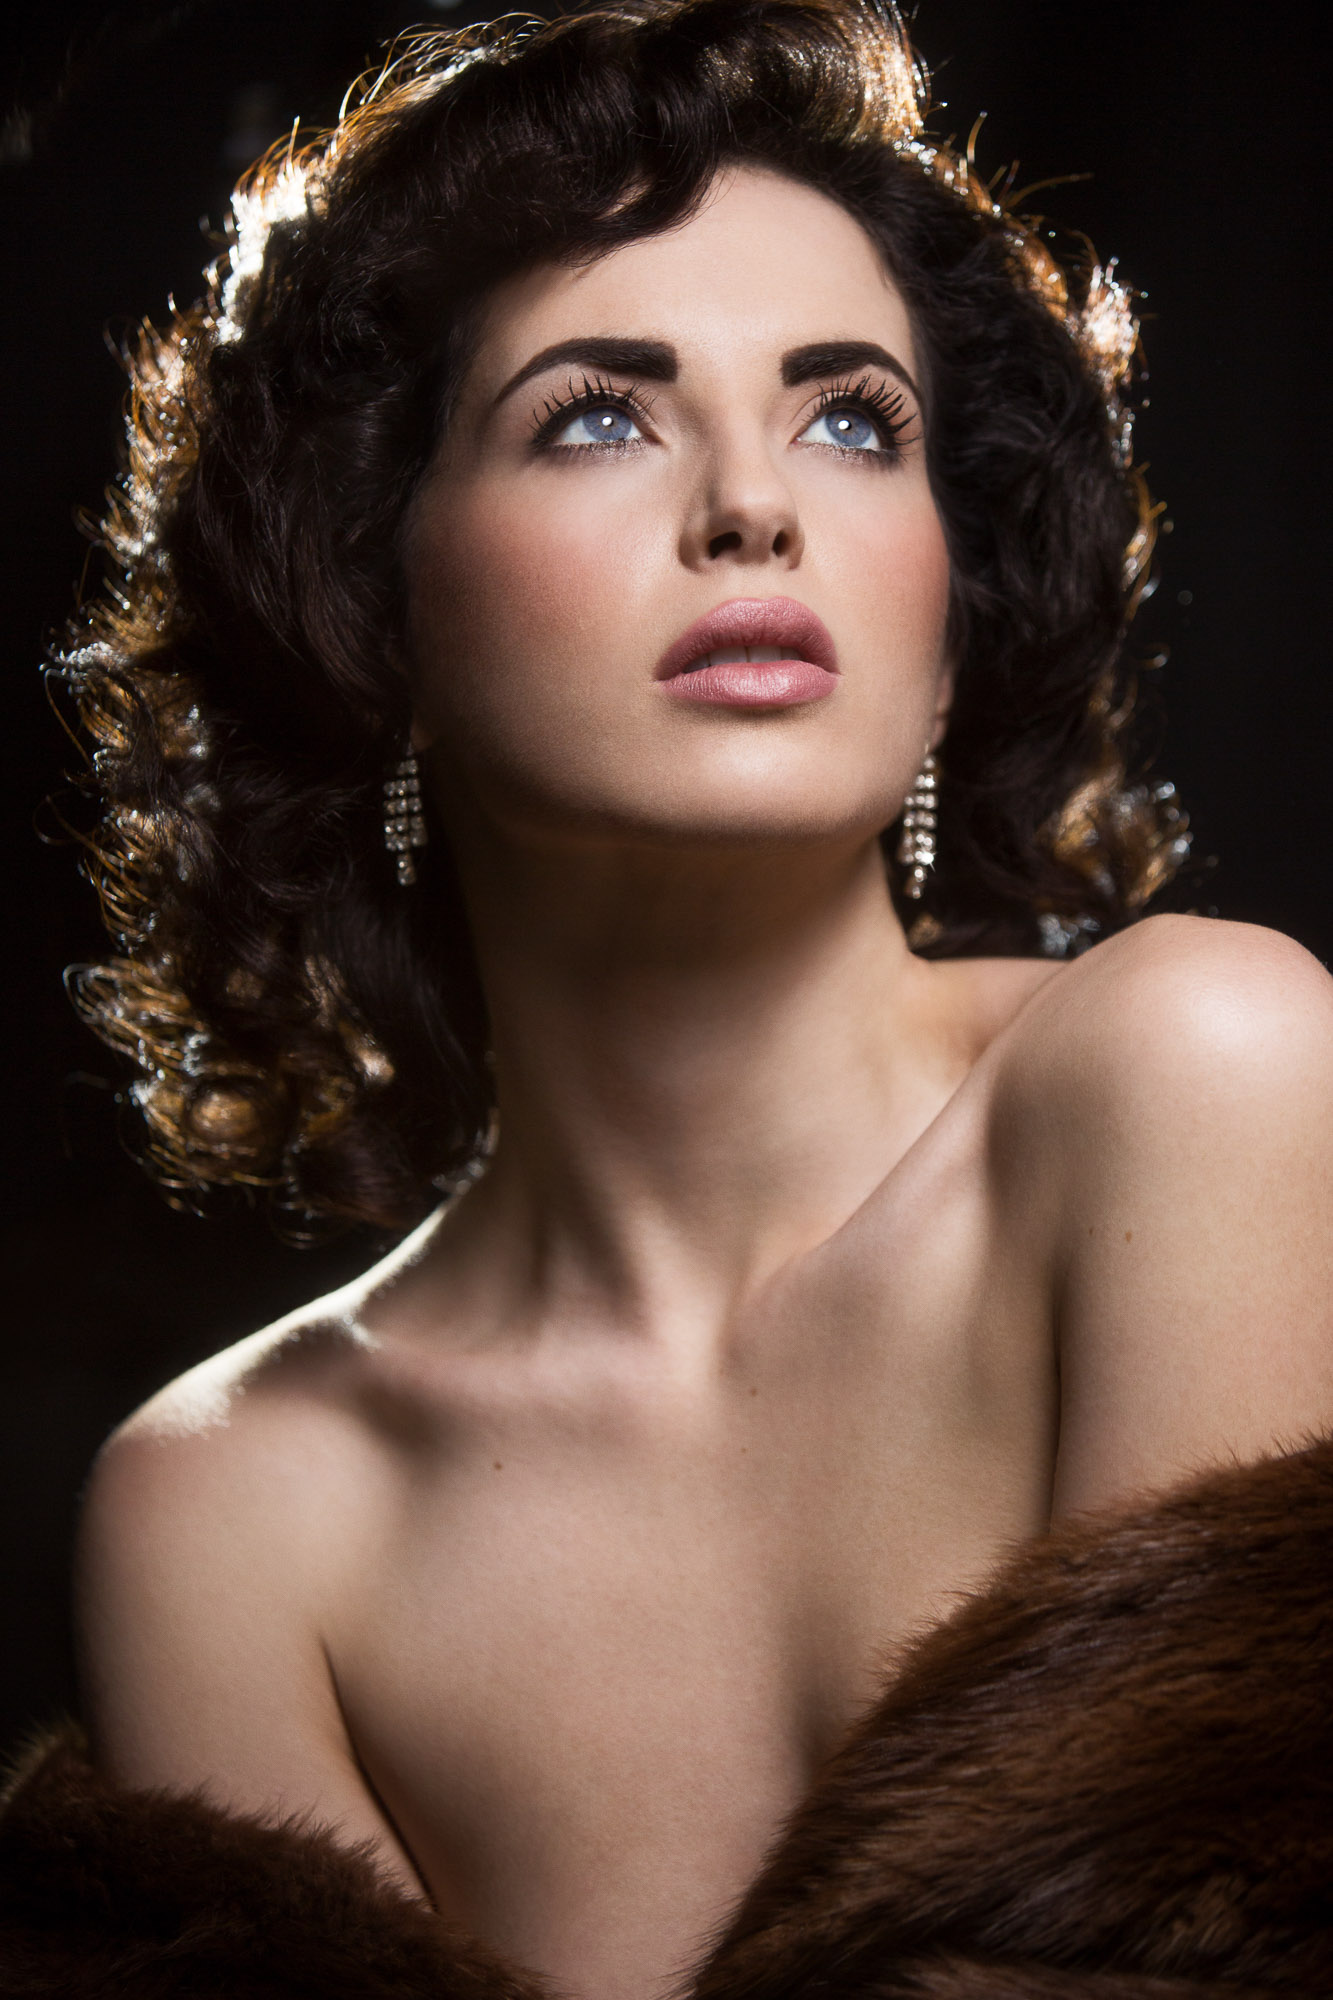
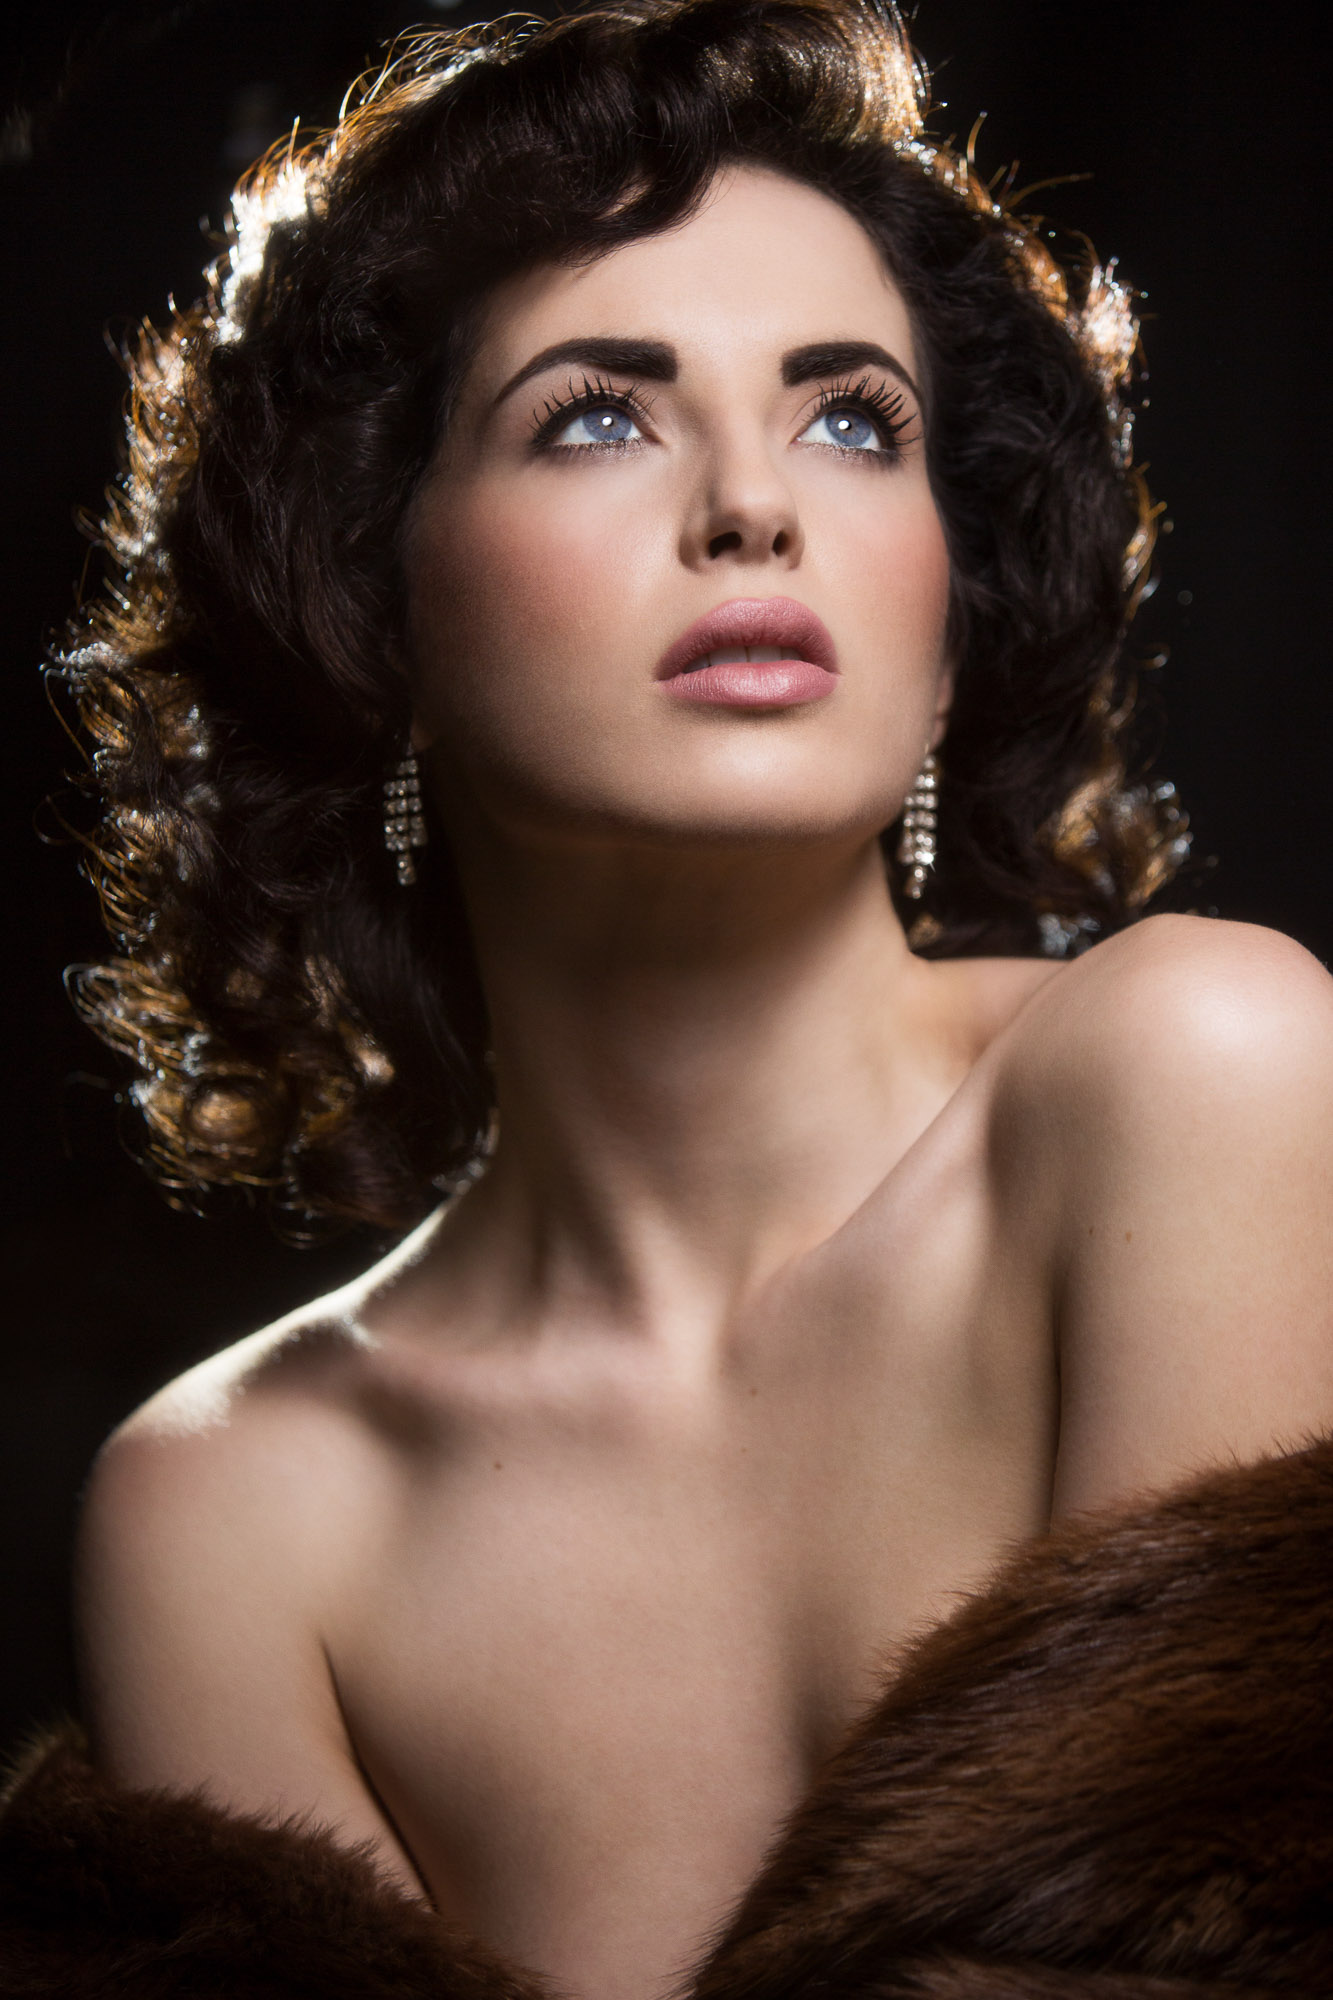
As you can see these techniques are pretty simple, but provide an easy-to-add ‘finish’ to your portraits with lots of room for variations. To make it easier to assess the subtle differences between results of these 3 techniques below are the original and three glows created with the techniques discussed here.


